

This week sees the start of a whole new diorama. Where I will be going after this one is something I need to give a lot of consideration to. I love doing dioramas but space really is an issue now so I need to get my head around the problem in the weeks ahead. A return to much smaller models will probably be the solution but will they warrant a Monday Dio-Bolical post? Maybe, maybe not. My blog needs a review so perhaps this will be something I need to consider changing at some point in the future. In any event there is no rush for a good few weeks yet. Anyway I digress, back to the Wizard’s Tower.
For those of you who did not catch the very first Dio-Bolical Monday post back on the 23rd November 2019 this is the Table Top World model I’ve just started on.

This is a big tower and will stand at over two feet tall once I get the base work done further down the line. The kit itself compromises of about 30 pieces, 6 large bits and several little bits which make up the roped hand rail going up the steps. Essentially when assembled the tower has three very specific parts – a base, a middle section and a top piece.
The good news is I have a clear idea of how I want this diorama to end up looking, the bad news is I still have to decide how best to approach doing the base work. With so much painting to be done on the tower there is plenty of time to work things out though. It is with this in mind that I decided I would begin by starting to paint the base and middle section. However, the first hing I had to do was prime everything! As is my way this was done using matt white enamel diluted with white spirit and brushed on. Yes, yes I know a spray primer would have been quicker but it’s not my way and I besides I didn’t have any, added to which I was to impatient to wait for a delayed lockdown delivery to arrive. Put simply I just wanted to get started now.
Once everything was primed and left to dry I began to paint the base and middle section. I needed to work on both these pieces at roughly the same time to ensure I got the colour matching across them both, particularly where they join.
The image I am looking for is a dark one. I want the tower to look imposing and dramatic, not something which looks like it featured in a Disney animation. This determined my base colour of a dark grey. Given the size of this beast using Vallejo bottled paints was never going to happen. From the moment the model arrived and was unpacked I knew this was going to be a job for oils. The level of detail on the kit, along with all its nooks and crannies, meant I needed paint that could really flow into these areas and oils diluted with white spirit has always worked for me. Having adopted the same approach on the Table Top World cottage in my Fools Gold diorama I was confident this would work out OK.
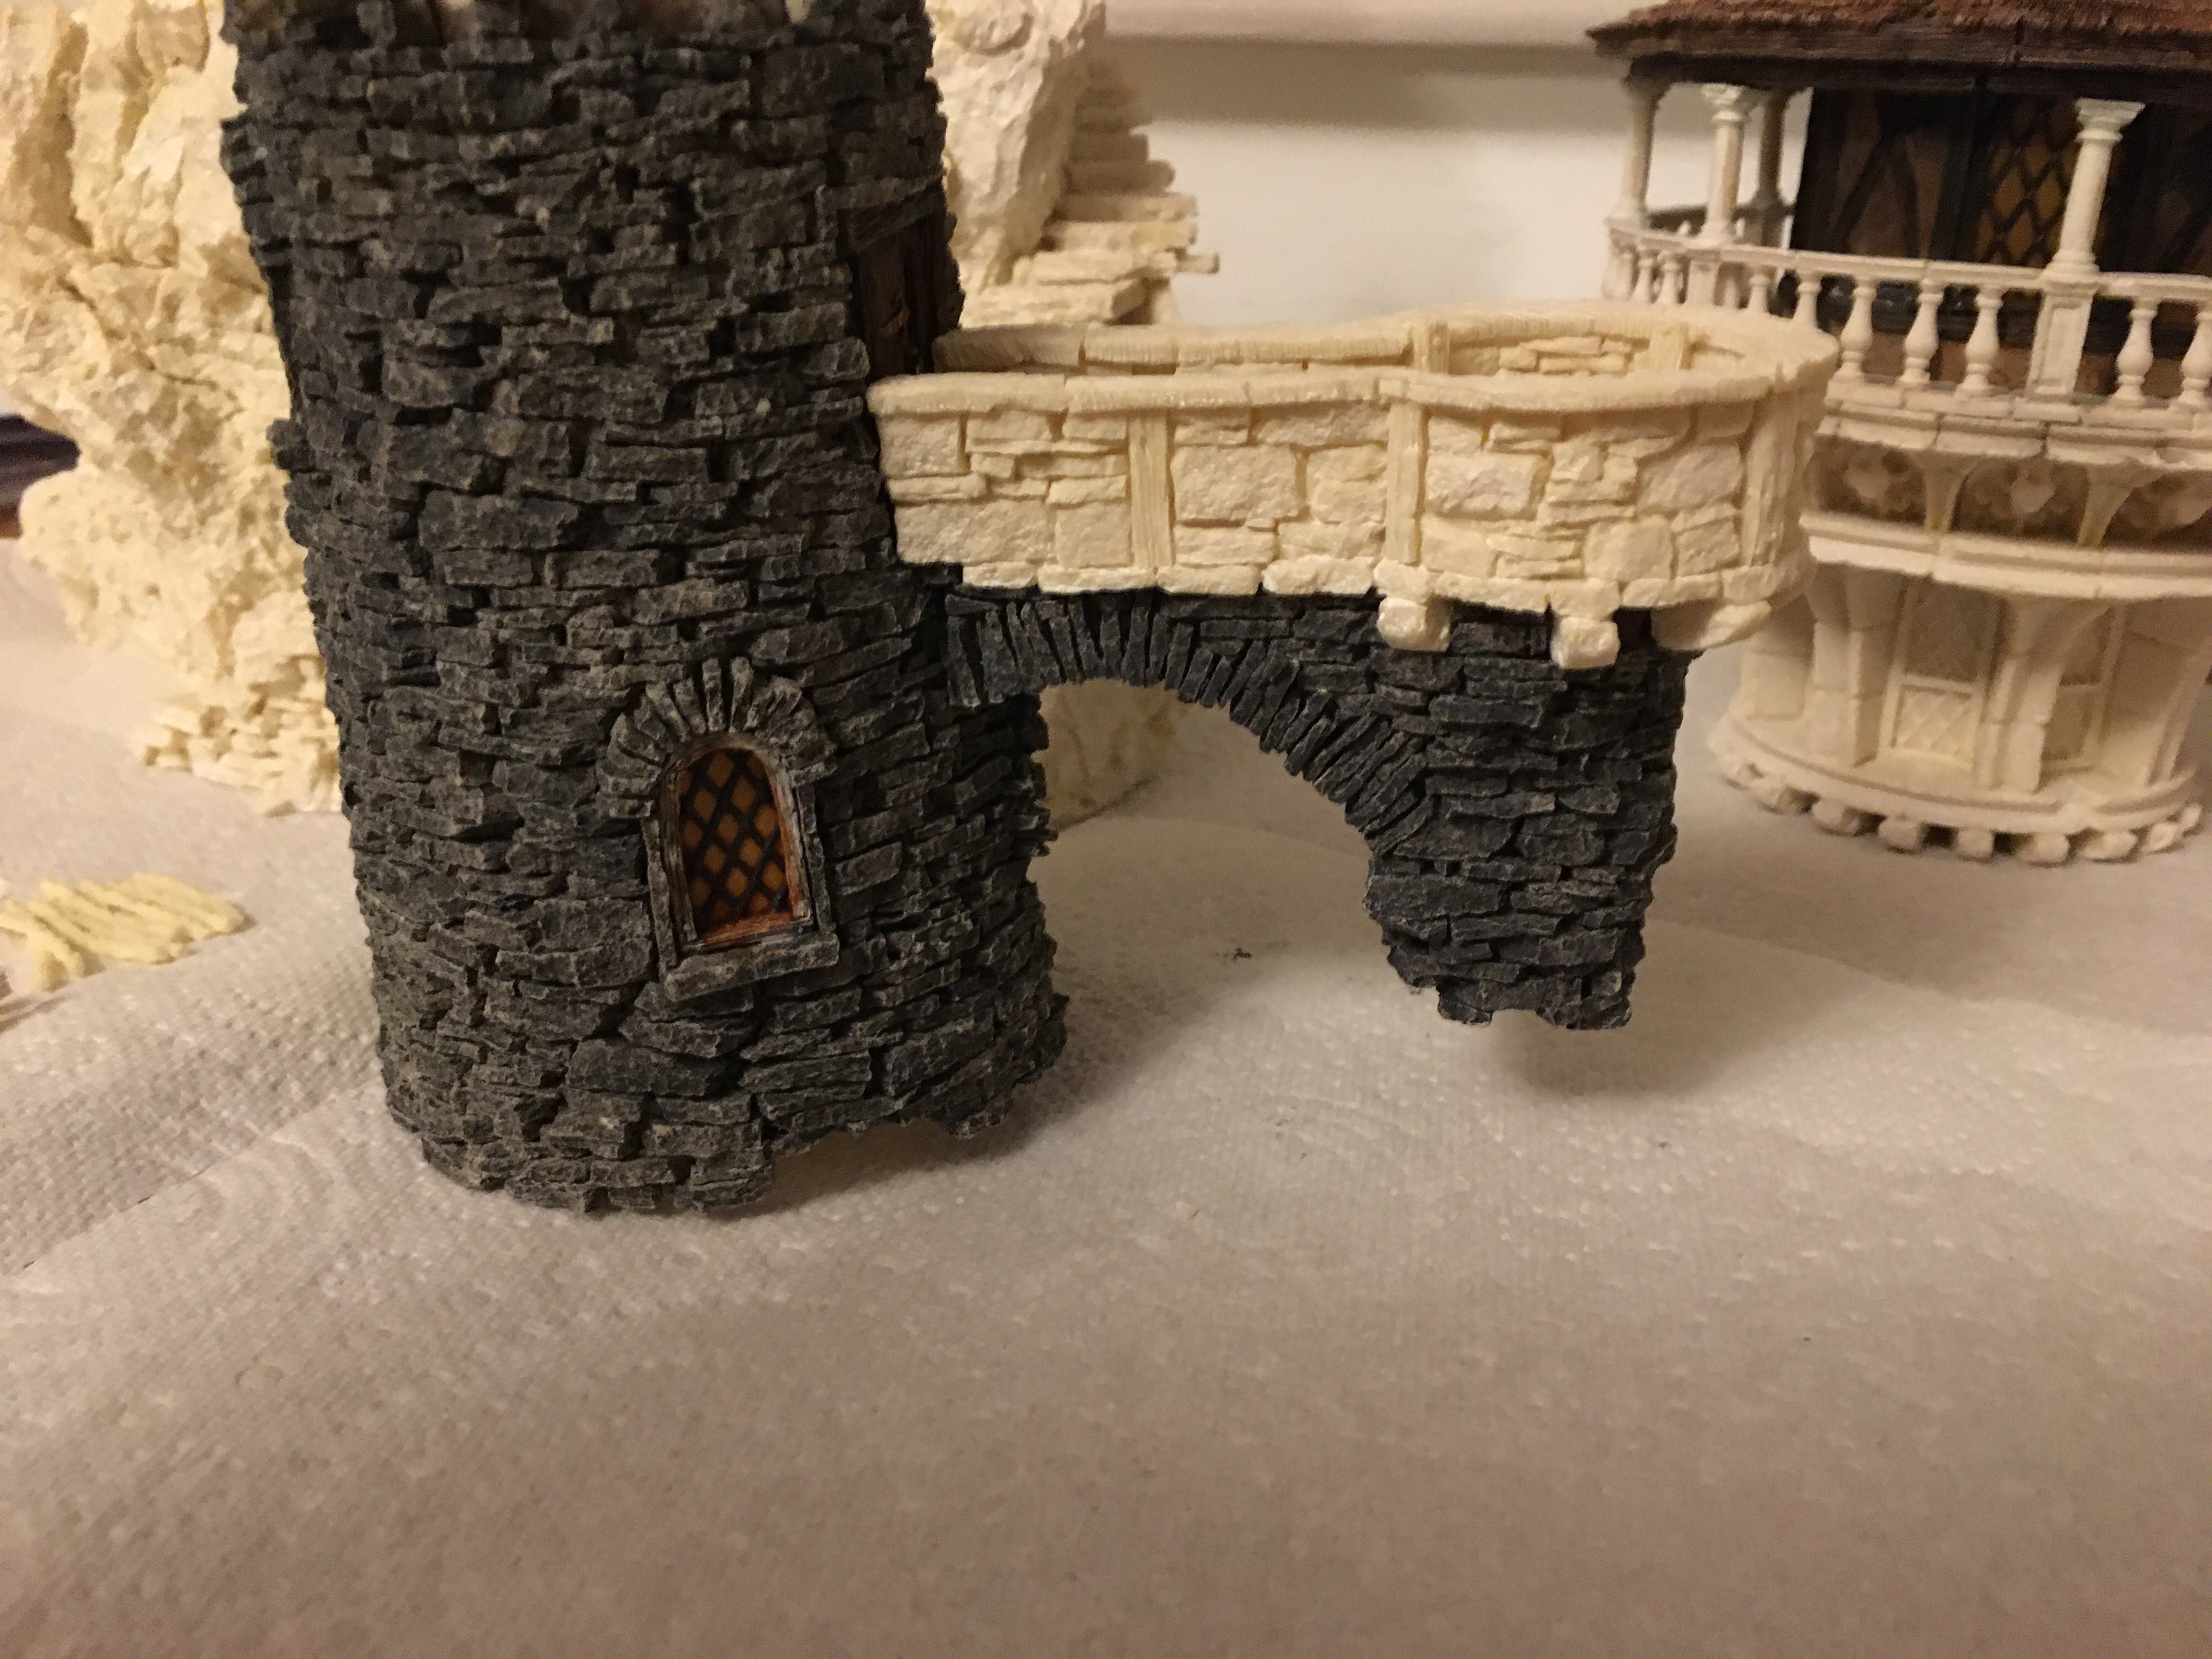
After priming and laying down the base colour it was all about different shades of grey, a little brown, some white and a fair bit of dry brushing. All of which got me to this point. The image below shows the base section brick work well on the way.

Now strictly speaking there are three parts to the middle section. The main two can be clearly seen in the first of the images below. The third if you scroll up to the black and white picture above shows that at the end of the elevated walkway there is a second but much smaller little round roof turret. Unfortunately the one of the four resin wooden struts which supports the roof was broken when the kit arrived. In fairness it could have been fixed very easily but after a great deal of inner debate where I lost an argument with myself I decided I preferred the look of the tower without out it. A bit of a gamble but by carefully removing the three remaining struts I can always add it back later if I decide to change my mind.
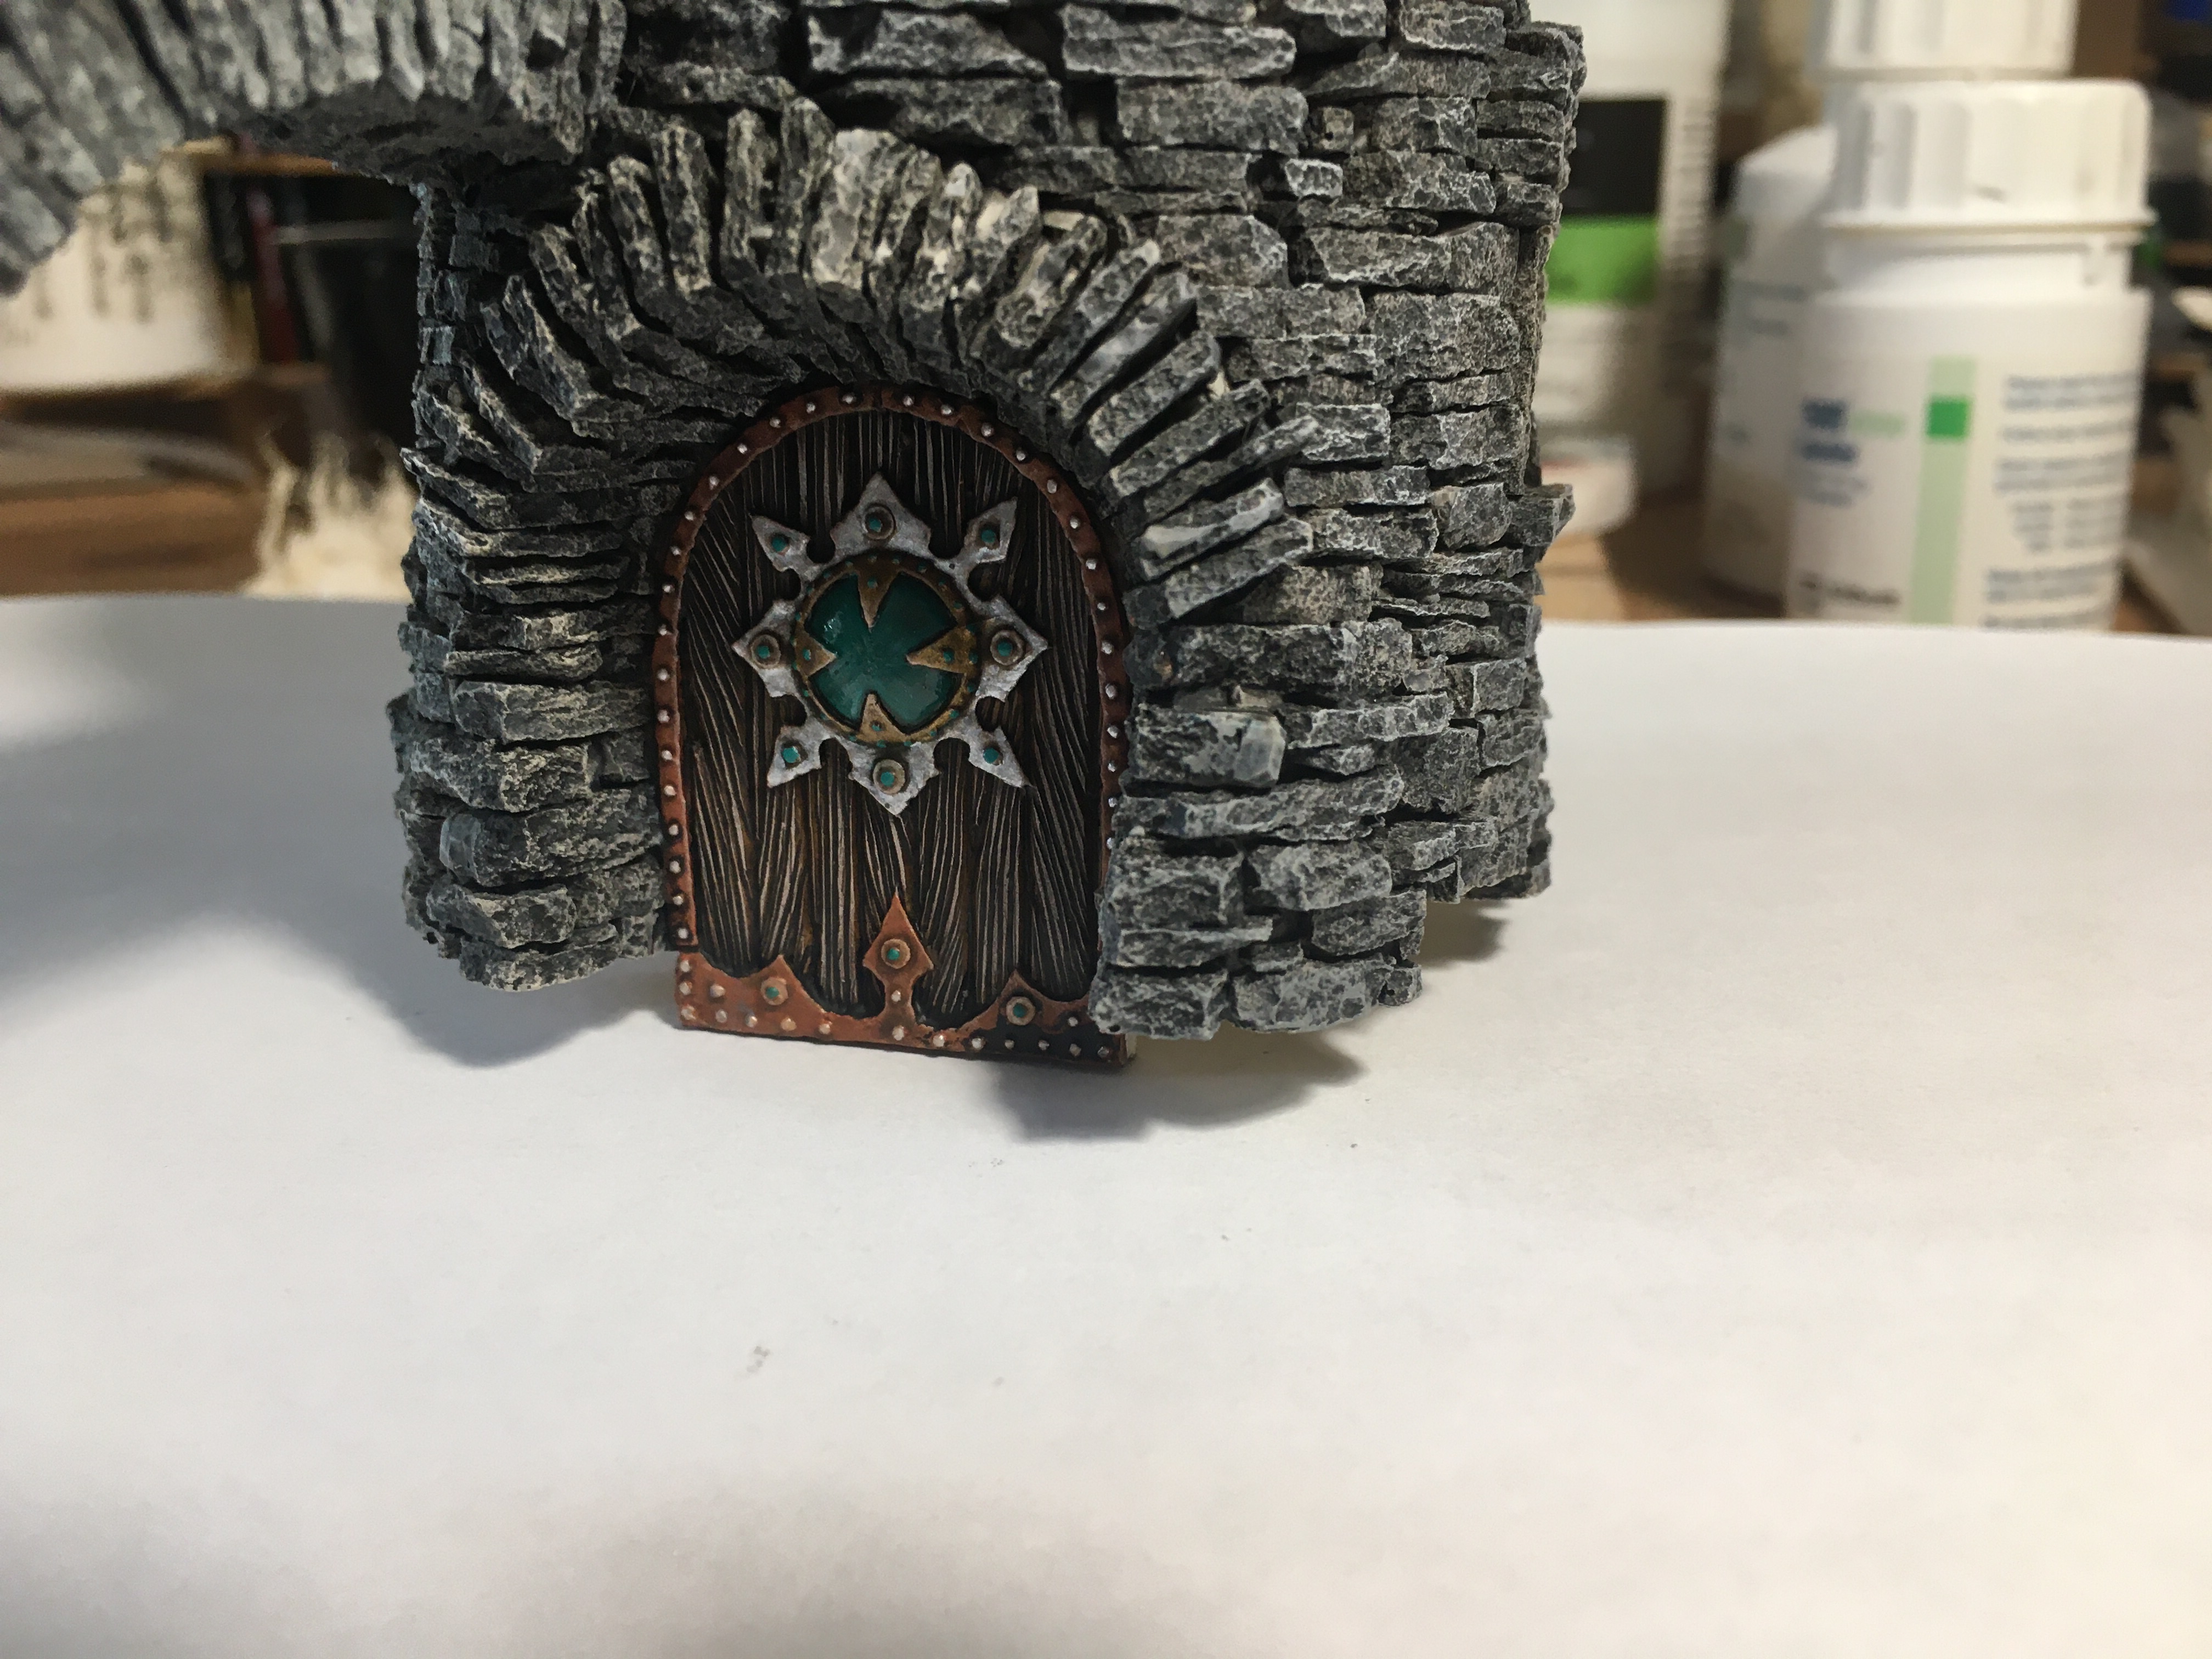
You will also notice from the images below that the middle section also has two doors, an upper and a lower one, and windows. The windows were painted the same way I painted the windows on the cottage in Fools Gold – Part 4 using yellow with a wash applied over them. This idea came from a YouTube video presented by “Real Terrian Hobbies and Goobertown Hobbies” the link to which can be found back in my Fools Gold post. In due course I will use their render technique between the bricks again too. I’ve managed to make a start on the wood and both the doors are more or less finished as well.
The last two pictures show the middle section mounted on the base. It hasn’t been glued yet and most likely wont be because if I decide I like the end result enough and think it is good enough for a show it will be easier to transport. The fit as you can see is perfect too.


That’s it for this week. A lot of work for one week, well for me at least but thoroughly enjoyed it. I can’t promise to make that much progress every week. That’s the thing with dioramas they don’t just happen over night and at some point I know I will end up going backwards rather than forwards. Nevertheless a new journey has begun.
Now I need to think where I go from here. I’ll probably continue with the top piece as I have already made a very small start on that as you can just see in one of the images above.. The brick work needs more attention too as well as weathering.
TIM

Looking good already!
LikeLiked by 3 people
Oh boy, this thing is a beast! Looking forward to this… 😁
LikeLiked by 2 people
You’re not wrong Alex. It’s the largest model I’ve ever done that’s for sure.
LikeLiked by 3 people
Off to a flying start TIM, the stone work is looking good already
LikeLiked by 3 people
Thanks Dave. Long, long way to go on this one but I’m looking forward to it.
LikeLiked by 3 people
As Dave said above the stone work is already looking the business, is going to be mighty impressive once finished!
Cheers Roger.
LikeLiked by 4 people
Thanks Roger. It truly is one hell of a model. Hopefully I’ll do it justice at the end of the day. 🤞
LikeLiked by 2 people
That looks amazing so far.
Cheers,
Pete.
LikeLiked by 3 people
Thanks Pete.
LikeLiked by 2 people
Just to be different, I’m not going to mention the nice stonework, ’cause it’s just up to your usual standard (so, like, bloody excellent by my standards) but I really like the window! 🙂
LikeLiked by 3 people
Actually I have to say the windows are quite cool but I cannot take any credit for it, that’s down to YouTube.
LikeLiked by 2 people
This is going to be a fun ride! Its already looking amazing, and the amount of work you put into it already is impressive. It must of been all those shades of grey helping you along 😉
LikeLiked by 3 people
Haha, yes at least 50 shades so far! 😉 Hopefully it will go well but progress will vary from week to week I expect.
LikeLiked by 3 people
Good grief – that really is a beast of a model! I’ve lived in houses that weren’t as big as that. Looking forward to seeing how it progresses over the next few weeks. 🙂
LikeLiked by 4 people
Haha very good. It is a big model for sure. Hopefully it will go well but time will tell.
LikeLiked by 3 people
Looking good Dave, this is going to be awesome
LikeLiked by 3 people
Thanks Steve, fingers crossed it will work out OK. 😊
LikeLiked by 2 people
That tower really is immense. I would have to think it will contribute a bit to your storage woes! I’ll be curious to see what you come up with to try and handle that problem. As you know, its something I’ve struggled with for a while myself.
I’m very intrigued by this tower being dark and evil. I’m highly curious to see what minis you have to go with this now as it doesn’t sound like your typical style! Everything looks great so far and I’ll be eagerly anticipating more updates 🙂
LikeLiked by 2 people
On the subject of storage this one if it comes out OK will be on display and it will use up the last available space I have unless the wife can be convinced I need more! Where I go after that is a big problem. I suspect just figure painting for a long time until I can work something out. The model itself is very different for me as is the image I am hoping to create. I’m not looking at many figures, probably just a couple to tell the story but we will see.
LikeLiked by 2 people
That sounds like a sticky situation, mate. If you need us to petition SWMBO, just let us know! I’d say the best thing to do for now is enjoy this new project and take your time with it.
LikeLiked by 2 people
That looks great so far, and I can only imagine how well it’s going to come up when you’re complete, given how amazing your other dioramas consistently are. You may have to build an annex to the house for either storage or loving quarters, though!
LikeLiked by 2 people
I’m hoping before to long the kids will have moved out! 🤞
LikeLiked by 2 people
I’m really fond of the work here so far and excited to see where you go. The blacks and greys are very imposing. Obviously the oils are working well here. And as it’s big, you may be able to move into it yourself! 😃
LikeLiked by 2 people
Haha, yes I’d love to live in something like that although the steps might proving tricky with age. Have been looking forward to doing this one that’s for sure. 😊
LikeLiked by 1 person