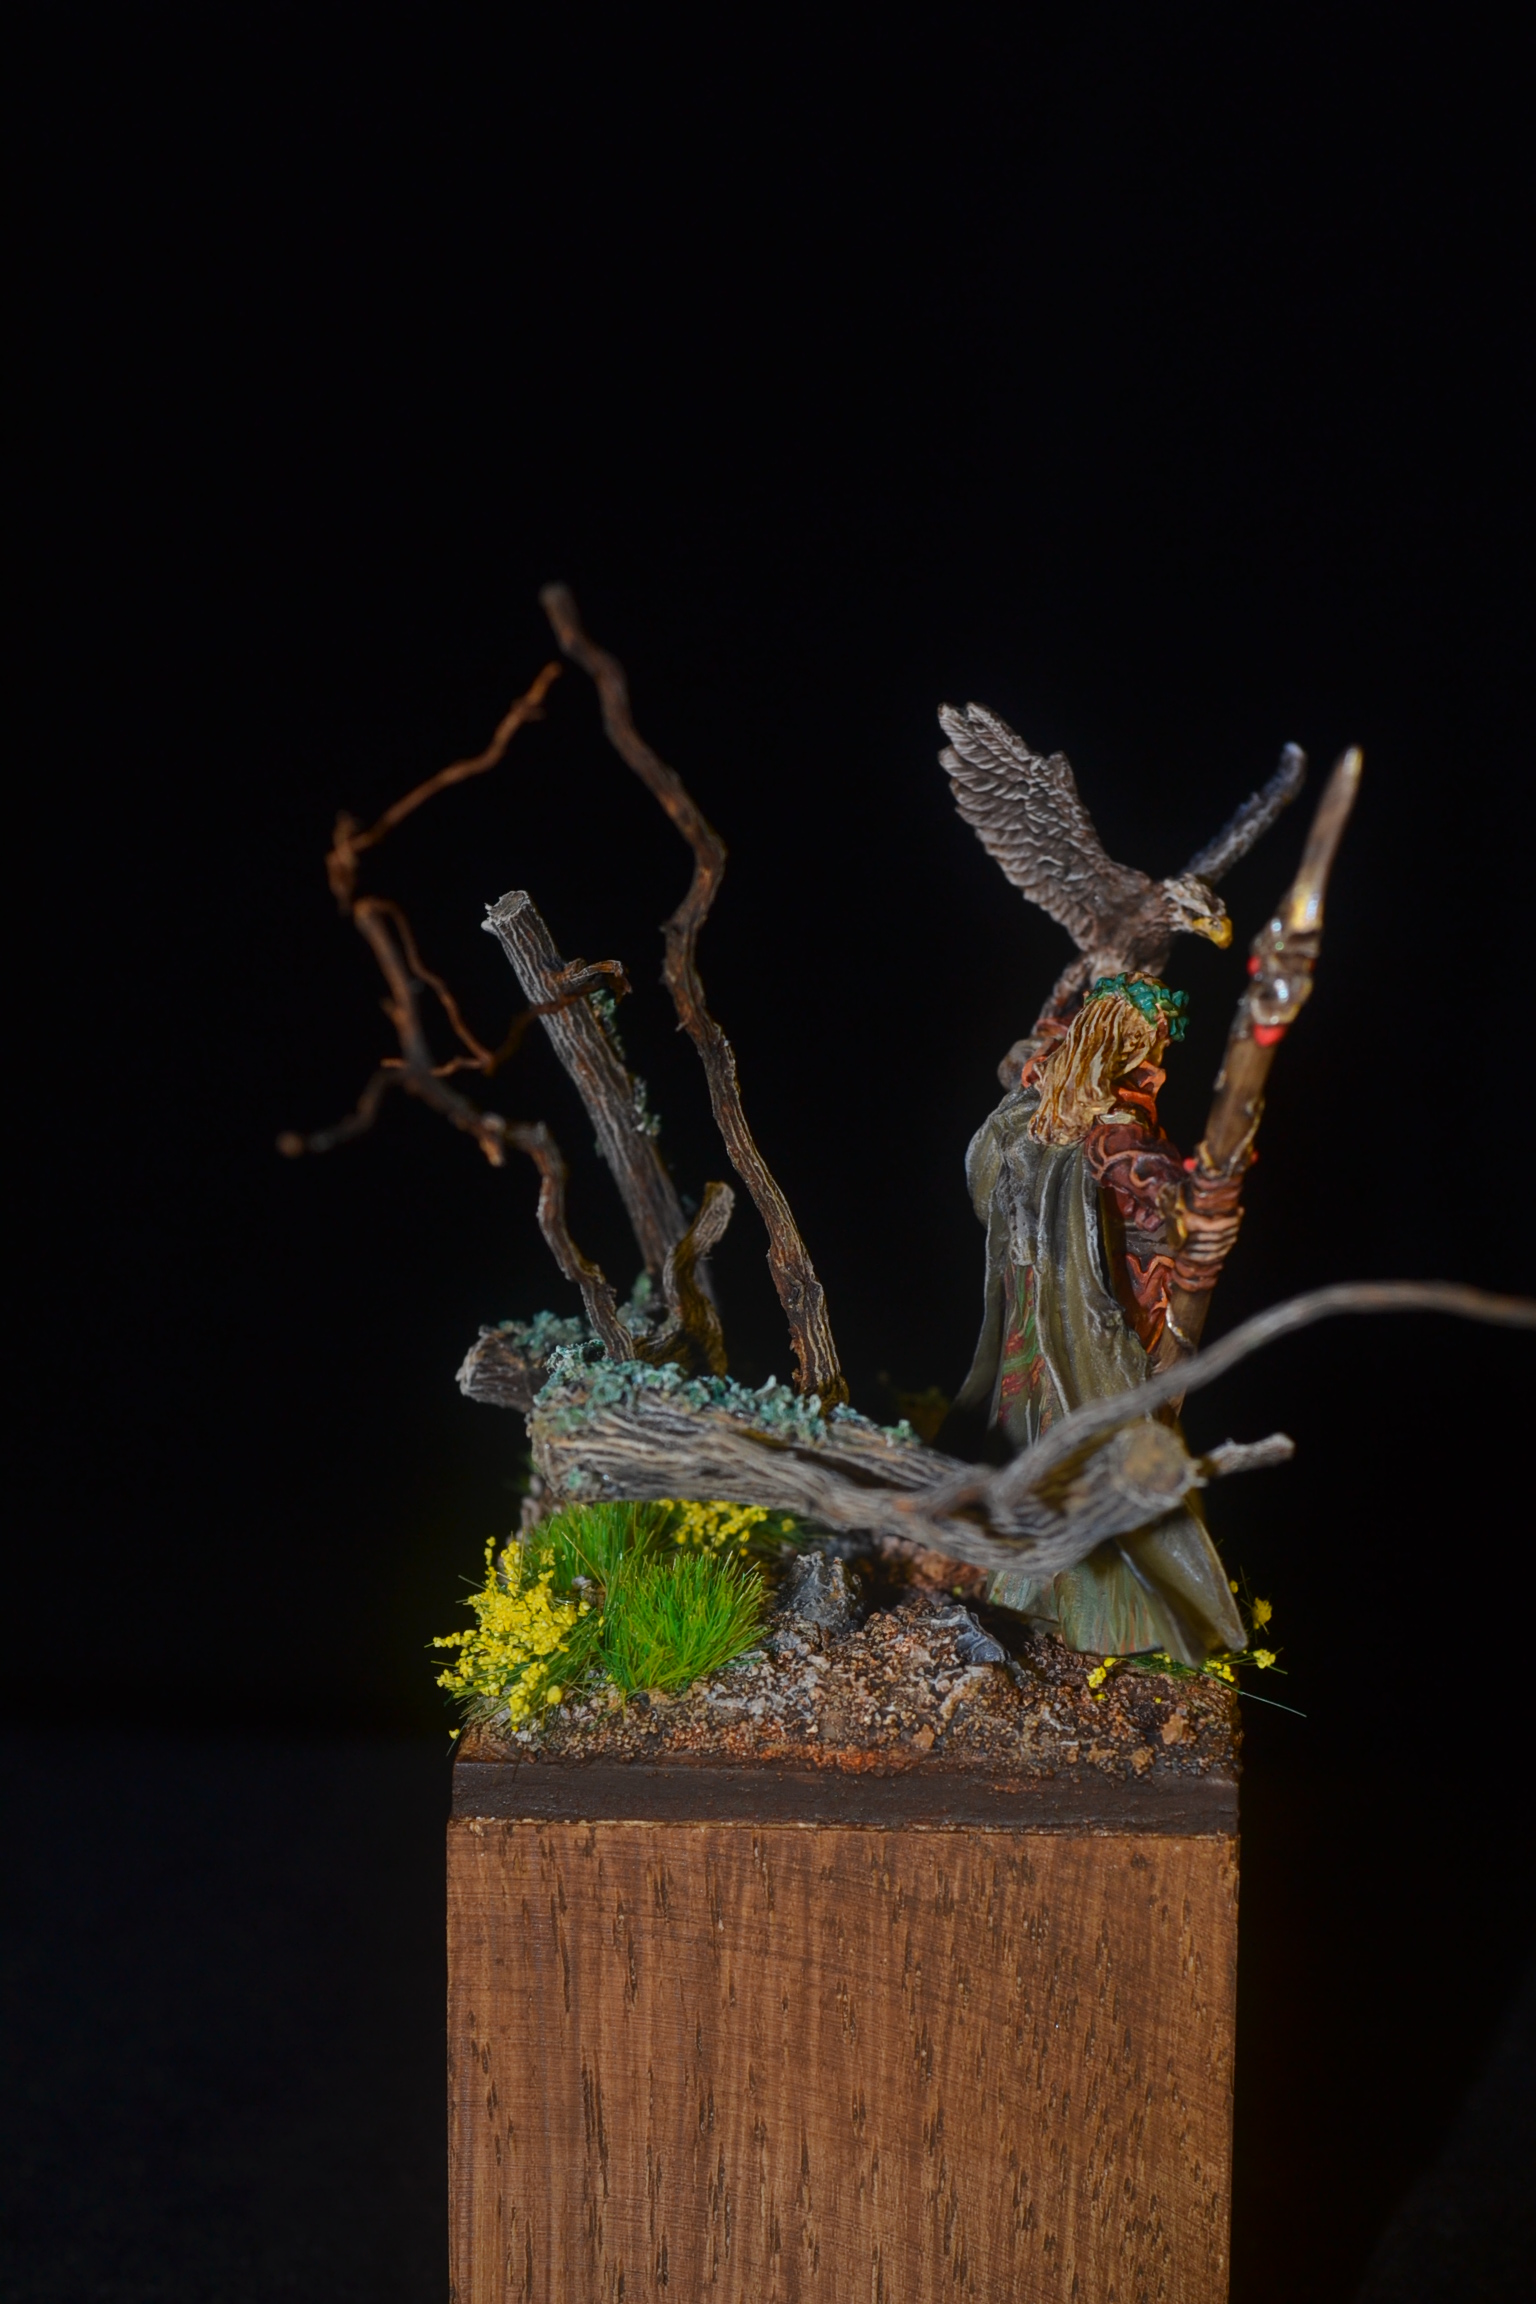
Welcome to the first Diorama Lite post. The concept of this series is to feature based figures which offer a little bit more than a typical wargaming style base, a micro diorama if you will. Whilst the work involved isn’t in the same league as a larger diorama churning these little models out on a daily or weekly basis simply isn’t going to happen. I anticipate each one taking a couple of weeks to do on average. Slower in the spring and summer perhaps and maybe quicker in the winter when more time is spent indoors may become a factor in the fullness of time. Without further a do let’s get under way.
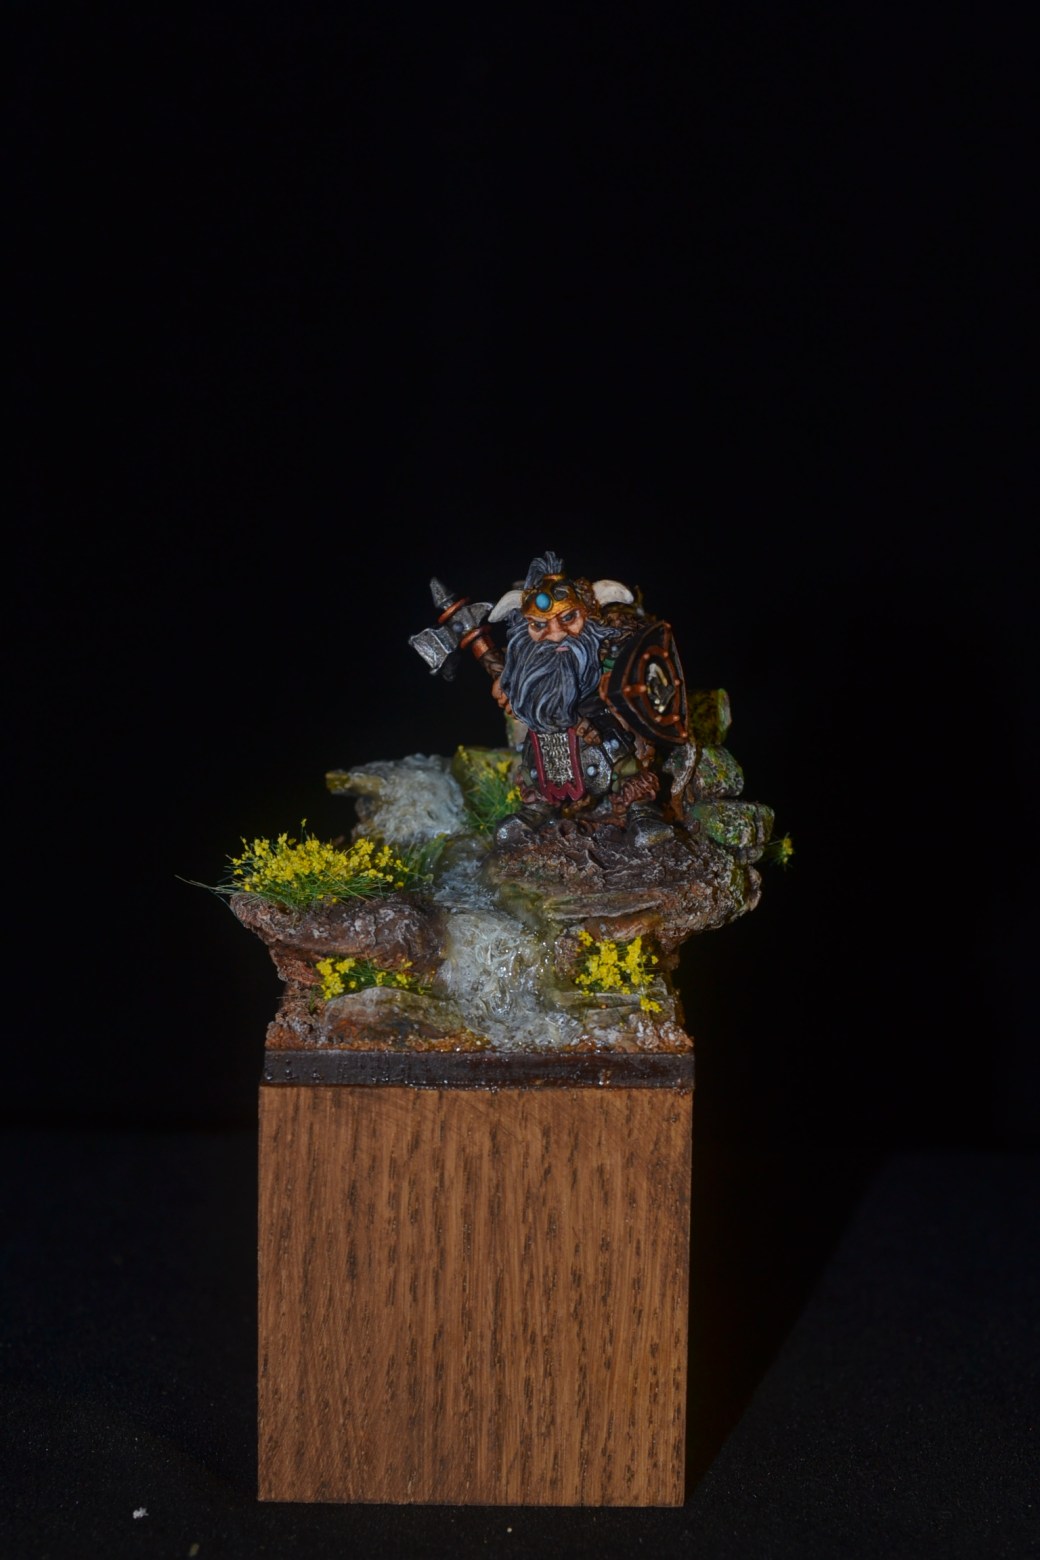
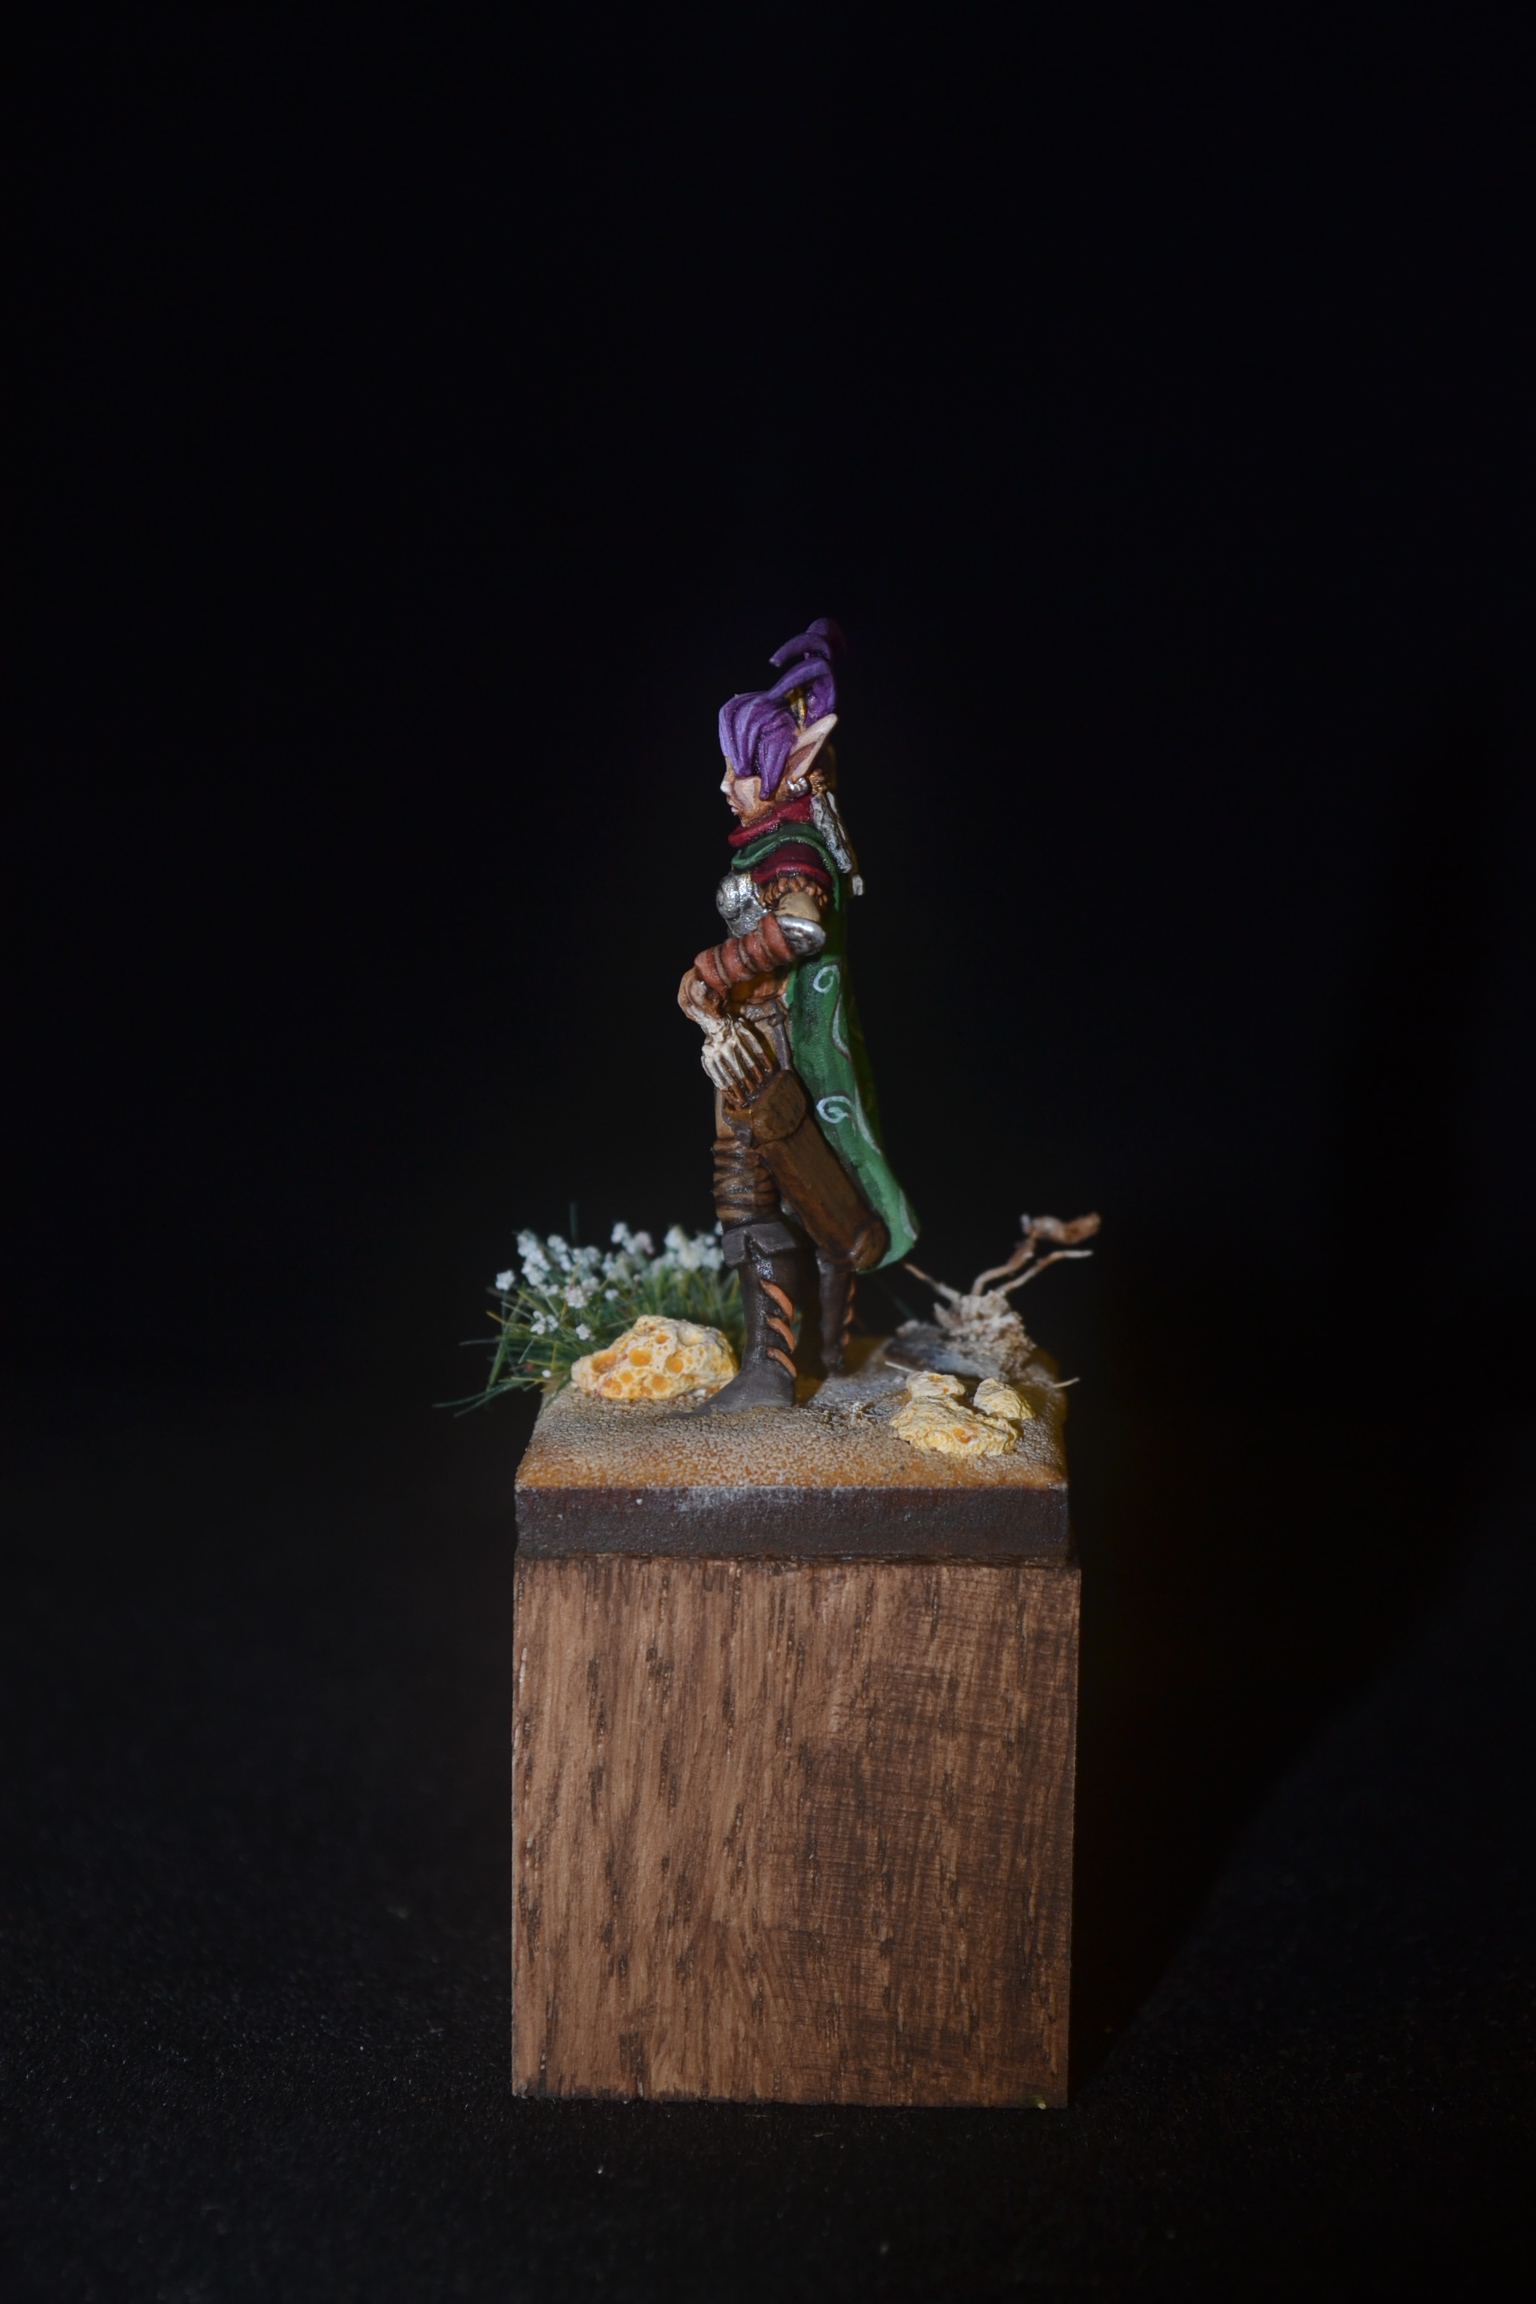
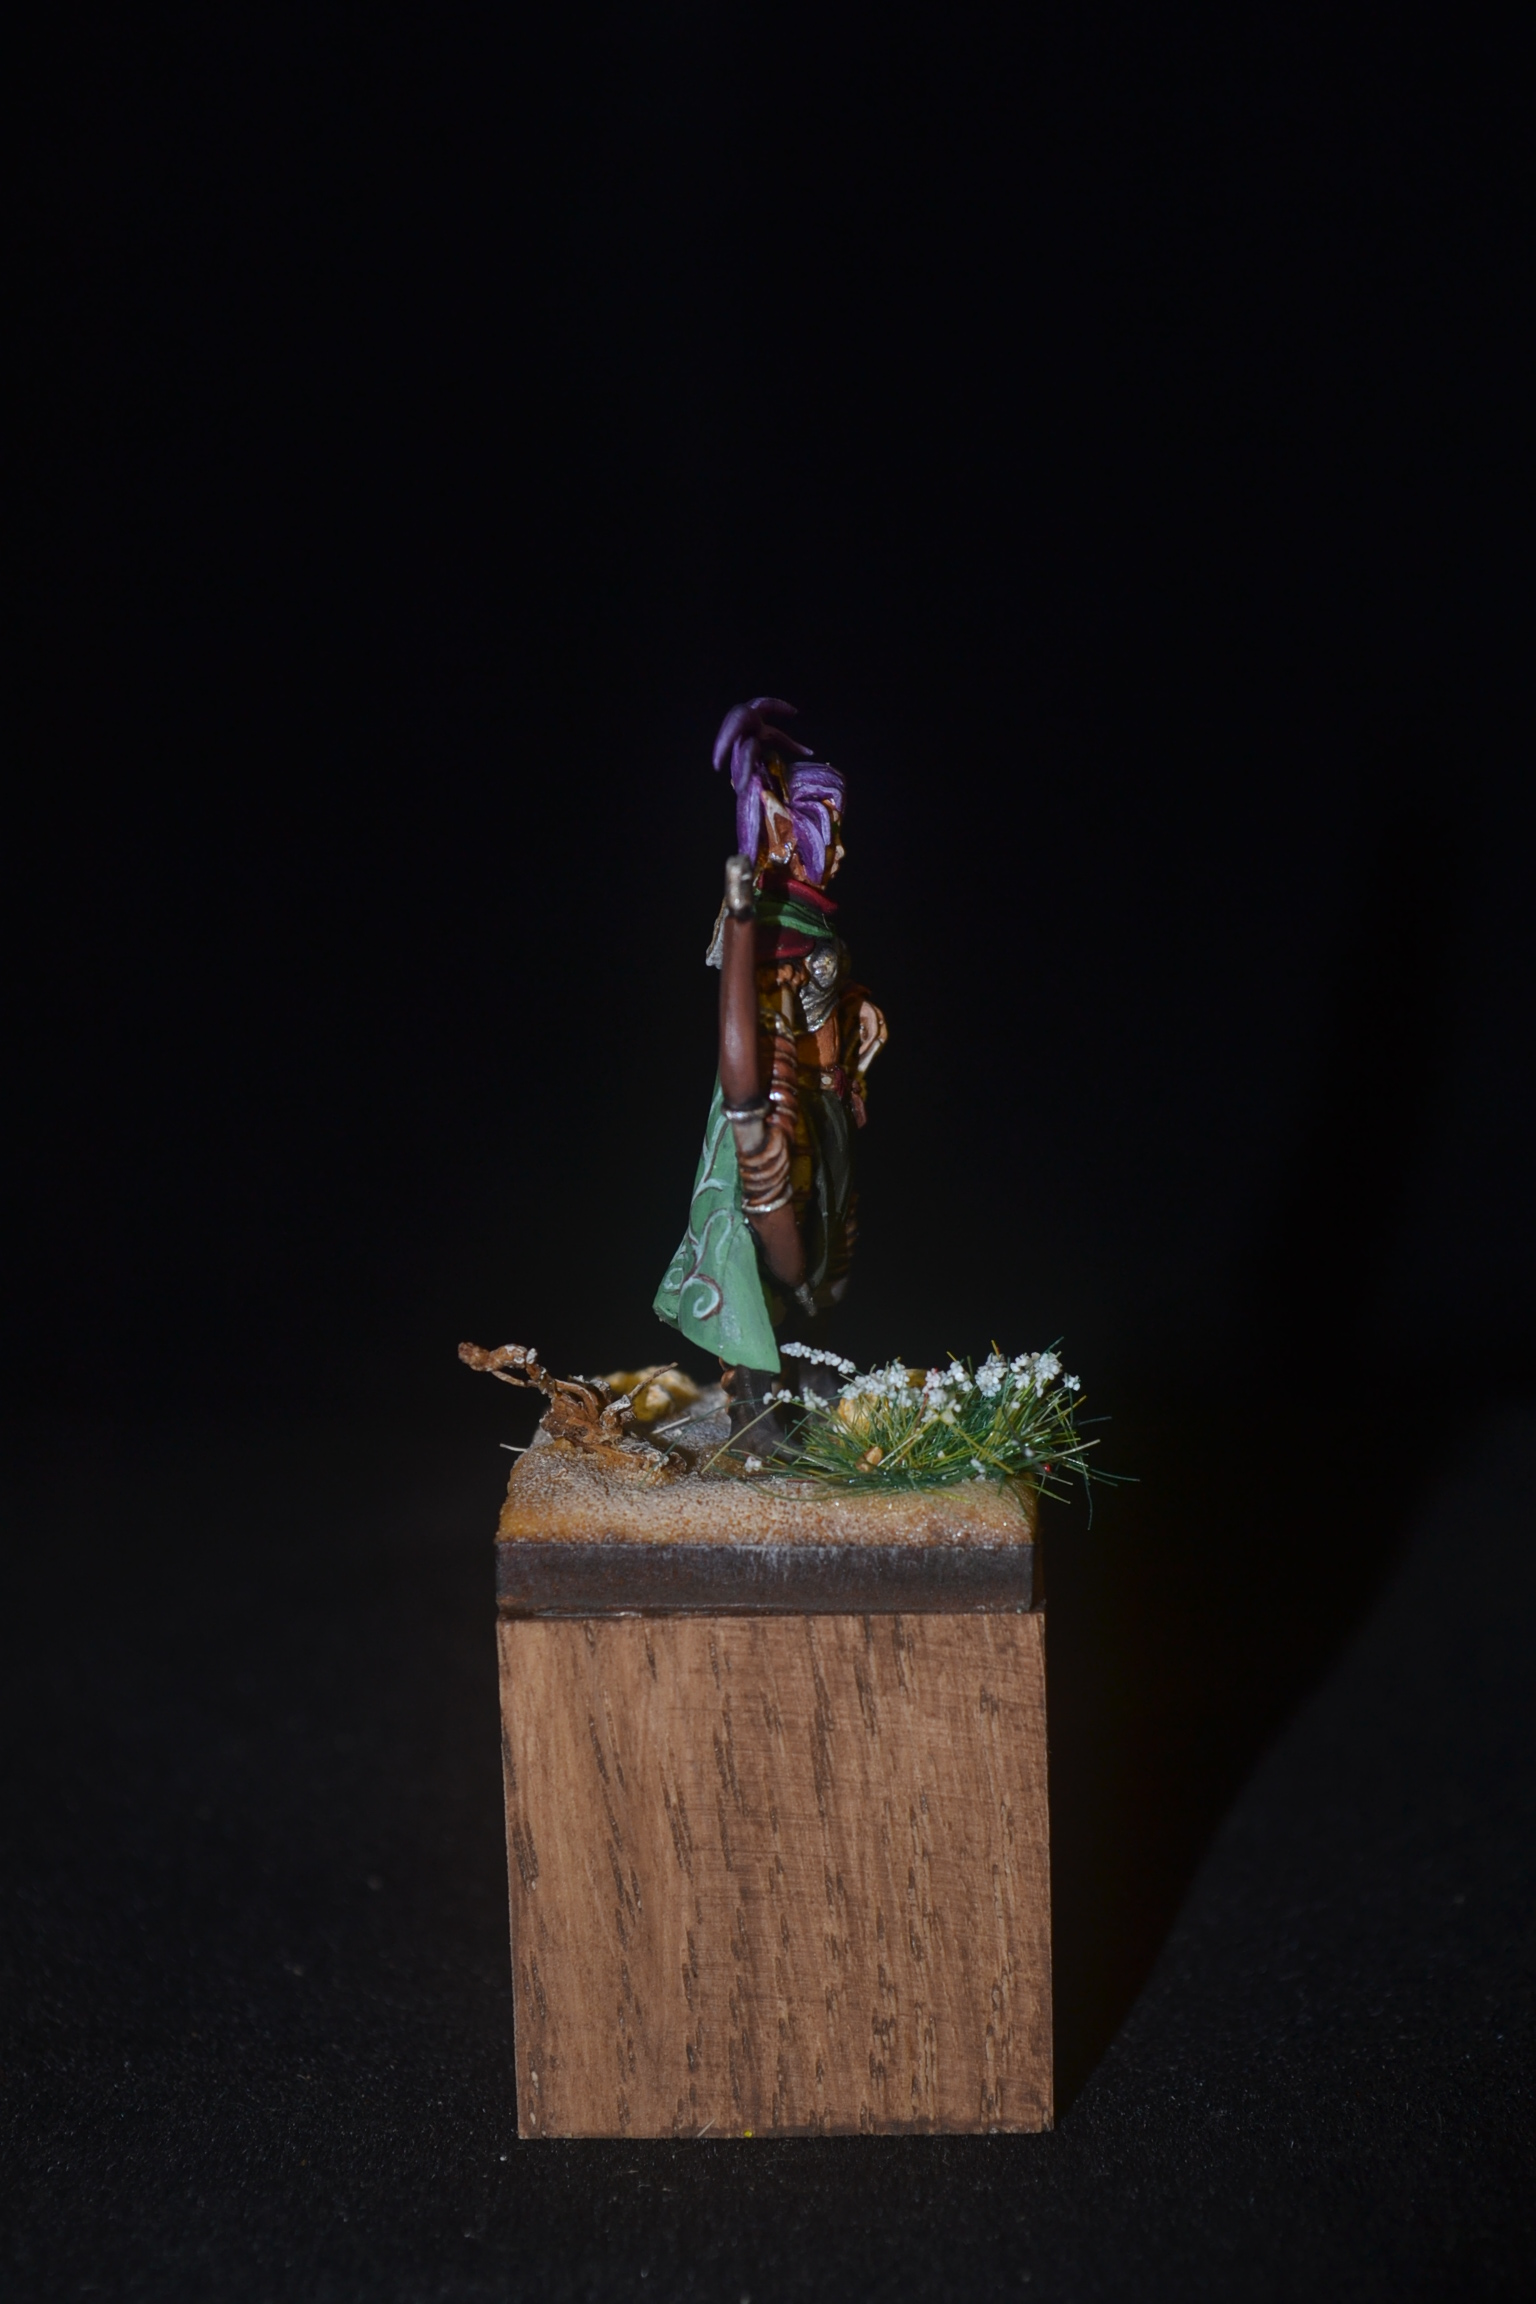
The featured figure for this model is as the title indicates a Dwarf. All being well you will get to see him next week in part 2. The concept for the base is a simple affair. Our hero dwarf is simply standing outside his front door. Now that’s got you excited hasn’t it?
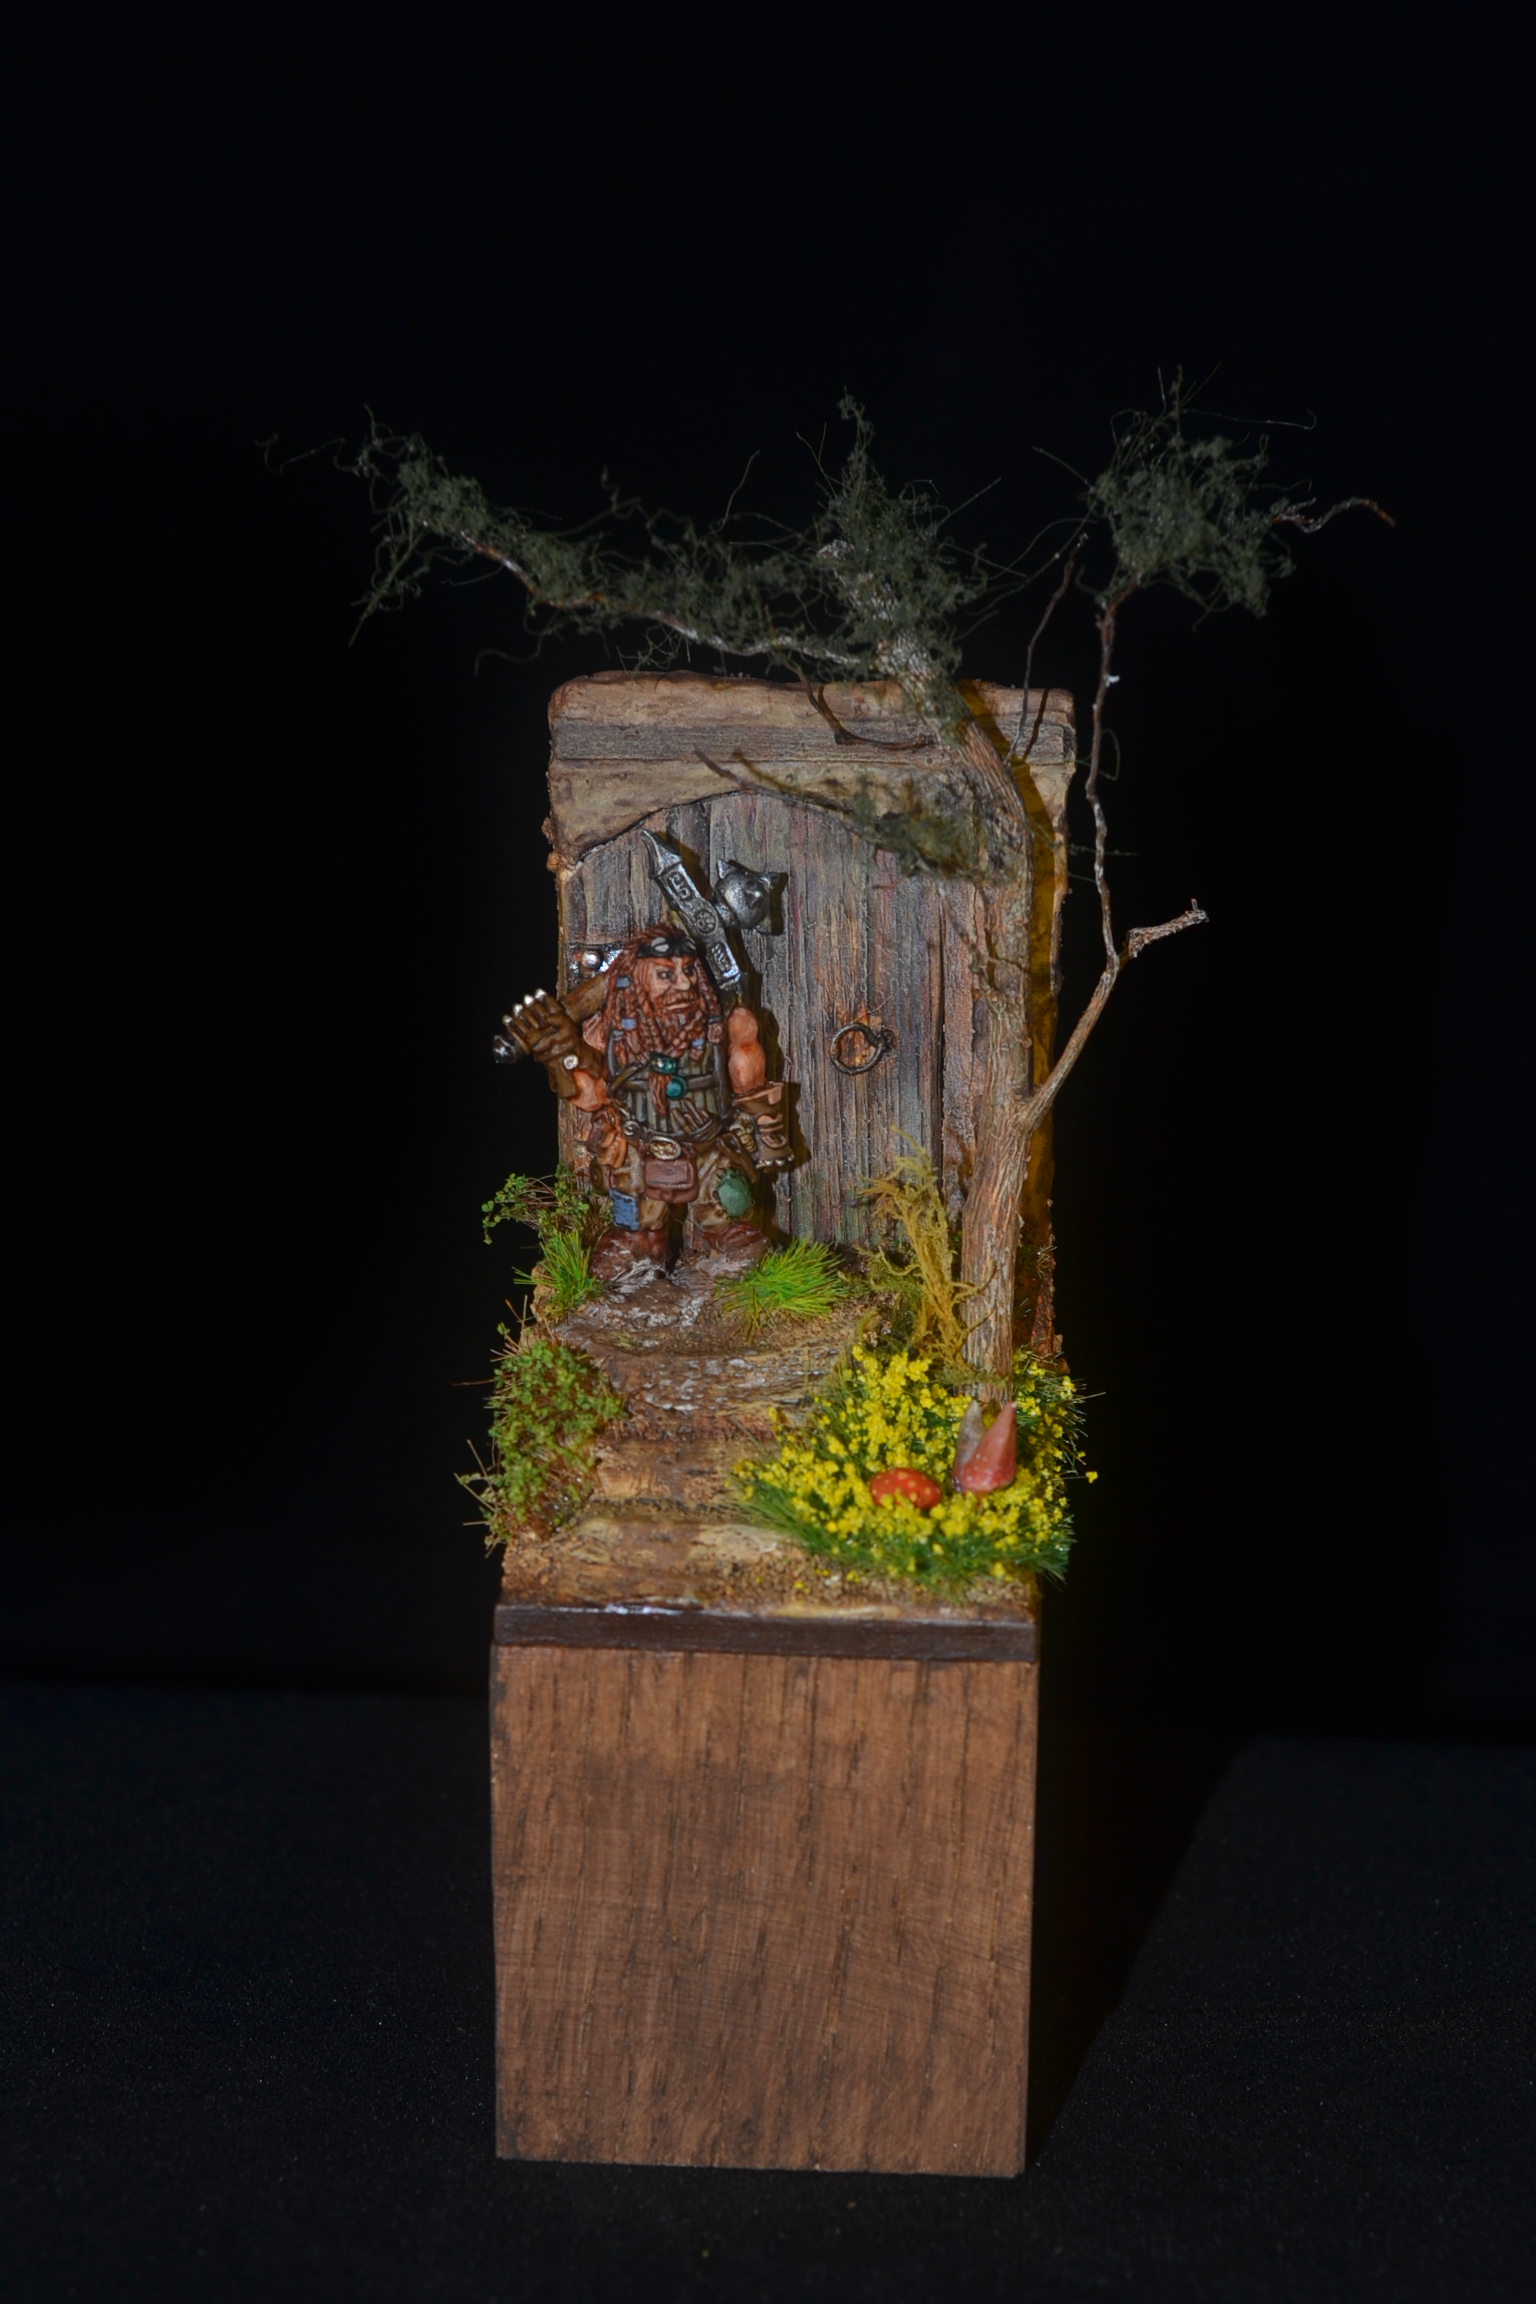
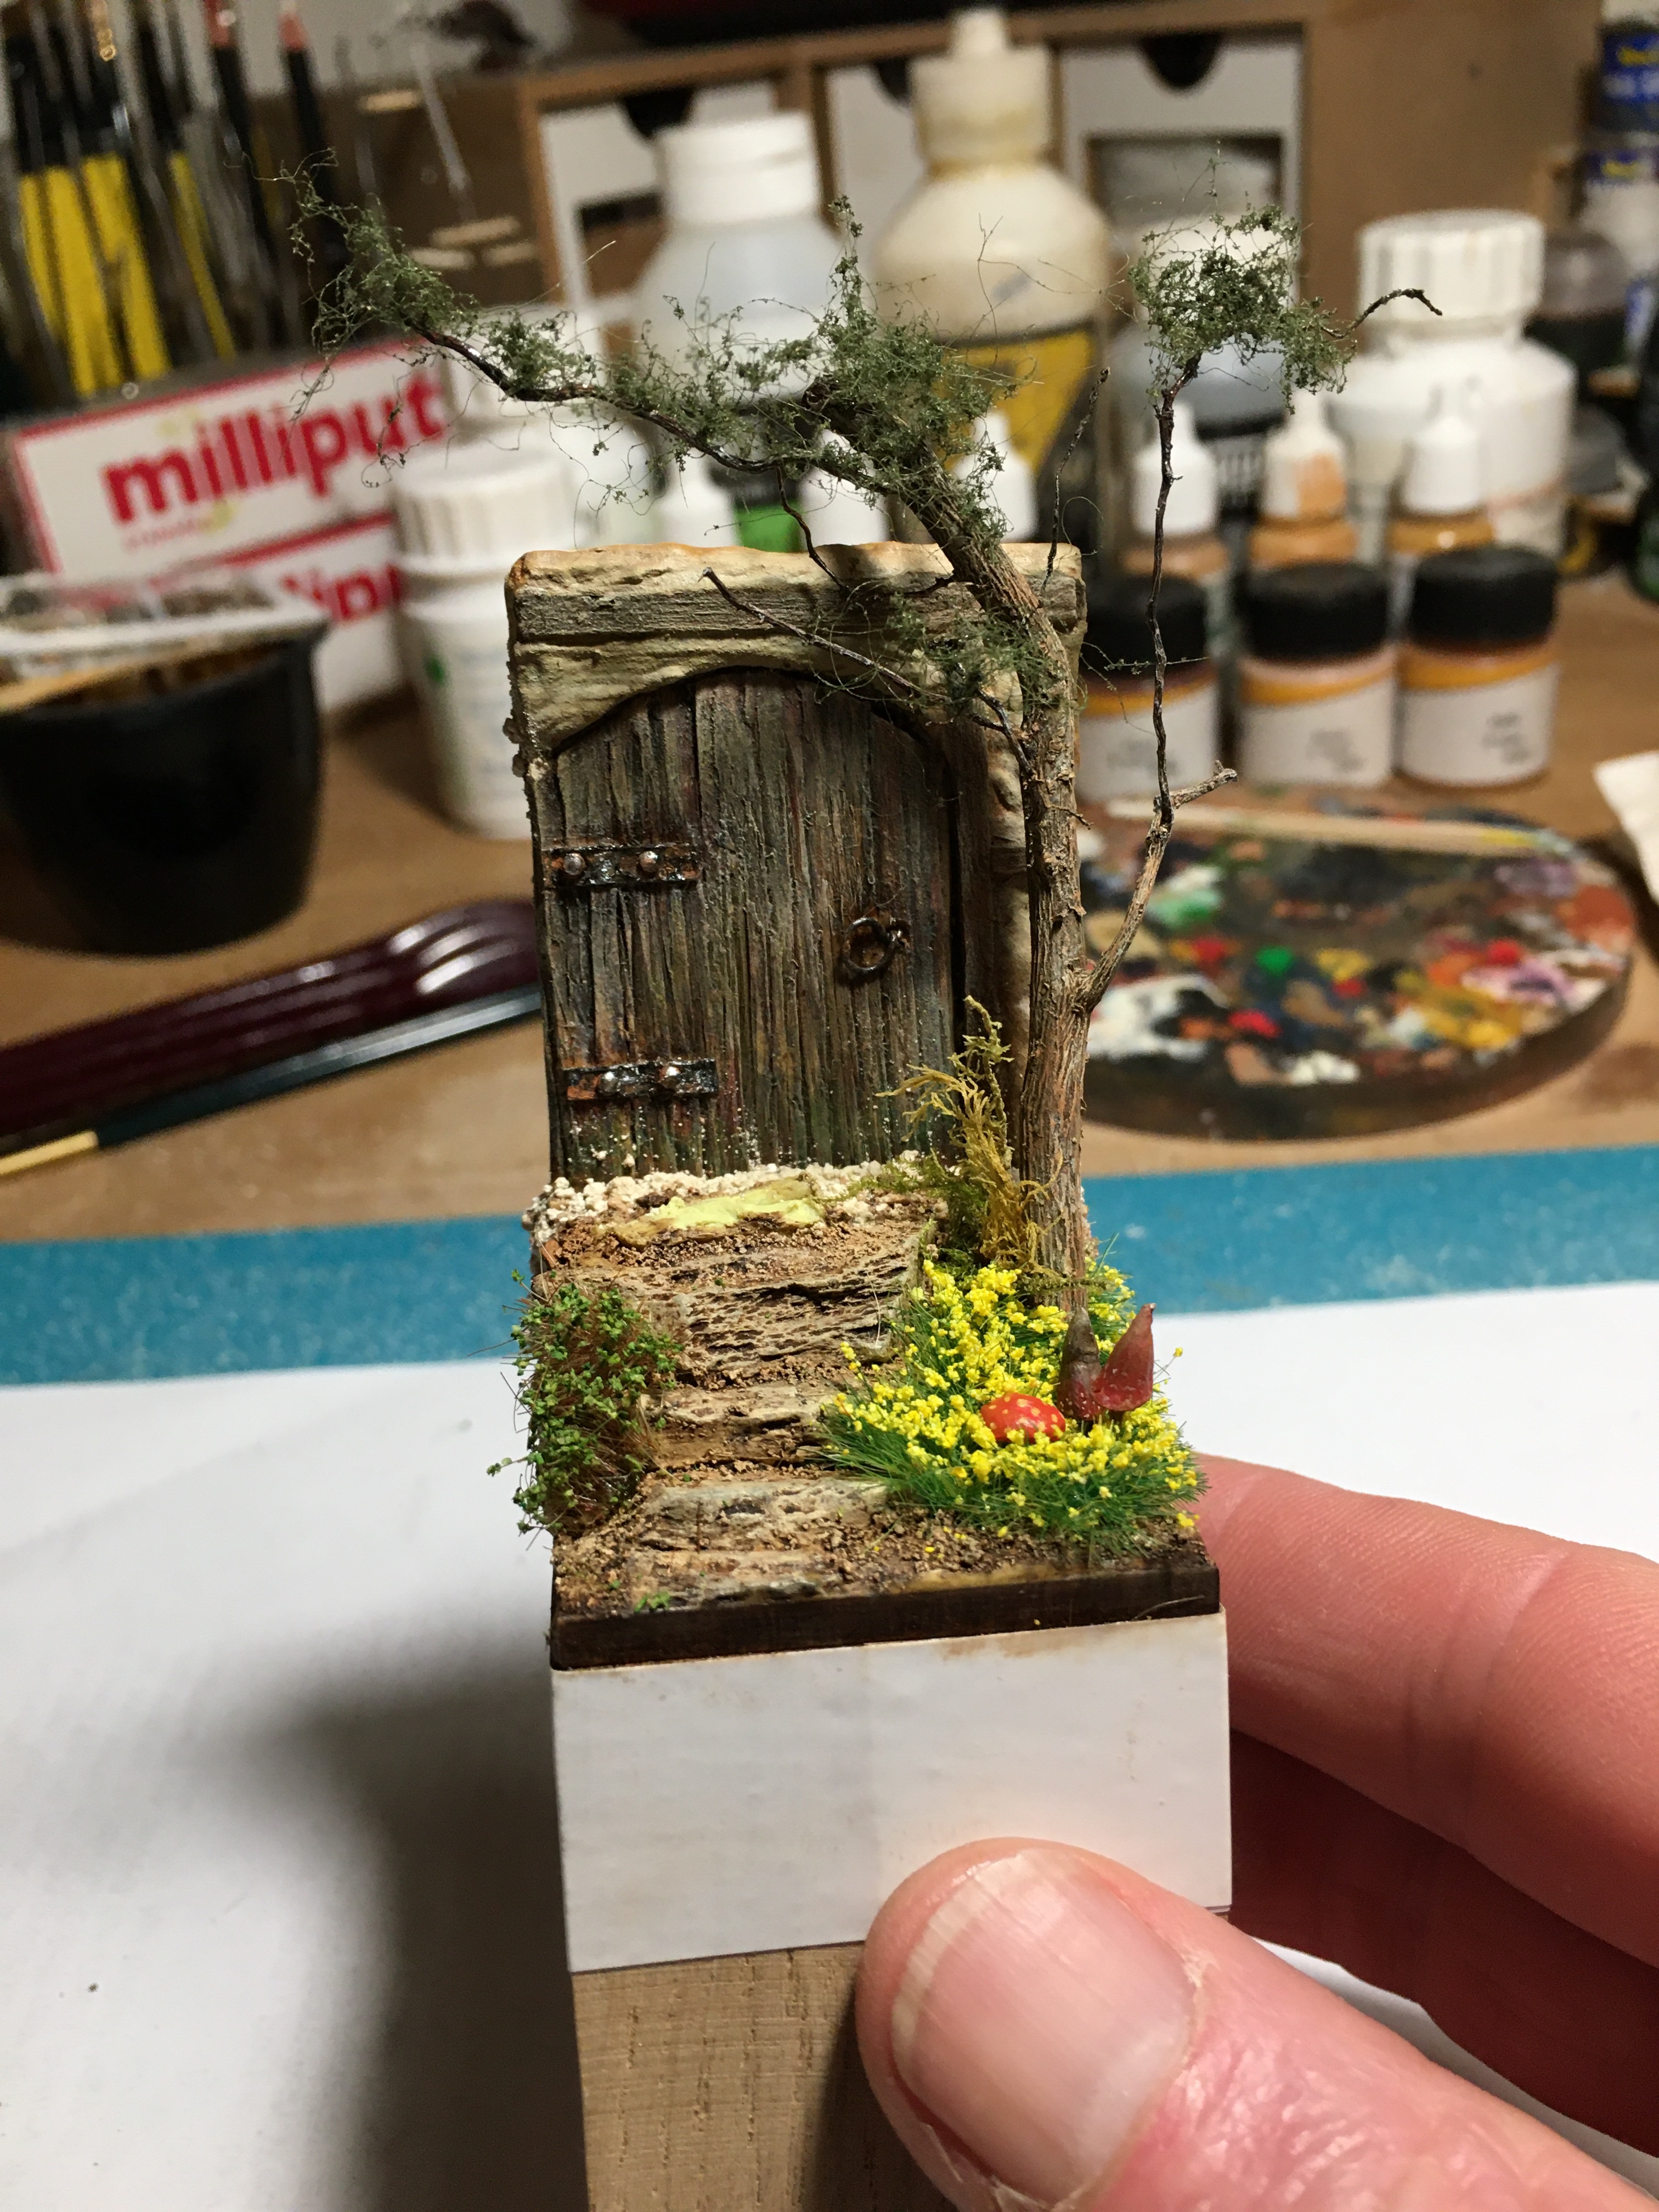
First up there was a need to make a door. Wooden coffee stirrers, a bit of polystyrene, lead foil and pin heads for the hinges and wire for the door handle were all used.


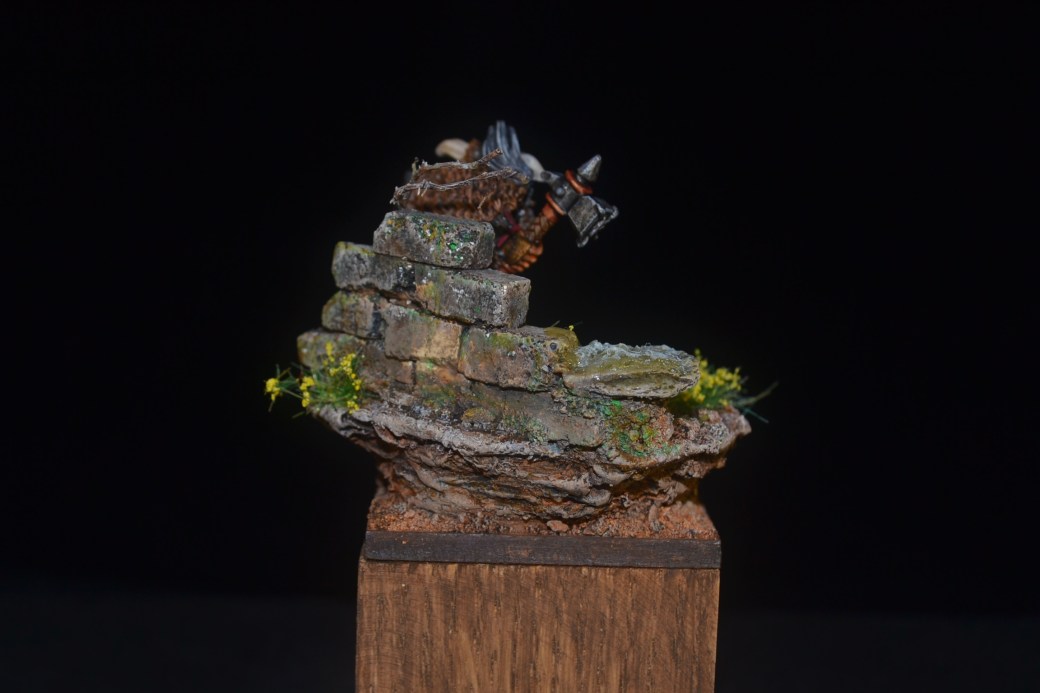
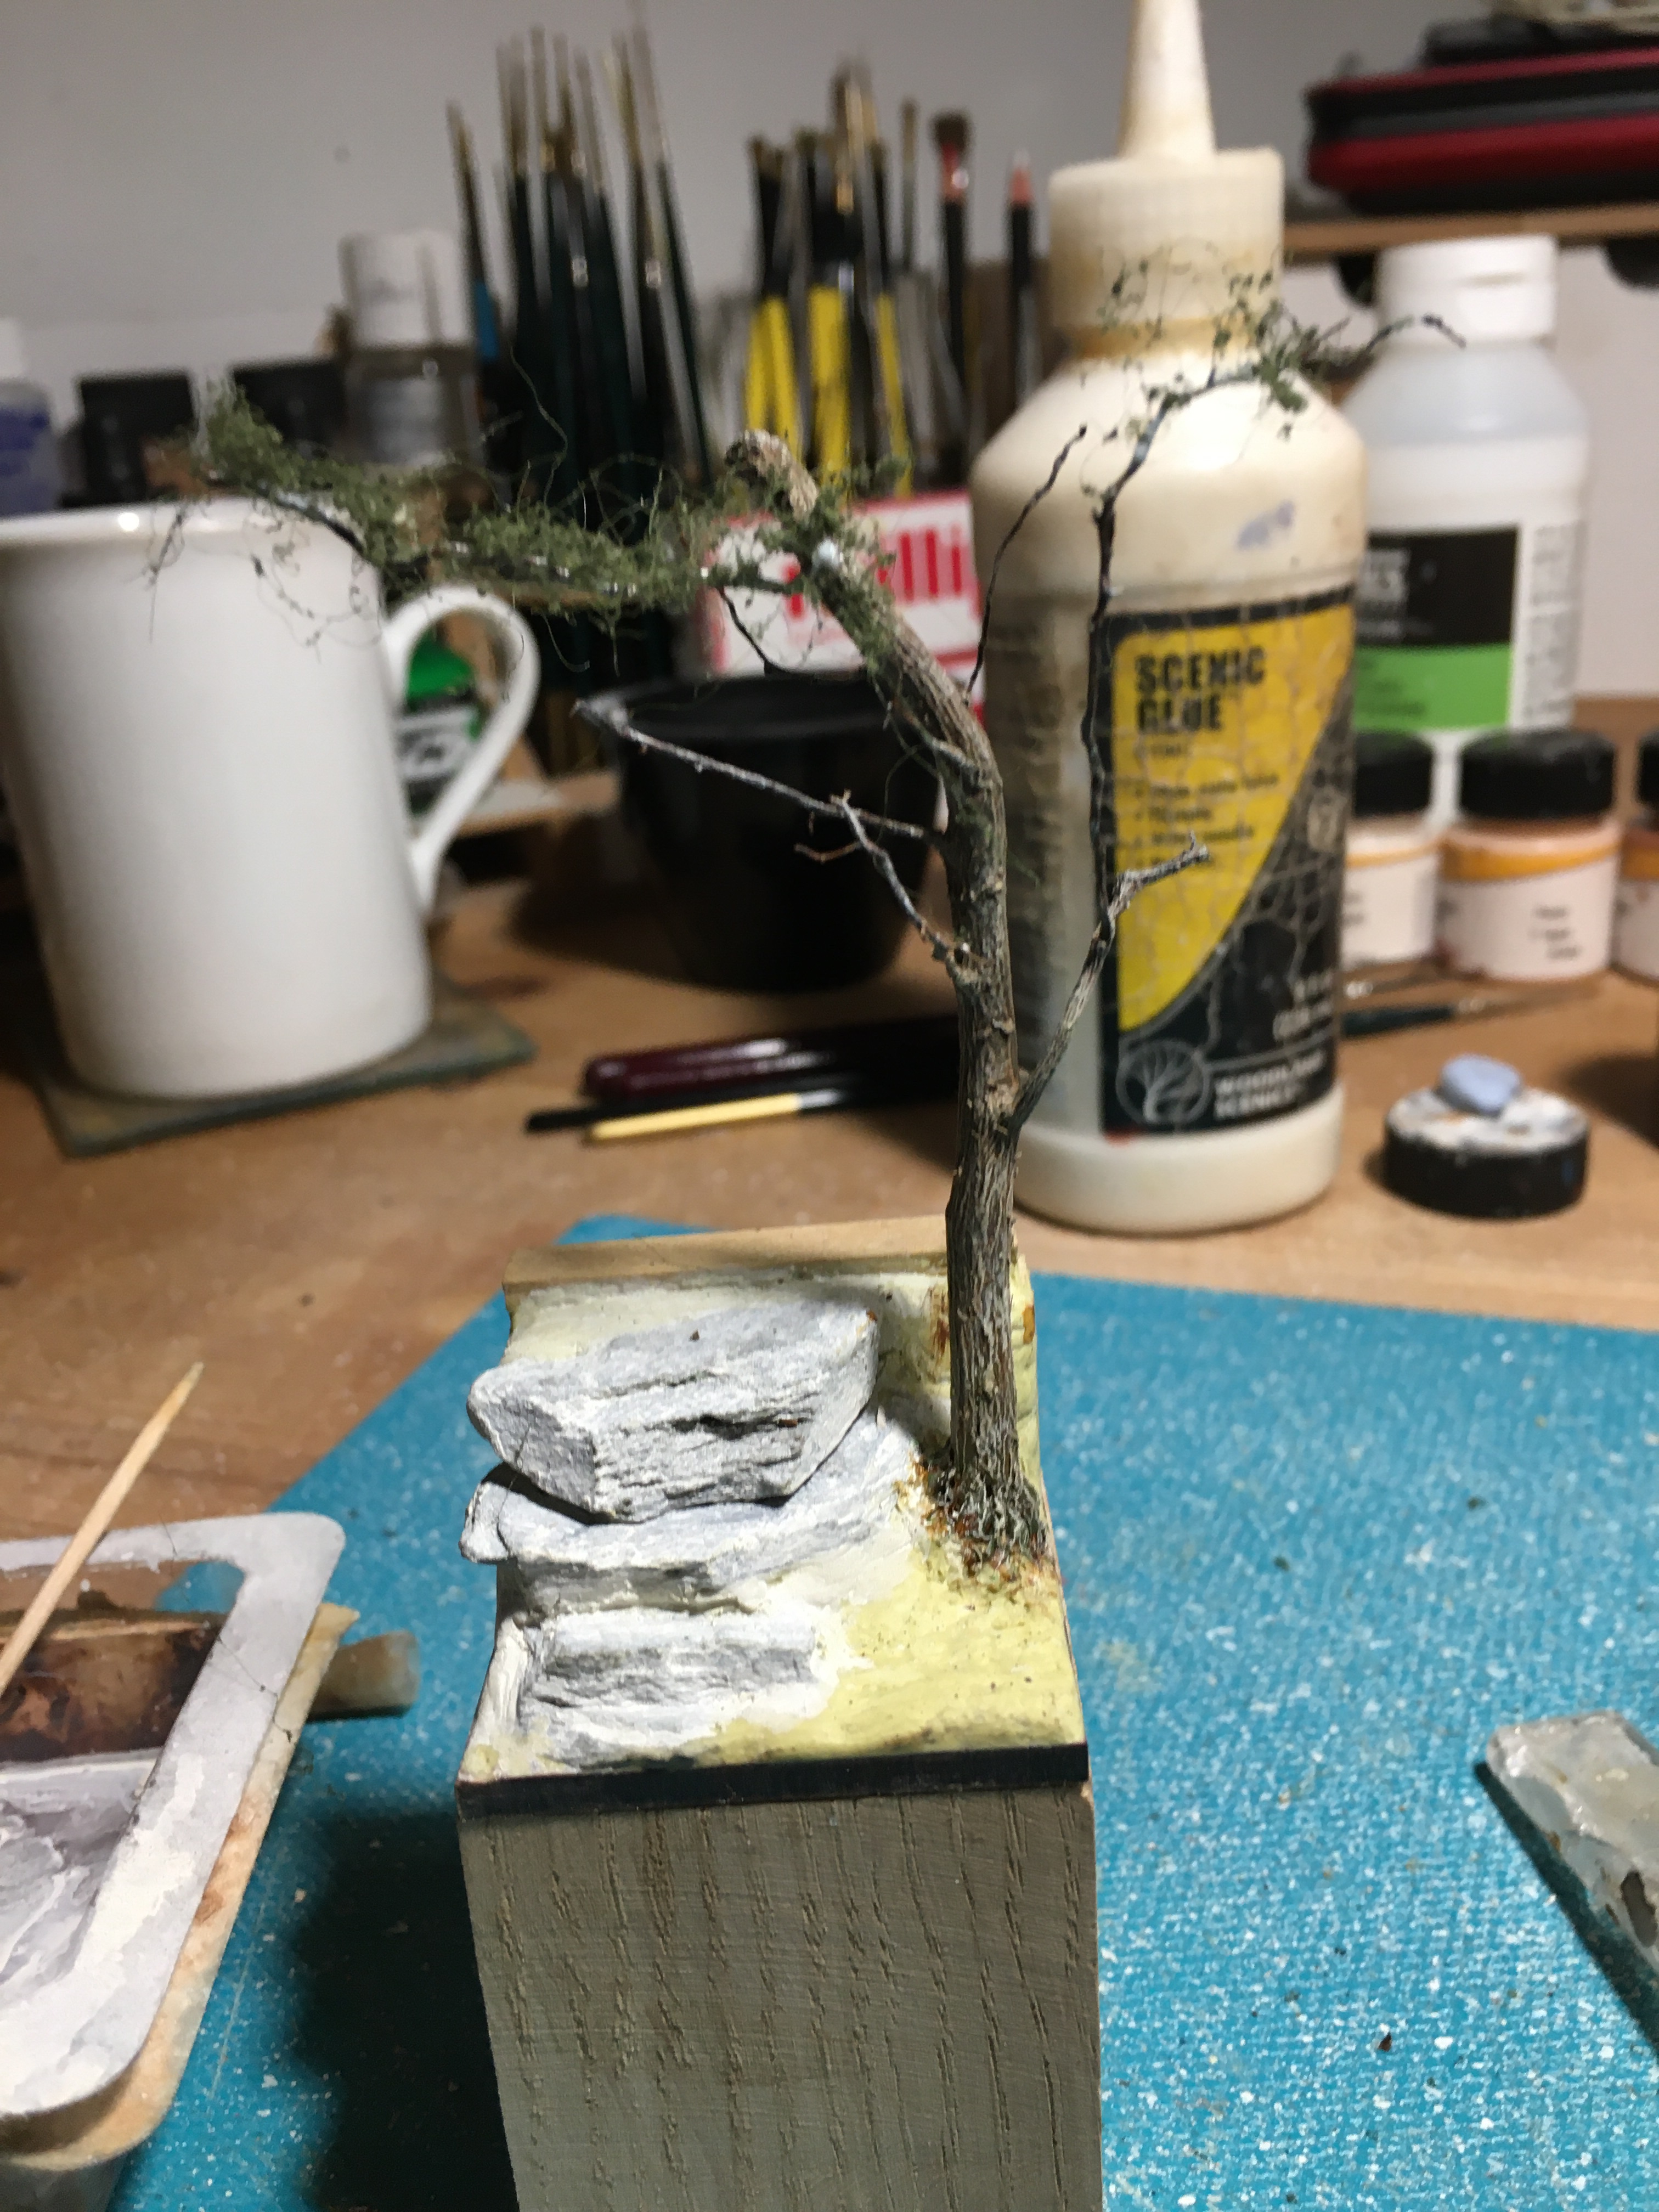
Slate chippings from the garden were used to create steps leading to the door. The model is being built on a 40mm x 40mm MDF base which will then be mounted on a 40mm oak cube plinth.

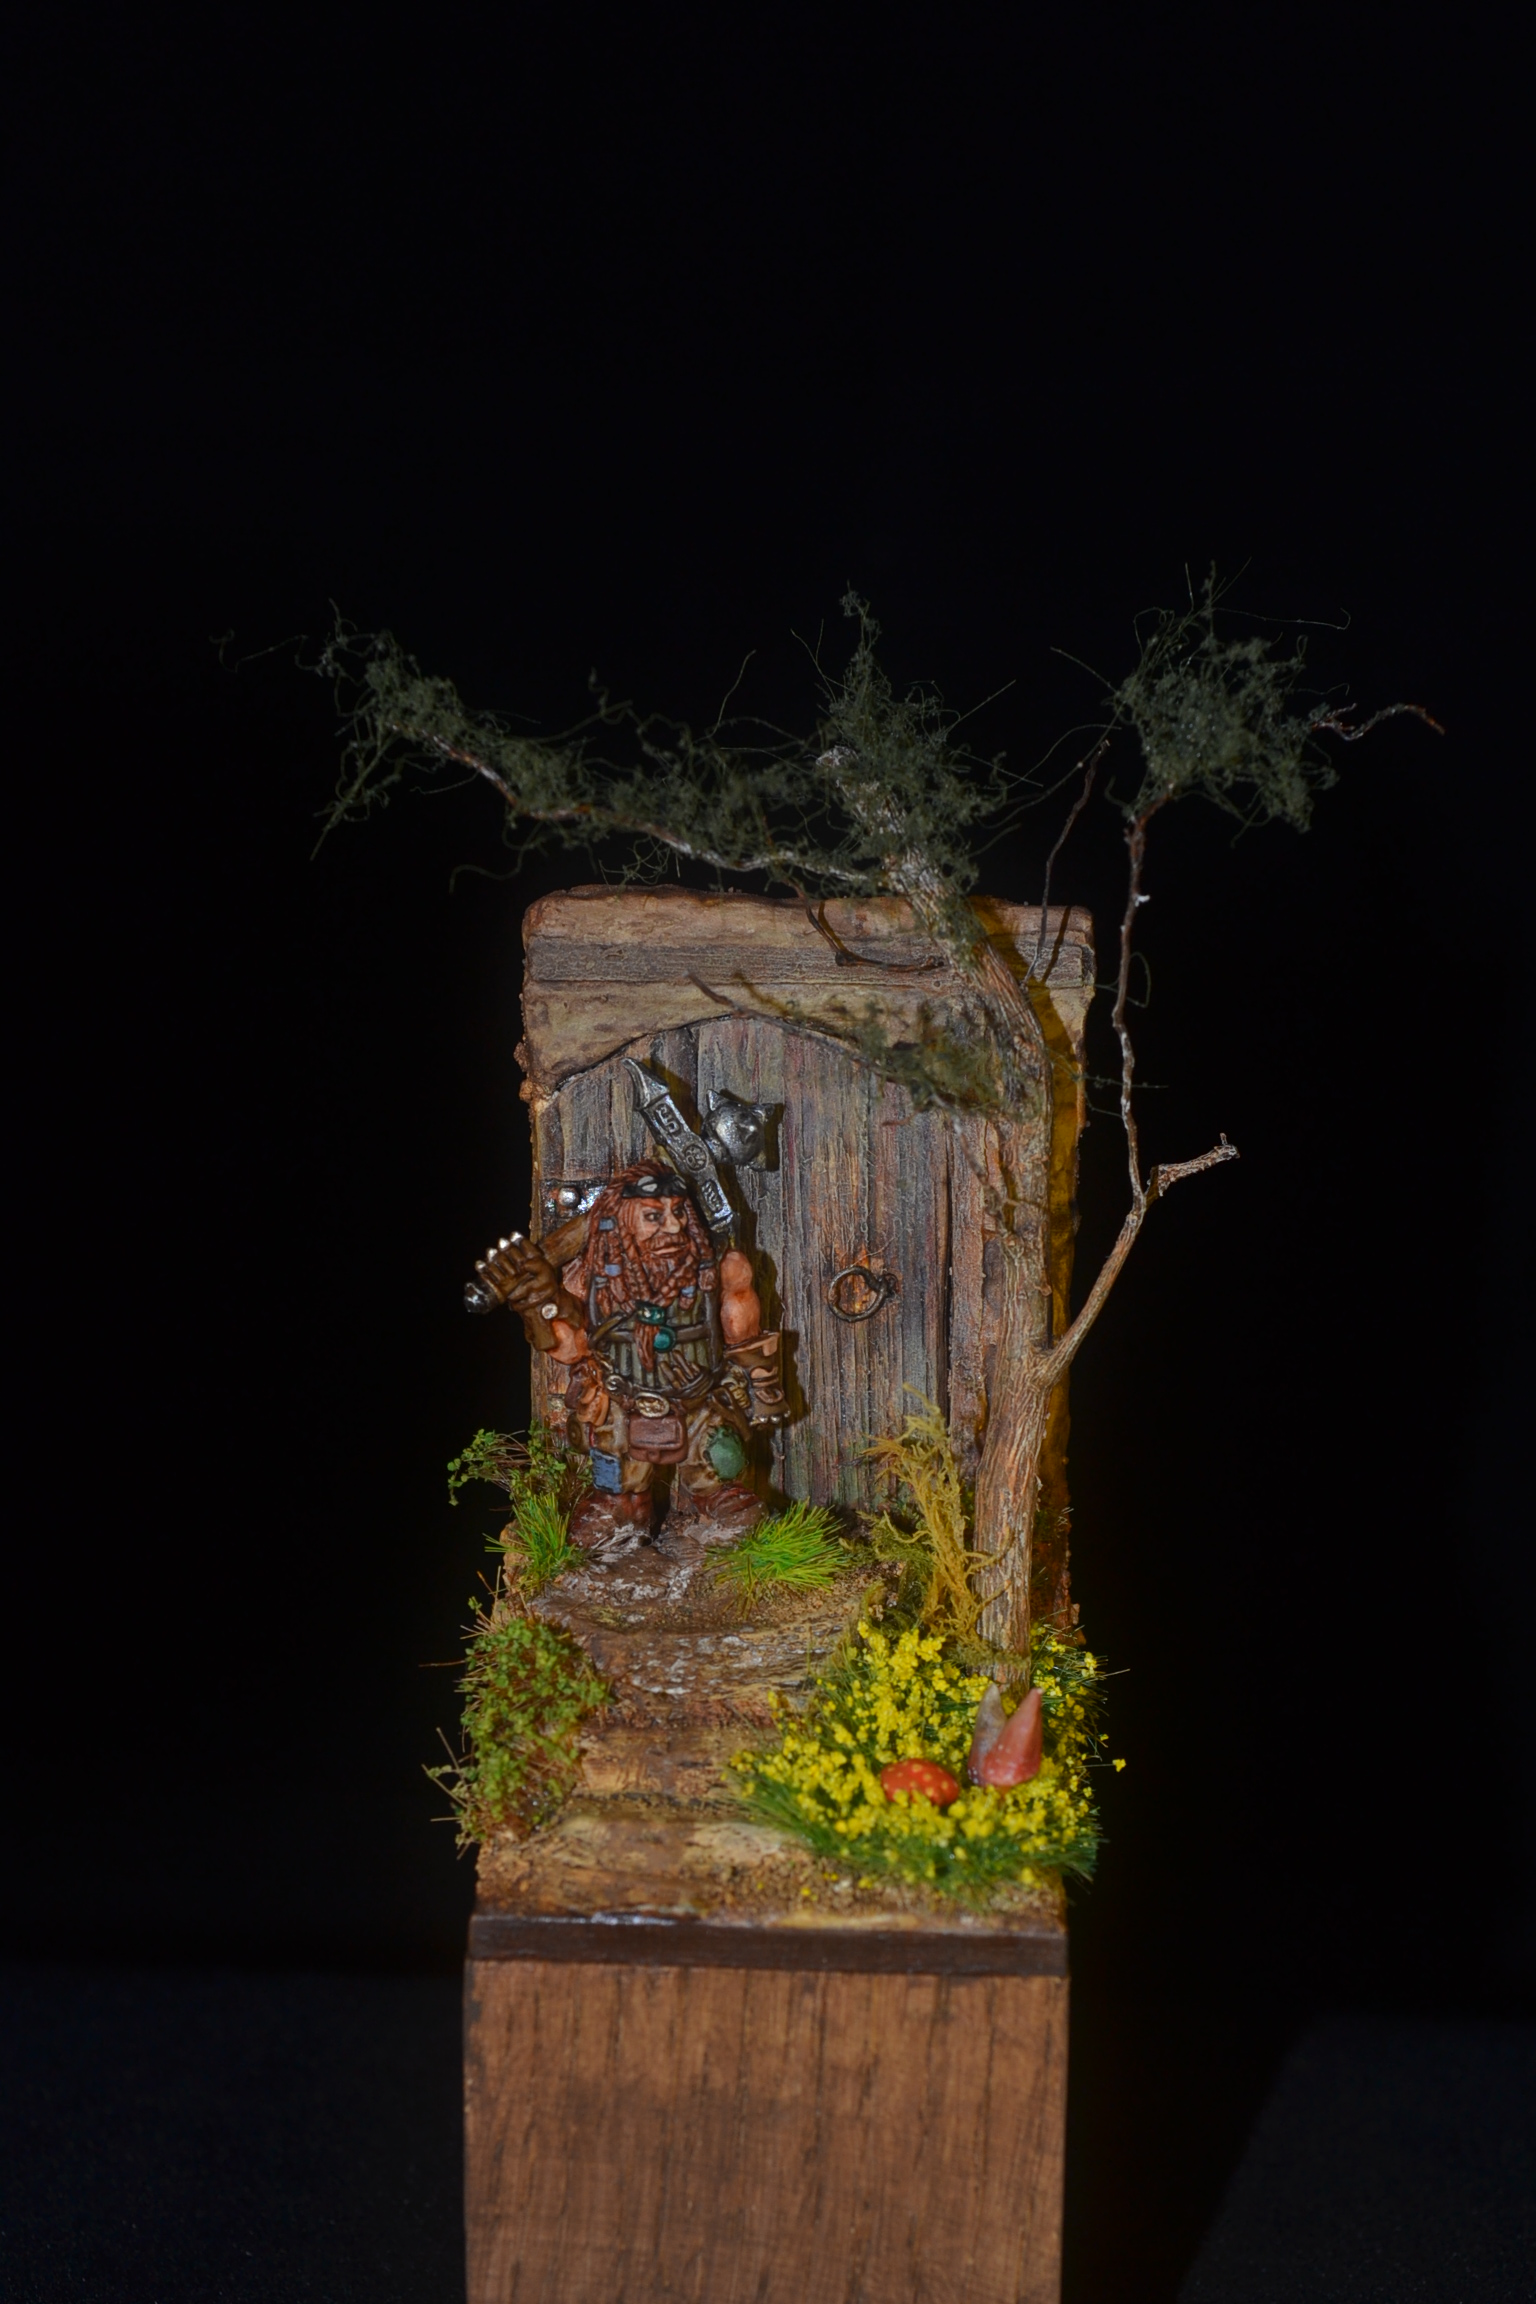
A piece of plant root was used to make a small tree.
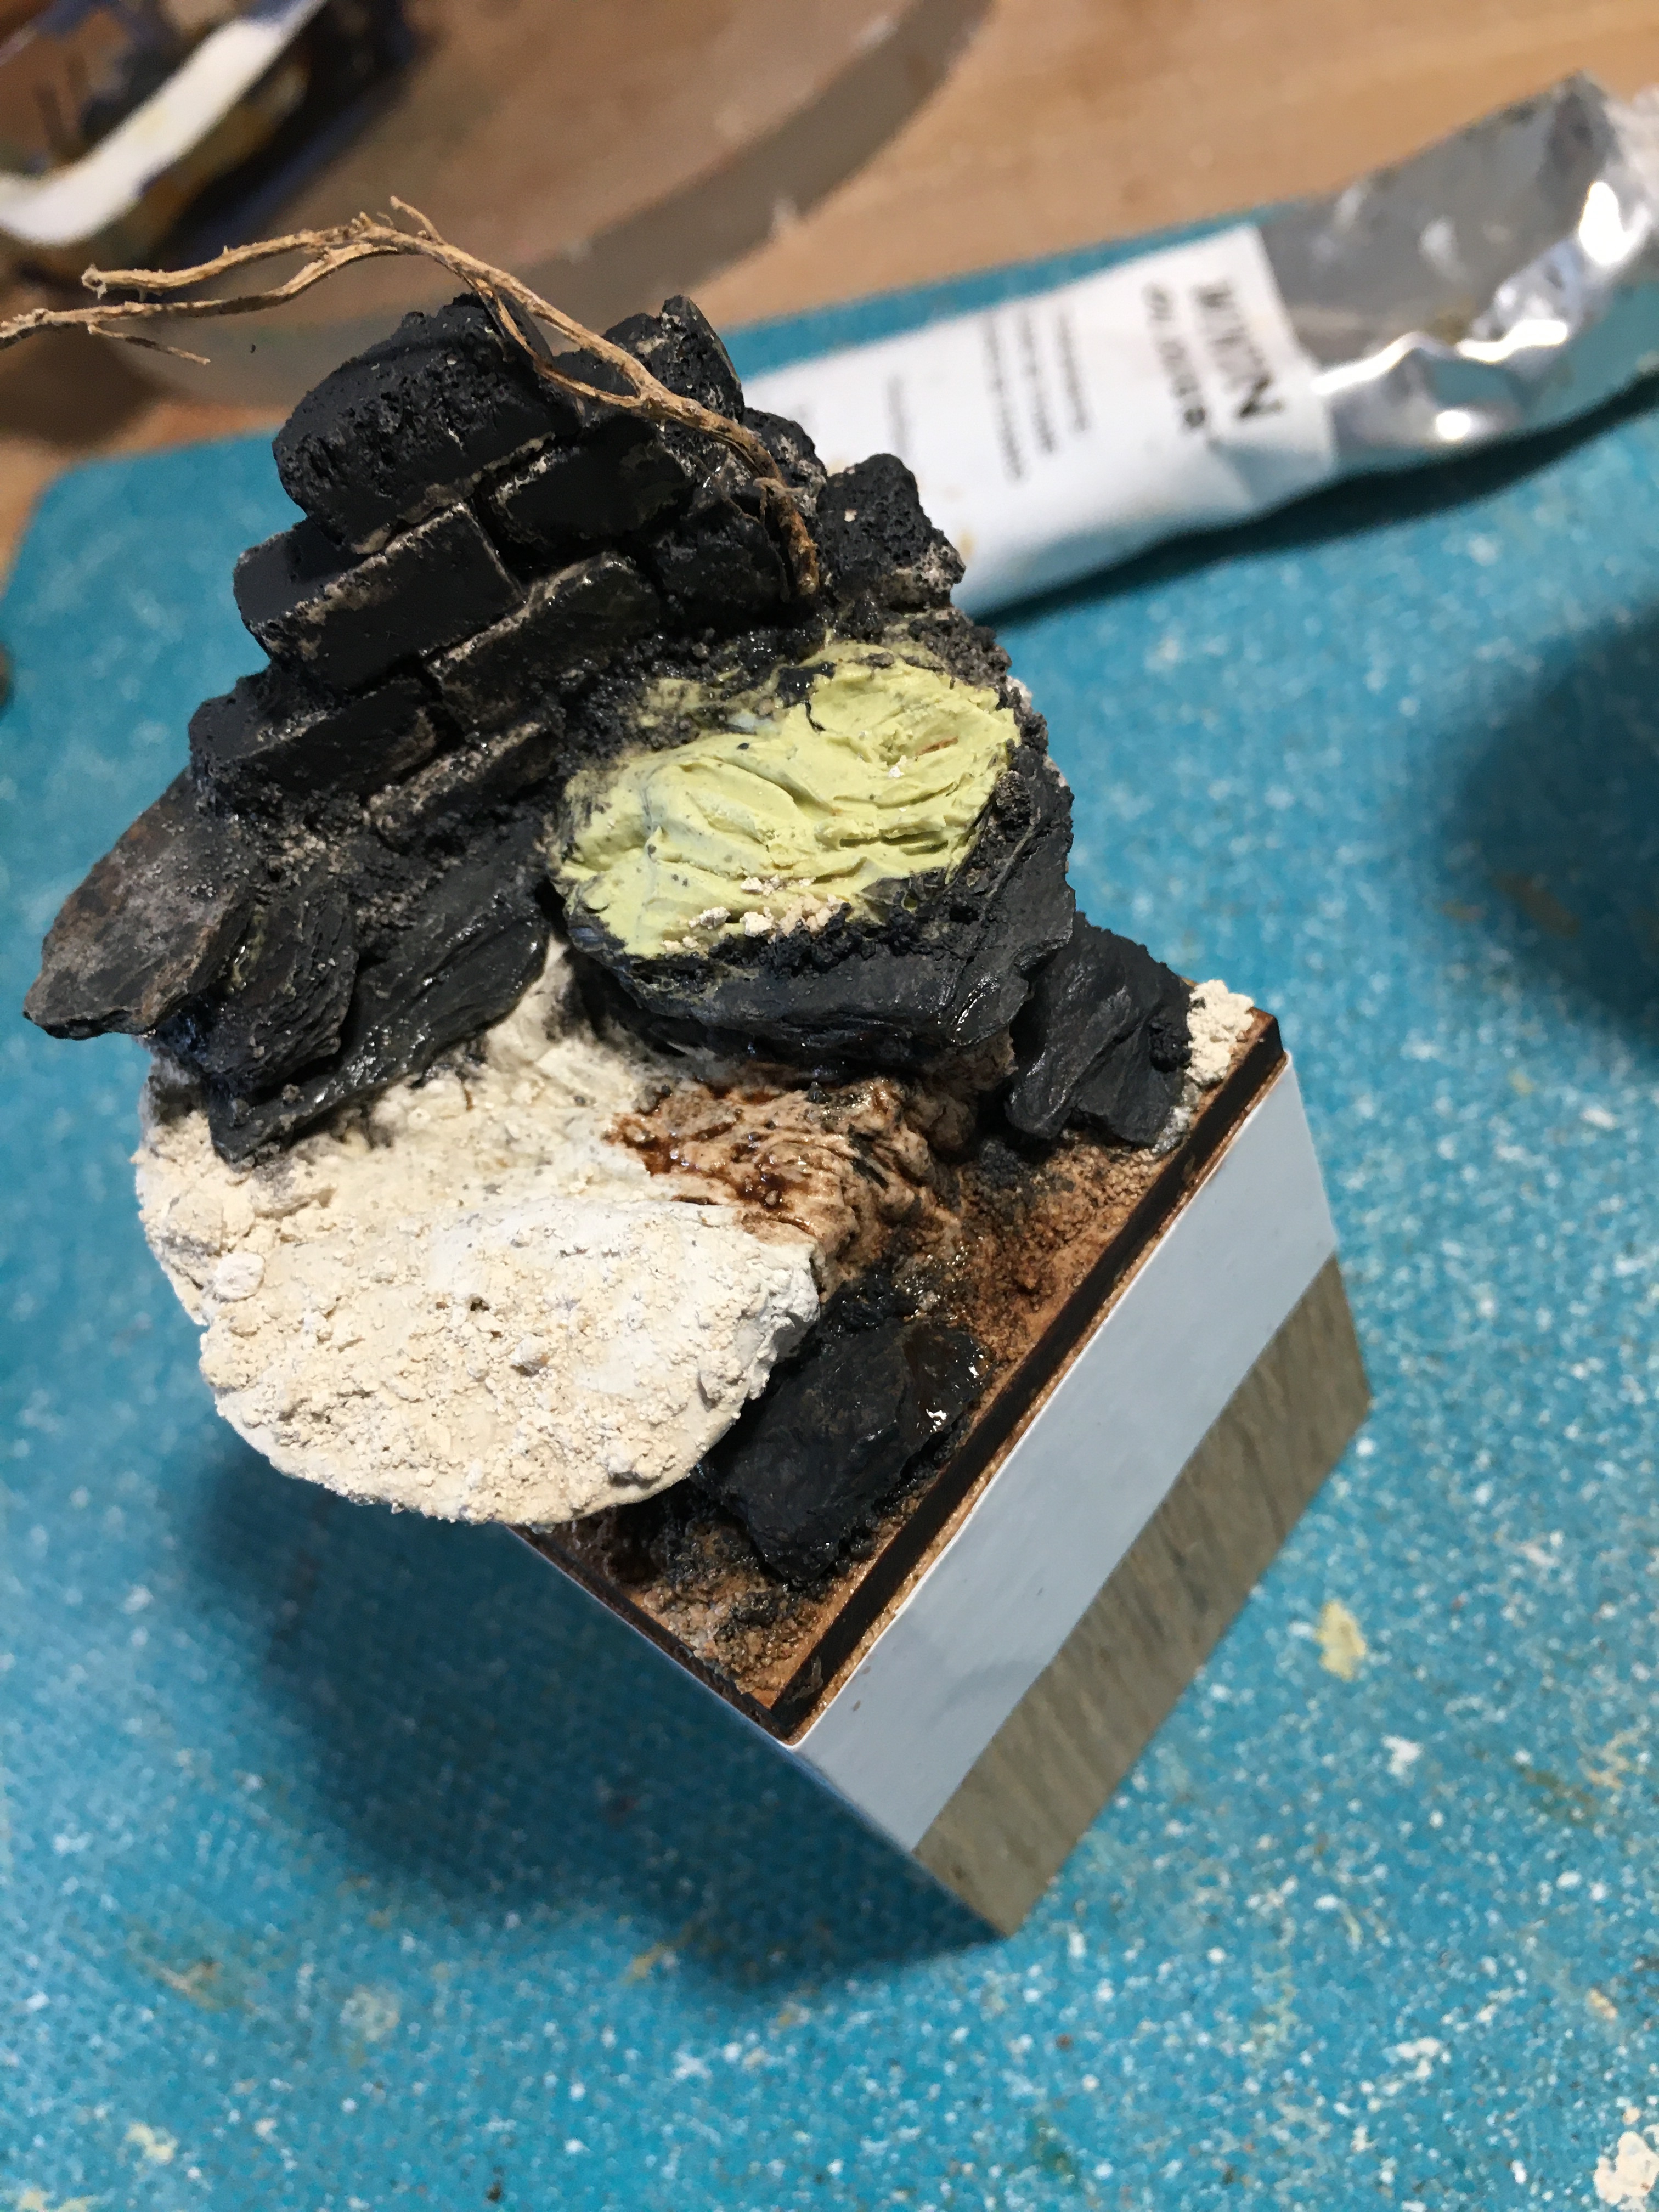
I made a couple of giant toadstools using Milliput mounted on top of pin heads.

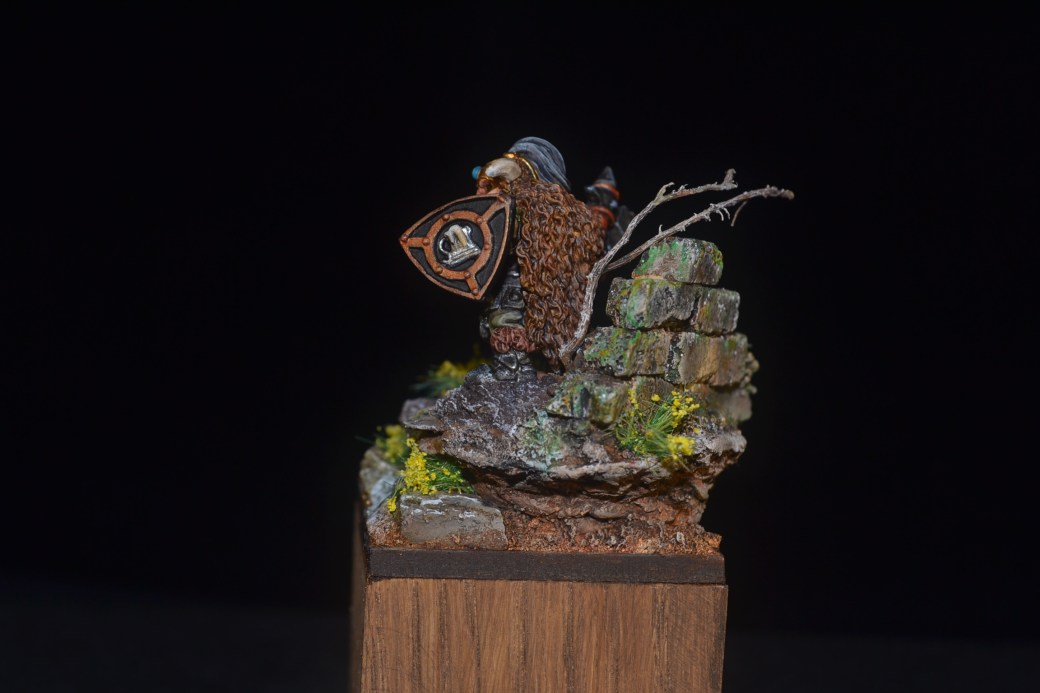
Thereafter it was pretty much all about adding some filler to the polystyrene and once it was dry painting and weathering everything followed by a little bit of assembly. A mixture of paint colours and paints were used – acrylics and oils. Finally some plant life was added.


Some touching up here and there will be needed once the figure has been positioned but for now the scene is pretty much set.
TIM