On The Work Bench – Flat Bed River

My American Civil War diorama, when complete, aims to show a six-horse Confederate limber and cannon having crossed a river via a covered bridge.  A group of infantry men are standing either side of the road making way for the limber team to ride on through.

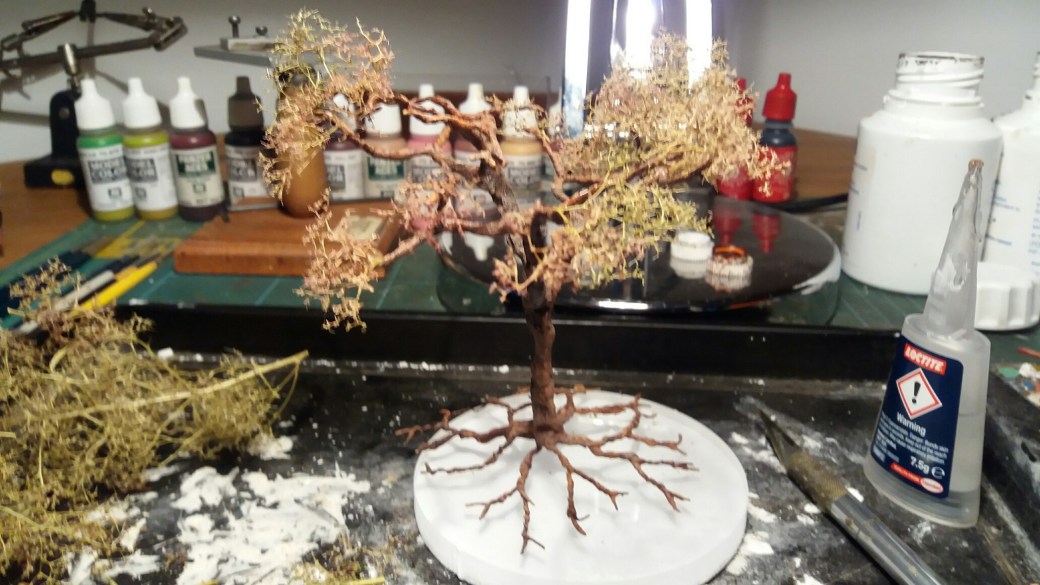
I have completed a tree for the diorma, the bridge and most of the figures and horses.  It was time to work on the base, specifically the small section of river which needed to be created.

My base was slightly modified by adding some wooden quadrant to all four sides.  This was done to raise the edges of the base and to give depth for the river and its banks to be made.  Filler, scraps of wood and whatever else was lying around was used to bring the base, with the exception of the river, to the level of the newly added quadrant.

The area which would become the river bed was then painted black.  This was done purely as a precaution just in case anything showed through at a later stage when it would have been too late to do anything about it.  Using a variety of materials – small bits of stone and gravel, cat litter and anything else rock like – I created the banks of the river.  Some pieces of fallen tree were added too to add a little more interest.

The river bed and bank were then painted using oil paints diluted slightly with white spirit.  Black was used to depict the bottom and therefore the deepest part of the river and then I used burnt umber, burnt sienna and raw sienna as as I worked my way from the bottom of the river bed and up the sides of the bank.  The oil paints blend well and dry a little quicker when used with white spirit.

Once dried the various “rocks” on the river bed and along the river bank, together with the pieces of fallen tree, were dry brushed to bring out detail and shading.  The next step was to add the “water”.  For this I use a Woodland Scenics product called Realistic Water, a silicone product which dries clear. Pending the depth of your river it is best to build up in layers allowing each one to dry before adding more “Realistic Water”. It does take quite a while to dry and is often best left to do so over night.

Having added the “Realistic Water” to the desired depth my next step was to add movement to the river.  If you only want to create the effect of a mill pond then movement is less critical but for a flowing river it’s a must.  Woodland Scenics do have products which you can buy to help achieve this but these can be pretty expensive to buy in the UK and besides there are other ways of doing it.  My preferred method is to simply take an old paint brush (you can use other things instead) and rough up the silicone a bit before it has gone off completly hard.  This does of course mean keeping an eye on it but as it does take a long time to dry so you only need to check after several hours and not every few minutes.  The aim of this process is to create ridges in the silcone to simulate water movement.  You do not need to go deep into the silicone but you do need to go with the flow of your river and not across. Once done leave to dry completely.

When completly dry I used to white oil paint to dry brush the ridges of the silicone. It’s best to go sparingly and add more as you think you need it.  If all goes well your river now looks like it’s flowing as the highlighted ridges look like white water.

Below are a few pictures of the various stages referred to above.  Images of the completed diorama will be posted soon.

On the Work Bench – New England Style Wooden Bridge

Work continues on my American Civil War  diorama, a feature of which is a New England Style wooden Bridge.  The bridge is based on an image I found online albeit that the “real” bridge and river were wider. Nature has few space constraints but alas my diorama base does so it was necessary to construct a shorter bridge!

The bridge itself was constructed using wooden coffee stirrers to make the base and sides, match sticks to make the front and back trim and cardboard to make the wooden shingle roof.  The finished bridge was then painted using a variety of oil based washes. For further details and information on construction and painting methods please refer to my “Building Projects” section.

Below are a few images of the bridge during construction. My next step is to work on the river, more of which in my next post.


On The Work Bench – Scratch Built Wire Tree (part 2)

Having allowed the All Purpose Filler mixed with PVA to dry the next step using a sharp tool (I use my modelling knife) is to scratch some lines into the trunk of the tree in order to create a better bark effect when painted.  Once done it’s time to paint the tree starting with the underside first.

The paints I use are Winton and Newton oils – Burnt Umber, Ivory Black, Burnt Sienna and Titanium White.  The first application applied was Burnt Umber, diluted with white spirit to create a wash which nicely soakes into the filler.  This was followed by a wash of black, mostly applied to the shadow areas, then followed by a wash of Burnt Sienna with emphasis on the upper outside branches.  Titanium White was dry brushed to provide highlights.

20170606_204432_resized

Almost there with the painting

With the paining complete the next step is to add the smaller branches which will take the leaves in due course.  For these smaller branches I use small pieces of “Seafoam Trees” available from Gaugemaster.  Bit by bit these are added to complete a full canopy.

20170606_212324_resized20170606_221022_resized

Small “Seafoam” branches added to complete canopy

The final step is to add the leaves.  For this I use “Leaf Foliage” by “Noch” which comes in a variety of colours allowing for a nice mix of trees if you are aiming to have several in a display or reflect other times of the year such as Autumn.  The tree canopy is sprayed with a strong hold Hairspray and the leaves sprinkled on. Typically I find this process needs to be done several times in order for the leaves to create clumps and create a finish that I am happy with.

20170607_194526_resized

The Final Tree

Essentially the tree is finished but as I intend to use this one on a diorama the roots will need to be worked on once again along with the appropriate ground work being added too.   It will be a while until the diorama is complete but when it is I will post some images of the tree in its final state.


On The Work Bench – Scratch Built Wire Tree (part 1)

Figures for my 28mm American Civil War diorama are coming along OK but I am now starting to think about base construction.  Decided I definitely want a tree and thought I would have another go at scratch building one.  I have only ever done one tree before and much to my surprise found it easier than I thought it would be.  It might have been beginners luck though so we will have to see how this one finally turns out.

To start with I wrapped some 0.5mm wire around an A5 pad about 20 times which gave me a loop of wire approximately 9 inches (23cm) long.  Once removed from the A5 pad the loop was twisted several times starting just below the half way point.  This produced a figure 8 shape.  The bottom loop was then cut so that the wire strands all became separated.

The separated wire strands were then grouped into four individual bunches.  Each bunch was then twisted a few times and then separated once again into either two or three further bunches which were also twisted a few times and then separated again until eventually only one strand remained.  Where the remaining strand was to long it was cut off to a length I was happy with.

Once I had done this to each of the initial bunches of wire I was left with the tree’s root system.

Having completed the root system the next step was to repeat the exercise by cutting through the upper loop and creating the branches.

20170604_190341_resized

Once this was complete it was then a case of spending a few moments positioning and bending the roots and branches into a shape I was happy with.  I then mixed up some All Purpose filler together with some PVA glue to an almost liquid consistency and using an old brush applied it to the underneath of the branches first and then to their upper side, the trunk and the roots.  It was then placed to one side to dry.

It might be necessary to add more filler and to scratch away any excess dried filler but that pretty much completes the process for the basic tree.  The next step will be to paint and “dress it”, more of which in a future post.

Materials – Introduction

There are two stages I typically go through before I start modelling.  The first is deciding what I am going to model and this usually involves an element of research either online or through reference books and magazines to gain inspiration.  The Second stage is to determine what items I can buy to construct my model and which items I may have to scratch build or modify in some way.

Over time we all identify our preferred suppliers and pick up various tips and techniques which have helped us to produce our models.  I am no different and under the MATERIALS menu I aim to list suppliers, tips and any research materials which I have found most useful and that others might too.

Some people will argue that there is a wrong way and a right way to do certain things. This may well be true but for me the important thing is to be pleased with your own work. Practice makes perfect as they say and I for one have a need to practice a lot more!

For those of you who read this I hope you find it useful.