Diorama Lite – “Billy Joe, Zombie Hunter” (Part 2 – Final)

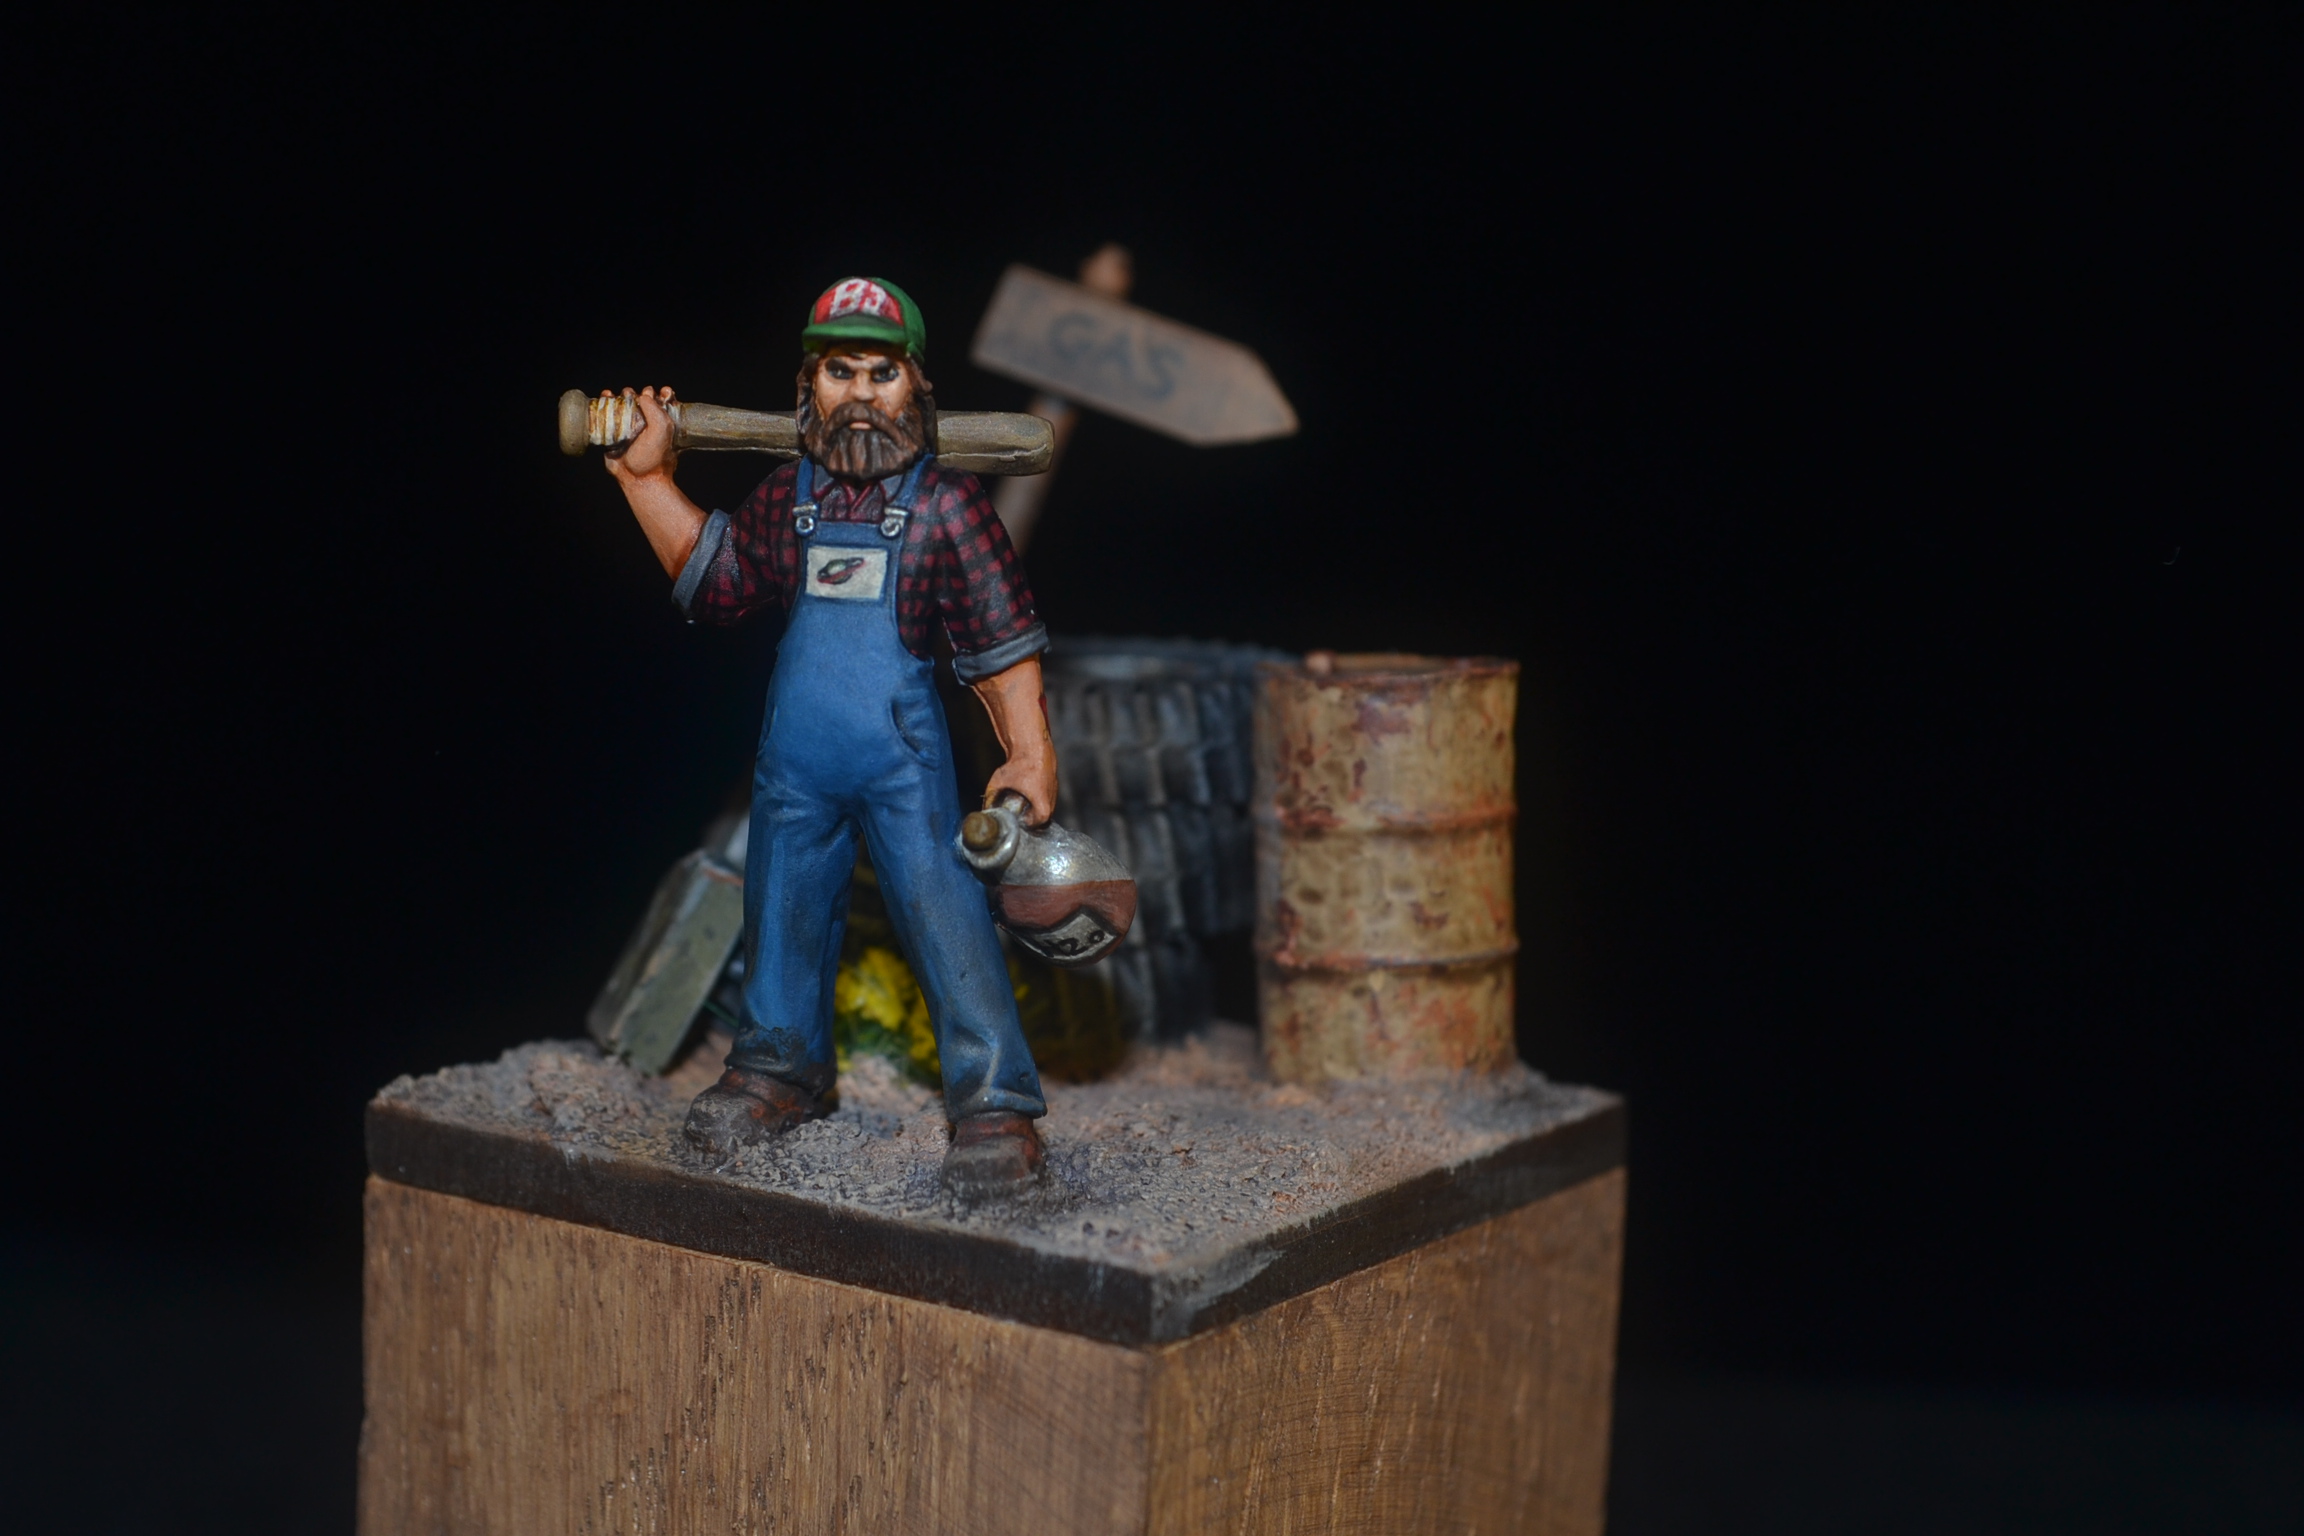
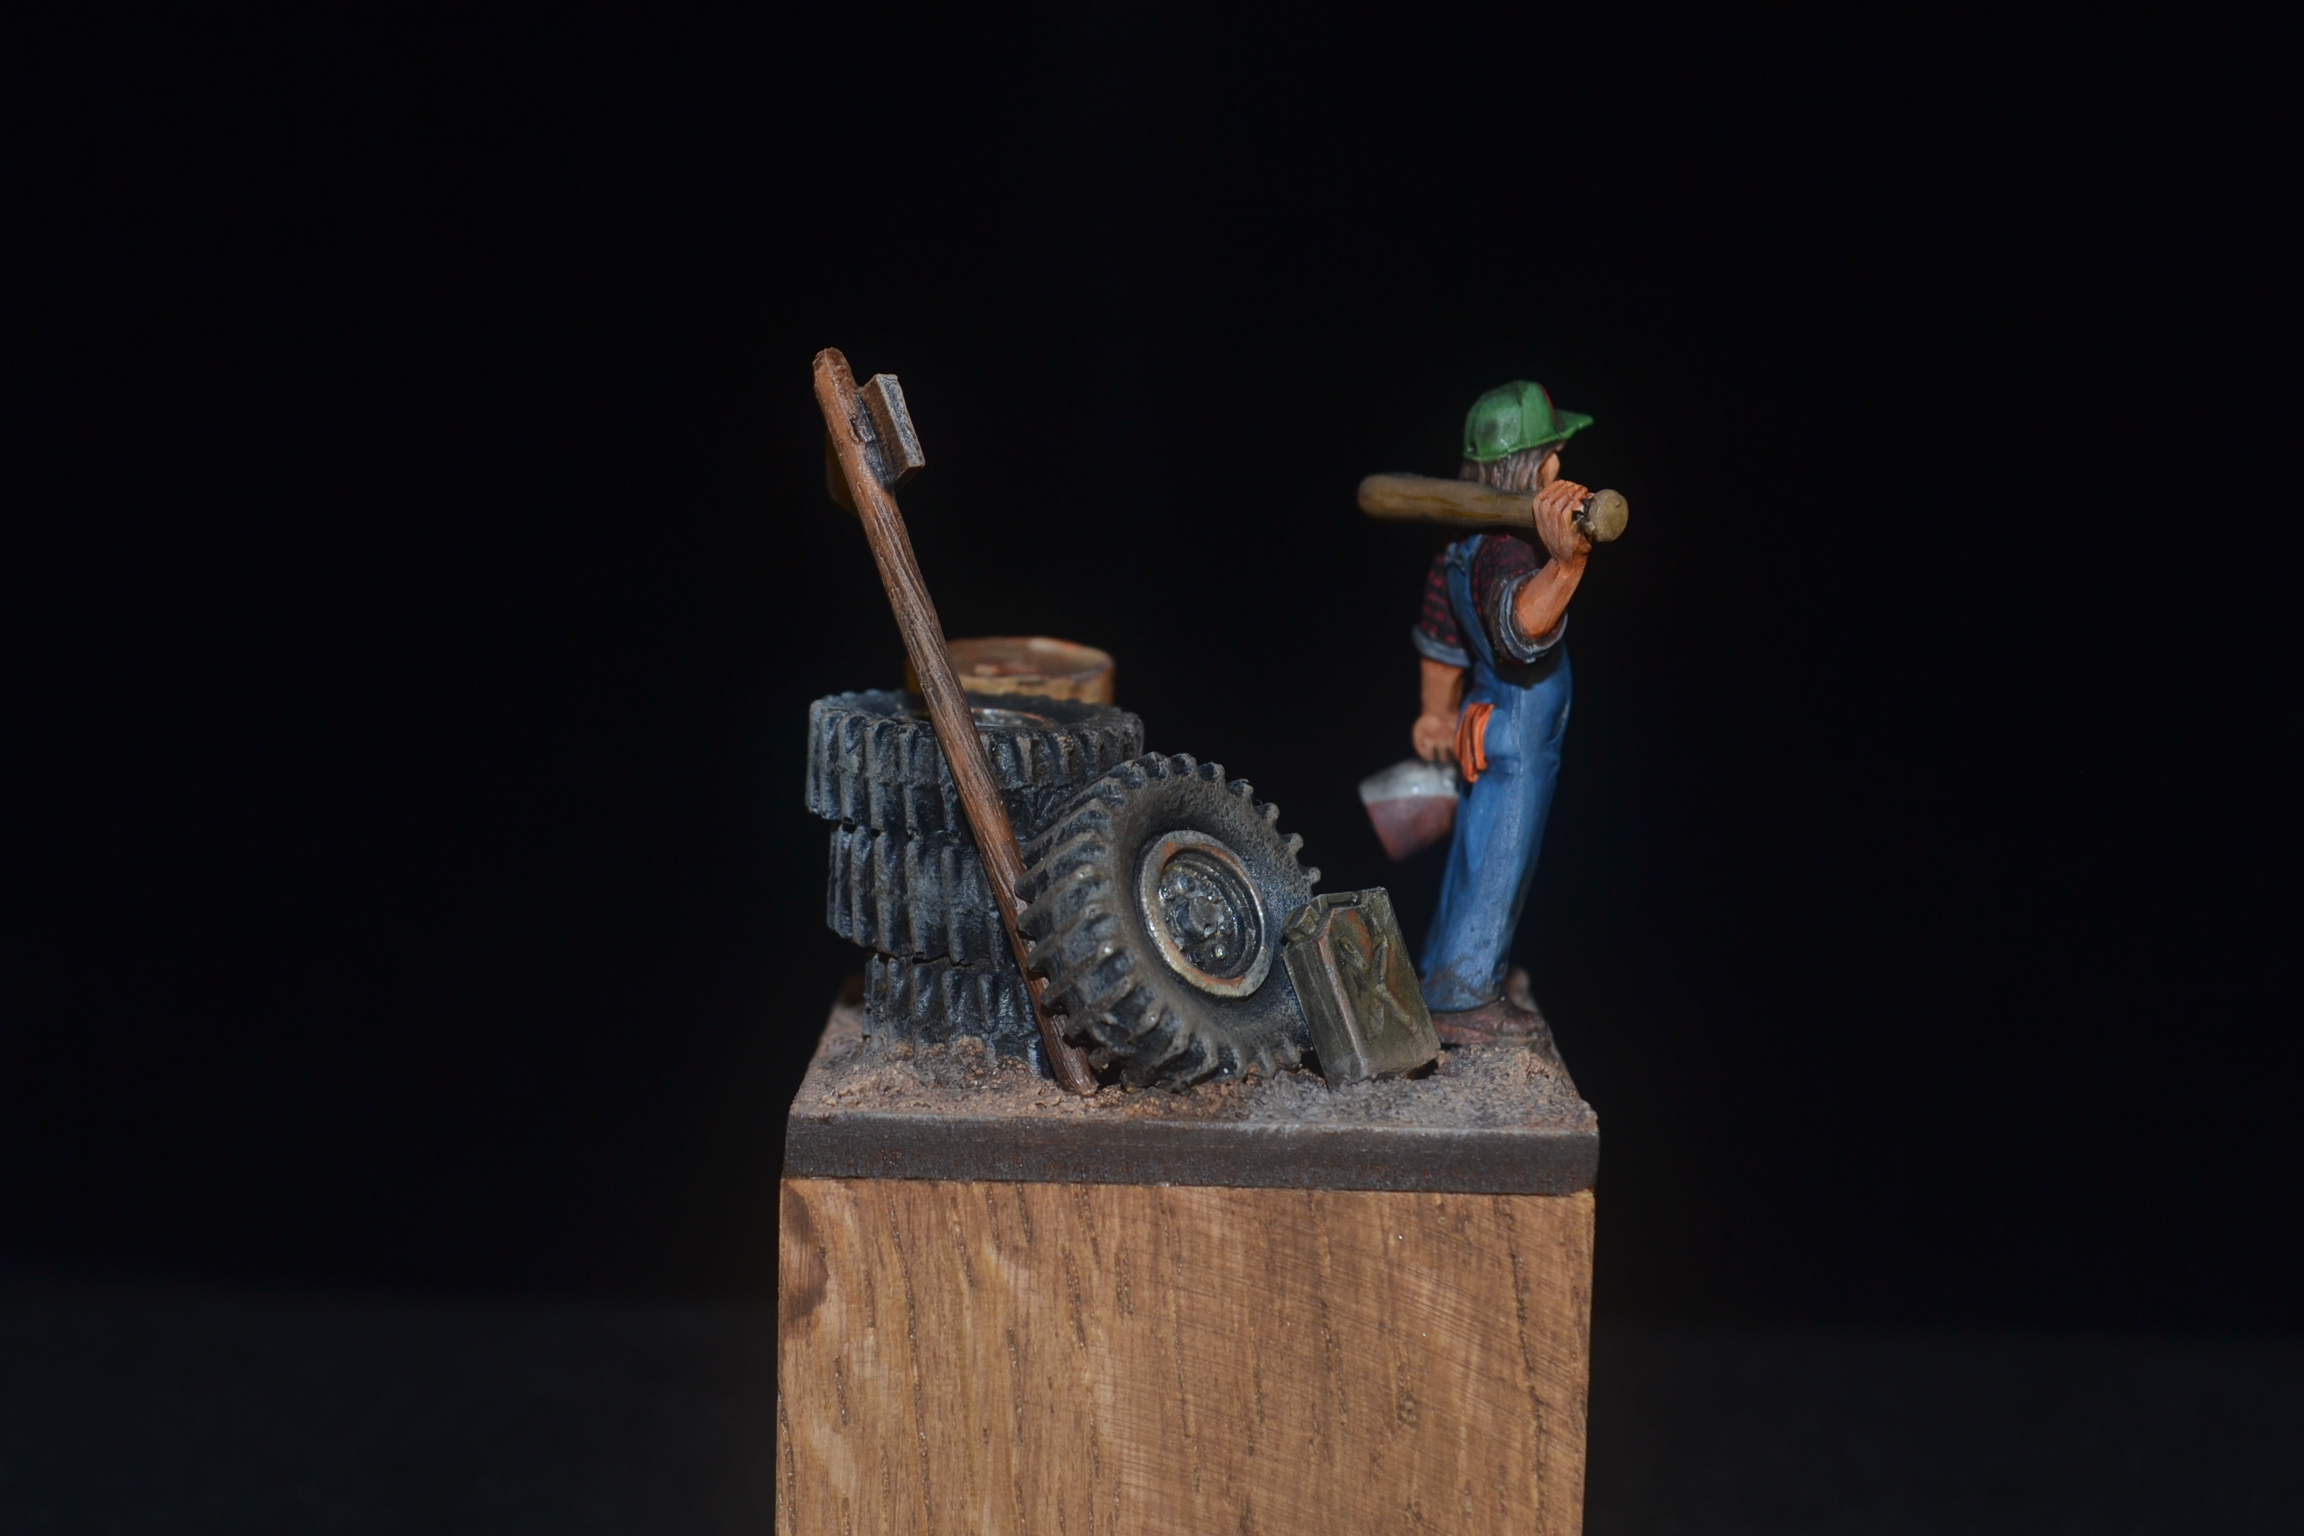
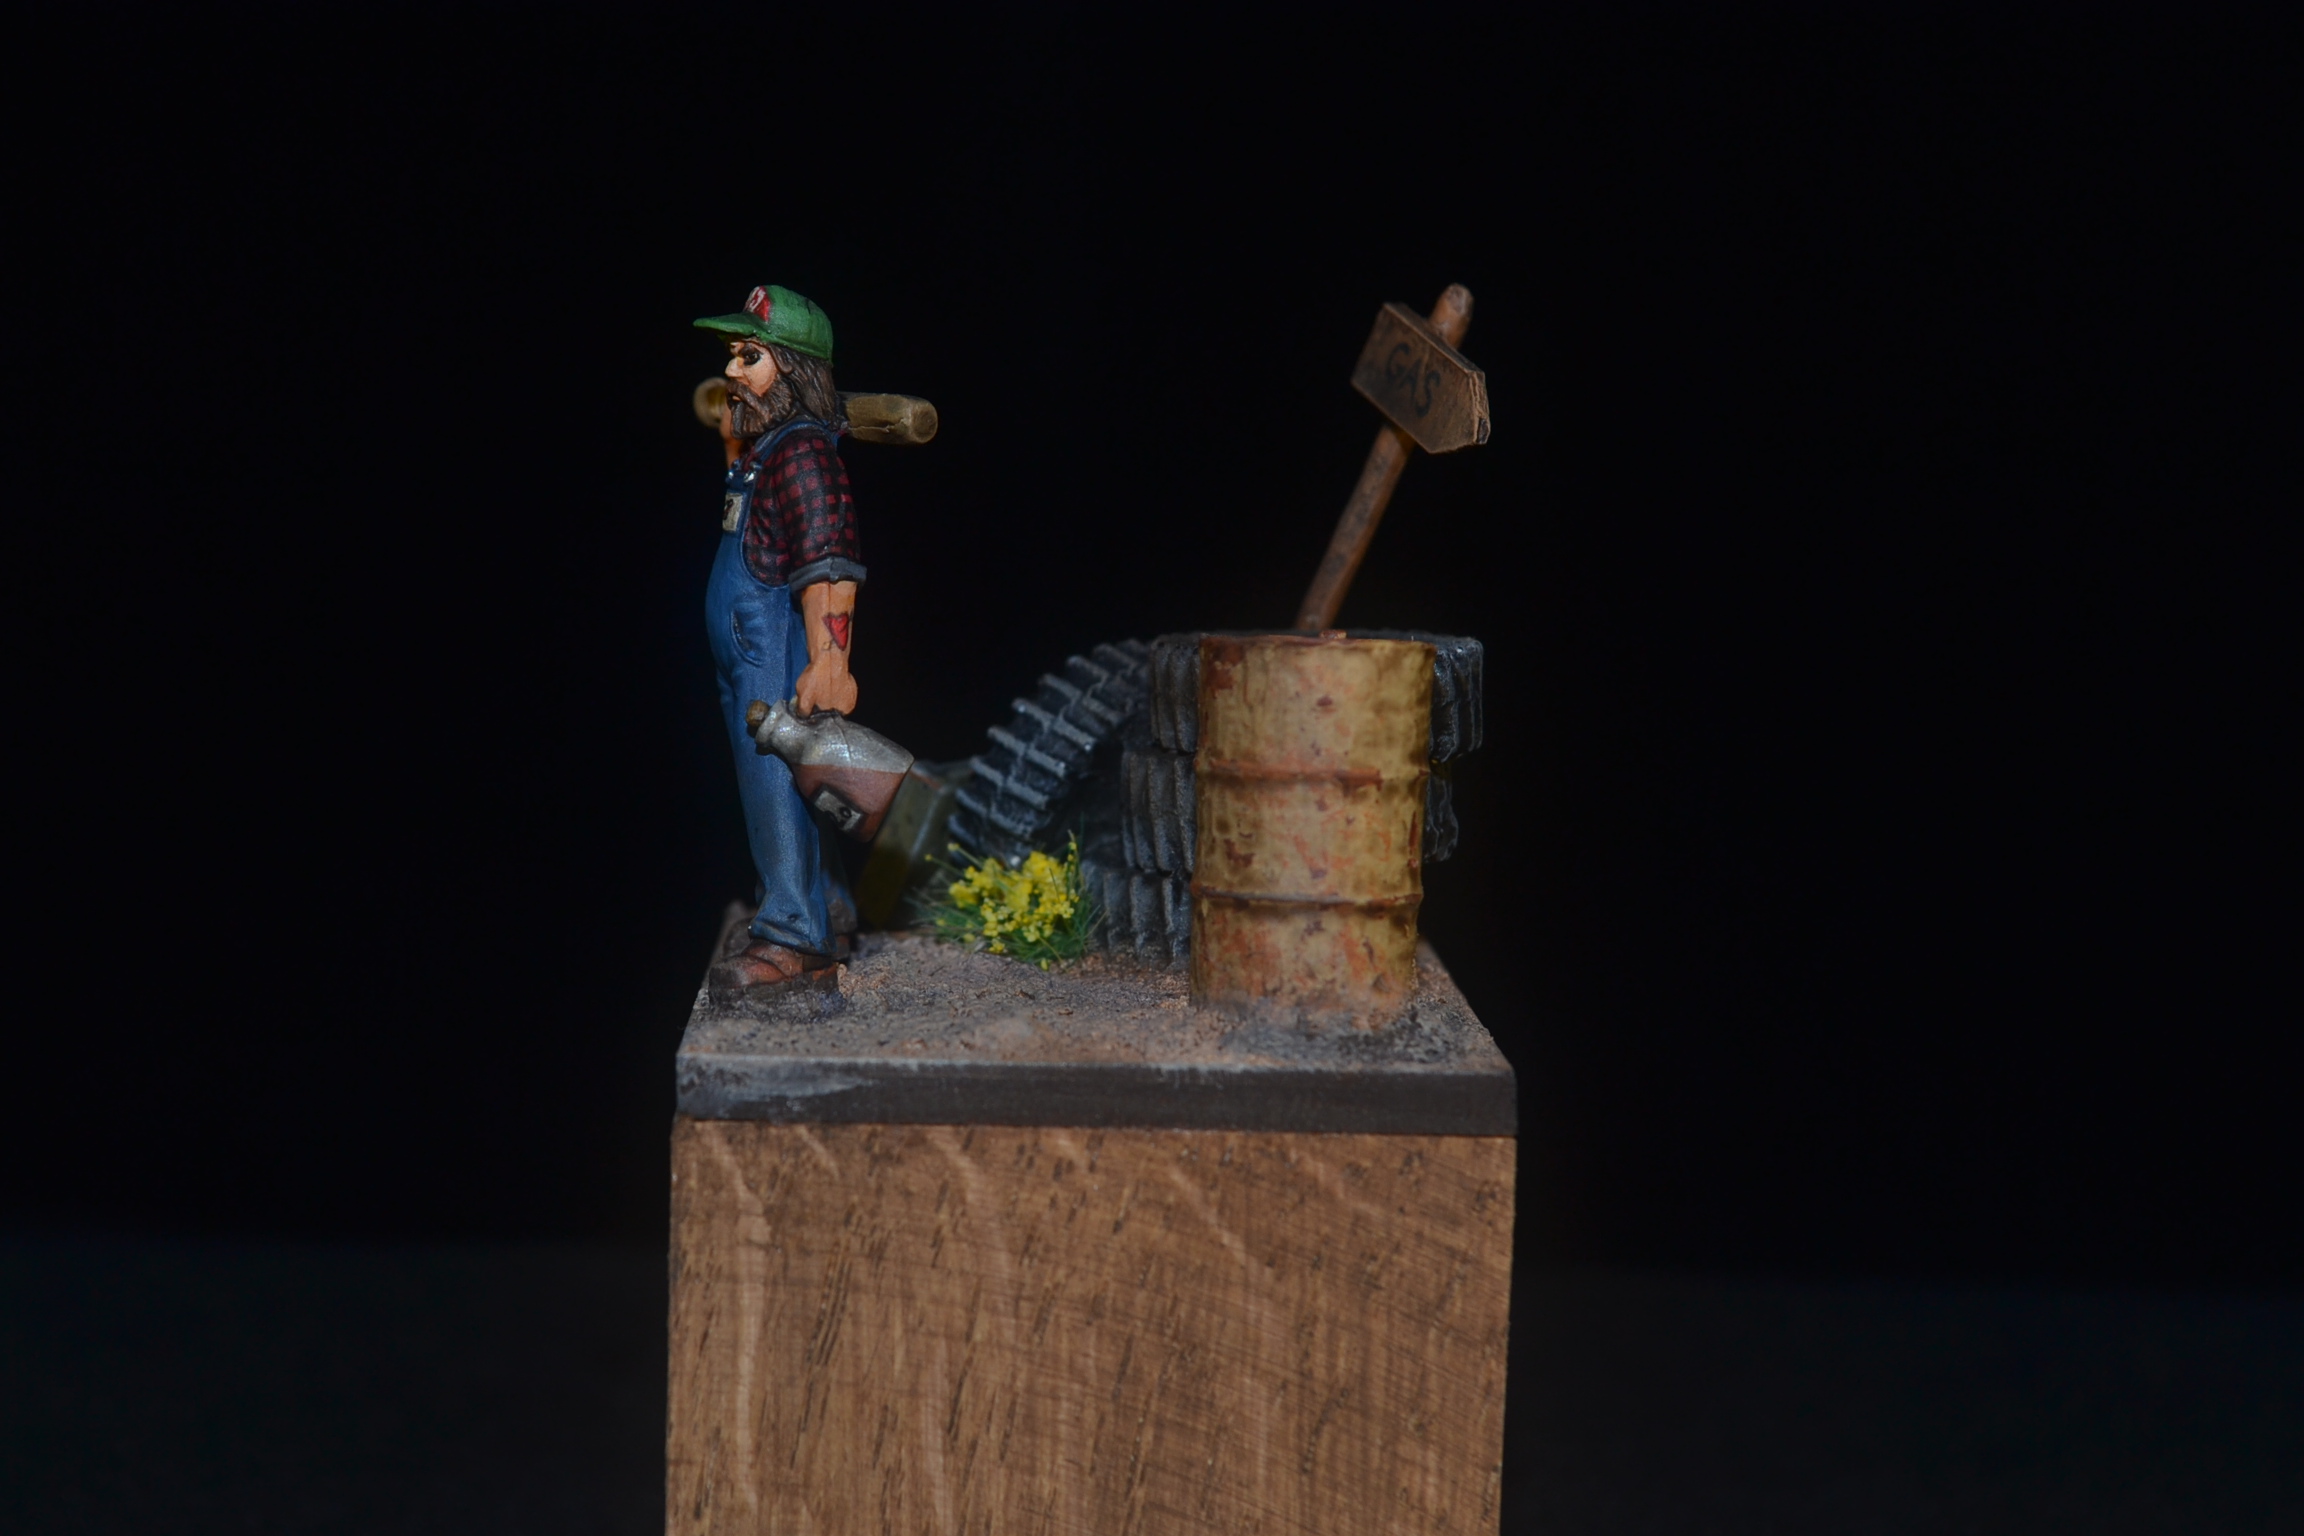
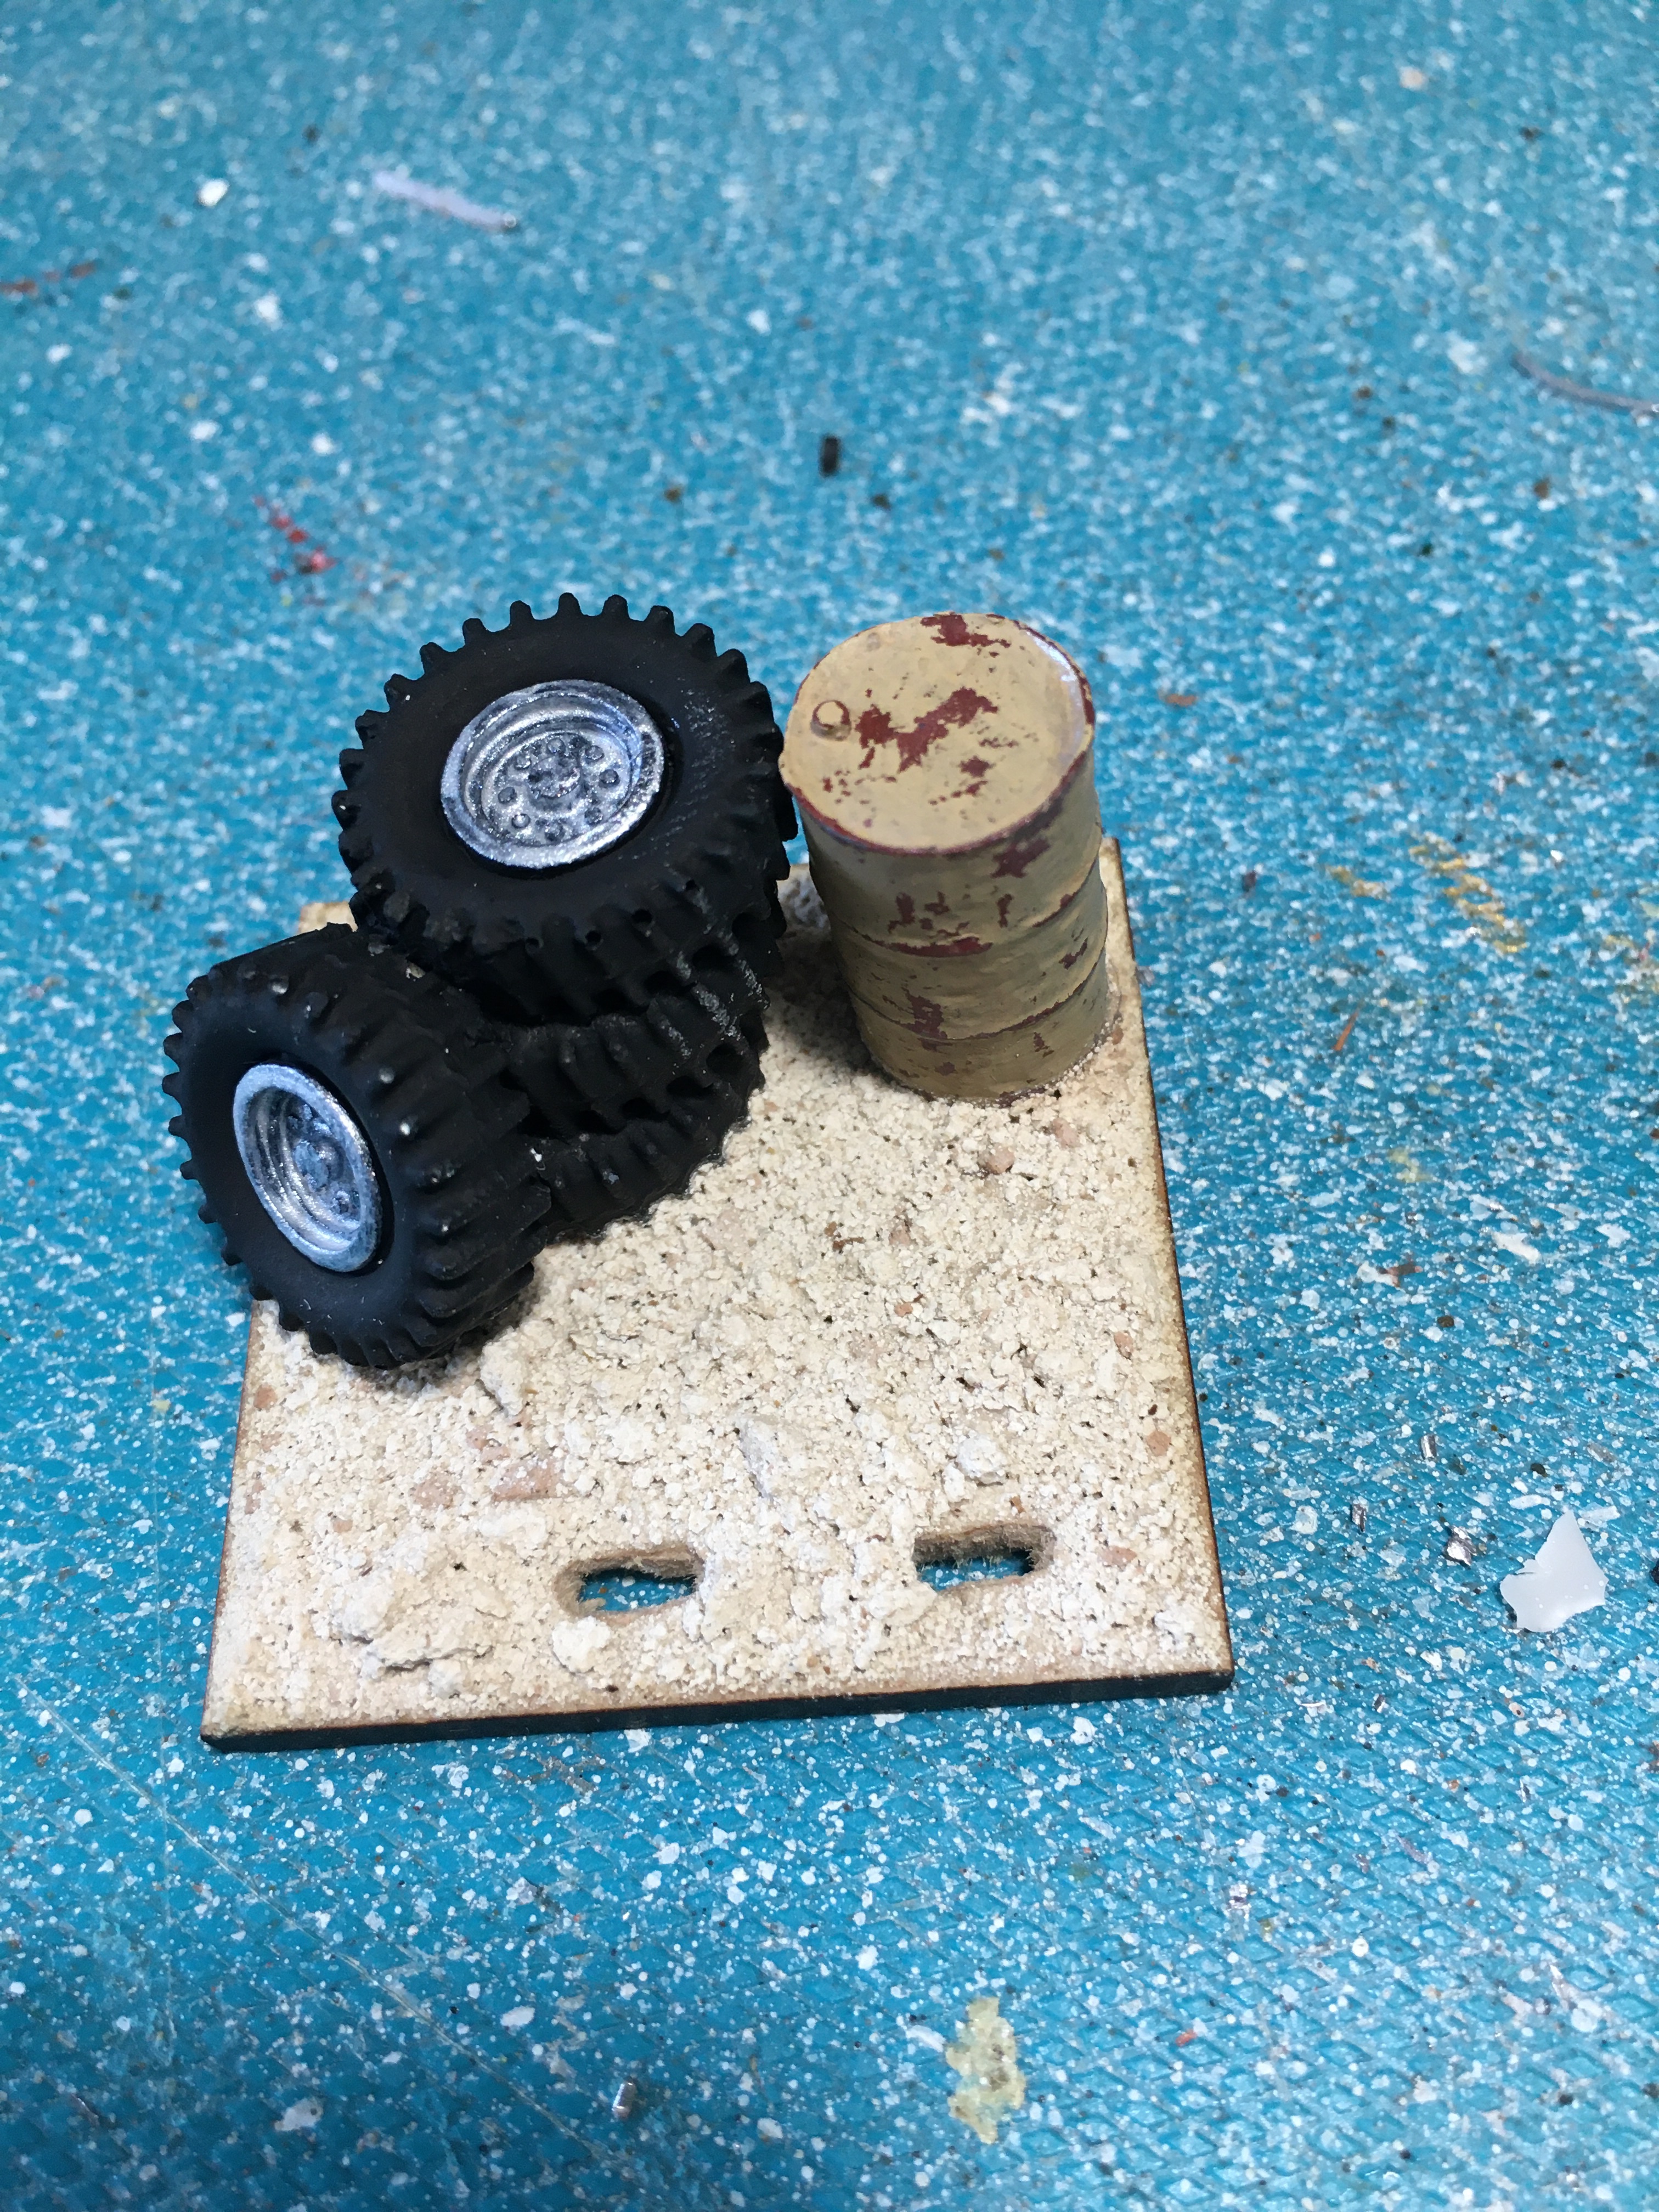
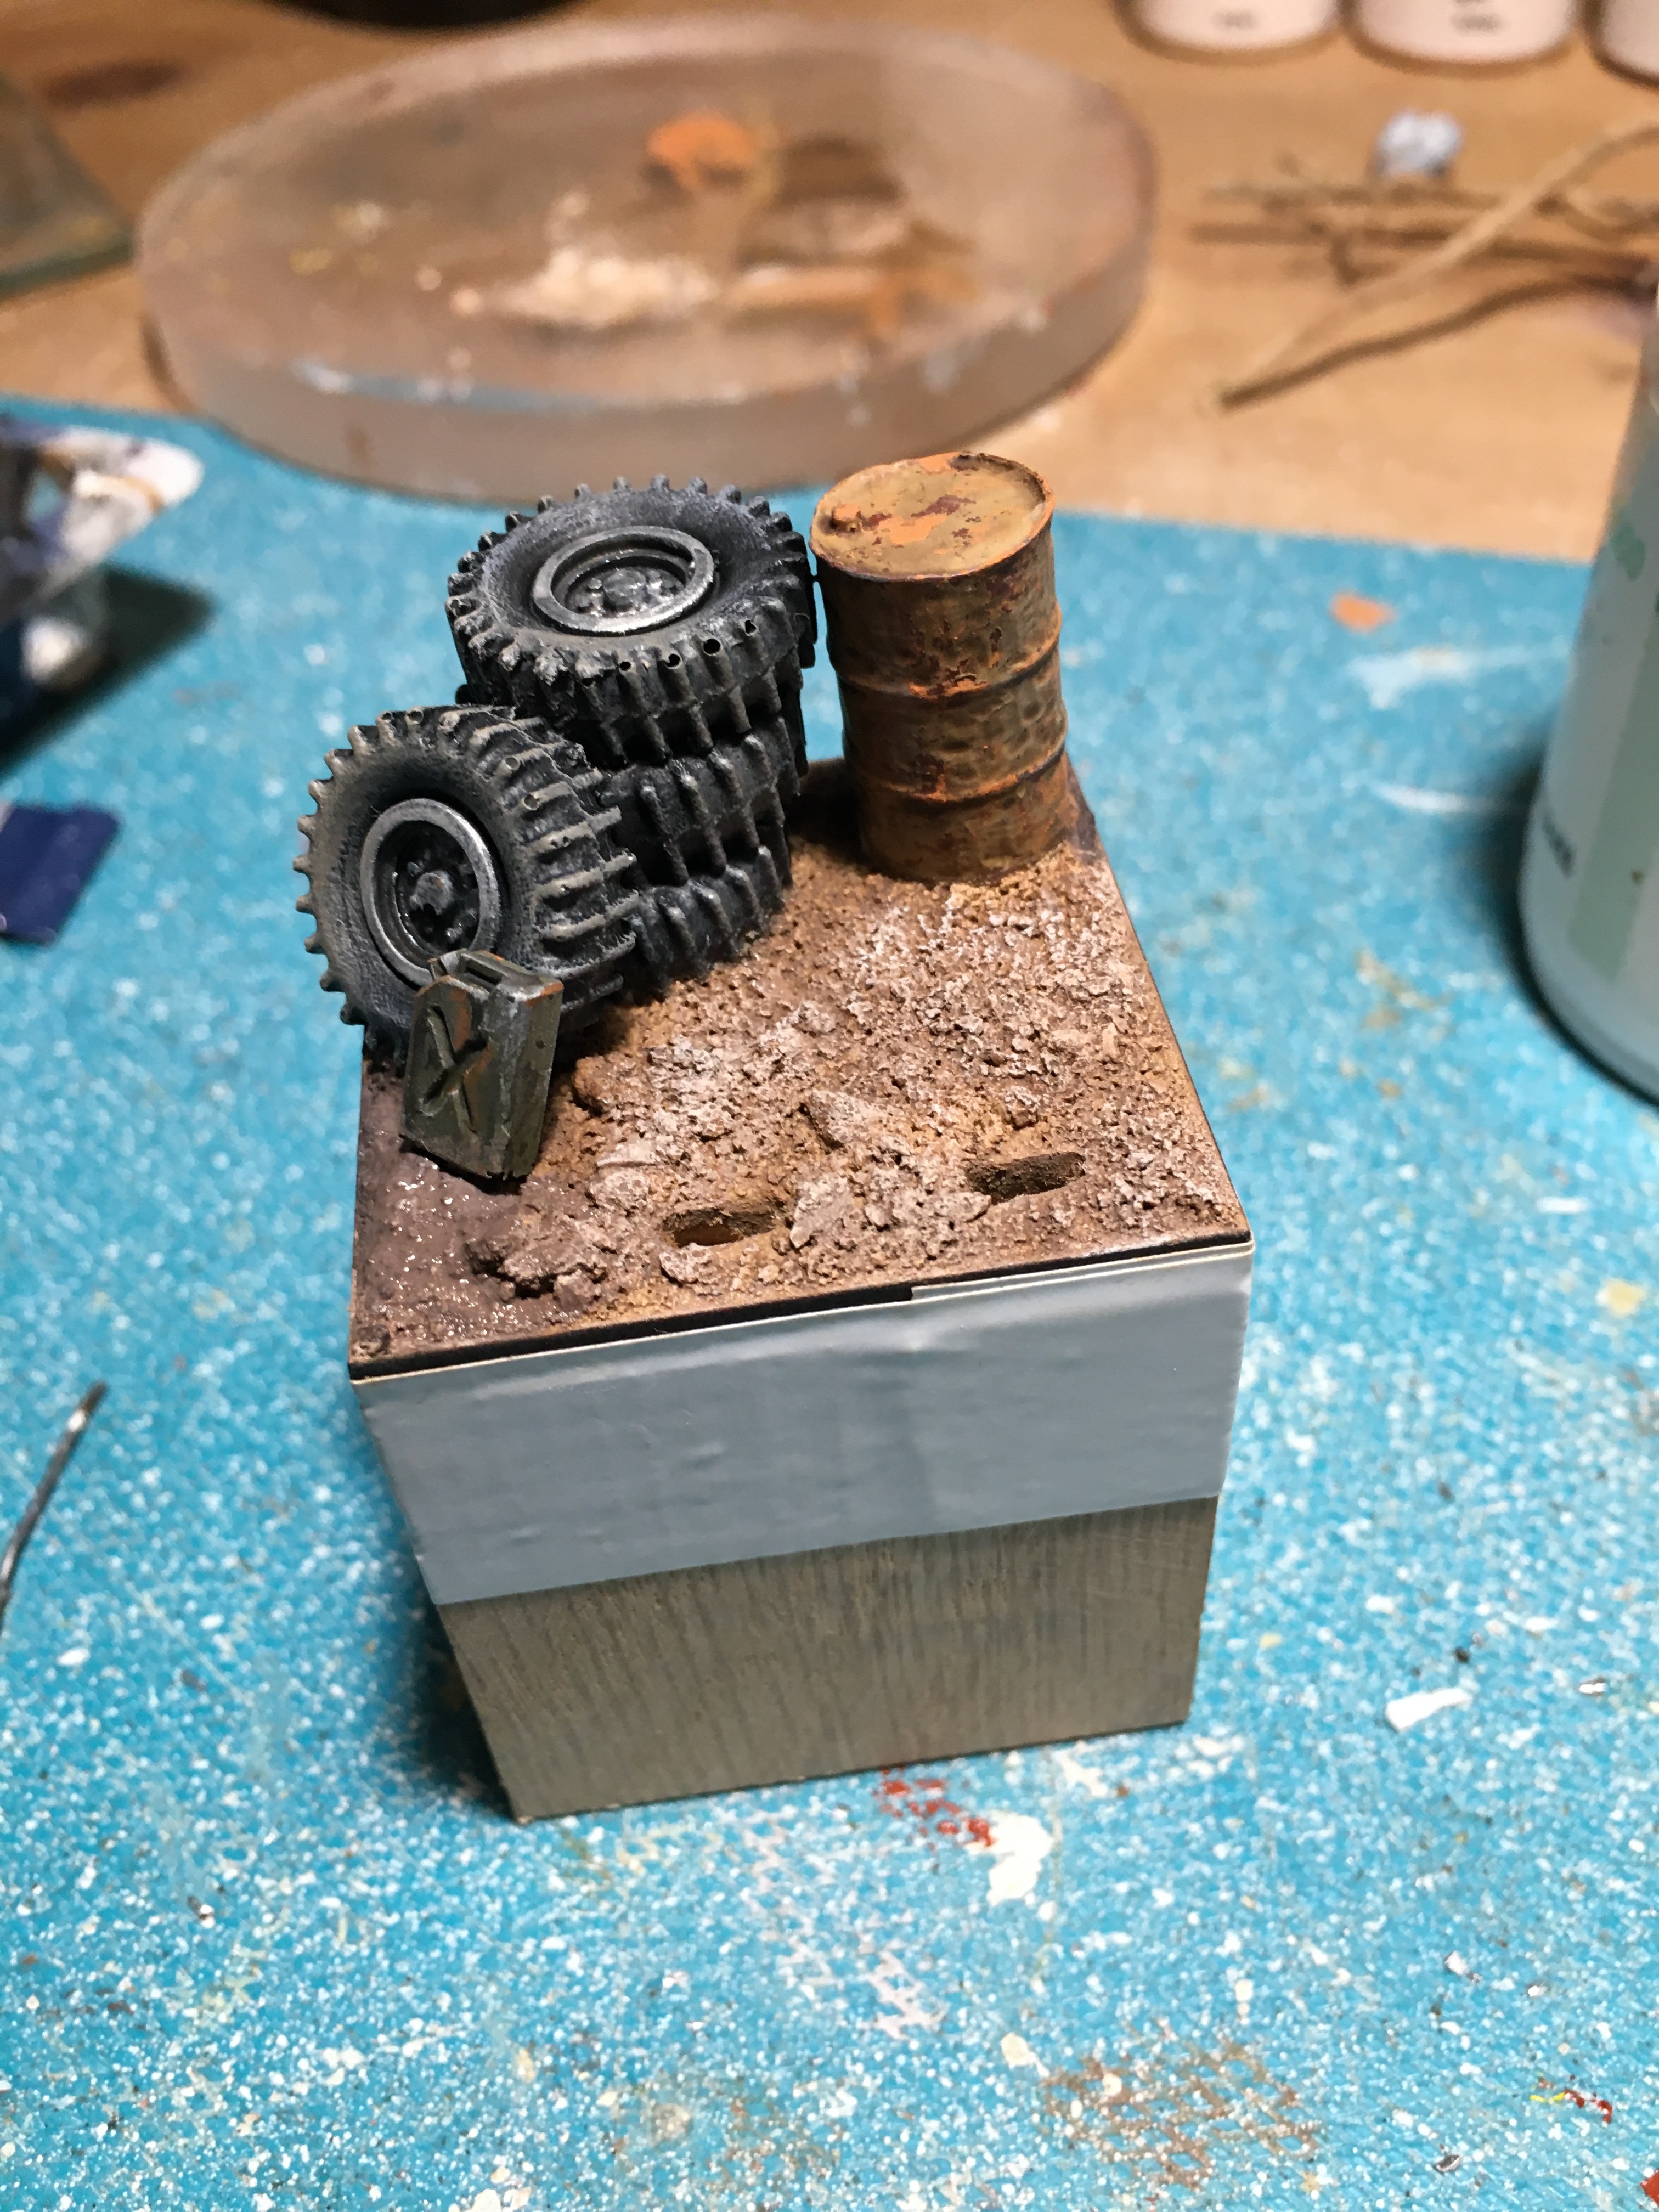
Following on from last week I got the remaining base work done.  Essentially this amounted to ground painting and dry brushing, a little bit of vegetation and a made up sign reading “GAS”.  The real effort went into painting “Billy Joe”, a very nice sculpt from Reaper.

The figure lent itself to some freehand so I figured I’d do as much as I could.  The check shirt took a little while but seemed appropriate as did the “BJ” on his hat.  A heart tattoo on his left arm seemed touching and and the jug needed a label which was hard to actually photograph.  I also added a symbol to his bib which was meant to look like a planet with rings around it but it is so bloody small! 

All in all I am happy to end on this one for Diorama Lite.  I am confident more will return later in the year, I have the figures and plenty of ideas just not the time.  That will all change come the Autumn.  The weather will change and along with the shorter daylight days I will be forced back indoors with time on my hands.  Until then, or unless there is a change in circumstances, I shall be continuing with my Baron’s War project and posting on Wednesday’s and Saturday’s.  I suspect occasionally figures from a different genre may appear as the need in me grows to paint something different for a change.  I also need to give some thought to how I will eventually display my Baron’s War figures 🤔.

Images of “Billy Joe” below.

TIM


DSC_0972DSC_0971DSC_0970DSC_0969DSC_0968DSC_0967DSC_0966

Diorama Lite – “Billy Joe, Zombie Hunter” (Part 1)

The way things are going at the moment it very much looks like this will be the penultimate Diorama Lite post.  I will aim to get this one finished during the week ahead but then I will be taking a break from Monday posts.  With all the will in the world I can no longer juggle three posts a week, quite simply other things are now competing for my time and I also want to concentrate on my Baron’s War project. 

Will this last?  No.  Release from lockdown together with summer in the UK means it is time to get out more.  There are outside jobs to do, family and friends to catch up with and places to go.  Come the Autum and Winter months I feel certain Dio-Bolical Monday will be back and between now and then I reckon there will be the occasional news update to follow on from last Mondays post too.  I suspect Diorama Lite will also make the occasional guest appearance as well.       

Back to “Billy Joe”.

The figure, a great little sculpt from Reaper, will make an appearance next week.  This week, between other things, has been about getting some basic base work done.  I’ll need to dedicate much more time to this next week if I am to get it finished. The tyre stack, oil drum and petrol can all came from Crooked Dice.  They do some great accessories and are well worth a look at.  Their range has become quite extensive and the prices are, in my opinion, reasonable too.

What you see below in the sequence of photo’s is the start of the painting process followed by the weathering and dry brushing.  It never ceases to amaze me, not just in respect of my own work but with others too, how these things transition from basic metal, plastic or resin into something which looks more life like.

As far as the painting goes there isn’t a great deal to report other than I used the hairspray technique on the oil drum.  In case none of you know what that is I will explain it here.

After priming the drum was painted black.  This wasn’t essential but I just wanted an extra layer of colour to be on the safe side when paint gets removed.  With the black dried the key “rust” colour was applied, in this instance Vallejo Color Red Leather.  Left to completely dry the drum was then sprayed with hairspray and allowed to dry once again.  Next a top colour was applied. Obviously you can chose whatever colour you want by I went light for maximum contrast.  Allowed to dry the next step is to take an old brush dipped in water and slowly start to brush where you want the rust to show, typically this is edges and rims.  As if by magic the top colour is slowly removed showing the rust colour beneath.  The reason for the black layer was just in case I missed anywhere with the hairspray and took some of the Red Leather off too.

Once I was happy with the result I added some Humbrol rust weathering powder here and there.

That’s it for this week.  Some more basing to be done next week along with “Joe”.

TIM


img_1236img_1237img_1239img_1238


Diorama Lite – “Fulumbar, Dwarf Captain” (Part 2 – Final)

As anticipated I was able to complete the base work and figure of “Fulumbar” quite comfortably this week.  I do like Reaper figures as many of you will know and this little 28mm chap, a dwarf captain no less, was fun to do and had a nice bit of detail to pick out.

The base needed more paint work along with a few bits of plant to help bring it to life and the water effects such as they are were extremely straight forward.  I used the method I employed on my Wizard Tower project but on a much smaller scale.

Little else for me to add this week other than images of the finished model.

TIM

Diorama Lite – “Fulumbar, Dwarf Captain” (Part 1)

Unless I have any others tucked away unbeknown to me then “Fulumbar” is my last dwarf.  It will be some considerable time I think before I do another.  I therefore thought I would go about trying to give him a nice little setting.  I had in mind a rural setting with a little bit of water and a stone wall.  Nothing to fancy but just enough to set the scene on a 40mm square base.

The first step was to get a little bit of height into the base which I did using a few stone chippings and a small lump of DAS air drying clay.  Once the clay had harden a little I started to cut into it to create the space for where the water would eventually go.

The next step was to build a little section of wall taking care not to take a small chunk out of my thumb!  I used some plaster board to make stone bricks and then simply stuck them together with some PVA and set aside to dry.  I then set about filling a few gaps, adding a little texture and planting a small twig.

Once dry it was time to get some initial colour onto things.

Base colouring mostly done it was time to turn my attention to toning things down some what and trying to get a more realistic finish.  Muted colours were dry brushed on along with a little green here and there.

Time now to work on the figure itself. 

The little chap is close to being finished and there is some more work to be done on the base.  Neither should take very long so feeling pretty certain it will be done by next week.  All being well I should also have time to spend getting another figure or two done for my Medieval Army.

TIM


Diorama Lite – “Frazetta Death Dealer” (Part 2 – Final)

After last weeks rather dull post I am rather hoping this one will prove a little more interesting.  If not then I apologise for misleading you last week.

I suspect some of you are familiar with the Frazetta Death Dealer painting.  Here is an image of it.

Death Dealer (painting) - Wikipedia

A pretty cool painting by any standards in my opinion.  Thanks to a news letter email I received from North Star Miniatures I picked up on their promotion of this Lucid Eye figure.  At £18.00 it was far from cheap but I fell in love with it and decided I wanted to have it, and besides She Who Must Be Obeyed fell for the line that it only cost a fiver!

I’d like to think the base and my figure painting did an amazing sculpt justice but painting black and pretty much only black is always a challenge.  Still it is done now and you can make up your own minds.

Images below.

TIM

Diorama Lite – “Frazetta Death Dealer” (Part 1)

I very nearly didn’t post this article but then I realised I had nothing else to put up so then decided what the hell.  Part of the problem is flitting between various projects, not least of all my Knights Army one.

So, how do I make a dull post even slightly interesting?  Well my only shot of doing that is by telling you that the figure which will go on this base when painted is very, very cool indeed and it wouldn’t surprise me if one or two of you were keen to buy one of your own in due course. 

OK, exciting bit over, onto the dull bit.  No matter how good the figure is it needs a base.  The problem with this base is it needs to be very basic and very dark and dead looking and as a consequence the end result will be dead and dull looking!

First up we have a couple of images of small pieces of plaster board being stuck to a 40mm x 40mm base.  The pieces were then trimmed back and carved a bit hear and there to make things look a little more rock like.

In the back ground of this next image you can see that I have added some slate chippings from my garden and mounted the MDF base onto a 40mm x 40mm oak cube.  In front you can see various pieces of twig.  In actual fact they are bits of root from an unknown plant but they have a great texture and so I thought I would try using them to make a very basic bit of dead tree.  The only problem I had was none of the various bits and pieces were any good in their own right.

To get round this I decided to combine different twig pieces by drilling and pinning a couple together.  If I can find the right plant roots in future I think I might prefer this approach to making trees rather than using wire.  Thinking about it further a combination of the two approaches might be the ideal.  I’ll file that idea away for the future.

A little while later and things began to take shape.


Another piece to add and it will be done and then I can add some Milliput to fill the gaps and mount it in the base ready for priming an d painting.

For some dead looking flora I thought I’d try painting some tufts black.  The image below shows I have started.

Unfortunately due to incompetence, the excitement of painting the figure which will go on this base and the distraction (a welcome one, I’m not complaining) of wanting to paint my Baron’s War figures I made little more by way of progress and failed to take any more photographs!  I am beginning to realise I will need more discipline when it comes future posts of this kind.  Either that or I will have to put all my efforts into one project at a time.  We will see what gives in the course of the next few weeks .

TIM


Diorama Lite – Reaper “Cheiton, Dwarf Hero” (Part 2 – Final)

This week was an easy week in the sense that I really only needed to paint the figure.  He’s a nice little 28mm Reaper mini with quite a lot of detail and he had a pretty good pose for a chap standing outside his doorway before he goes off to hit some poor unfortunate over the head.  Dwarfs I am given to understand can be a bit like that.

I had already left a suitable whole in the base for positioning the figure so other than some minor adjustments and a few touch ups there was very little else to do.  Overall I am pleased with the outcome but I hope over time my imagination will inspire greater things but you have to start somewhere.  For me identifying nice figures holds the key and I have a few already lined up so we will see where we end up.  For now though the journey has begun.

Images below.

TIM

DSC_0944DSC_0946DSC_0948DSC_0949DSC_0943DSC_0945DSC_0950

Diorama Lite No:1 – Reaper “Cheiton, Dwarf Hero” (Part 1)

Welcome to the first Diorama Lite post.  The concept of this series is to feature based figures which offer a little bit more than a typical wargaming style base, a micro diorama if you will.  Whilst the work involved isn’t in the same league as a larger diorama churning these little models out on a daily or weekly basis simply isn’t going to happen.  I anticipate each one taking a couple of weeks to do on average.  Slower in the spring and summer perhaps and maybe quicker in the winter when more time is spent indoors may become a factor in the fullness of time.  Without further a do let’s get under way.

The featured figure for this model is as the title indicates a Dwarf.  All being well you will get to see him next week in part 2.  The concept for the base is a simple affair.  Our hero dwarf is simply standing outside his front door.  Now that’s got you excited hasn’t it?

First up there was a need to make a door.  Wooden coffee stirrers, a bit of polystyrene, lead foil and pin heads for the hinges and wire for the door handle were all used.

img_1148img_1151

Slate chippings from the garden were used to create steps leading to the door.  The model is being built on a 40mm x 40mm MDF base which will then be mounted on a 40mm oak cube plinth.

img_1149

A piece of plant root was used to make a small tree.

img_1152

I made a couple of giant toadstools using Milliput mounted on top of pin heads.

img_1155

Thereafter it was pretty much all about adding some filler to the polystyrene and once it was dry painting and weathering everything followed by a little bit of assembly.  A mixture of paint colours and paints were used – acrylics and oils.  Finally some plant life was added.

img_1156img_1153img_1164img_1159img_1162

Some touching up here and there will be needed once the figure has been positioned but for now the scene is pretty much set.

TIM