The Hobo – Knuckleduster Miniatures

What, no Dio-Bolical Monday post this week?  Why?

Well when I was working on my Baron’s War army last year there were times when the project became a labour of love.  Some of the sage advice I received at that time was to do something different occasionally, a palette cleanser if you like.  Now whilst I’m very happy still working on my Death and Taxes diorama I thought it might be appropriate to take a brief sojourn even though I’m not sure I can afford the time out given the pace I have been going at.

As it has been a while since I did a Knuckleduster figure, and I still have a few in my pile to do, I thought I would tackle this little chap.  A simple enough figure to paint and one which wouldn’t bog me down for any length of time.  It made for a welcome change.

Not a conventional cowboy pose by any means but I rather liked the look of “The Hobo” and although I didn’t go to town on him I did try to give him a basic dusty bedraggled appearance.

Short break over it’s time to get back to the diorama.

Images below.

TIM

DSC_0001DSC_0002DSC_0003DSC_0004

Grizzly Attack (Part 3 – Final)

This week was all about getting the third and final part of this model completed, specifically the cowboy. 

As in the past when I have painted mounted 54mm figures I find them a pain in the arse to paint.  I never seem to be able to hold them in away which works for me and this one was no exception.  Having said that I got there in the end and overall I was pleased with the result.  With the painting finished but for some dry brushing and weathering he was duly mounted on the horse.   The next step was the one I never look forward too, painting and fixing the reins in place.   This proved tiresome but in the end I got there.

The dry brushing and a little weathering was applied before the bear was fixed into position and then my attention moved to the base.  Although I liked the base it didn’t work with the horse and the way it was pinned.  Basically the horses hooves were to high above the ground and building the ground up around them would have looked odd in my opinion.  I don’t have a picture to show you what was wrong so you will have to take my word for it that it didn’t look right!  I pondered how to get around this and in the end settled for putting down some splashing water.  Initially I was pleased with the outcome but now as I look at the images I think I added to much white to the mix.  The only way to resolve that would be to strip it back and I don’t have the appetite for that right now so I’m calling it done.

Overall I’m happy with this one and it was no bad thing getting back into using oils for a while, however, much to my surprise I really didn’t enjoy painting in 54mm scale again.  After doing so many figures in 28mm/32mm I found this too big.  I won’t close the door and say never again but I think you could be looking at the last 54mm figure I ever do … maybe!

Images below.

TIM 

DSC_0023DSC_0024DSC_0025DSC_0026DSC_0027DSC_0028DSC_0029DSC_0030DSC_0031DSC_0032DSC_0033


Grizzly Attack (Part 2)

This is going to be a short post for one notable reason, I simply didn’t take any work in progress pictures!

Now as you would have anticipated from the title perhaps, this model also features a Grizzly Bear.  The bear weighs a ton and proved difficult to hold at times  One way of overcoming the issues would have been to have fixed the bear in situ for some of the painting.  The problem with that was I had already fixed the horse in place and with the figure still to do I would have made life harder for myself further down the line.  In the end I went for hand holding over a few days.

Once again the painting was oils over acrylic.  Burnt Umber was the main colour  with Yellow Ocher and lighter shades of brown for dry brushing highlights.  In the final image I put the bear up against the horse, a temporary move to judge exactly where it needed to be positioned in due course.  In this image you can also see that the hind legs of the horse stick up and that work on the base needs to be done.  Haven’t fully decided what to do here yet.

Some touching up on the bear will probably be necessary but like the horse it’s almost there.

Time now to move on to the figure.

TIM

img_1552img_1550img_1549img_1551img_1528

Grizzly Attack (Part 1)

We have all done it.  We’ve had a plan but for one reason or another it has gone out of the window.  There are various reasons why this happens, one of which is a new model catches your eye which is so good you just have to buy it and make and paint it as soon as it arrives.  Such was the case here.

Notwithstanding the fact that I have plenty to do I found myself looking at some 54mm Romeo Models.  To be fair it started as nothing more than a browsing exercise and ended up with an expensive purchase.  The model in question simply screemed “buy me!” and I duly obliged.  A few days later it arrived in the post and work on it began.

Essentially there are three main components, albeit that each one comprises of several parts to be assembled.  The kit is all white metal and inevitably one of the first steps after assembly was to apply some filler.  Once done I made a start on some basic base work.  The base is a simple affair but I have plans to beef it up a bit in due course.

One of the three main components is a horse and this is where I started.  It has been quite a while since I have painted a 54mm model and whenever I do paint one I use oil paints over acrylics.  I needed to remind myself how I painted in this way, it had been that long!

For anyone asking “why oils?” The answer is a simple one.  Oils are so much easier to blend and blending is, in my opinion, essential when painting larger figures.

So far I have managed to get a lot of the horse done and progress images appear below.  I have the reins to get done but that won’t happen until the rider is mounted.  There is some more paint work to do too and doubtless there will be some touching up as well but the horse is now in situ which will make it a little easier to work on and allow me to do a little further base work.

TIM

img_1525img_1526img_1527img_1532img_1531img_1529img_1530

True Grit (2010) – Rooster Cogburn (Mo’vember Challenge)

The original film “True Grit” was released in 1969 and starred iconic Western movie actor John Wayne who played the lead character Deputy US Marshall Rooster Cogburn alongside Glen Campbell.  The roll won him his only Oscar.  In 2010 Holywood made a remake of the film starring Jeff Bridges in the lead roll alongside Matt Damon.

Knuckleduster Miniatures produce the most outstanding western figures, a great many of which are based either on real life characters or characters from western films.  They have created the figure of Rooster Cogburn from both movies and the one I have here is the Jeff Bridges version.

It’s a lovely little sculpt in my opinion and one I enjoyed painting.  Nothing to add in terms of the paint job, just a simple affair using acrylics and trying to be true to the correct colour scheme.  As to the two films I like them both.  However, if I had to choose I guess I’d come down in favour of the original.  The moment when John Wayne rides off at full speed, reins in his mouth with a gun in one hand and a Winchester rifle in the other is cinema Gold. 

“Fill your hands you son of a bitch!”.

Images of Jeff Bridges’ as Rooster Cogburn below.

TIM

DSC_0010DSC_0009DSC_0008DSC_0007DSC_0006

“Josey Wales” – 28mm Knuckleduster (Mo’vember Challenge)

This week sees the return to the Old West era and Knuckleduster Miniatures.  It’s been quite a while since I painted a western figure and it was good to delve back into the genre.  I can’t recall when I bought my last batch of Knuckleduster figures, it was certainly some time ago, and I have a fair few to get done.  I’m not in a rush to do them and the aim is to simply mix them into the to do pile to provide some variety over the weeks to come.

When the Josey Wales figure became available I knew it was one I had to have, not just for me but for my brother too.  A great many fans of the genre consider Josey Wales, the film starring Clint Eastwood, to be one of the finest ever made.  As a consequence the figure was a must buy and paint and I purchased three of them.

My brother has already taken possession of his figure leaving me with the two shown below.  I decided to base one on the same style of base as all the other figures I have done in this range and one on a little oak plinth as I consider it to be “special” figure.  Nothing really to say about the paint job itself.  All painted in acrylics with a colour scheme as close as possible to the movie character.

Personally the figure not on the plinth is the better of the two.

Images below.

TIM

DSC_0019DSC_0018DSC_0020DSC_0021DSC_0022DSC_0011DSC_0004DSC_0005DSC_0003DSC_0002

Dio-Bolical Monday No: 2 – “Fools Gold” – Part 1

This last week I have begun work on my “Fools Gold” diorama.  As the Table Top World cottage building is the smaller and much cheaper of the two (the other being the Wizard’s Tower) it made sense to use this model as the experimental one.  As with much of my diorama work my starting point was the base.  Not the base I would build but the base I would build the diorama on.

Now unless I plan to box the completed diorama up and store it away I prefer to have it on display in such a way that it doesn’t get covered in dust.  My wall storage units are not deep enough for displaying larger dioramas so I lean towards individual display cases which I buy from my mate Paul at Just Bases.  I generally buy the larger perspex cases he sells which measure 35cm wide by 20cm deep and 13cm high.  This then governs the size of the diorama I am about to do.  Armed with a ruler and my large cutting mat I worked out that this size base would be just about right for what I had in mind and duly placed my order with Paul.

Now under normal circumstances I would meet up with Paul and collect my base from him within a week or so but as we all know these times aren’t normal.  Meeting up wasn’t the problem but getting perspex was.  With all the screens going up everywhere to deal with Covid-19 perspex is an in demand material meaning it has become a little harder to get and more expensive to buy.  Oh goodie!  Paul assured me all was not lost and in a few weeks he would be stocked up, things would just take a little longer is all and so for now I am waiting on the base.

The good news is that because the design for this diorama incorporates a small stream section the base needs to be built up.  The MDF base that comes with the perspex case cannot be dug into so if I want to achieve depth I have to build upwards.  Does this make sense?  Well it does to me and if it is confusing you then all will become clear in due course as the diorama develops.

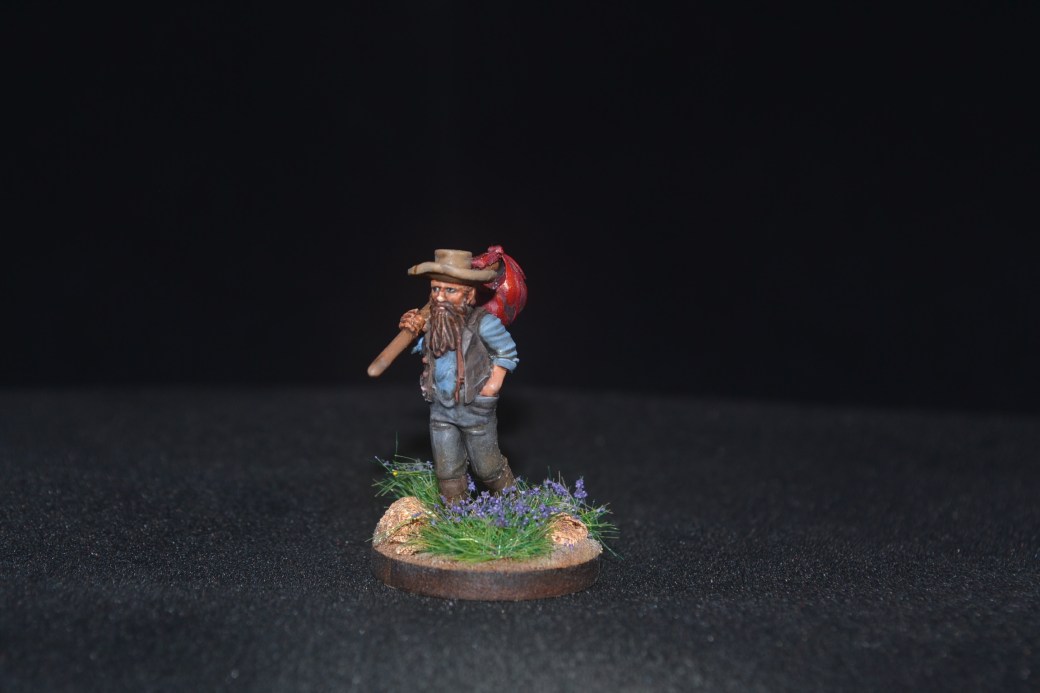
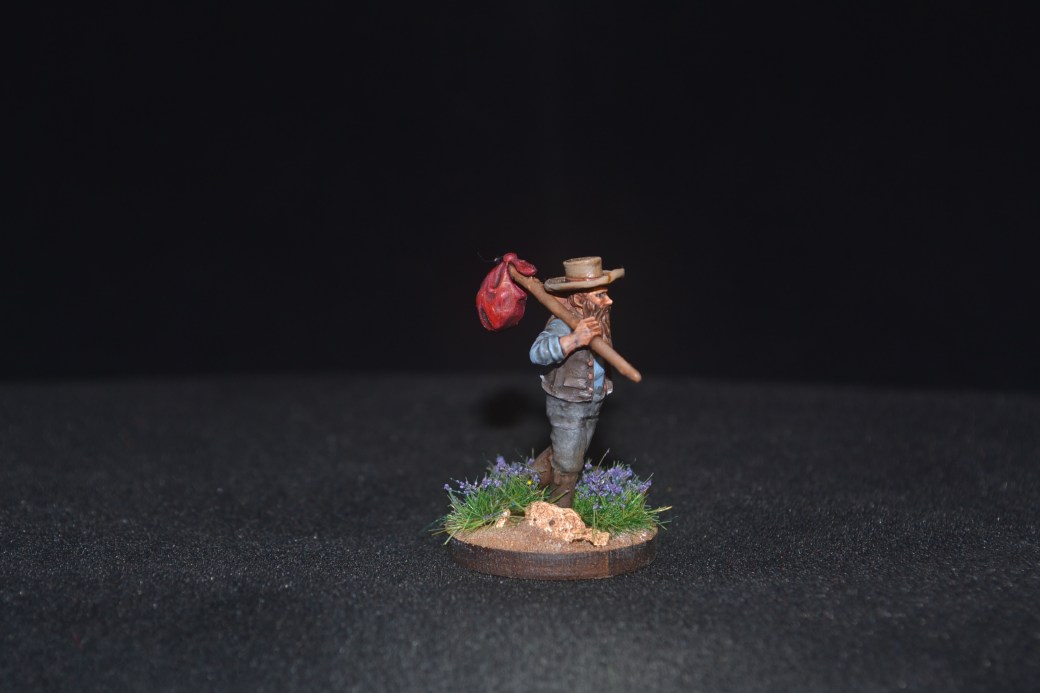
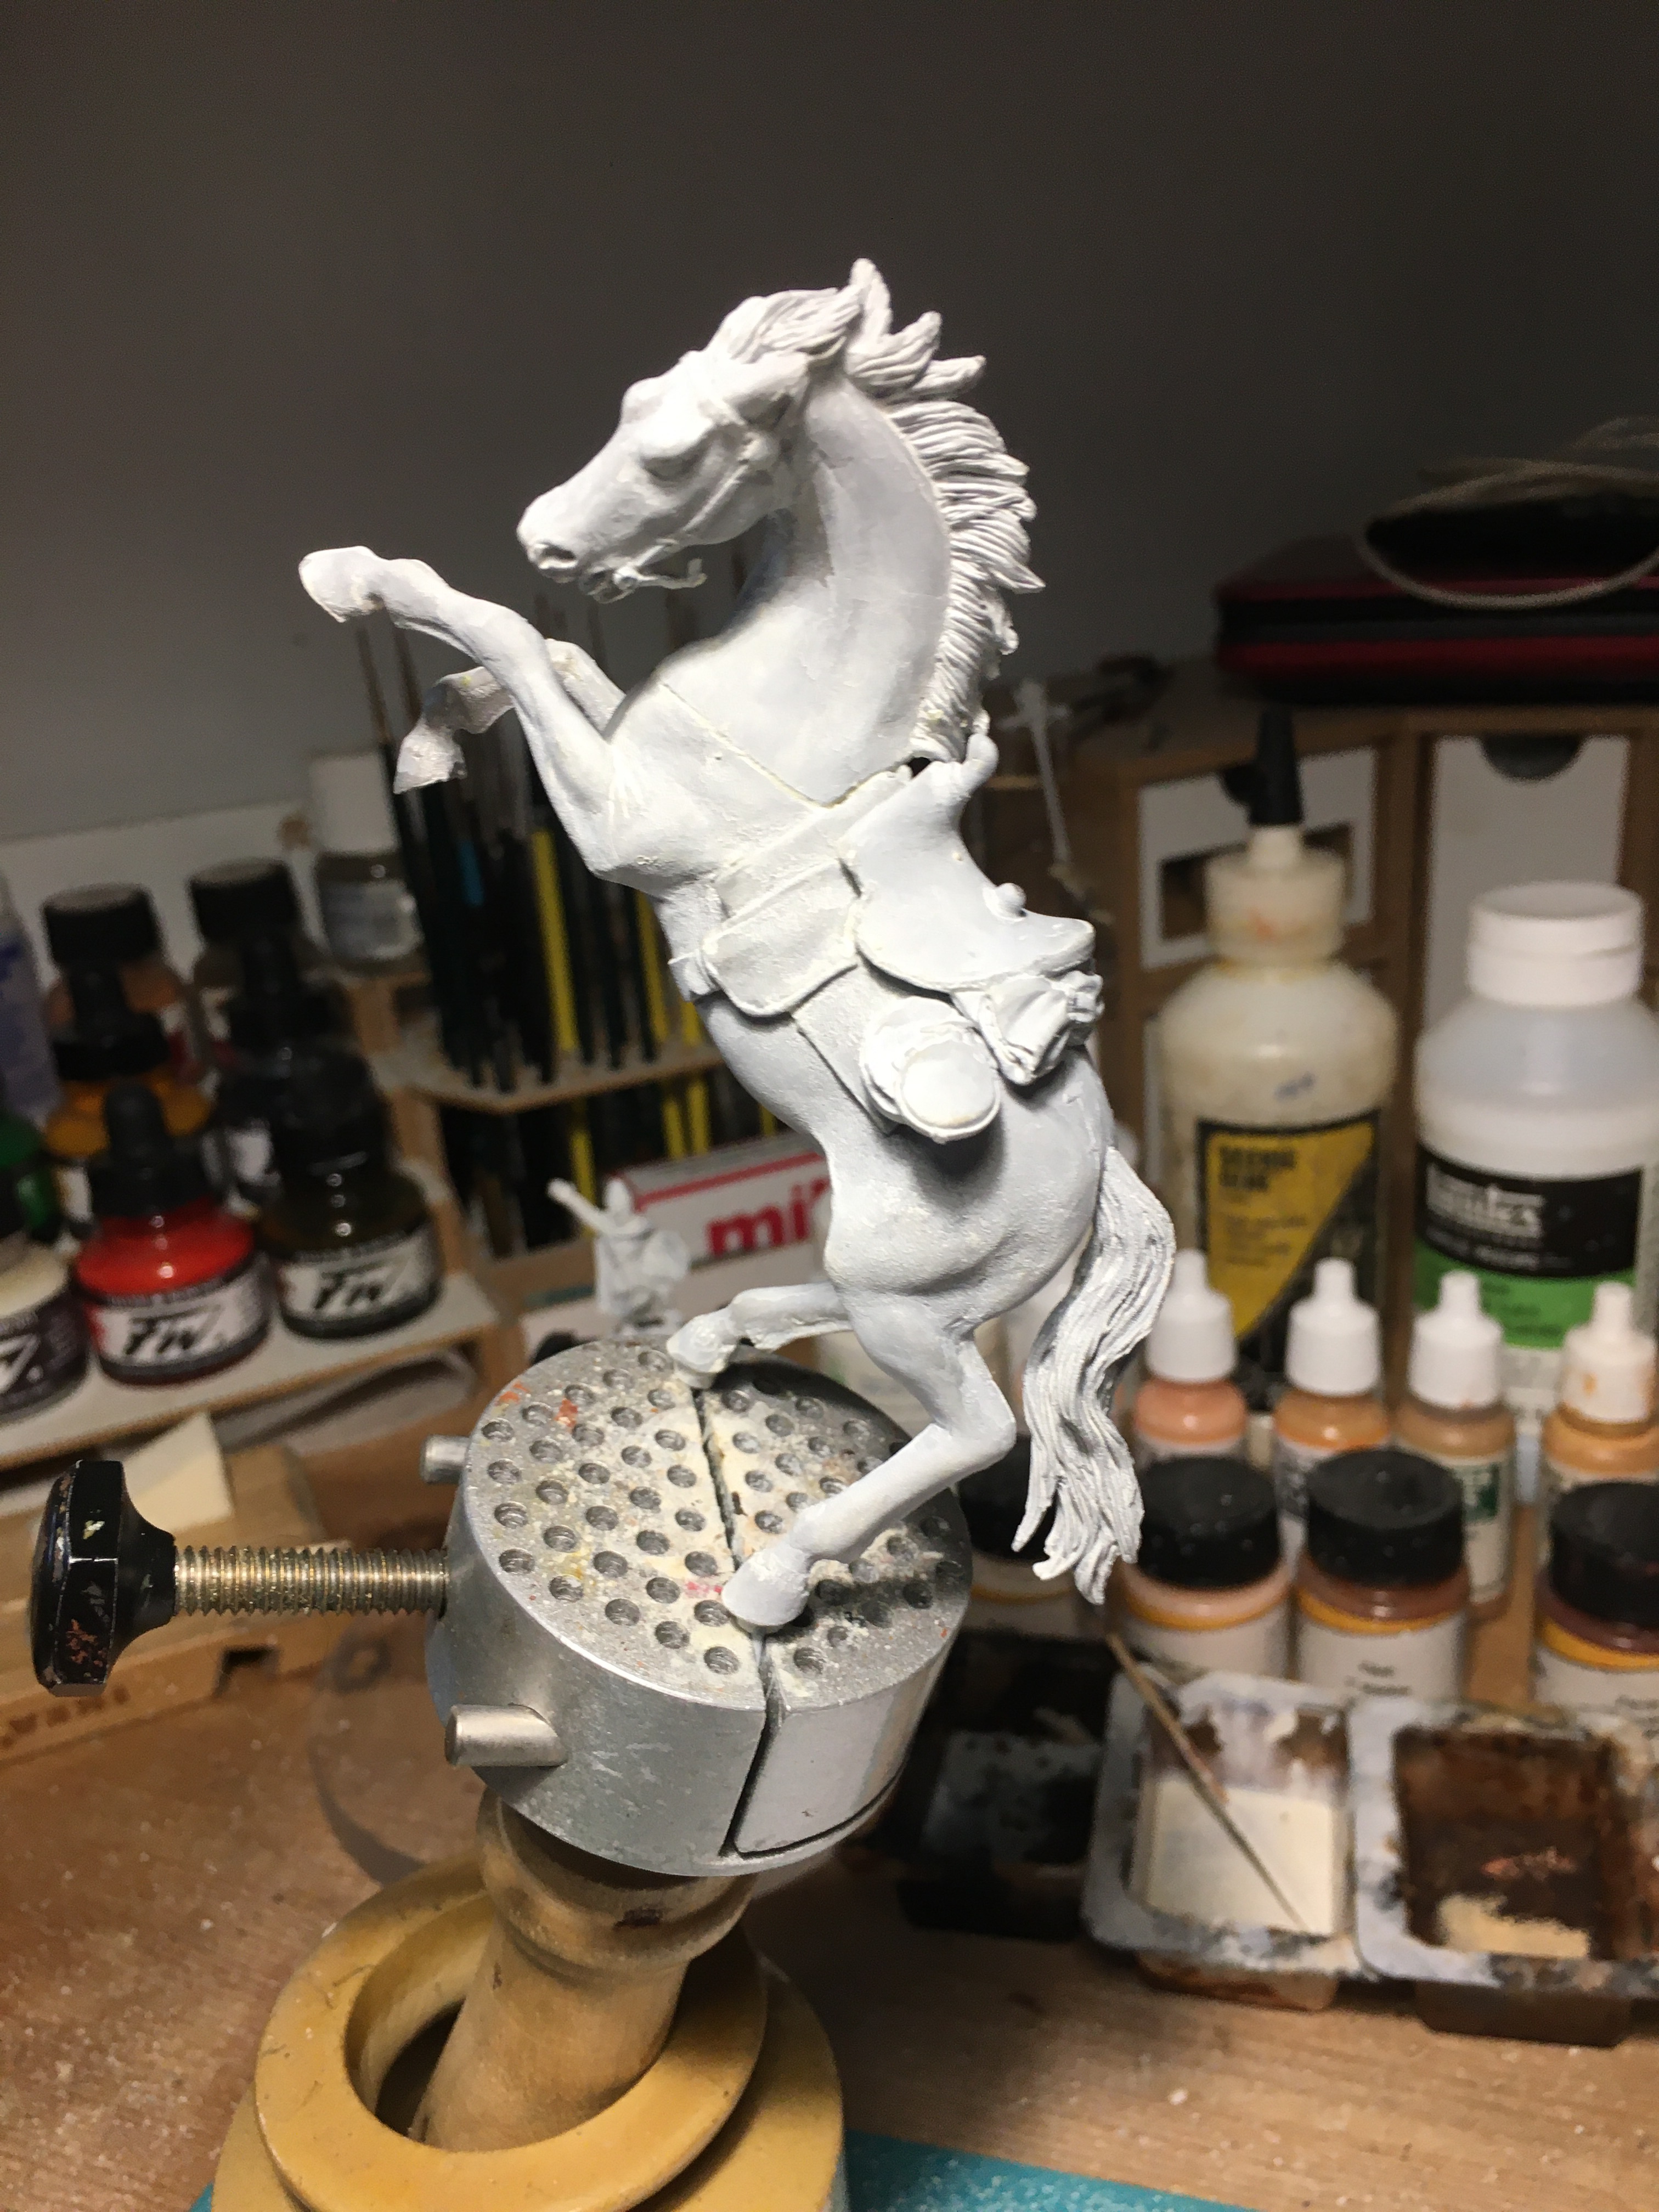
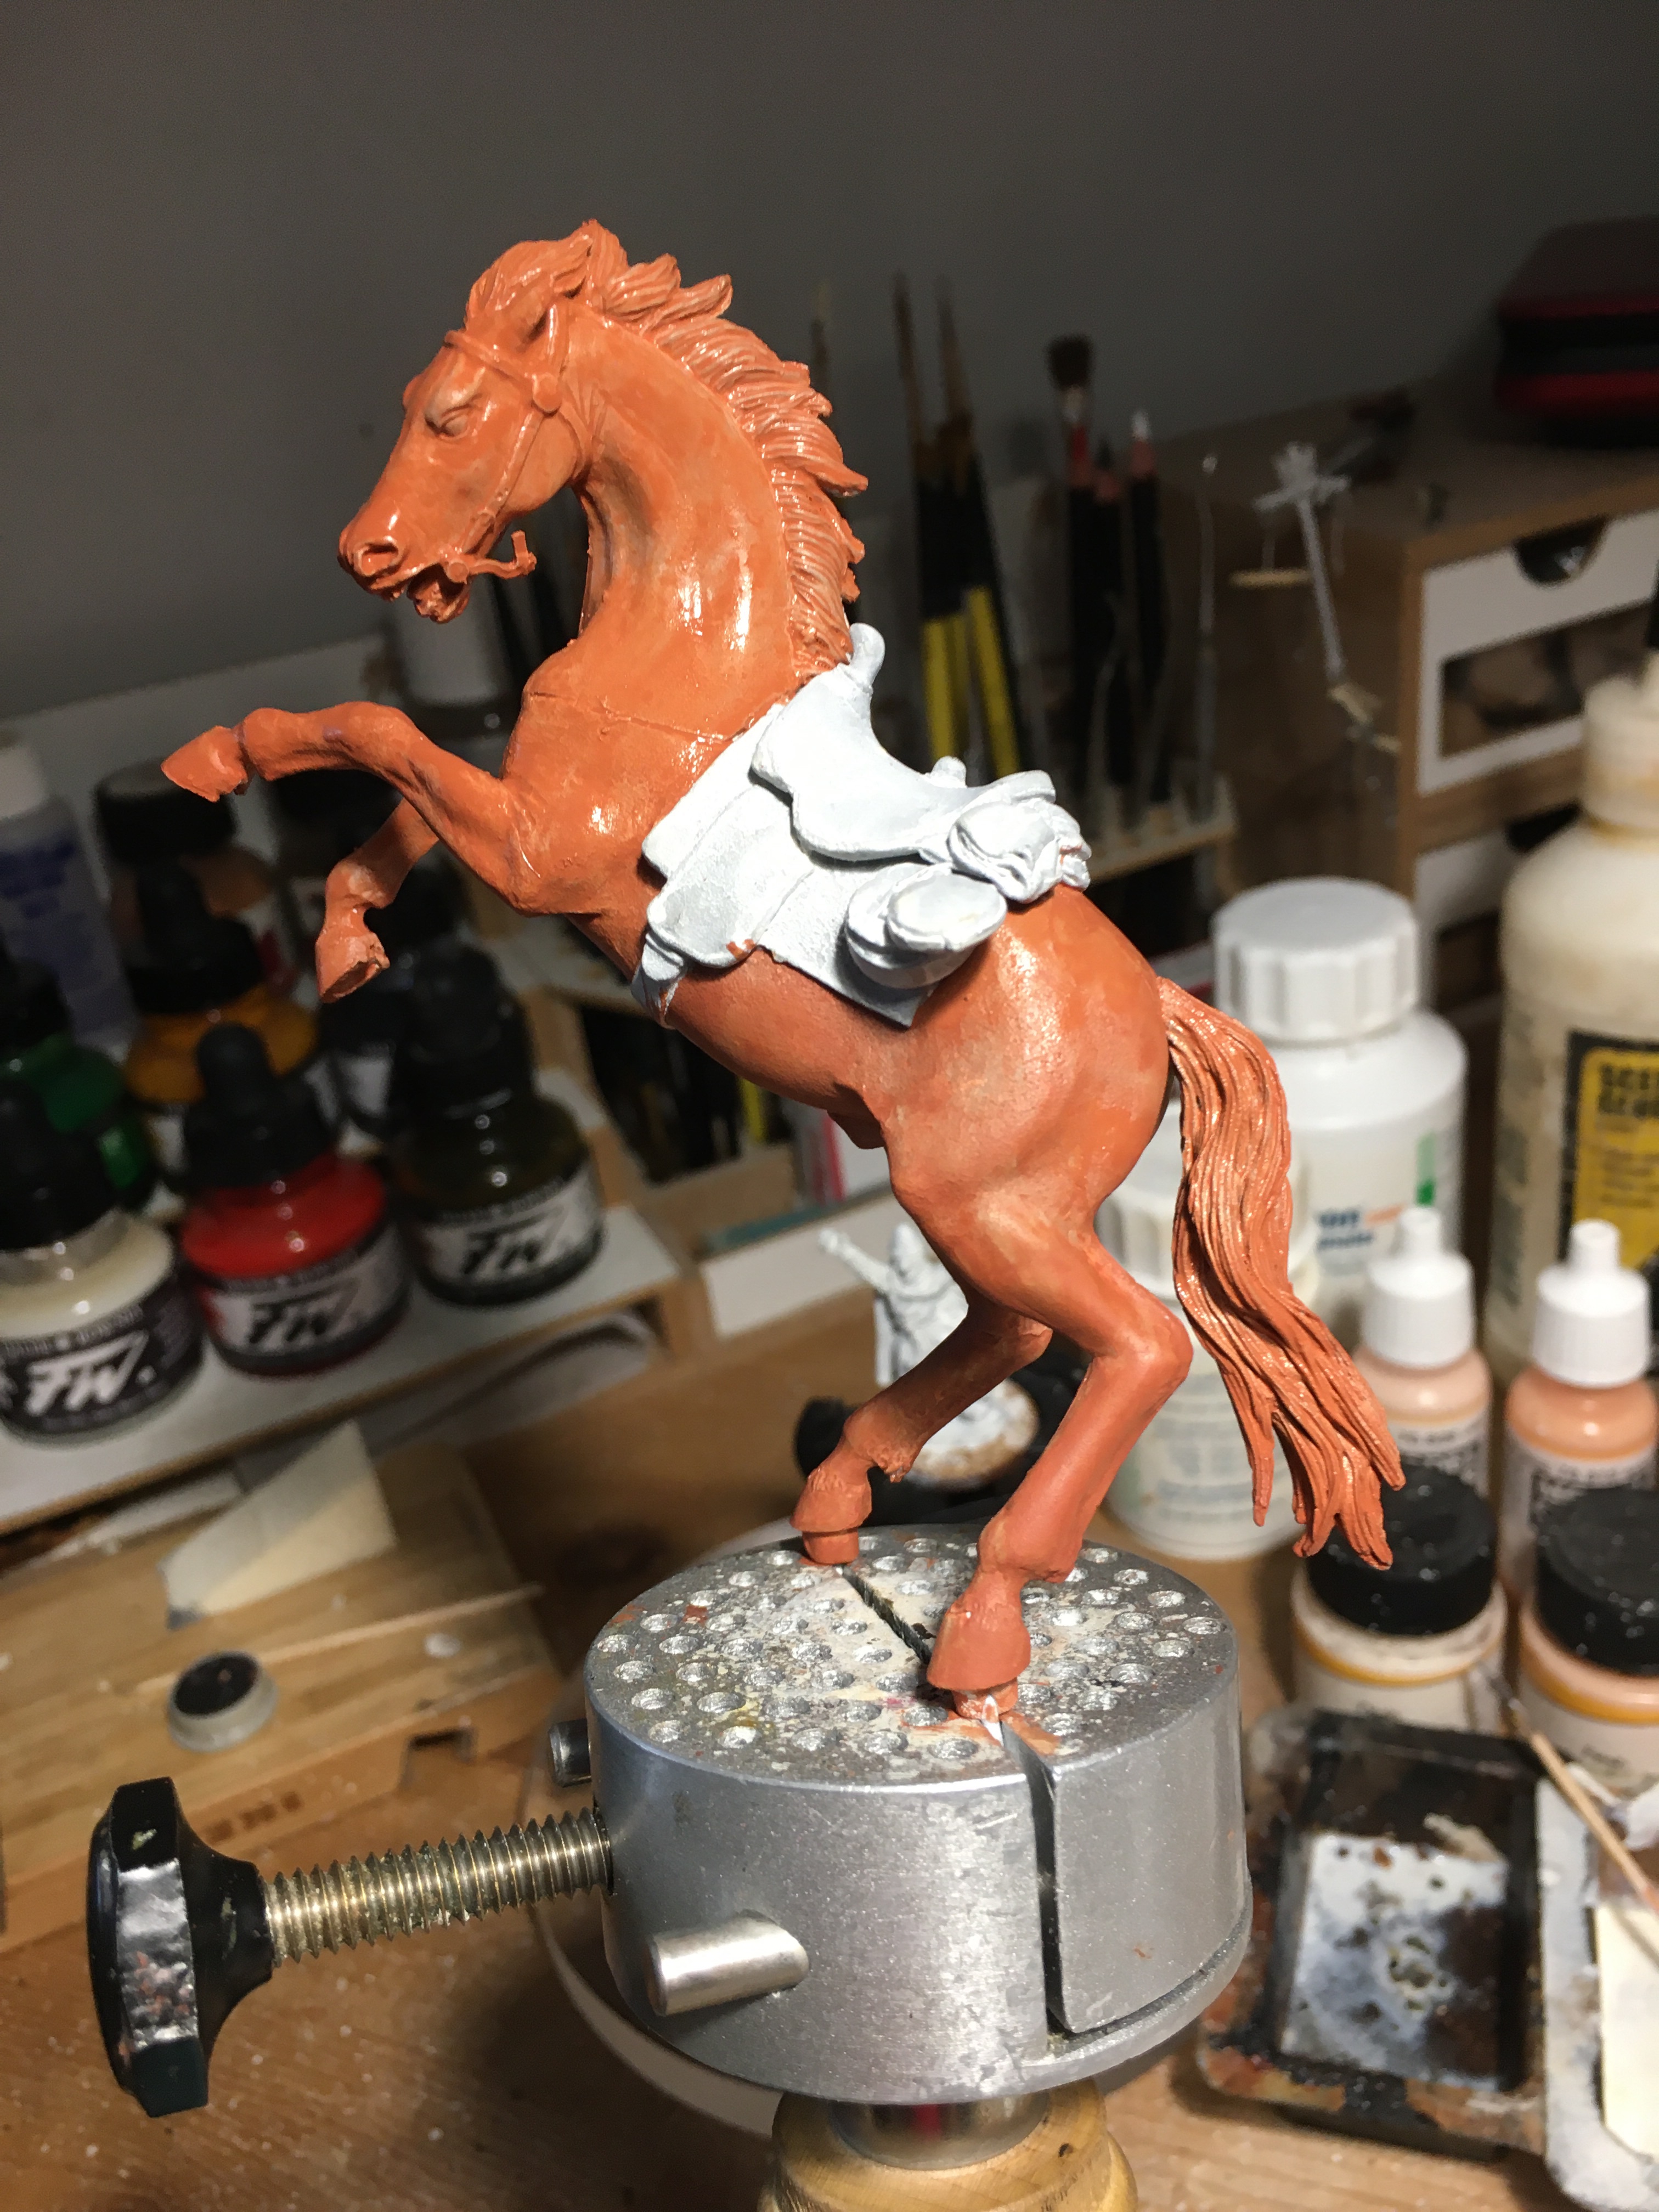
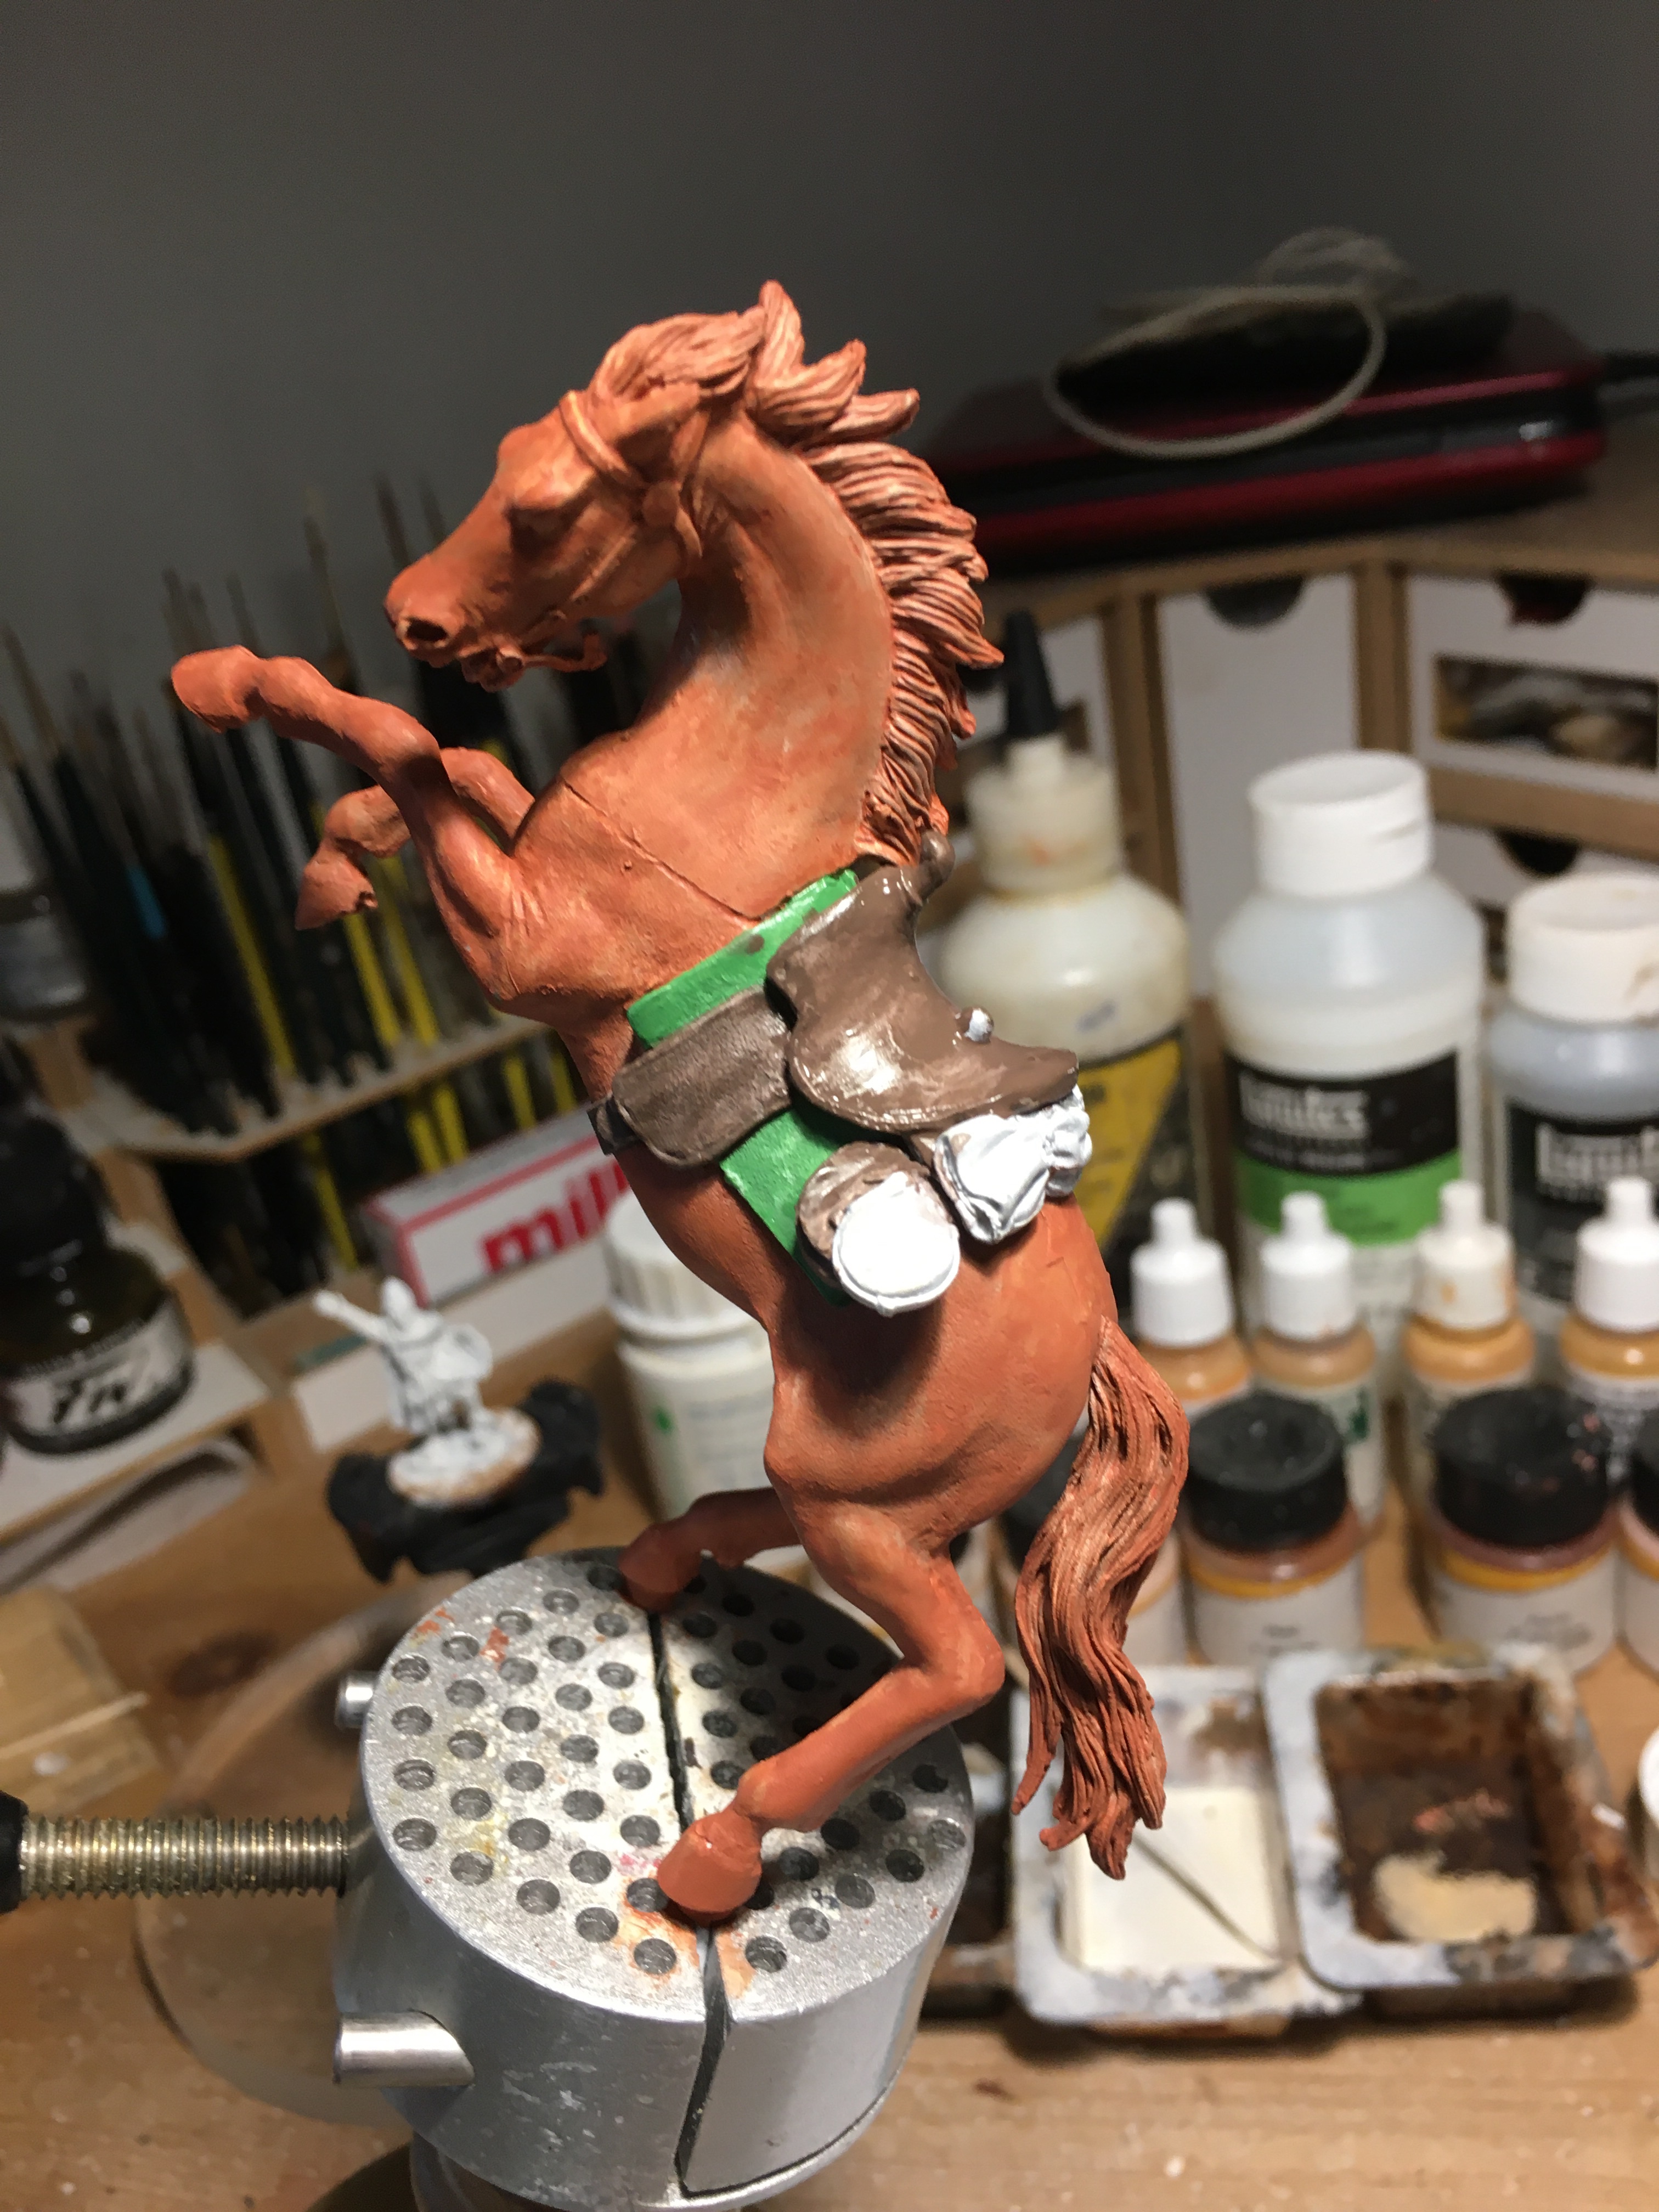
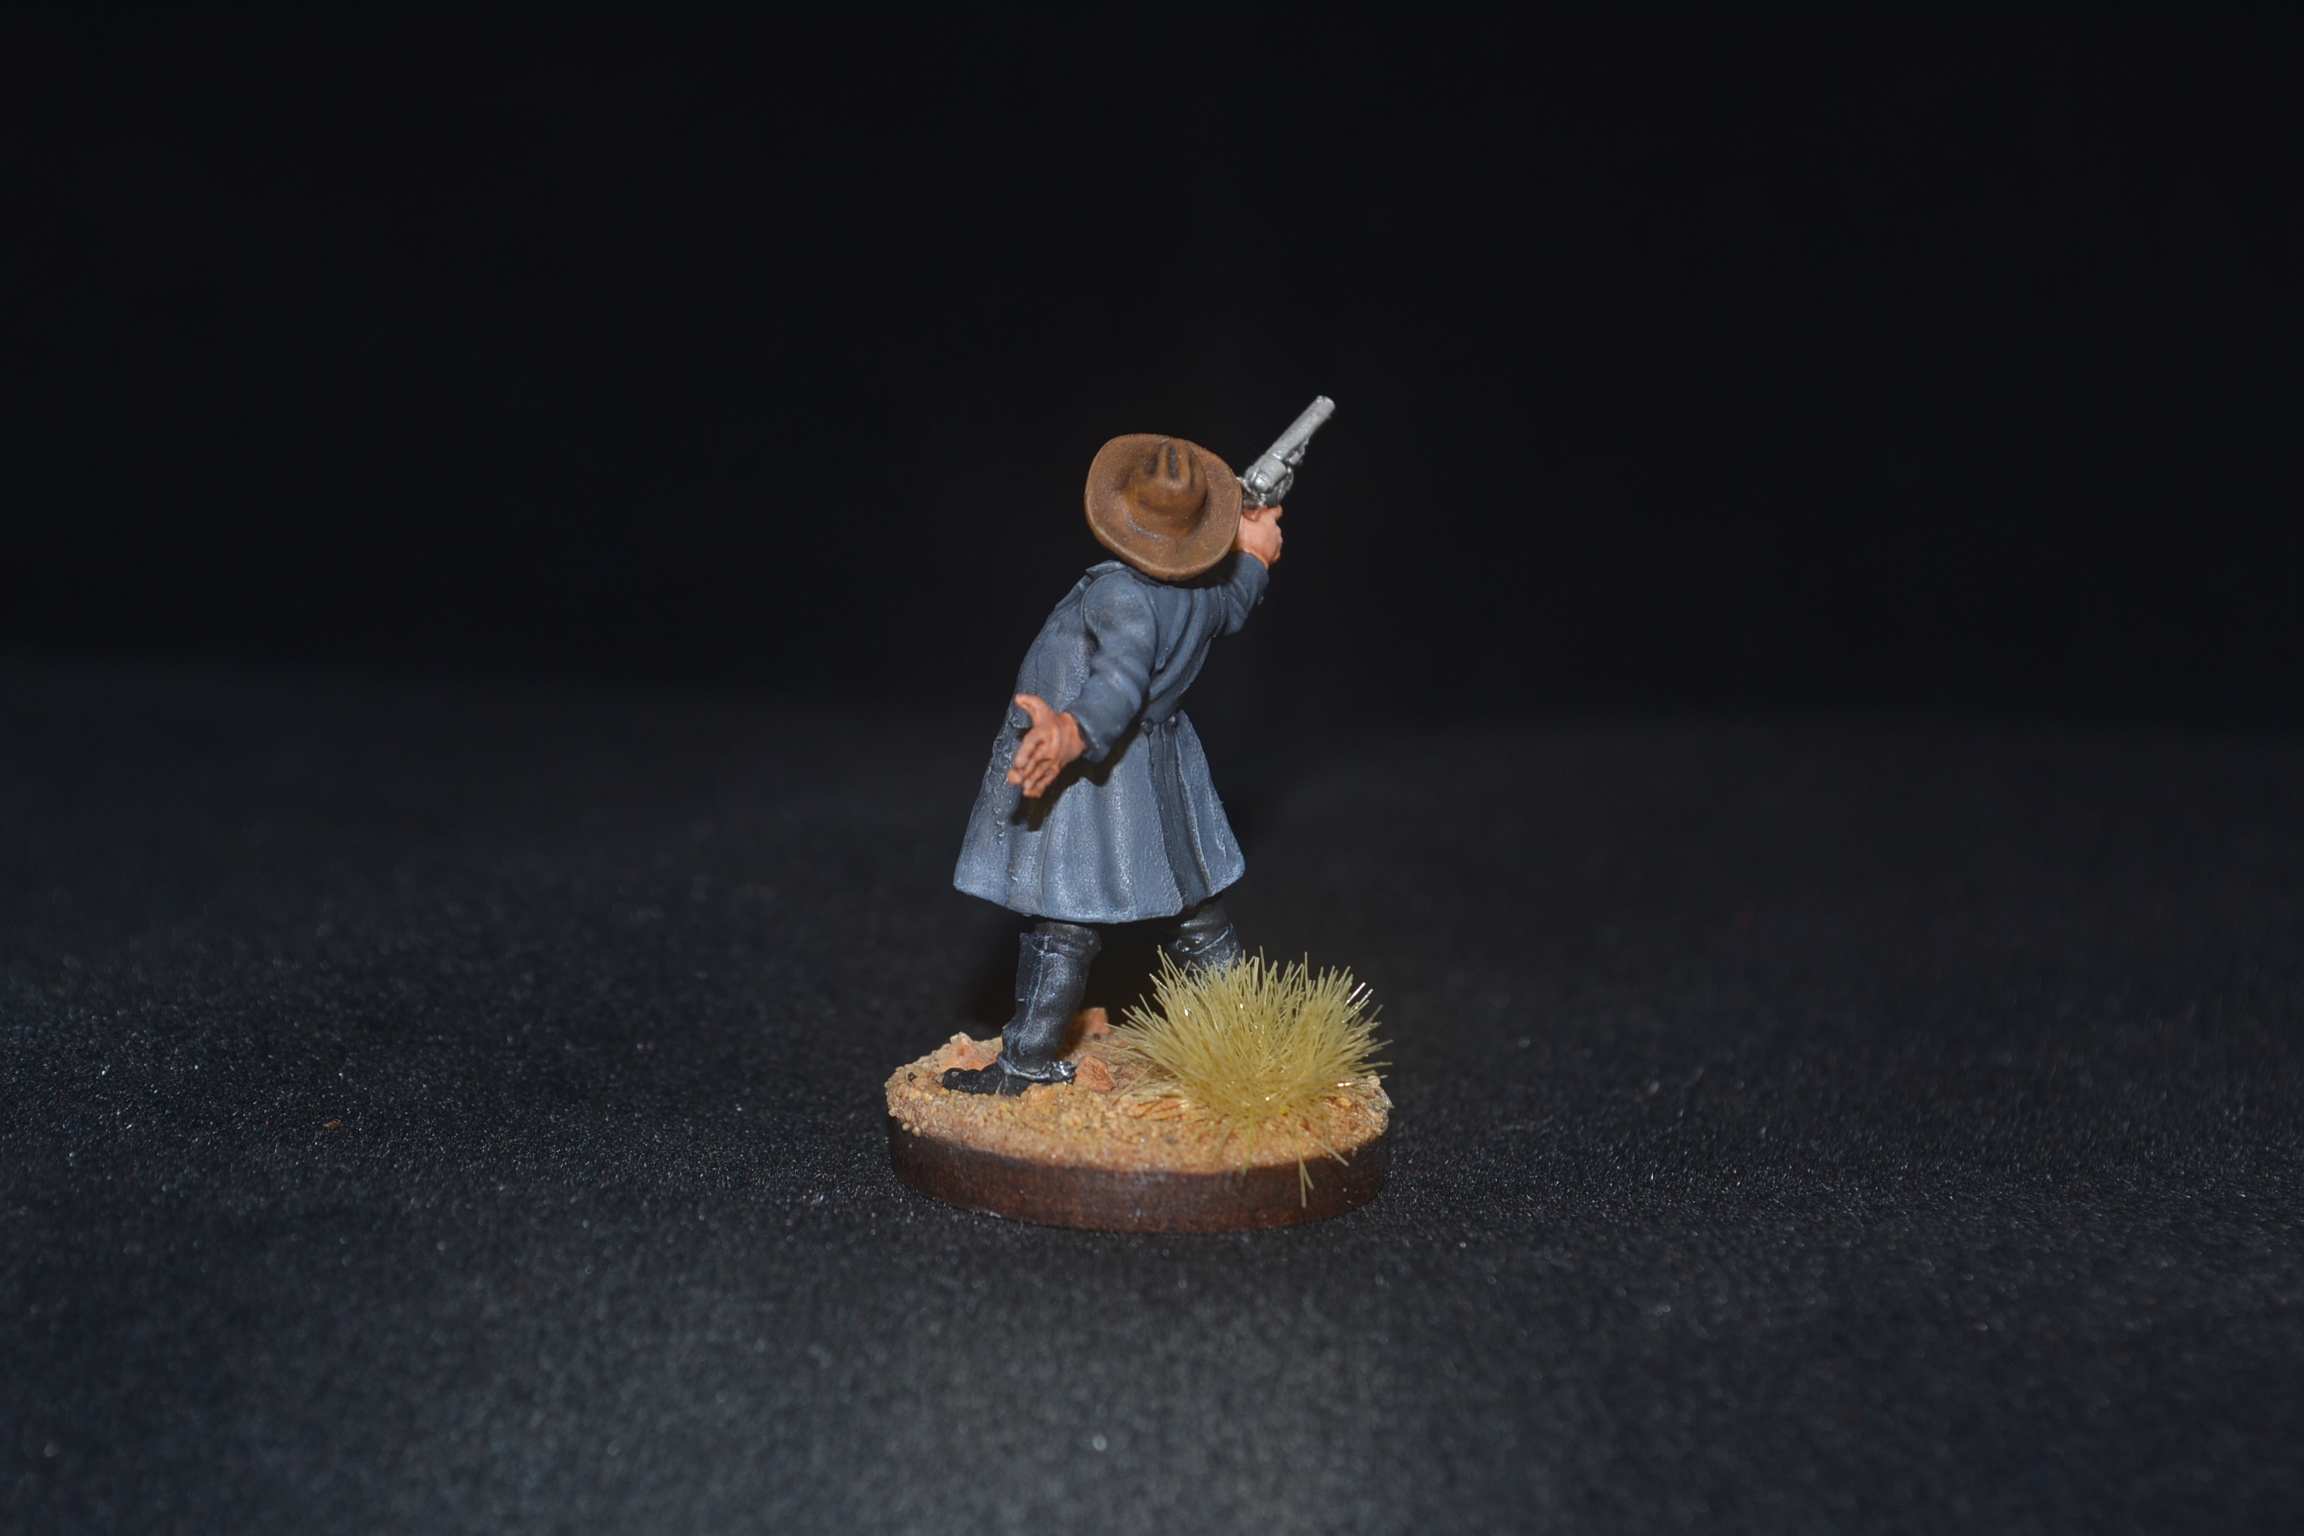
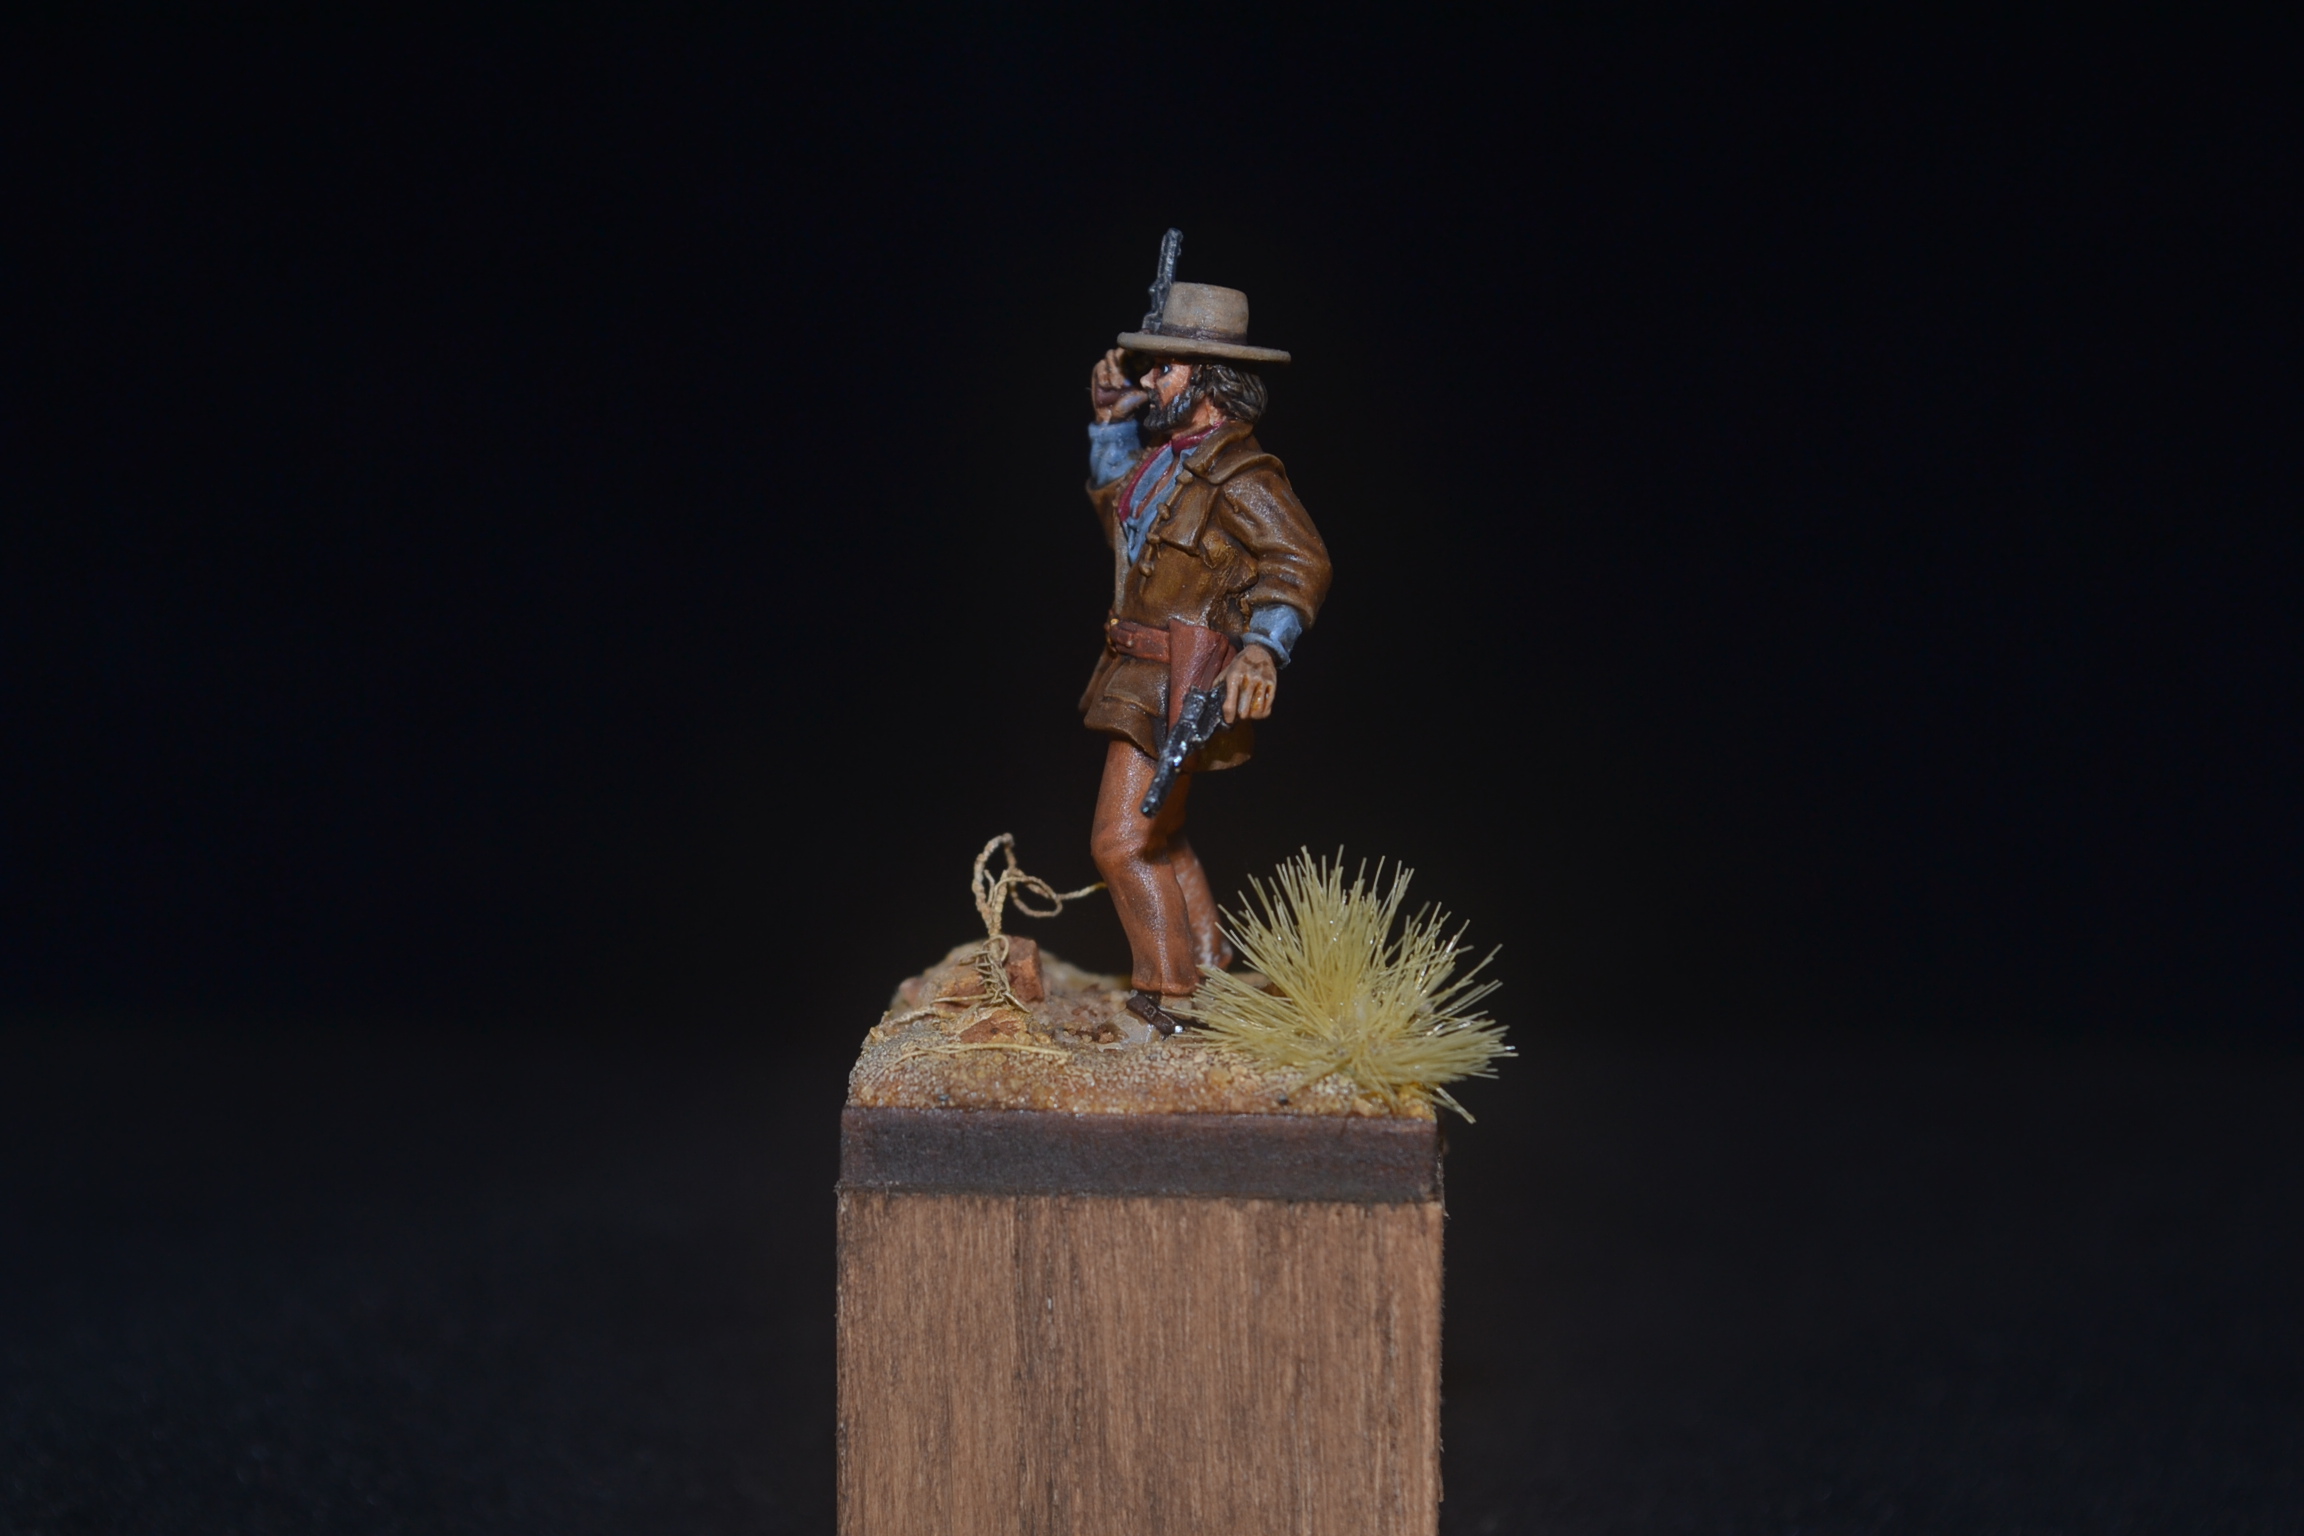
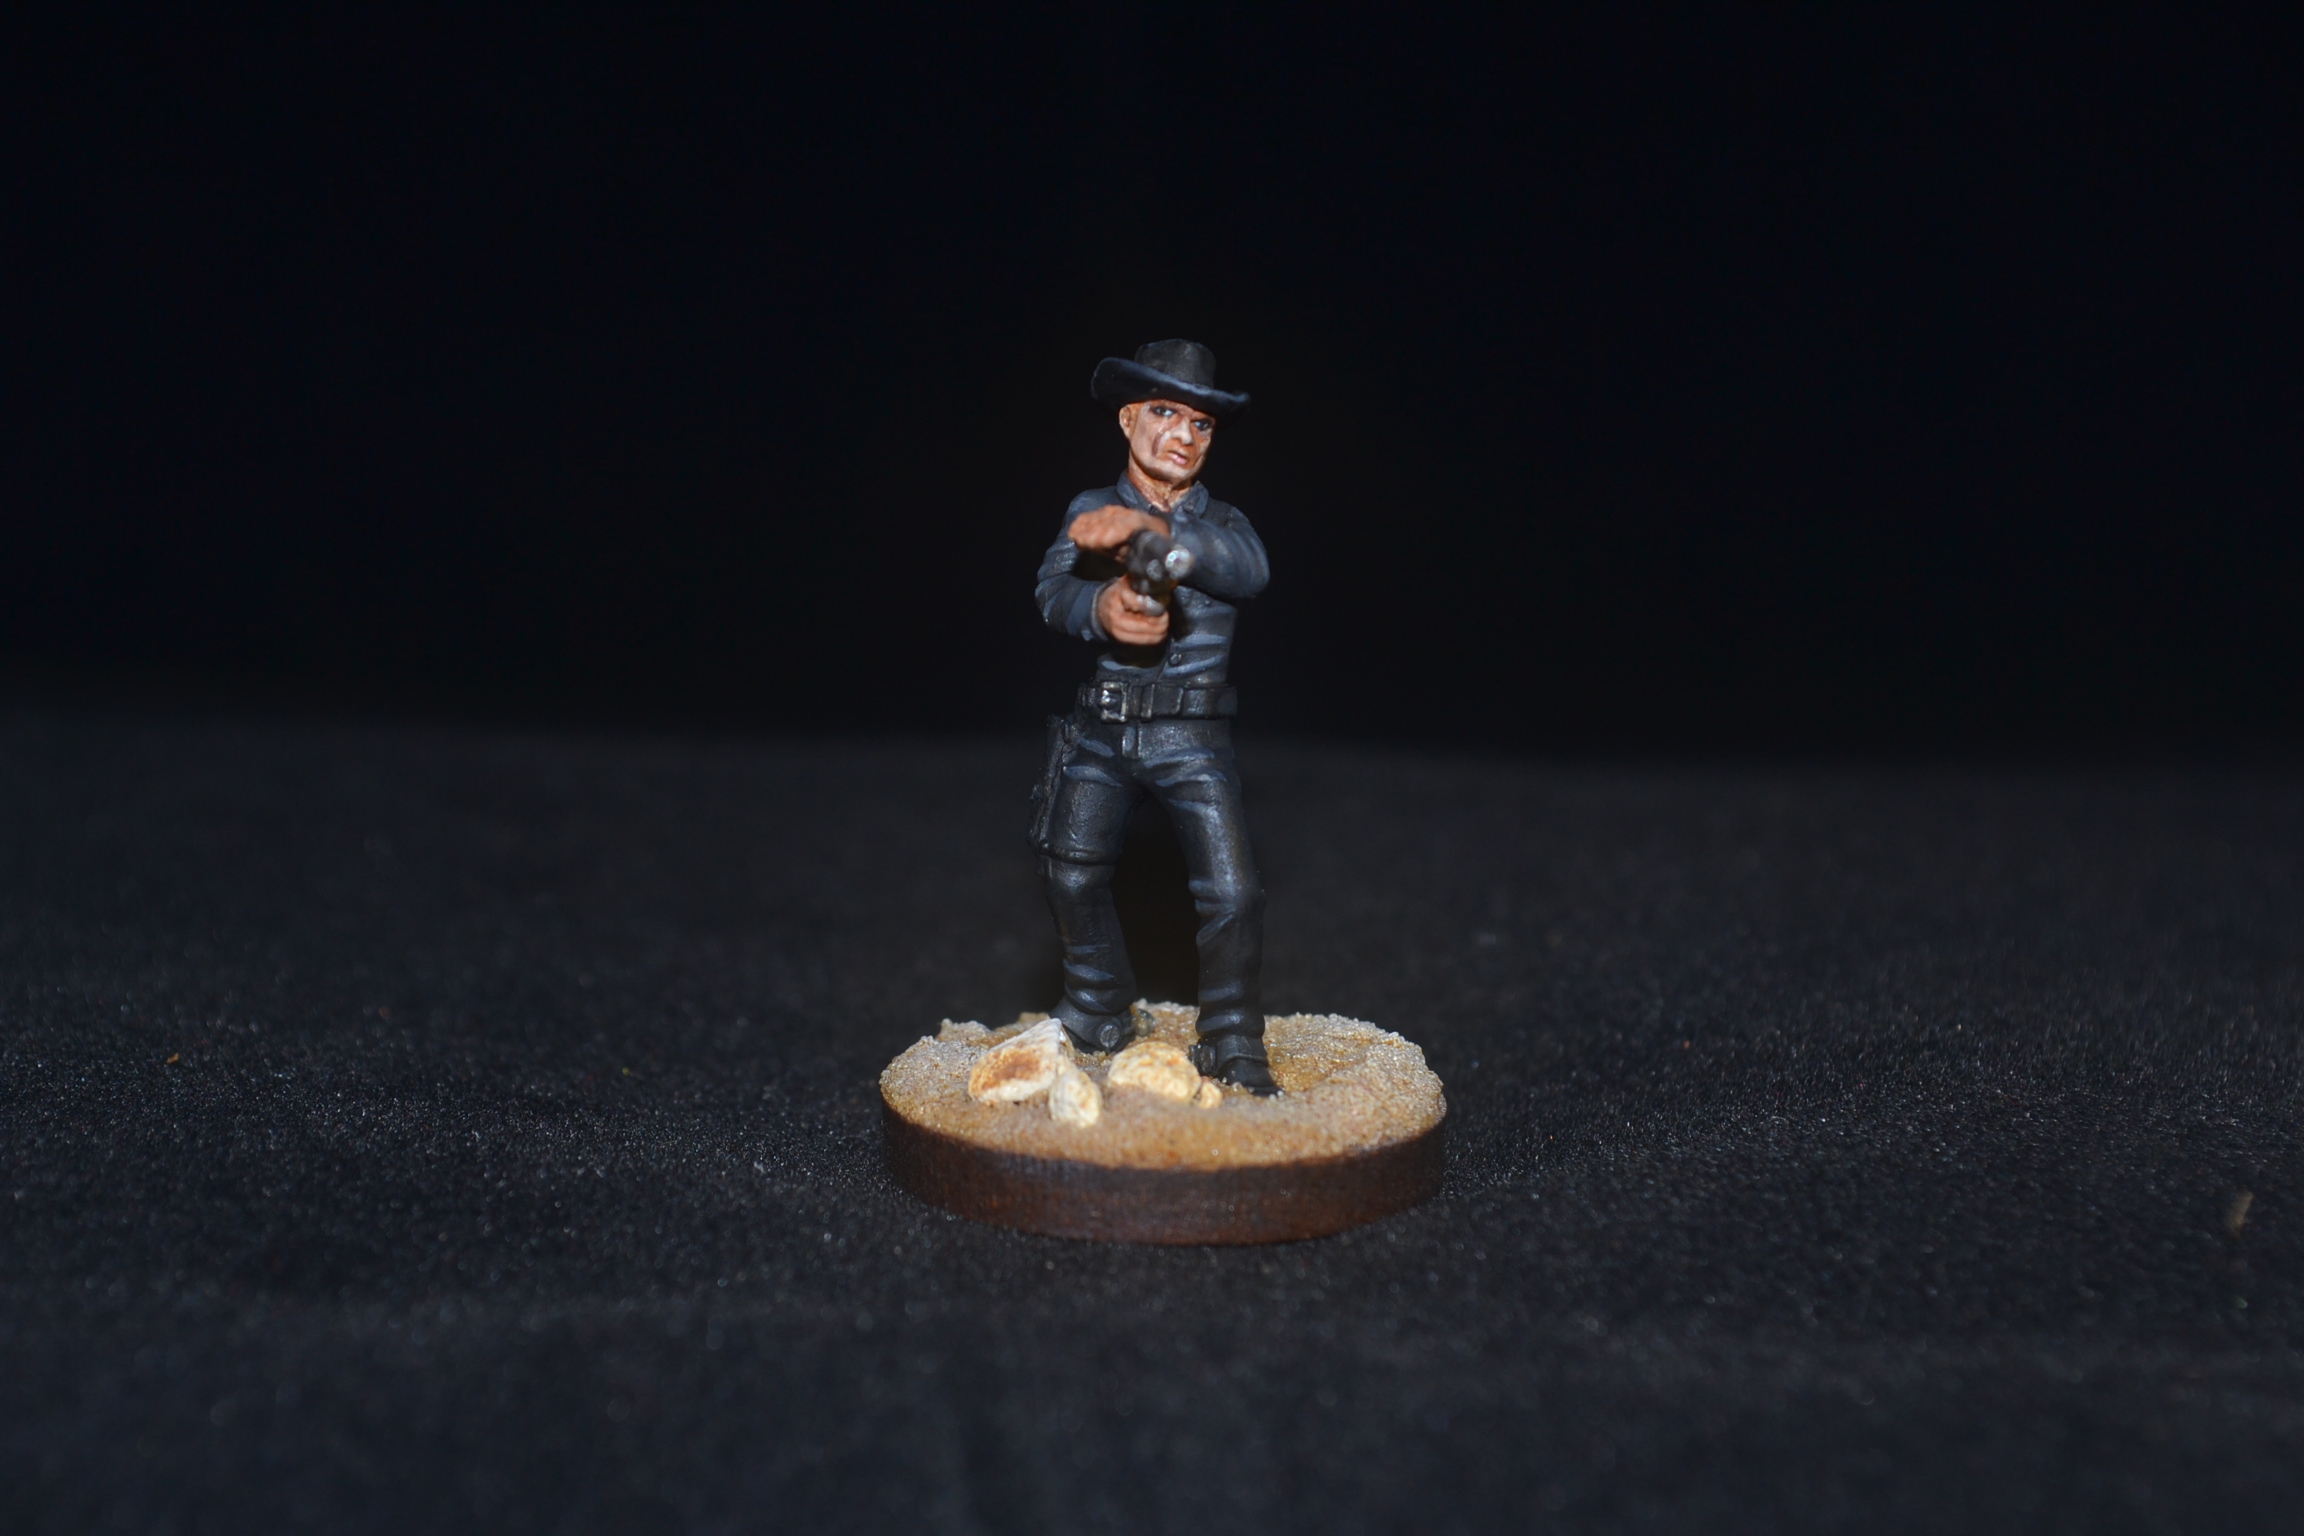
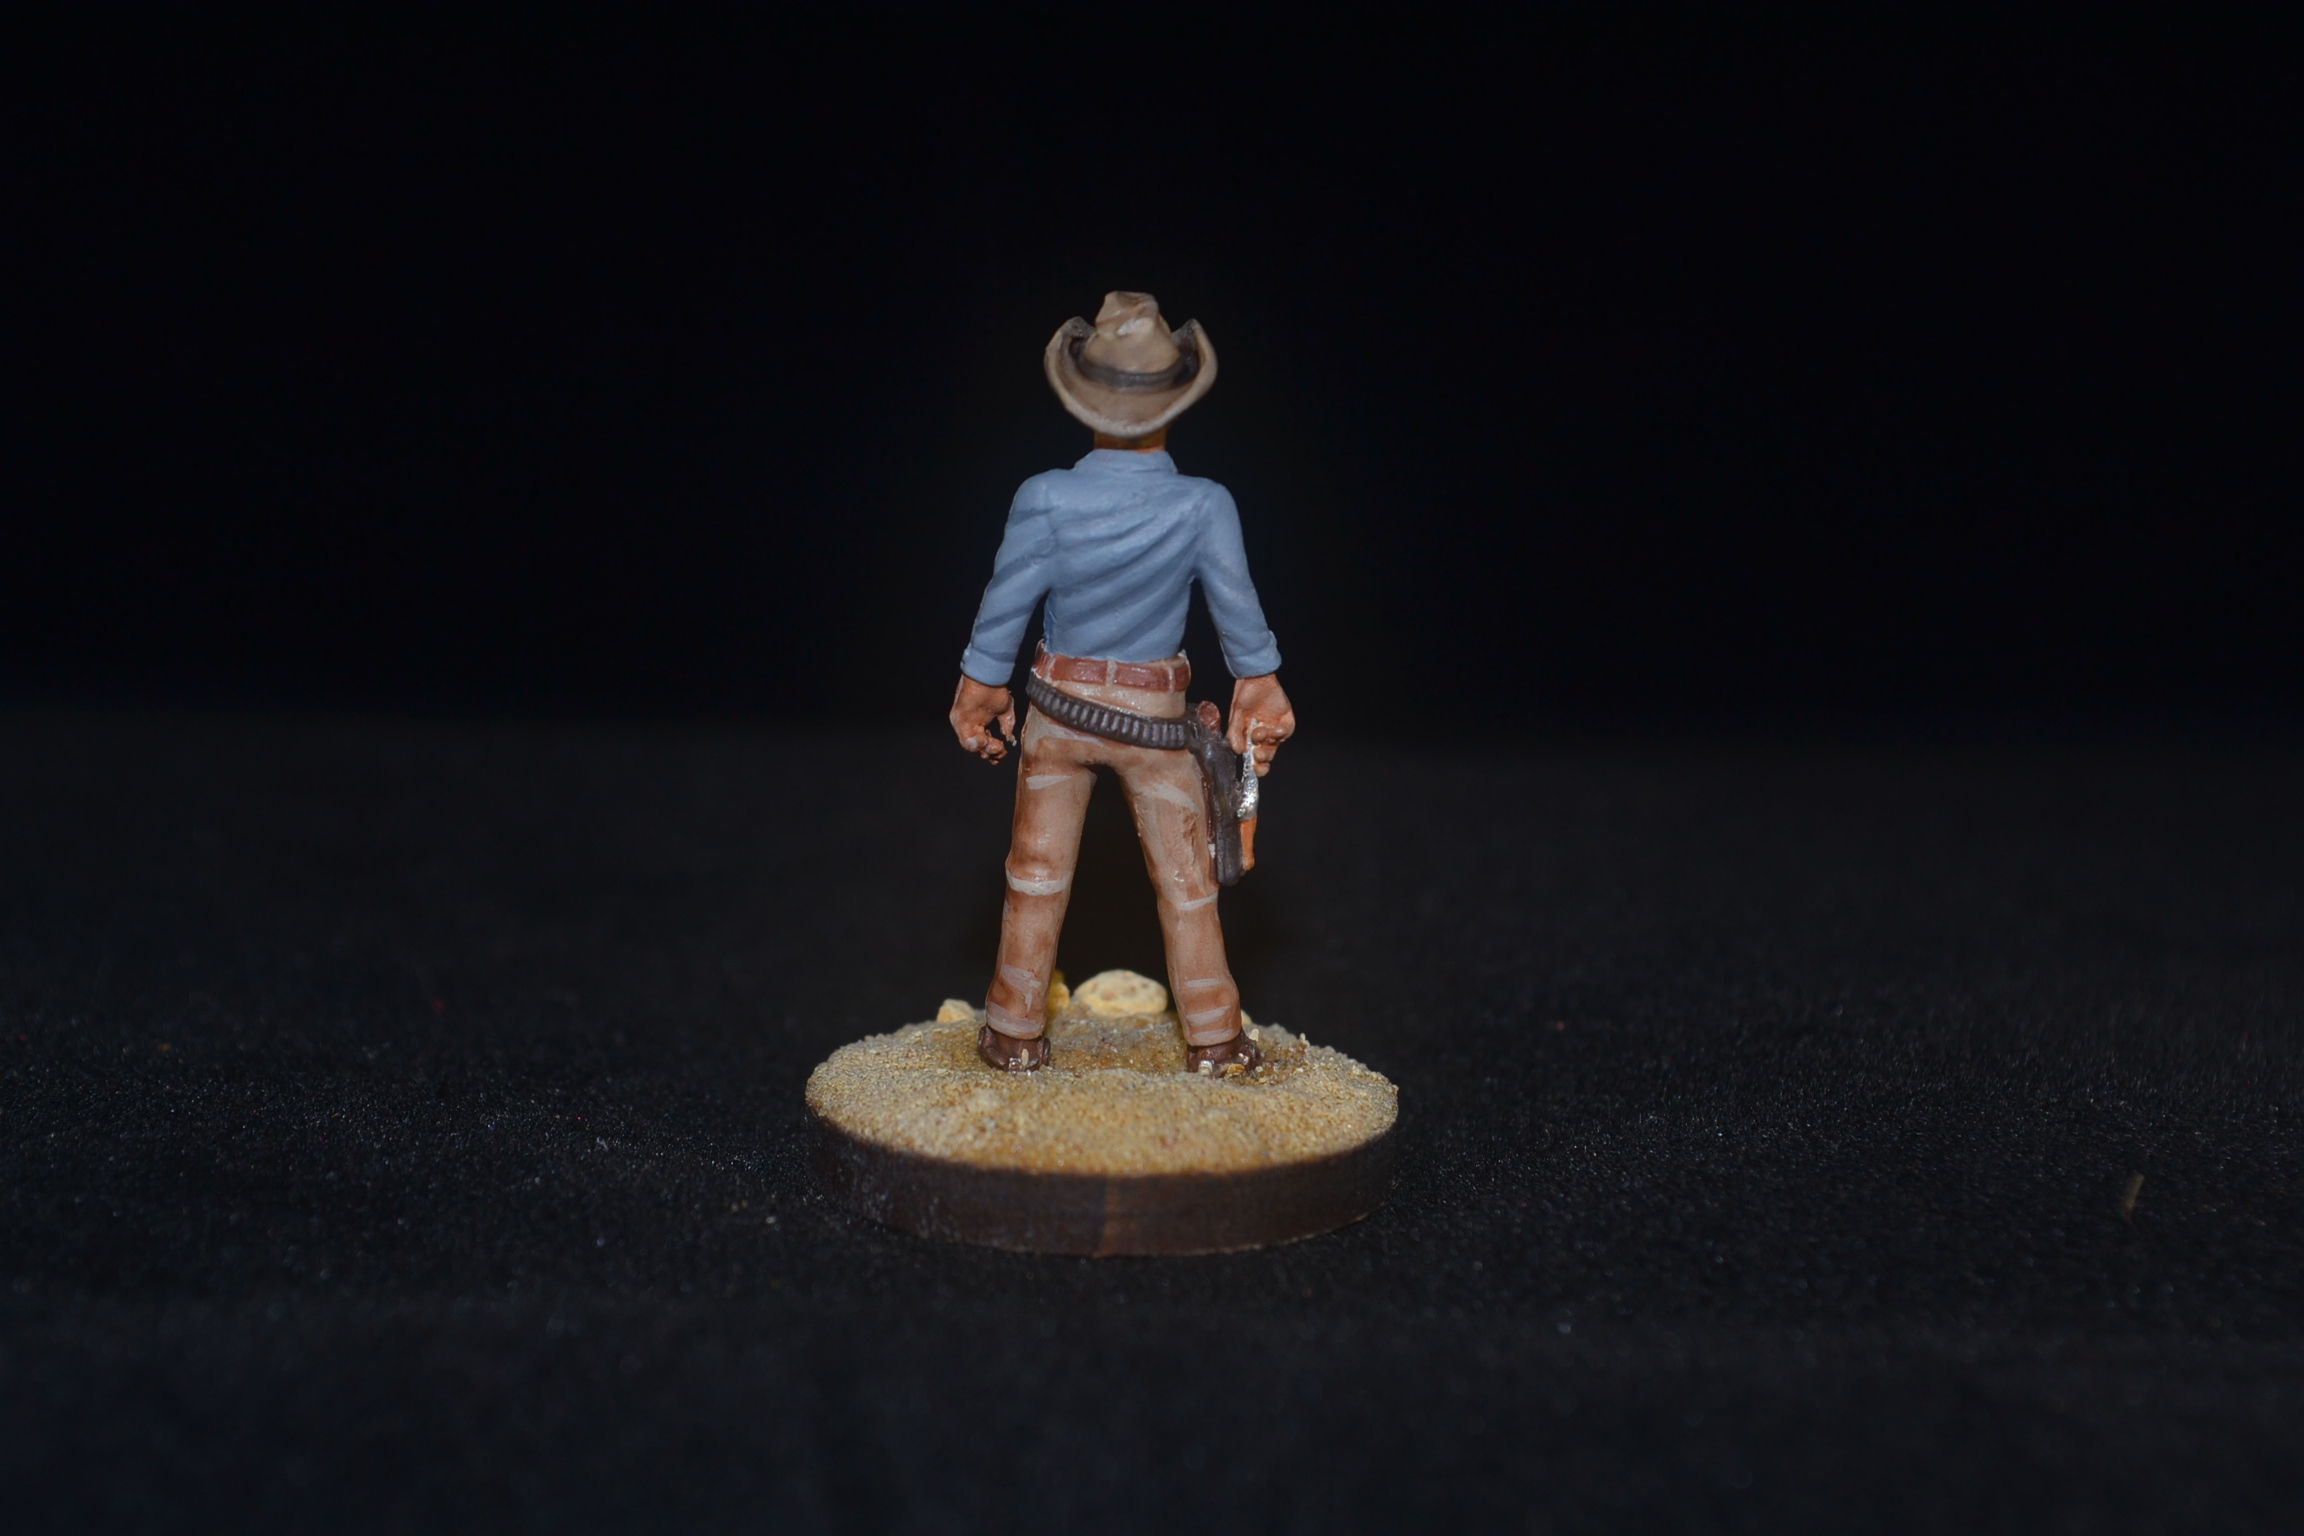
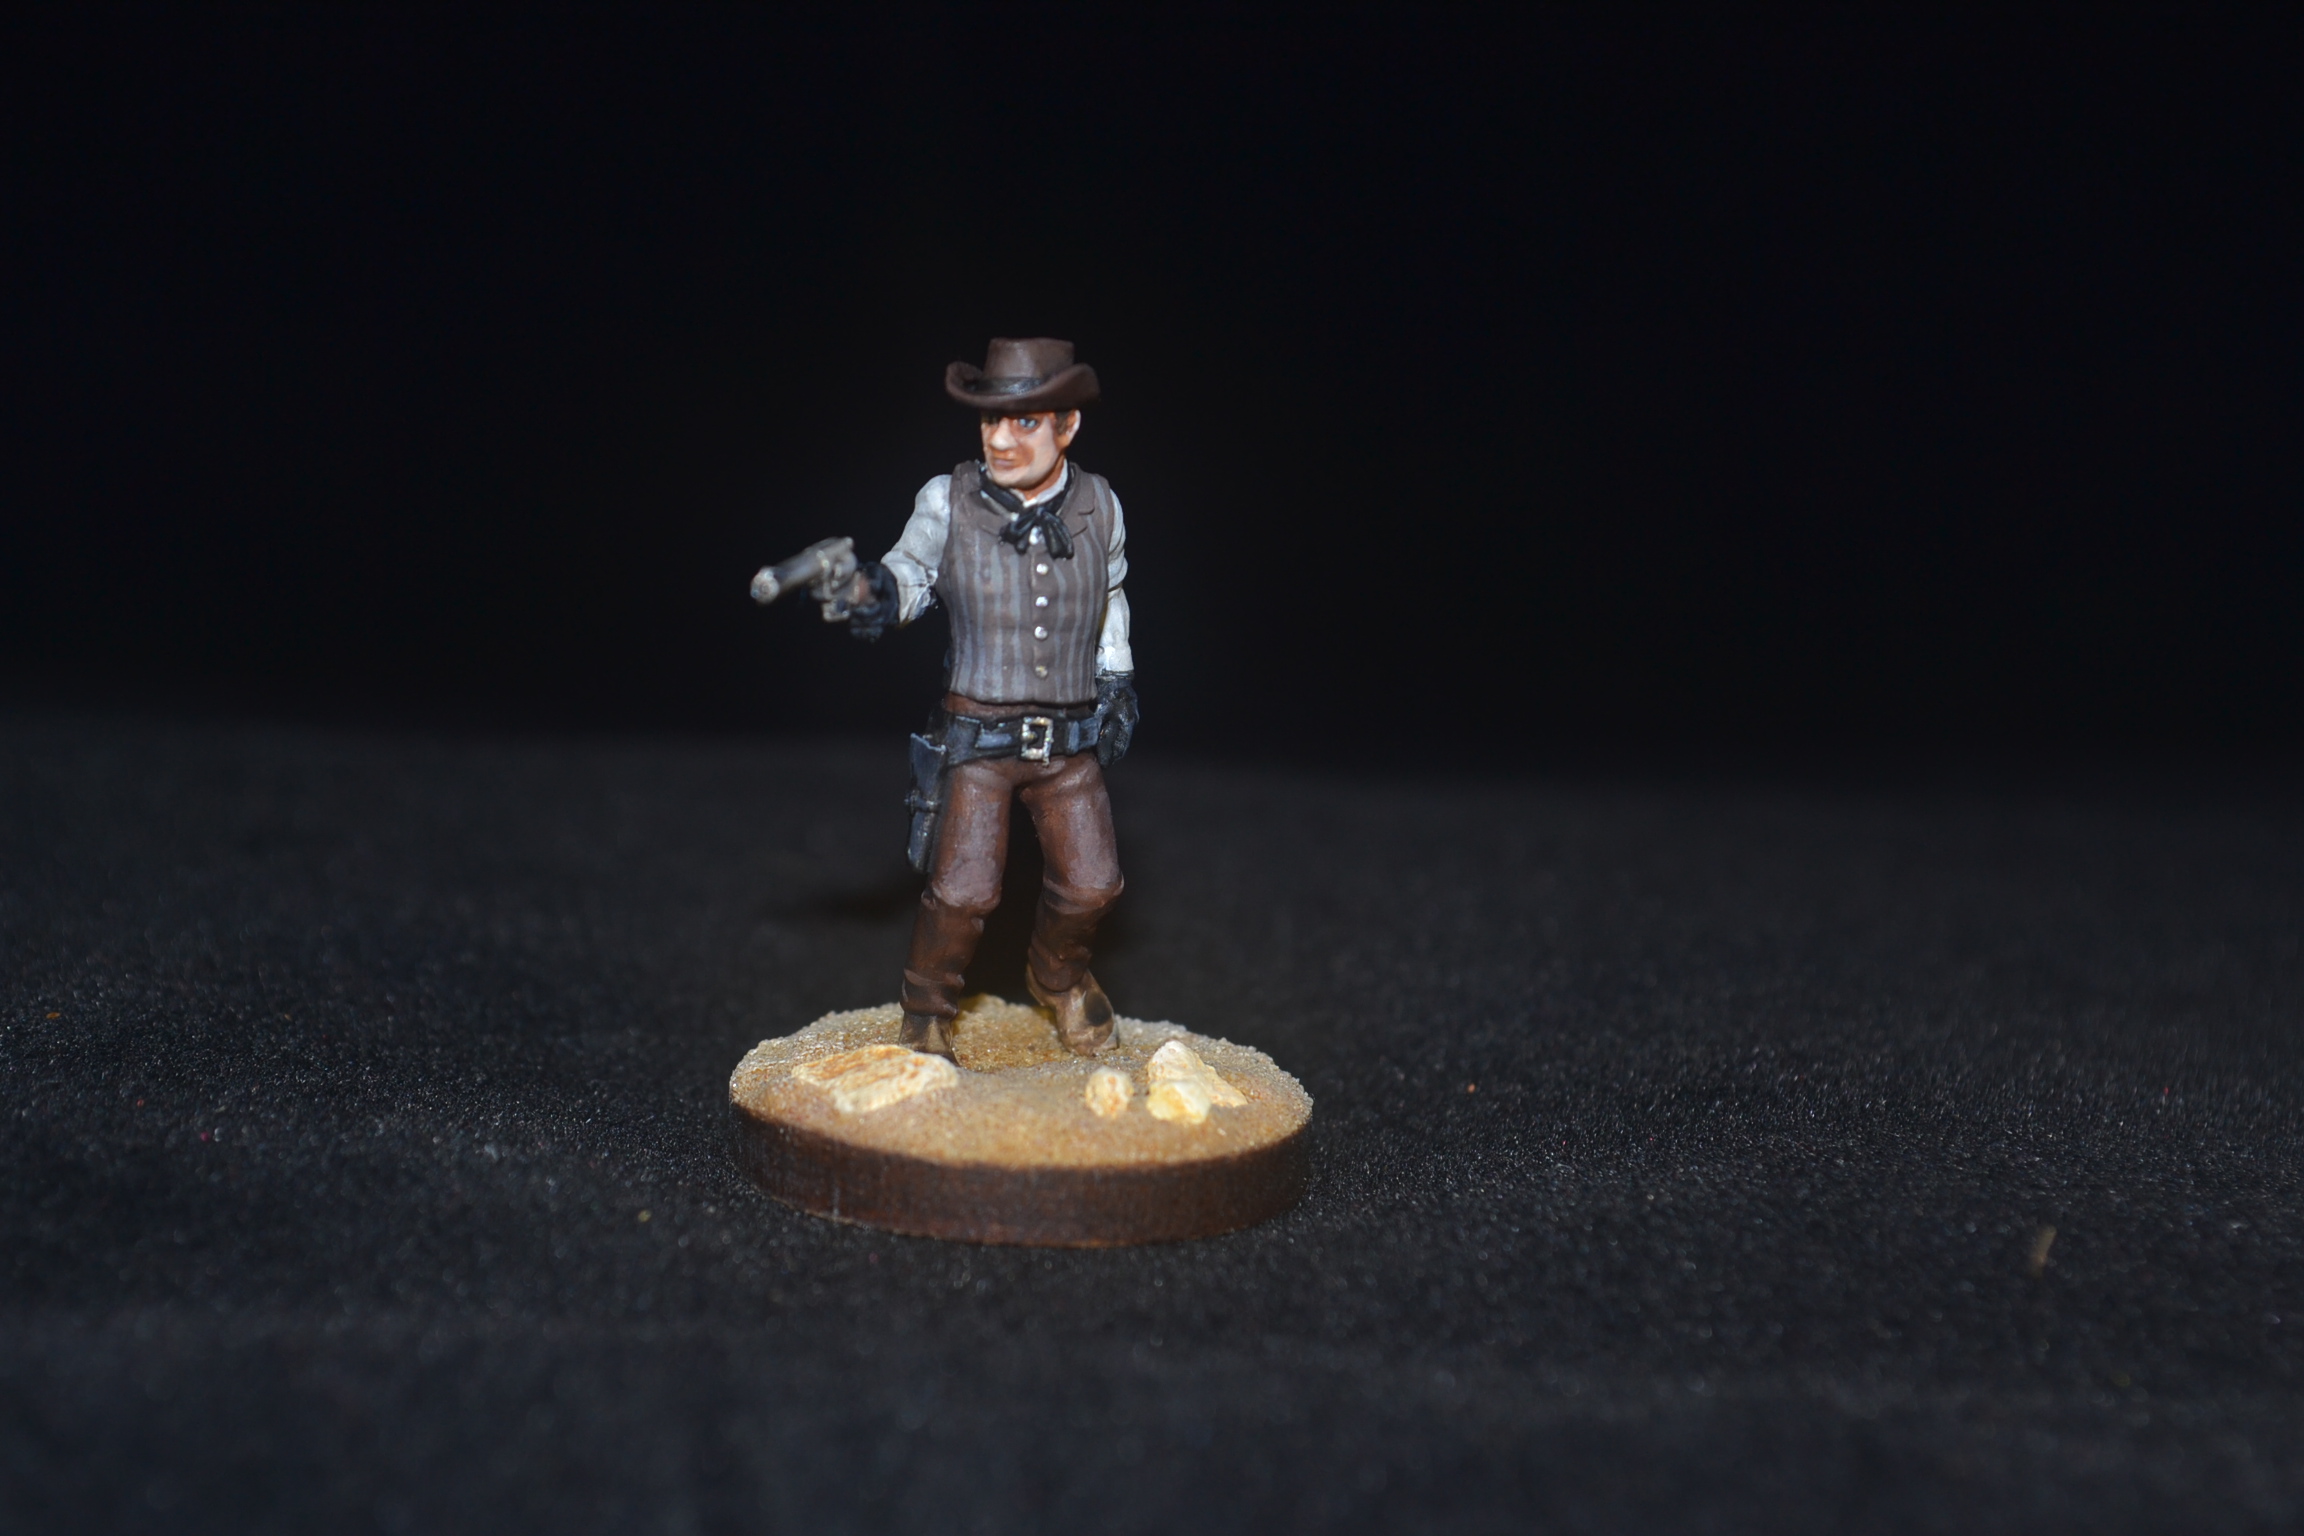
While I am waiting to collect the base from Paul I figured there were three things I could work on 1) the mine opening, 2) the Reaper figure and 3) painting the Table Top World cottage.  I decided I would start working on the mine entrance.

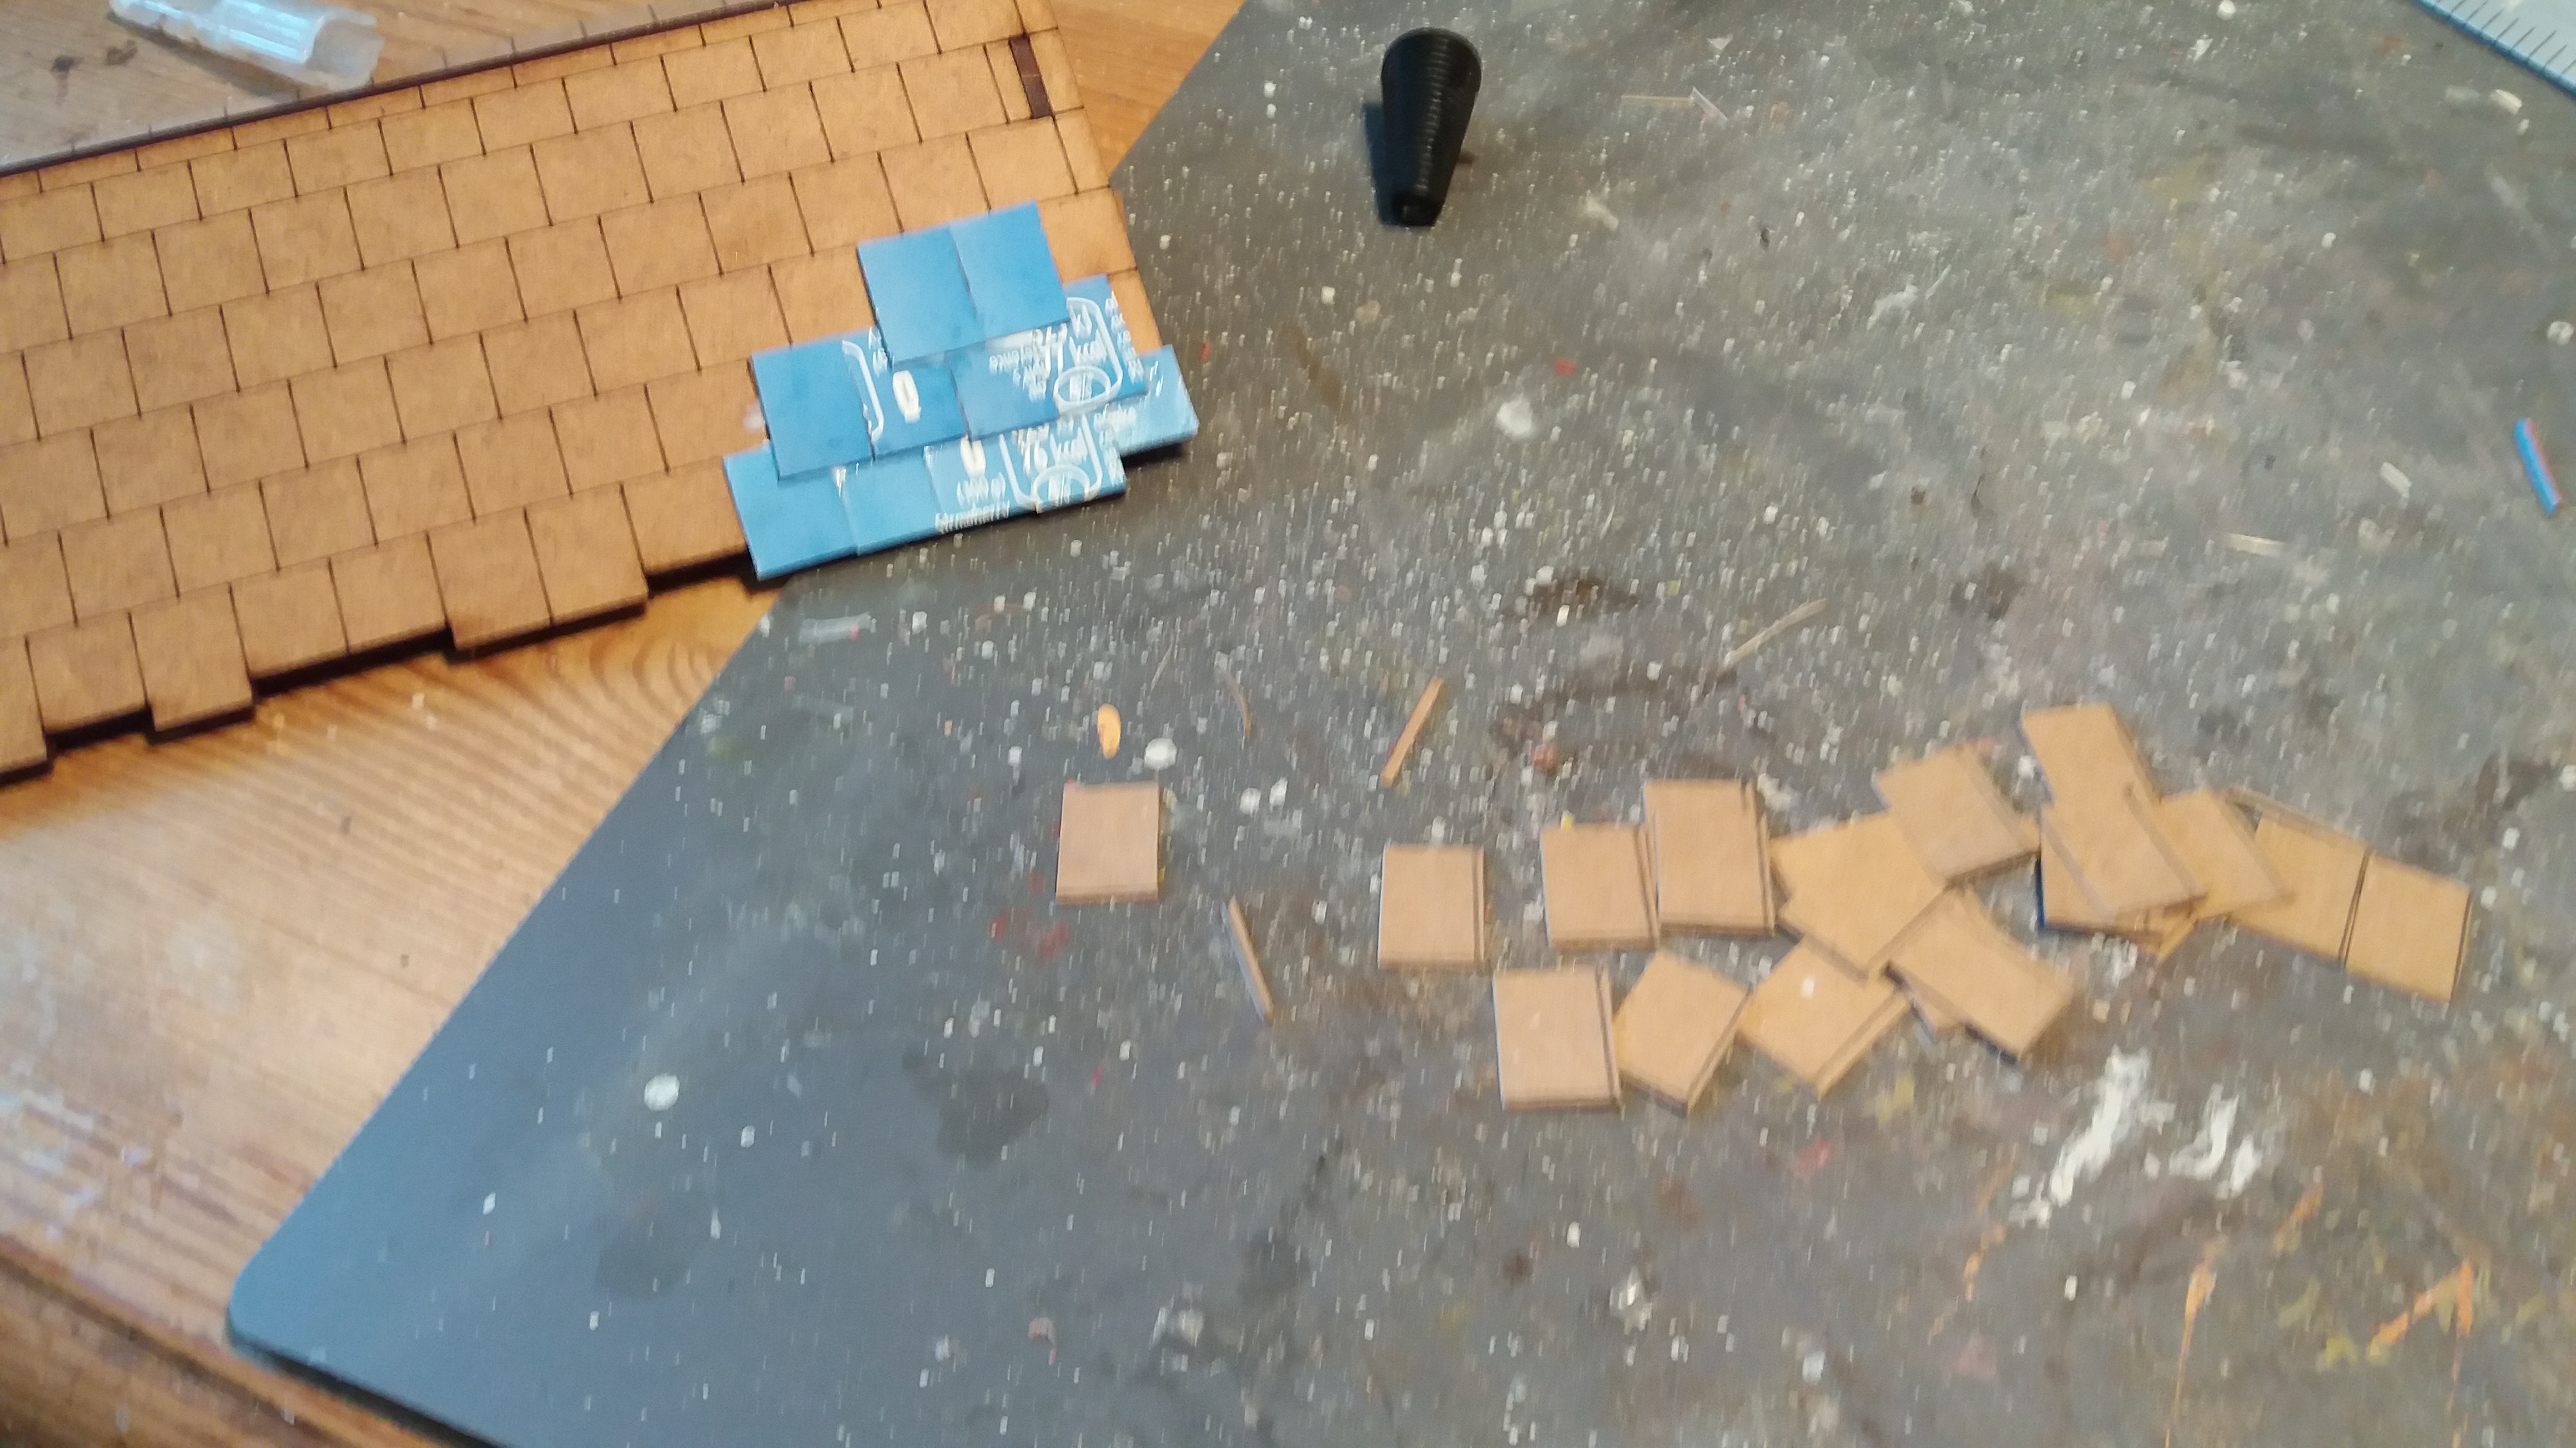
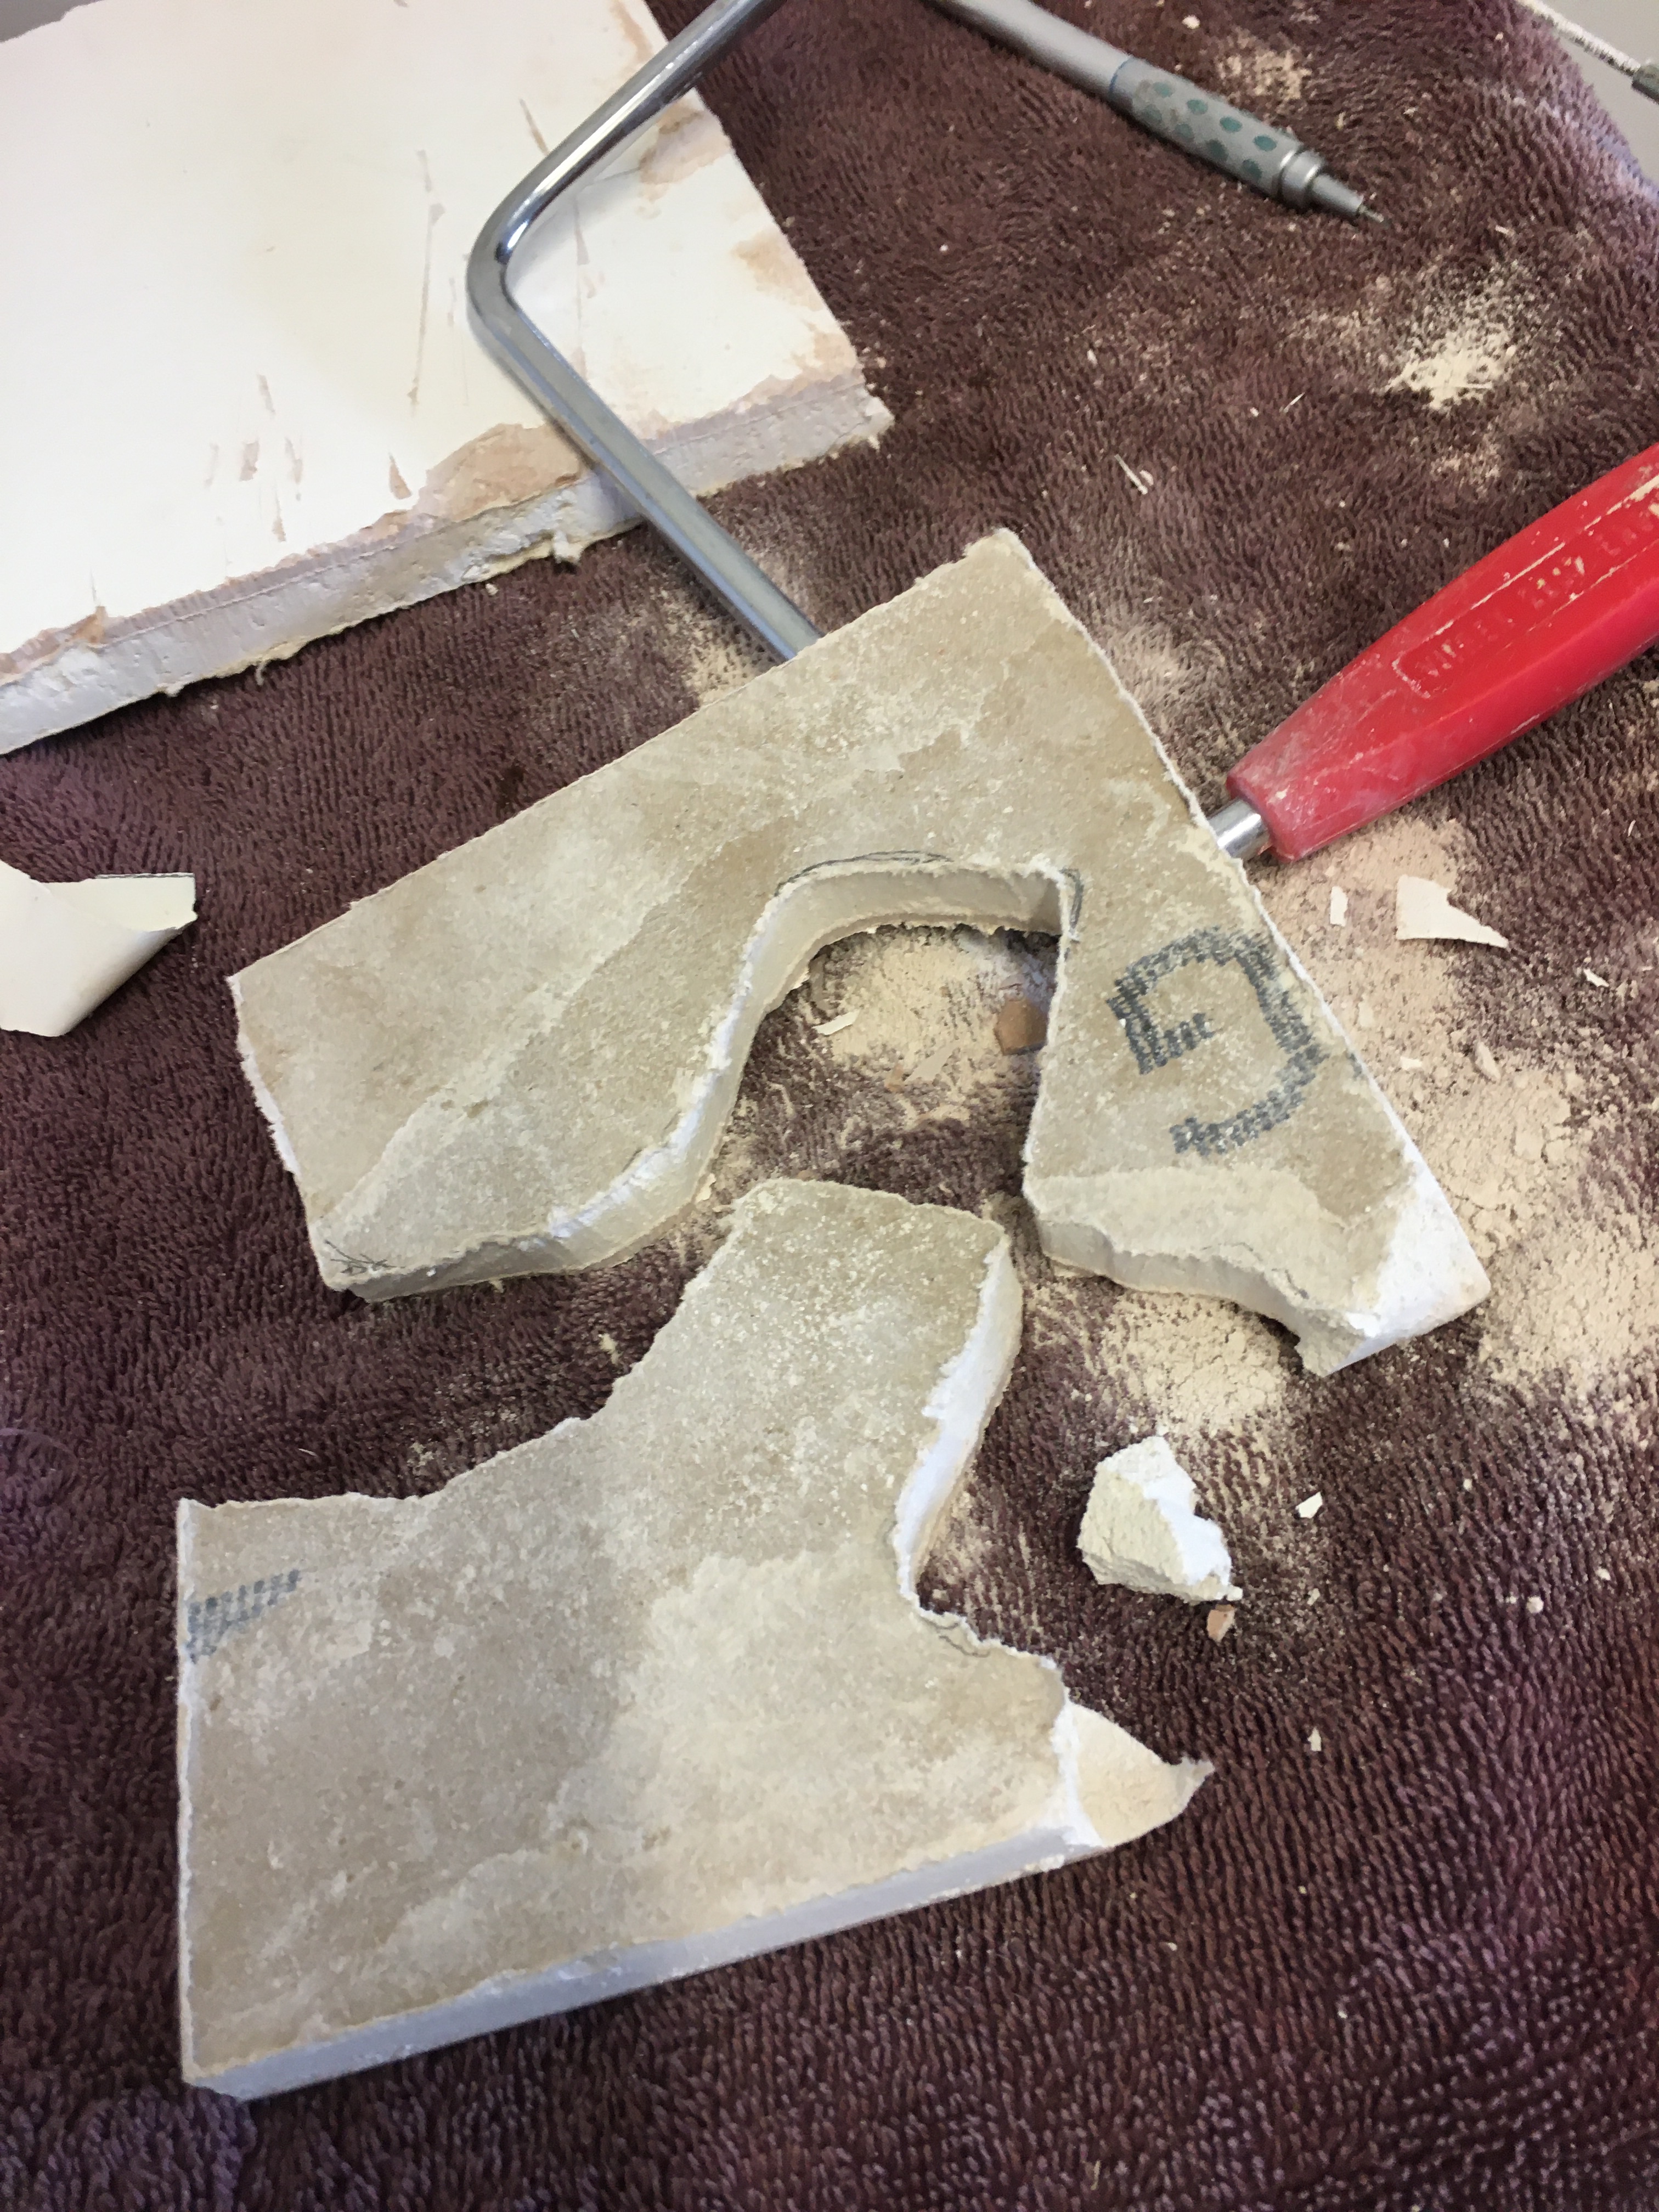
Plaster board has very much become my material of choice these days for a great many things.  Having raided a skip for some thrown out board a long time ago I went to the garage to review my stash.  Some suitable bits  were found and using an old tile saw I set about cutting some basic shapes to get me started.

img_0696img_0697

Exciting pictures huh?  I cut out a few of these and then did a Google search for some reference material.  I settled on the image below for a rough idea of what I wanted to achieve.

25d1a137229e8c27ed22f8ade7976ee2

I liked the idea of the mining track and wagon, the hole in the side of the hill and the wooden lintel to add some contrast to just the earth and stone.  I hadn’t consider the mining wagon and track before but thought it would be a great improvement so I thought I would try and see what I could find to buy.  As luck would have it Zealot Miniatures came up trumps so I ordered a couple of bits from them which hopefully will arrive shortly.  Fortunately their website had measurements for the track so I was able to press on with more of the mine construction.

img_0699img_0702

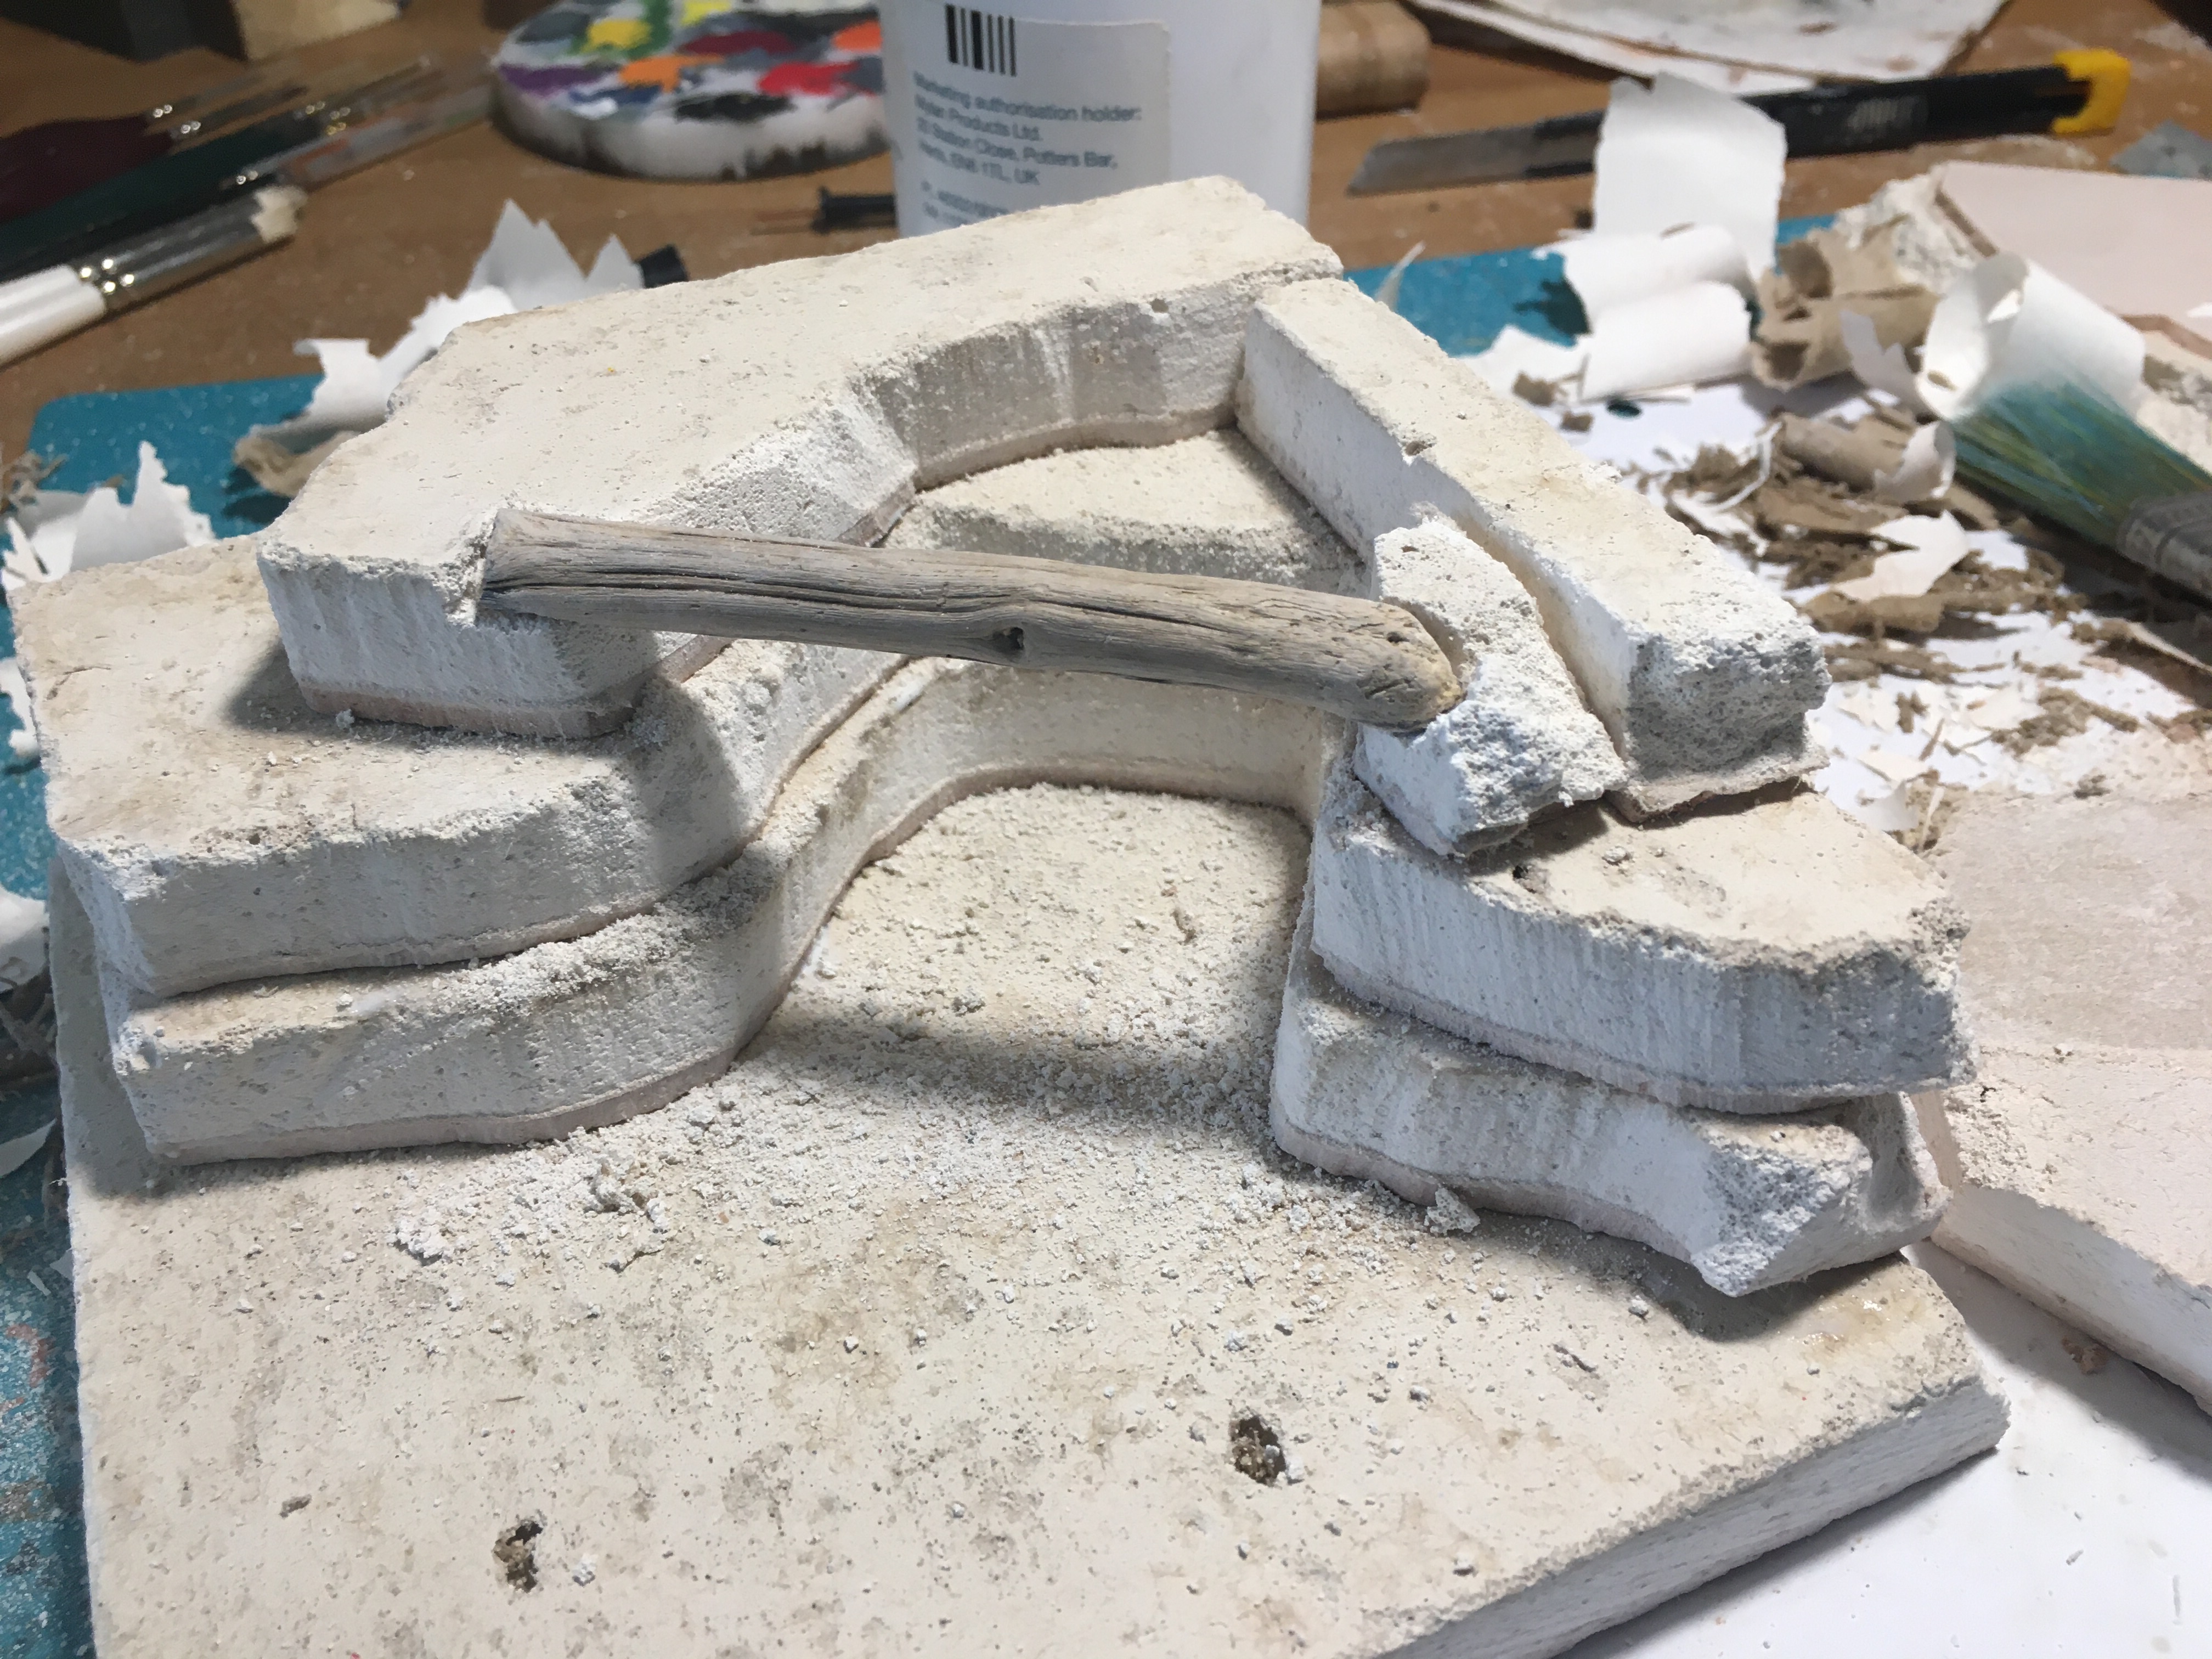
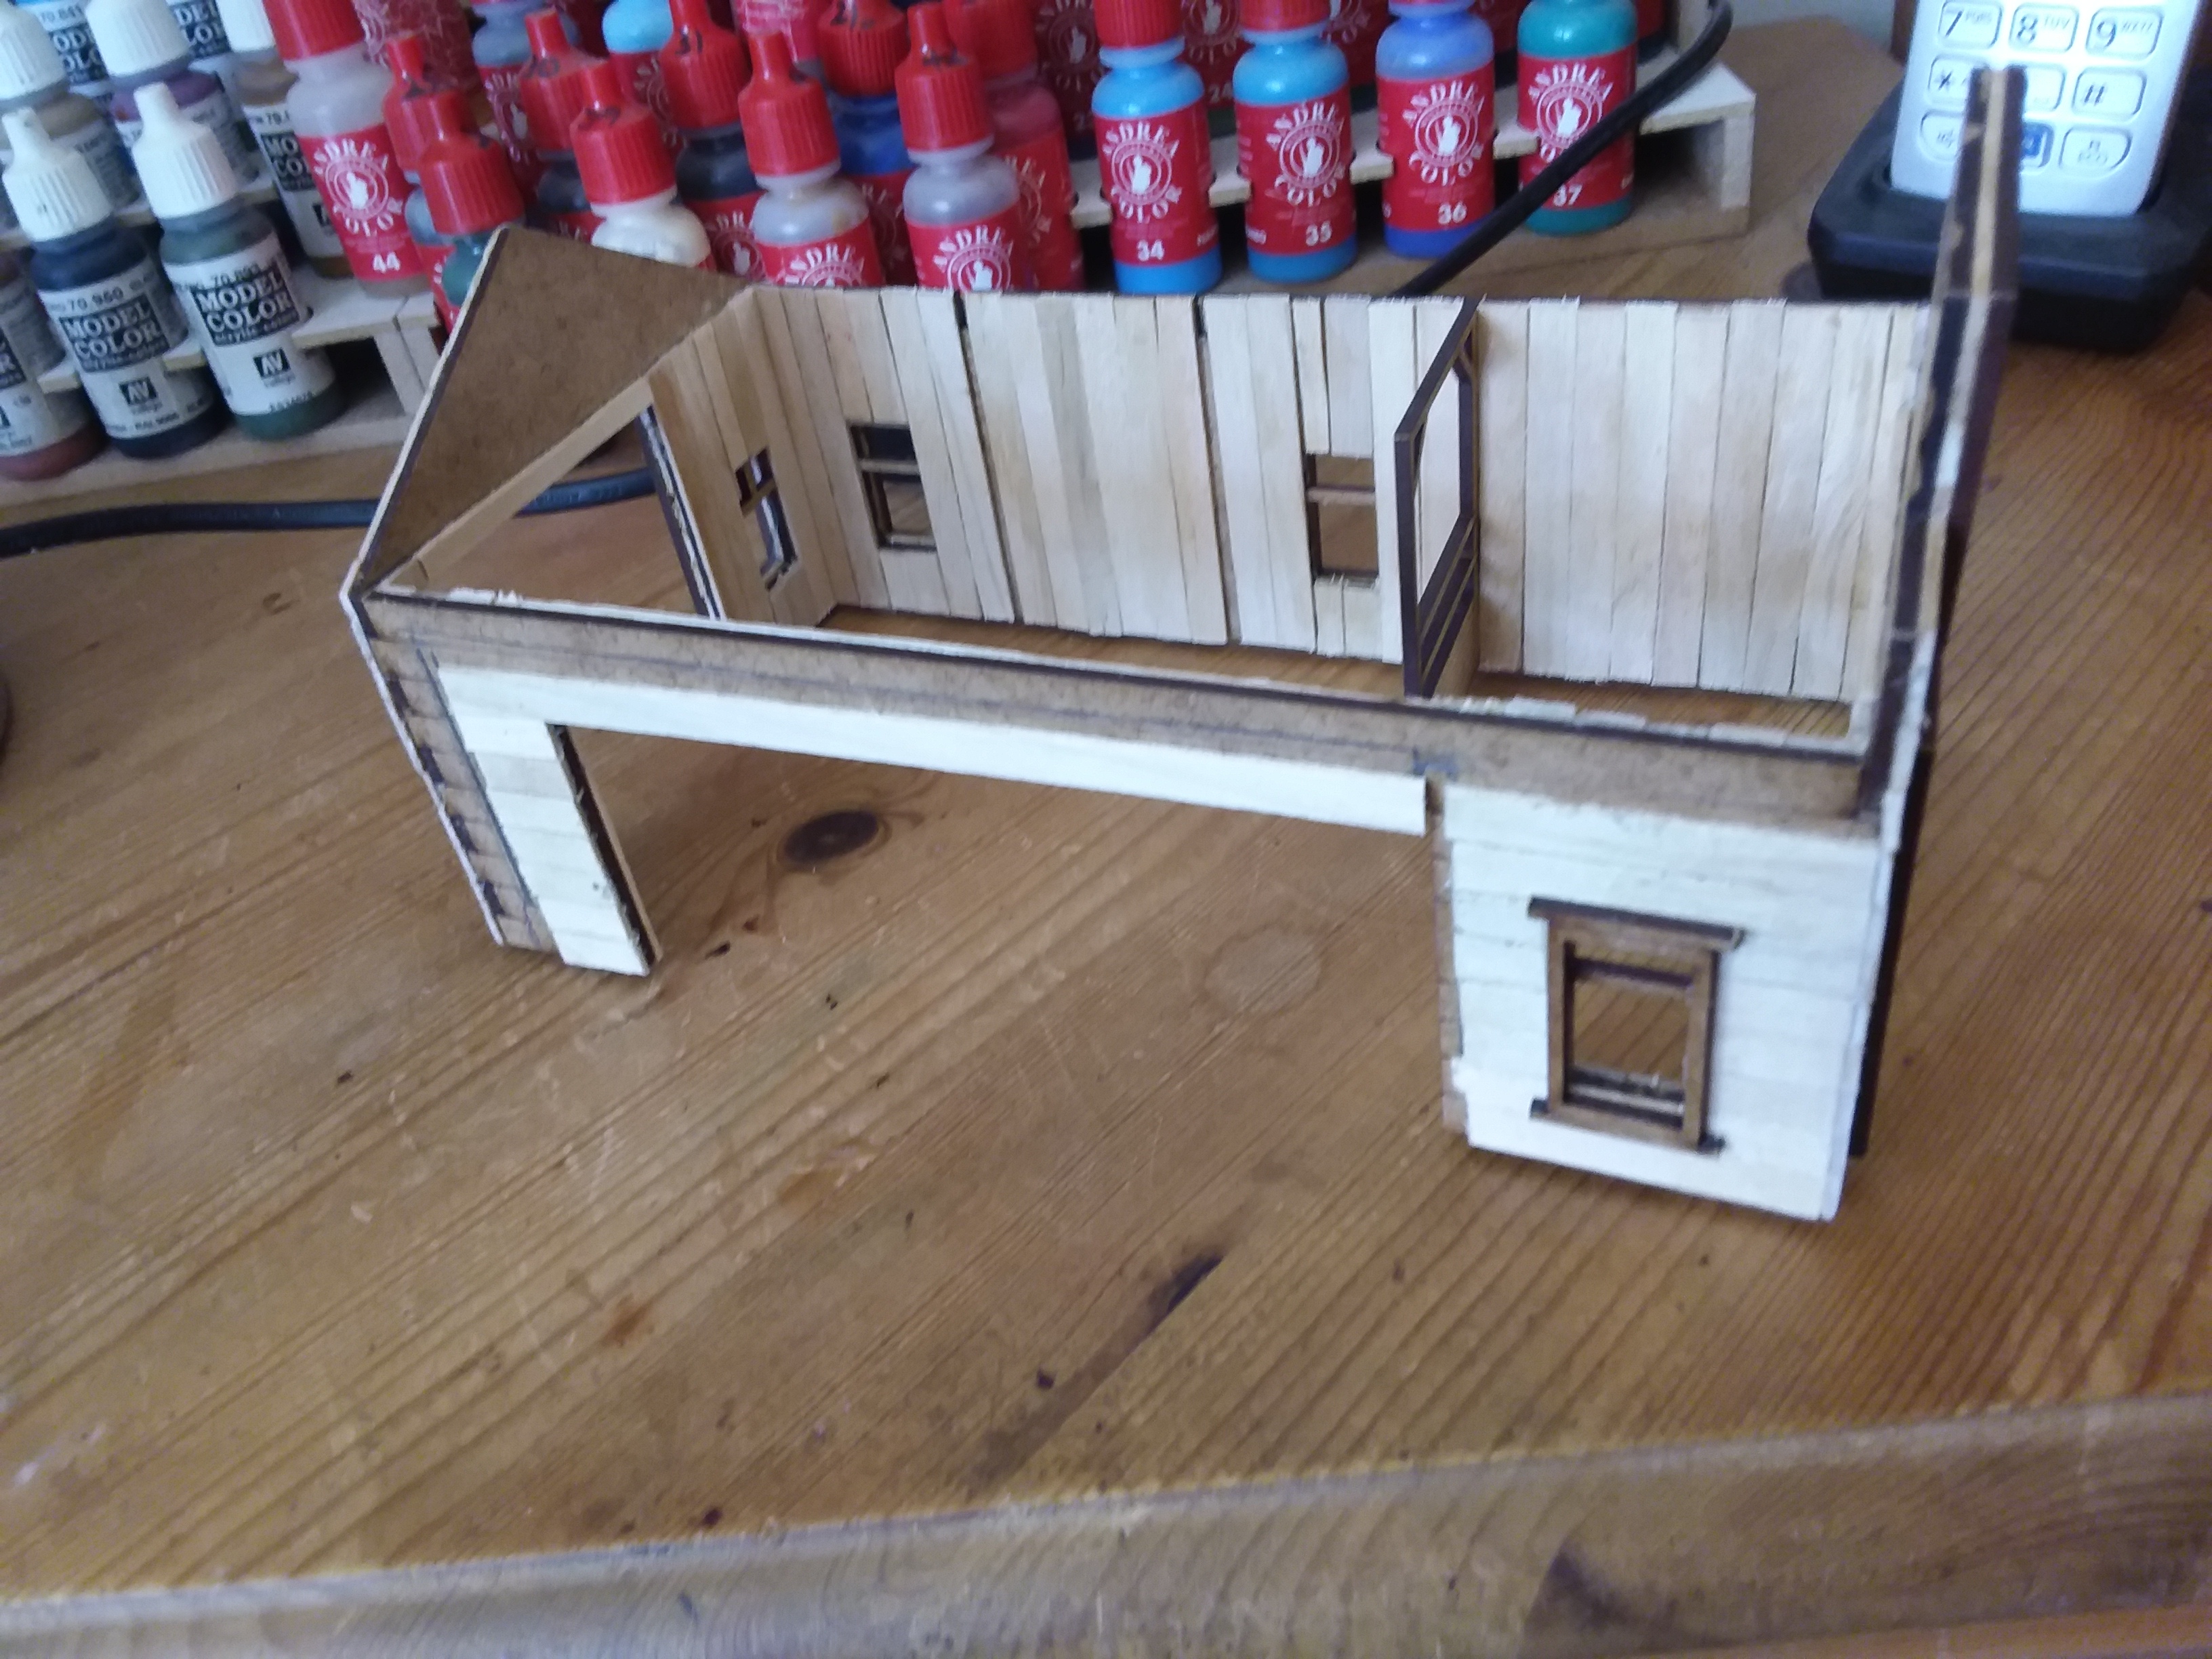
Now whilst things might look like a mess at the moment you should know that I am delighted with how this is shaping up so far.  Essentially this is nothing more than the skeleton to which the flesh will be added.  The plaster board is building up the side nicely, the wooden supports and lintel are in and slate chippings have been added to show exposed rock from the digging and blasting which created the whole in the first place.  The thing is I can’t do much more on the mine now until I get the Zealot delivery because I need to fix the track in place and be able to get to it for painting before I can put a proper top on the mine entrance.

While the mine work done so far was set a side to dry I thought I would take a look at the Cottage.

img_0676img_0678img_0679img_0677img_0680img_0681

It really is a lovely and highly detailed two part model.  On the positive side of things I can’t screw it up with glue (I don’t get on well with glue, whatever I do it goes every bloody where).  On the slightly negative side it is going to be a challenge to paint the inside.  Brush angles to paint the fireplace and windows is going to be tight.

The kits say they don’t need to be washed but I did so anyway and after they air dried I began to prime the two parts.  For as long as I can remember I have always primed using Humbrol White Matt Enamel diluted with White Spirit.  Unorthodox?  Most probably but it works for me.  Time now for the cottage to dry too so for now that is it for this week.

Hopefully next week I will press on with the mine if the Zealot bits come, if not I’ll start painting the cottage.

TIM

The Magnificent Seven

Knuckleduster continue to expand their range of 28mm Old West figures at a pace I have given up on in terms of trying to collect and paint them all.  As a consequence I made the decision to focus only on the figures which really caught my eye or had some other special meaning.  So when they recently brought out the seven figures from the classic western movie “The Magnificent Seven” I knew this was a purchase I had to make.

The quality of the metal sculpts was typically excellent but there is a problem with figures of “real” people.  Whilst I consider myself to be a reasonable figure painter I am not an artist capable of painting a face to look anything like the actual actor.  Those of you familiar with the film will no doubt be able to work out which figure is which from the pose and the clothing but alas you ain’t going to look at the faces and say “He’s a dead ringer for Yul Bryner/Steve McQueen”.   All I can say is I did my best.

Pictures below along with a final group shot.

TIM

DSC_0588DSC_0590DSC_0584DSC_0586DSC_0608DSC_0610DSC_0597DSC_0599DSC_0600DSC_0602DSC_0592DSC_0594DSC_0604DSC_0606DSC_0612

“Easy Boy!” – 54mm Cowboy (Circa 1865)

There was a time a long while ago when 54mm figures and cowboys in particular were pretty much all I painted.  These days as followers of this blog are aware I have dropped down to 28mm/32mm figures almost exclusively.  Occasionally I will venture into a bigger scale but it takes something special to wet my appetite and get my juices flowing.  Something like this chap for instance.

What we have here is a white metal figure by Romeo Miniatures comprising of approximately 30 parts.  It was a bugger to put together.  Partly because the figures I now paint rarely have very many pieces and partly because the gradient of the figure whilst making for excellent composition worked against me for holding, assembling and finally painting.  It’s very heavy too.  In fairness the accuracy of the fit was very good and only a minimal amount of filler was required.

On a personal level I love the composition and overall it didn’t come out too bad.  It warranted a bit of a scenic base but I chose to keep it relatively minimal so as not to distract from the figure itself.  Painting for this one was a combination of acrylics and oils with some dry brushing, ink and weathering powders thrown in for good measure.

Images below.

TIM

DSC_0629 (2)DSC_0631 (2)DSC_0626 (2)DSC_0624 (2)DSC_0630 (2)DSC_0625 (2)DSC_0628 (2)DSC_0627 (2)

Tomb Stoned – A 28mm Old West Diorama (Part 2)

If I’m being honest this is probably going to be a dull post to write and an even duller one to read but lets see how it goes.

The truth of the matter is this is going to be a long project involving lots of work and lots and lots of down time while I wait for things to dry.  Progress will be slow but in many respects that’s the point.  One, it gives me a large background project which can develop as it goes and allows me to dip in and out as I please.  Two, while things are drying I get to work on other things allowing my boredom threshold to not get the better of me.  Hence the posts I have put up since part 1!

So, where exactly am I at the moment?  A bloody good question!

Well the roof has now been fully tiled.  It now needs to be undercoated and painted.  I will probably undercoat it but I am thinking I might keep the proper painting on hold for the moment until I have other buildings at a similar stage.  It might be easier that way to match colour schemes, not that they have to be identical in any way.  I’ll mull that one over a bit more.

20190519_173040-120190621_141827

The building walls have been assembled and 99% has now been clad.  There is an annoying little bit to do which I need to get my head around so I don’t create a problem for myself at the next stage of assembly.  The same issue on painting applies here too, do I wait until I have made similar progress on other buildings first?

20190516_115032-120190621_141751

The chimney is almost finished.  Now completely clad in bricks it does to my mind look so much better.  What needs to be done now must wait until the next stage of sub-assembly.

20190515_201340-120190519_142318-120190621_14181220190621_141804

All in all I am happy with the progress.  Yes it is going very slowly but that was always the plan.  The questions for me now are where on this building do I go from here?

Right now the big question I have to answer for myself is what, if anything, is going inside the building?  This is not a gaming board, it’s a diorama.  The figures don’t simply sit on the groundwork they have to be incorporated into it.  The question of how much you will actually see also comes into play.  Some serious thinking to be done before making some purchases and/or starting some scratch building.

In the meanwhile I have another biker to finish!

TIM