

I actually managed to get this little boxed diorama finished at the end of last week, just in time for the Torquay show (more on that in next weeks Miniatures and Musings post). The good news is you have been spared another a detailed “work in progress” only post. The bad news is I forgot to take some photo’s off the assembly before it went inside the box. The consequence of this is that the photo’s taken looking inside the box have some unwanted glare and reflections. What you do see though is the view as finally intended.
At the end of “Part 2” I was left with a number of things to do. The figures had yet to be painted, some outstanding scenery items needed painting as well and the electrics had not been done. Even more worrying was the need to complete the overall assembly. Now there is a little known rule associated with diorama building and I’m sure Pat will confirm this. No matter how much you test pieces for fit and accuracy before final assembly you can bet your house on it that it wont go together the way you intended the moment you fucking add glue! This little number was no exception but a little tweak here and there and I just about got away with it in the end.
First up we have a few more work in progress shots.
This first photo is of the inlaid roof. Wooden rafters were attached to a suitably sized square of MDF which was then painted. The LED lights were then added. The angle of view into the box coupled with the rafters doesn’t allow for the LED’s to be seen.

Next up we have a first view of the wizard and his apprentice. This was an early photo taken at the time when I was working on composition. The figures are from Reaper.

Up next we have a couple of images of the two bookcases which are sighted at the rear of the room along with the wizard’s desk and chair.
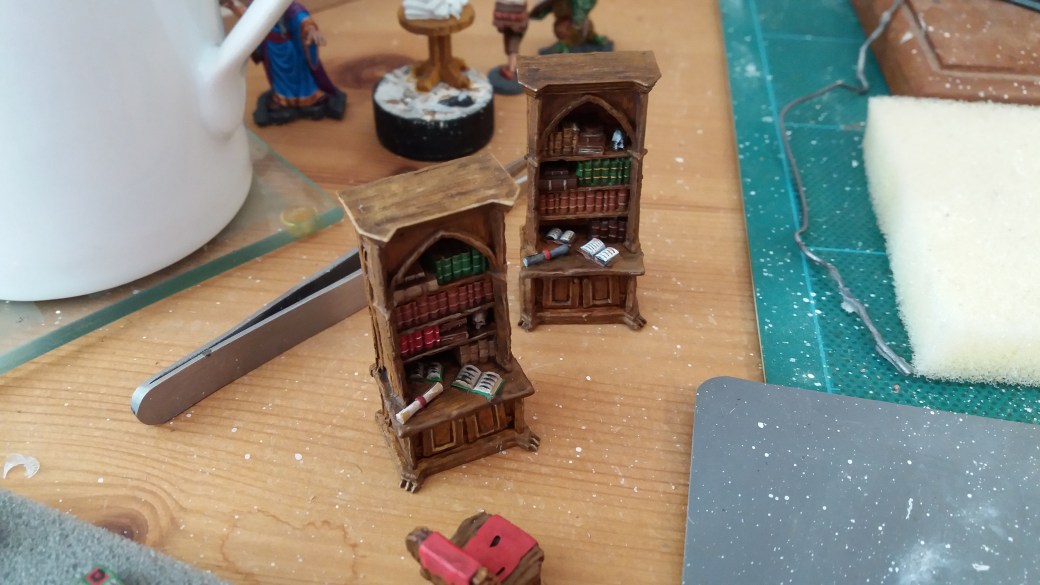

Wizard and apprentice now painted but the side table still to be finished.

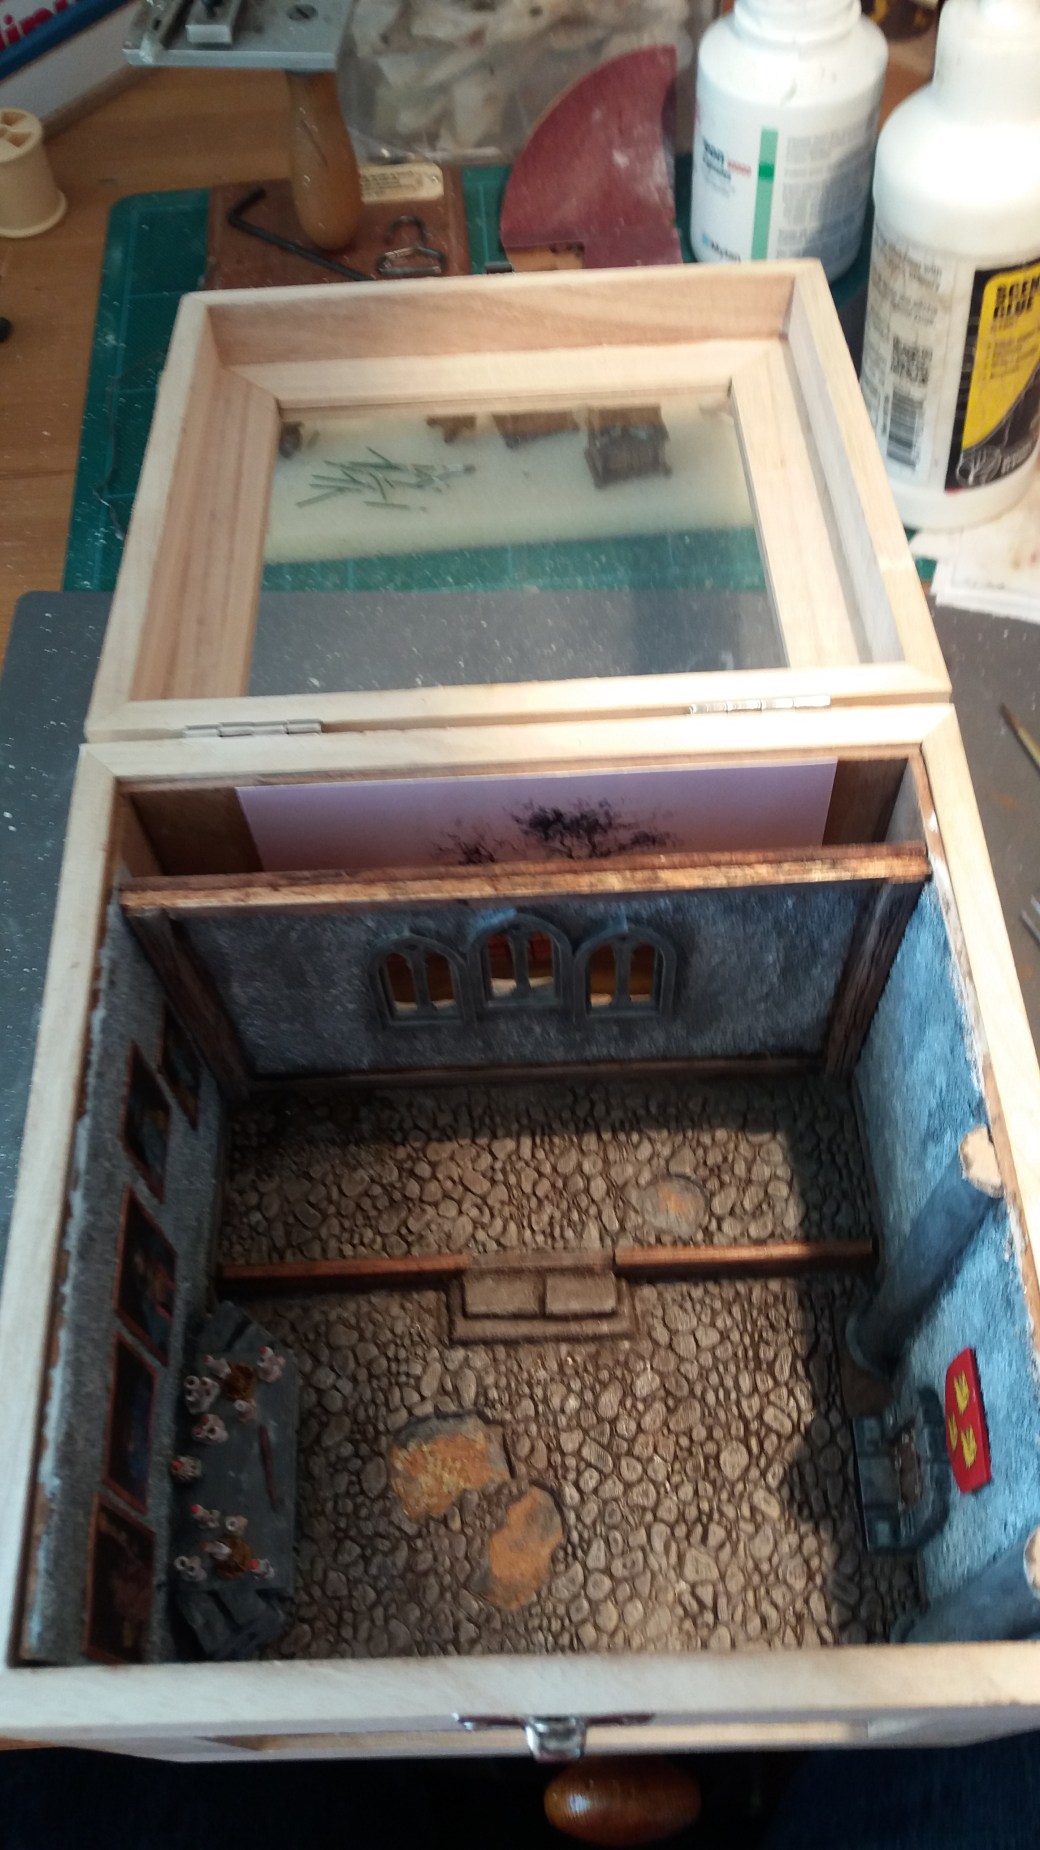
An early test fit of the sides and rear walls.
The finished electrics for the wiring. A simple battery operated system with an on/off switch. All concealed by the lid of the box.
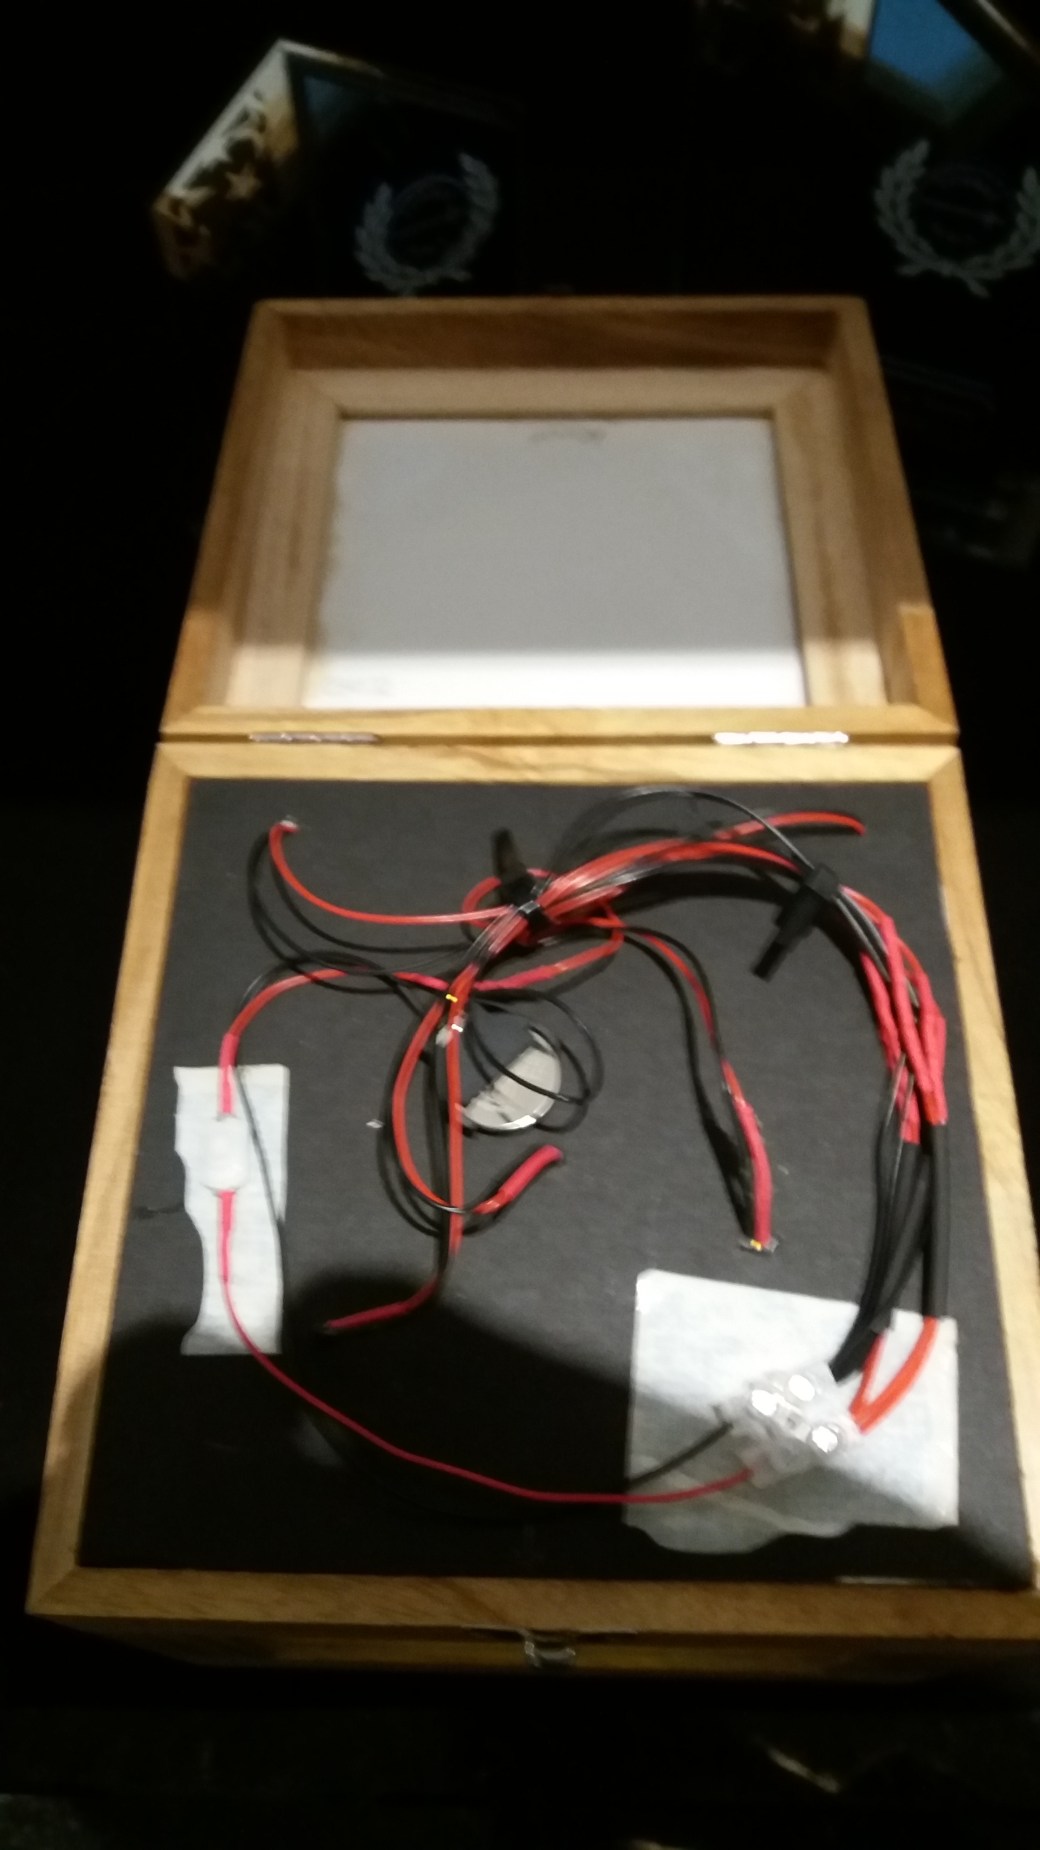
The lid of the box actually contains another vision panel. This needed to be covered up and was done using some thick black card, the type they use for mounts in picture frames, and the diorama title and narrative were added.

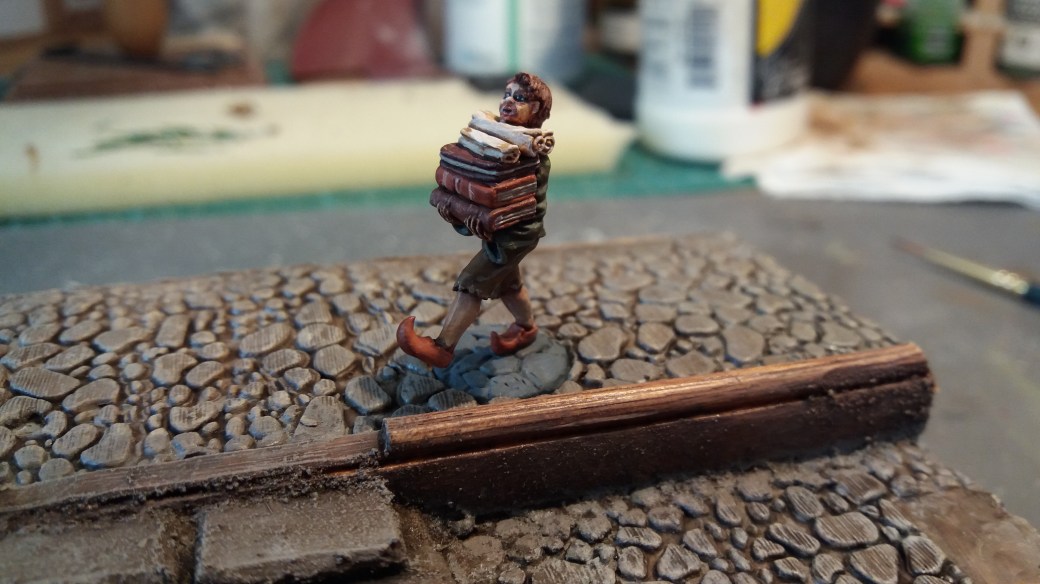
Next we have a few pictures of the wizard and his book stand in the lead up to the final push.


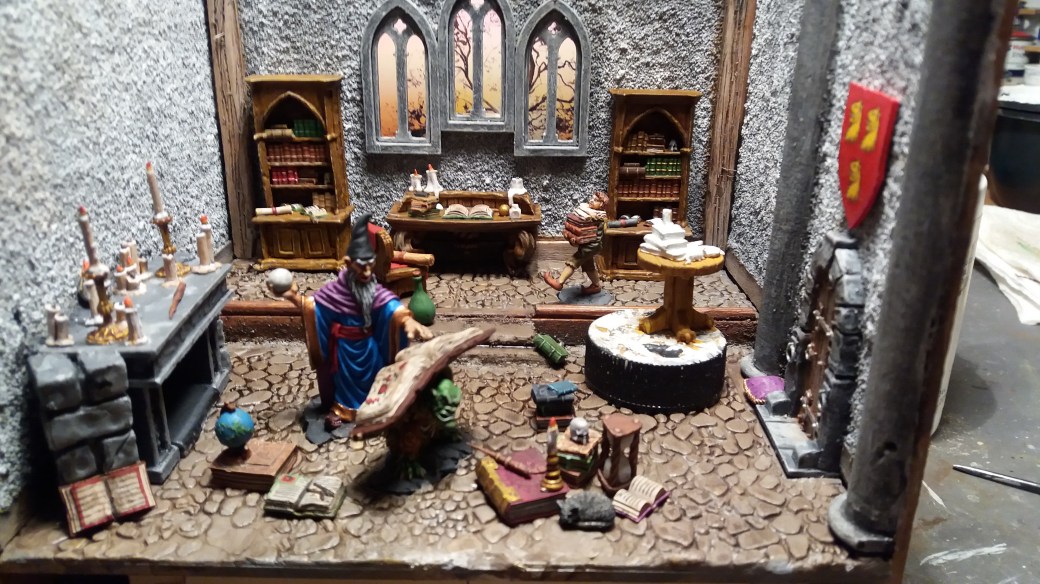

So now we come to the finished diorama.
First a basic shot of the box. For scale the box is a perfect cube measuring 16cm on all sides.

An overhead view of inside the box with the lid up and the ceiling removed.

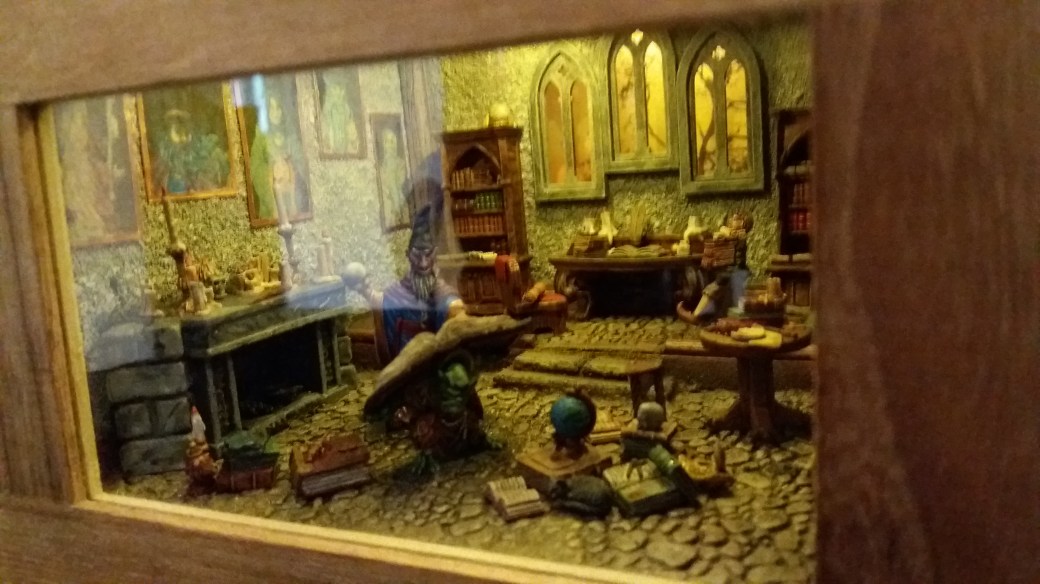
The remaining photo’s were all taken looking through the front vision panel, the intend view of the completed diorama. The aim, which I think I have achieved, was to make sure everything could be seen without something else getting in the way. Without the lights on the box is dark. The lights, given the background scene, are intended to provide early morning sun rise light.
Hopefully the pictures will allow you to get the idea but as I mentioned at the start, glare and reflection do take the edge of it a bit.


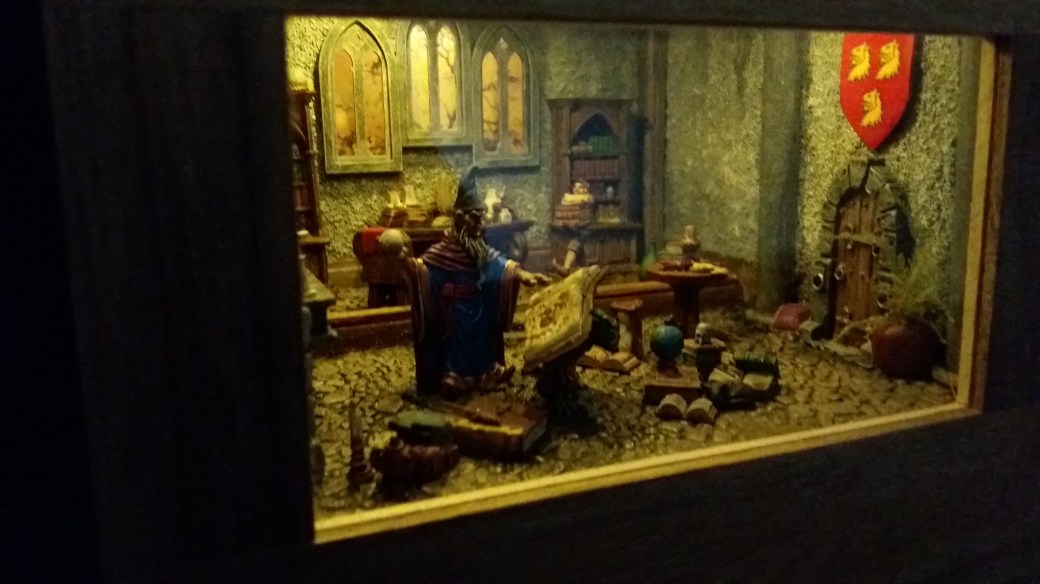
So there you have it, The Wizard’s Library. In the next post I will let you know how I got on at the Torquay show.
TIM

Great bit of work, love the bookcases.
LikeLiked by 2 people
Thank you.
LikeLiked by 1 person
Oh wow mate. More photos please. The colour of lighting is perfect to create that cosy wizard vibe. All your attention to details leaves me gobsmacked every time. Lovely figures and the painting of the book cases are just brilliant. Really well done but please more PIX!!!!
LikeLiked by 3 people
Cheers IRO. More photos might be a bit tricky now that it is in the box but I will see what I can do.
I would really like to see how to take photos without getting the glare. Once the show season is over I might take it out of the box again and take the photos I should have taken in the first place!
LikeLiked by 3 people
Obviously glare comes from a light source so you need to shadow the light. For instance if you’re taking a photo of something in a shop window it’s better to stand close to the glass so that your body mass shadows the light.
LikeLiked by 3 people
That’s logical. I will try to take some more with that in mind. My only concern is how close I can get before I cannot focus. Still, the beauty of digital is it costs nothing to try agian and again. 🤗
LikeLiked by 3 people
That is incredible mate – even when viewed on my phone… I’m going to take a proper look on my pc later 🙂
LikeLiked by 2 people
Thanks Alex, hopefully the images will look a bit better on a larger screen … or not! 😊
LikeLiked by 2 people
Gorgeous work TIM!
LikeLiked by 2 people
Thanks Mikko.
LikeLiked by 1 person
Wow, that really does look amazing. Even by your high standards that is terrific. I’m impressed and you should be very proud.
LikeLiked by 2 people
Thank you. This one went together well in the end and came out pretty much as I had hoped.
LikeLiked by 1 person
That is simply wonderful.
Cheers,
Pete.
LikeLiked by 2 people
Cheers Pete, really appreciate that. 😊
LikeLiked by 2 people
Brilliant Dave, so detailed and so fun. Good luck with it at the show.
LikeLiked by 1 person
Thanks Mark it was fun to do.
LikeLiked by 1 person
I love how it’s turned out. The windows look excellent and the little touches of detail really bring it to life
LikeLiked by 1 person
Thank you. They’re often the details people just accept but they are so important I always feel. Glad you like it. 😊
LikeLiked by 1 person
Amazing work here. I doubt know how you manage to do it, but it feels like you’re consistently outdoing yourself on a regular basis with these major pieces. Huge kudos to you and your work here!
LikeLiked by 2 people
Thanks Azazel. I think the area of improvement comes mainly from embracing different genres, my imagination has been buzzing at times.
LikeLiked by 1 person
Well Dave ,first things first, yes that is true ,I call it the dry run dry run now glue oh f….rule and if it doesn’t happen I’m concerned that something has gone right and so I worry !. I feel it has the partner that most modellers know well the one about the product the call super glue ,super for glue your fingers together and failing to glue the project. I’m sure we all have our own special little names for it so I will move on ,I dare not think what our friend Azazel calls it !! .
Dave I have to say this is the best work I have seen from you so far ,detail ,detail detail ,just what I like in a good dio mate ,I won’t go on ,it’s all been said by the crew other than to agree with young IRO ,more photos please down the track .
Oh ,the other members have just been in and love it mate ,the young one that loves design thinks the windows with the back scene are … I’m not sure of the word but I think she likes it !! .
LikeLiked by 1 person
Glad you like it Pat. Even better is knowing it has the endorsement of your other family members. I will try to take some other photos at some point but this is not an area of strength! It was a fun dio to do that’s for sure.
LikeLiked by 1 person
I’m well behind with stuff at the moment! Dave, this is absolutely brilliant! There is just so much going on and detail to look at! Well done indeed!
LikeLiked by 1 person
Cheers John. I know it’s an age thing but try and keep up with us youngsters if you can! 😉
LikeLiked by 1 person
Haha! OK, I’ll try! 🙂
LikeLiked by 1 person
That is looking awesome Dave. Your attention to detail, as per usual, is impeccable. The young Merlin with all the books really does the job for me, it just brings that little something to the whole thing.
LikeLiked by 2 people
Cheers mate, glad you like it. Hope the job is going well.
LikeLiked by 1 person
Wonderful work. Very impressive results
LikeLiked by 2 people
Thank you.
LikeLike