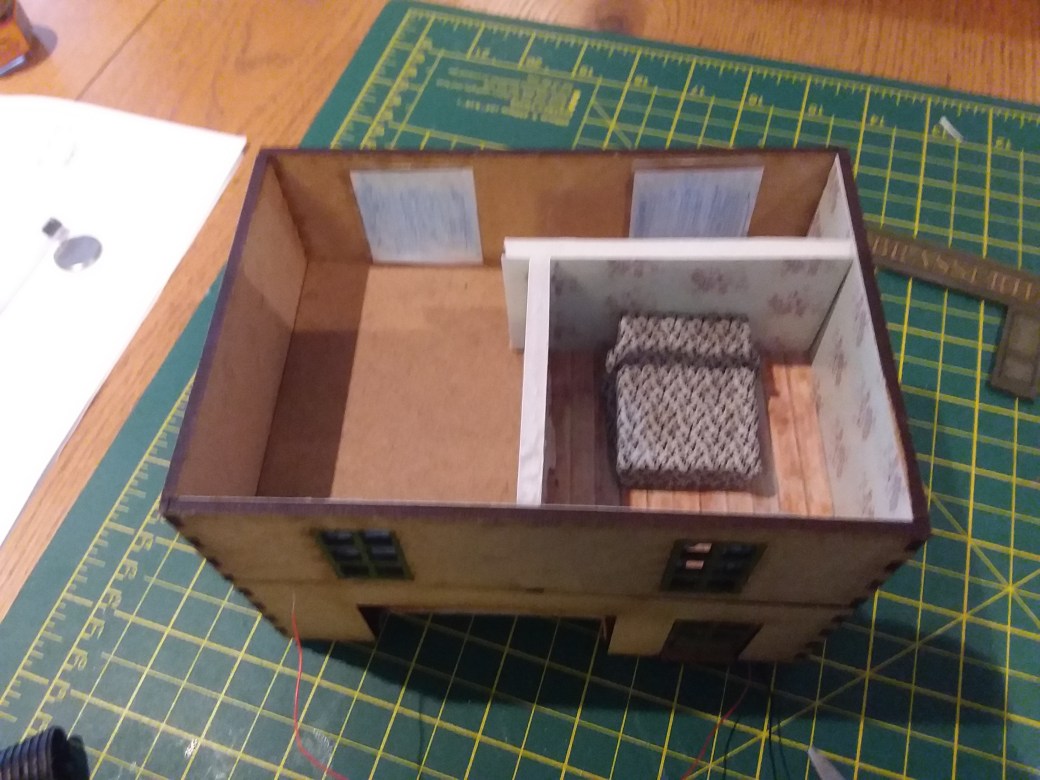
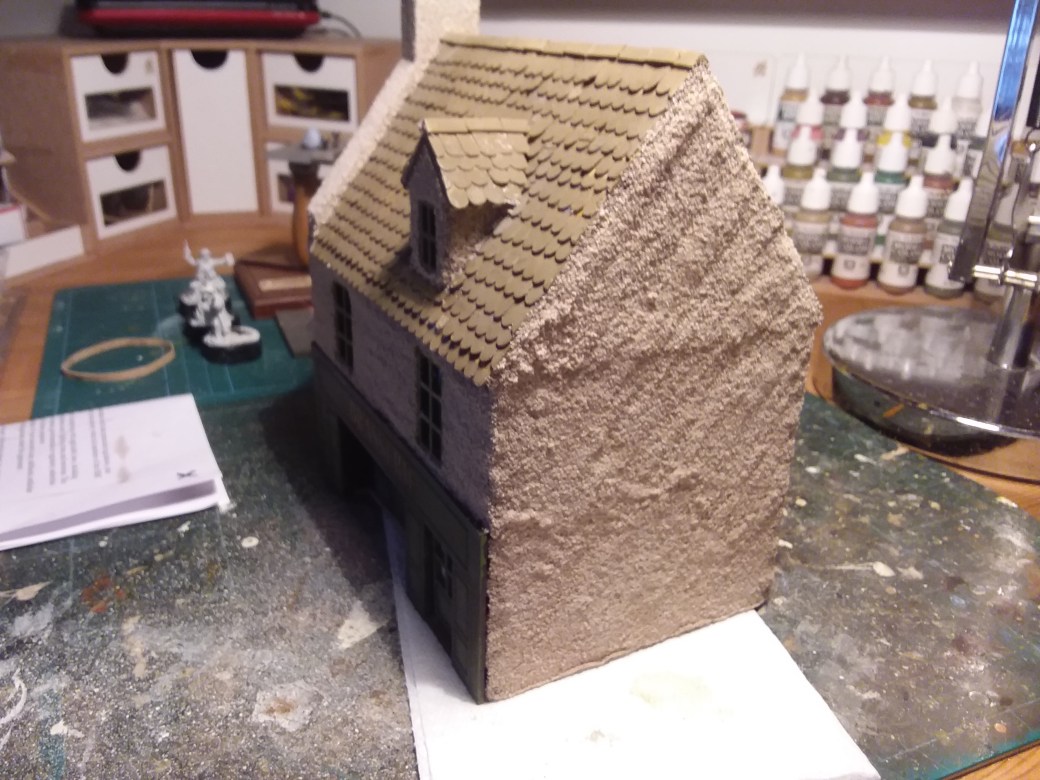
With the three buildings almost complete it was time over the last week to start thinking and working on the base and to begin painting some of the figures. To be honest it made a welcome change. Don’t get me wrong I’ve enjoyed the buildings but it was nice to focus on something else for a while.
Let’s start with the base as there is a lot more to comment on.
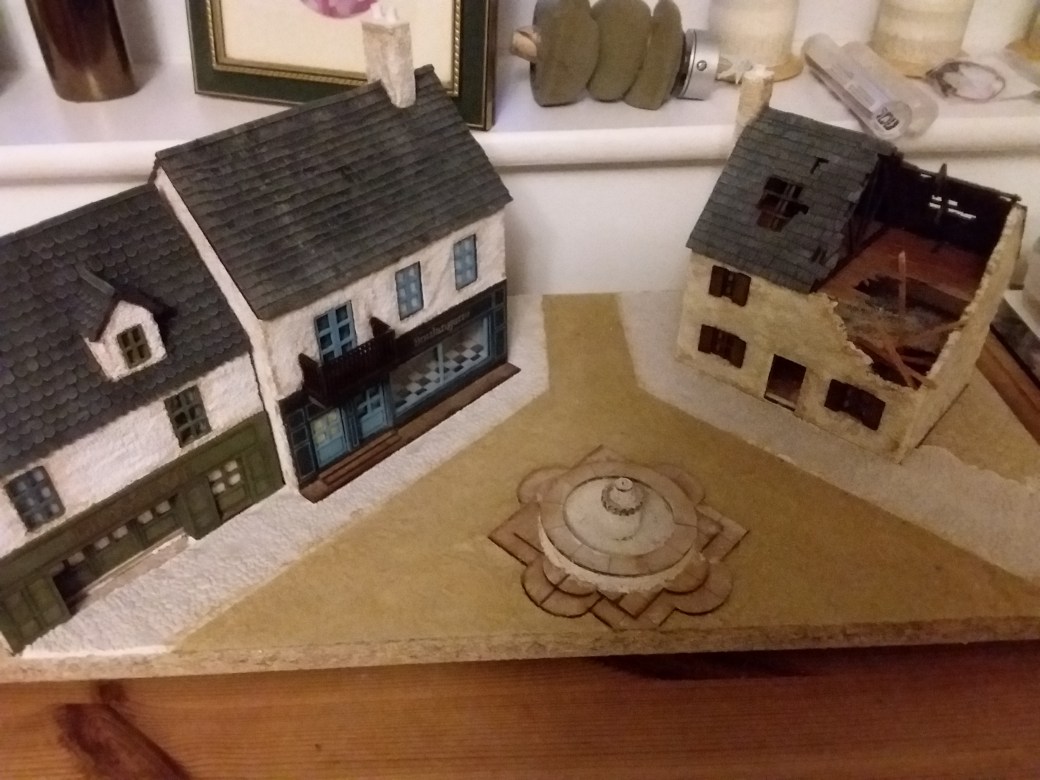
Originally my plan was to have the three buildings positioned in a straight line, face on and square to the base. However, when I positioned them and considered the figures it looked shit. I then considered putting a road between the buildings whereby two were positioned either to the right or the left with one on the other side. Although it looked much better it still just didn’t look right. I then remembered one the of the rules of photography, the rule of thirds. By splitting the buildings, two one side and one on the other, and placing them at right angles it was possible to position the buildings closer to the sweet spots. You may not agree when looking at the images below but to my mind this looked much better and thus I made the decision to go with it. The downside was that there was now much more space behind each building which meant I would have to make back gardens for all three buildings as well.
Another decision I made was to go with the two undamaged buildings on the left with the damaged building on the right. Why? You may well ask!
Now I’m no WW2 expert and don’t claim to be. When completed this model is intended to be a representation and not an accurate depiction of a true scene or event so the way I see it is this. France, despite being occupied, was for all intent and purposes operating as “business as usual”. Putting the French Resistance to one side, the shops were open and the people generally went about their business. All hell of course broke lose when out of the blue the Allies invaded on the 6th June 1944. My idea therefore was to show business as usual with the two intact buildings on the left and the beginning of the end with the ruined building on the right. Does it work? Well I guess that’s for you to decide.
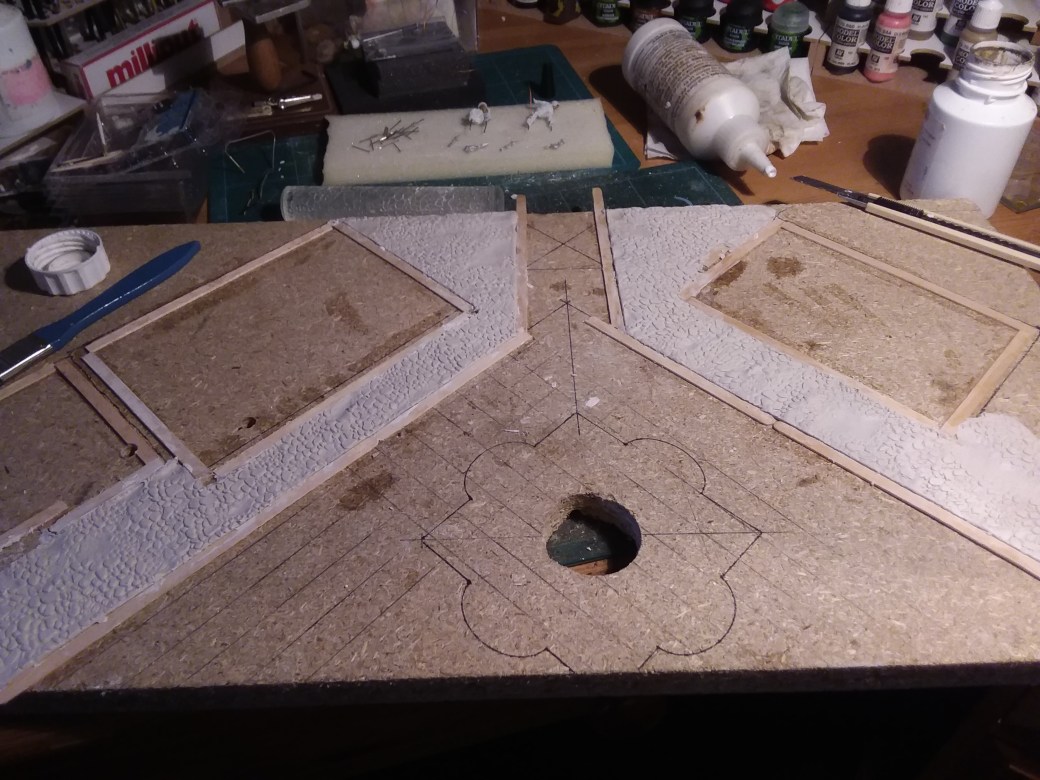
The next step was to draw around the buildings and glue a border of coffee stirrers lightly to the base. This was to serve two purposes. Firstly, it provided a clearer boundary line when it came to laying down ground work as pencil or ink would most likely get covered up. Secondly, when removed the buildings would sit nicely into the recess leaving less ground work to be touched up later.
I mentioned in previous posts that my aim was to include some lighting. It remains to be seen if this is going to work out but one of the things I needed to overcome was where and how to house the battery and the on off switch. If I simply stuck it under the base then the base would have to be raised. Not a problem if it only needed to be raised slightly but but as this was not going to be the case I thought it would look ridiculous. I therefore decided to drill a FGH (Fucking Great Hole!) through the base so the two parts could be hidden away. I also needed to make sure that the hole was central so that the wires from two buildings and from street lights which I planned to install would all reach. All I had to do now was decided how best to cover up the FGH which neatly sat in the middle of the bloody board!
Fortunately I had a eureka moment. The angles of the buildings gave me the impression of walking through the gap between the buildings and into a village square. This being the case a lot of village squares have at there center either a statue, a fountain or both. Fortunately I was able to find a 28mm MDF fountain which I could use, the outline of which was added to the base before starting on the ground work.
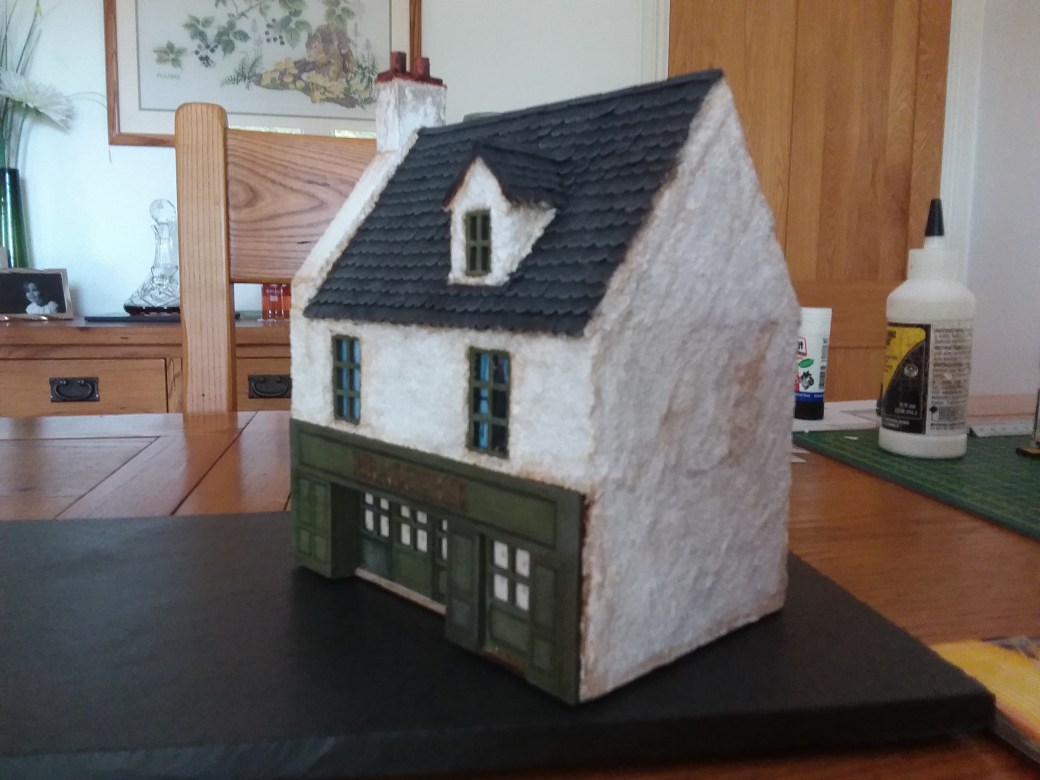
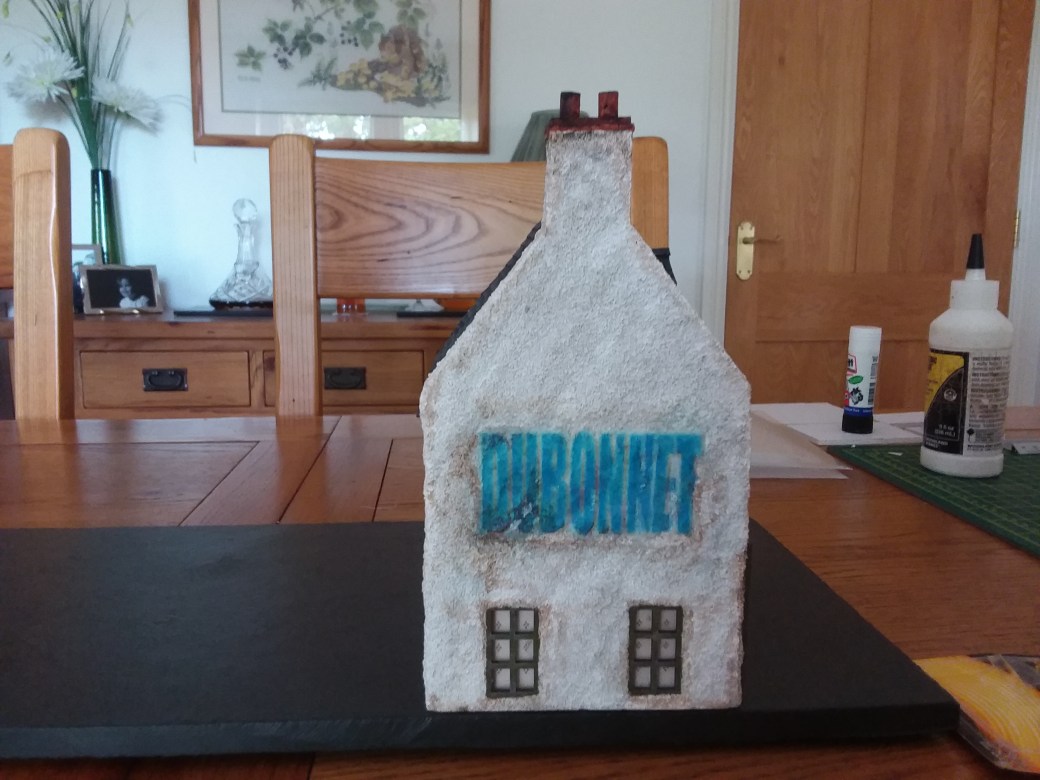
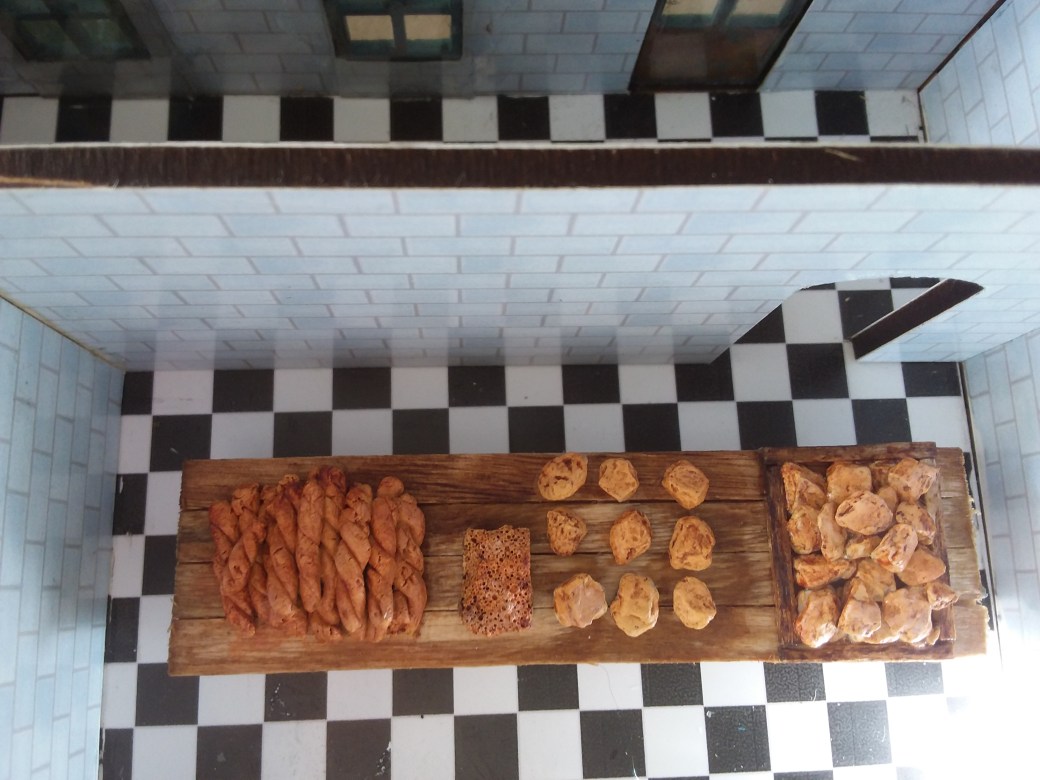
For the ground work I decided to go with a cobbled pathway in front of the buildings and a light gravel finish to the center and around the fountain and that’s where I am to date with the the base. In the photo’s below the buildings have just been placed in situ to provide a first glimpse of how the layout will look. There is still along way to go!
Now to the figures.
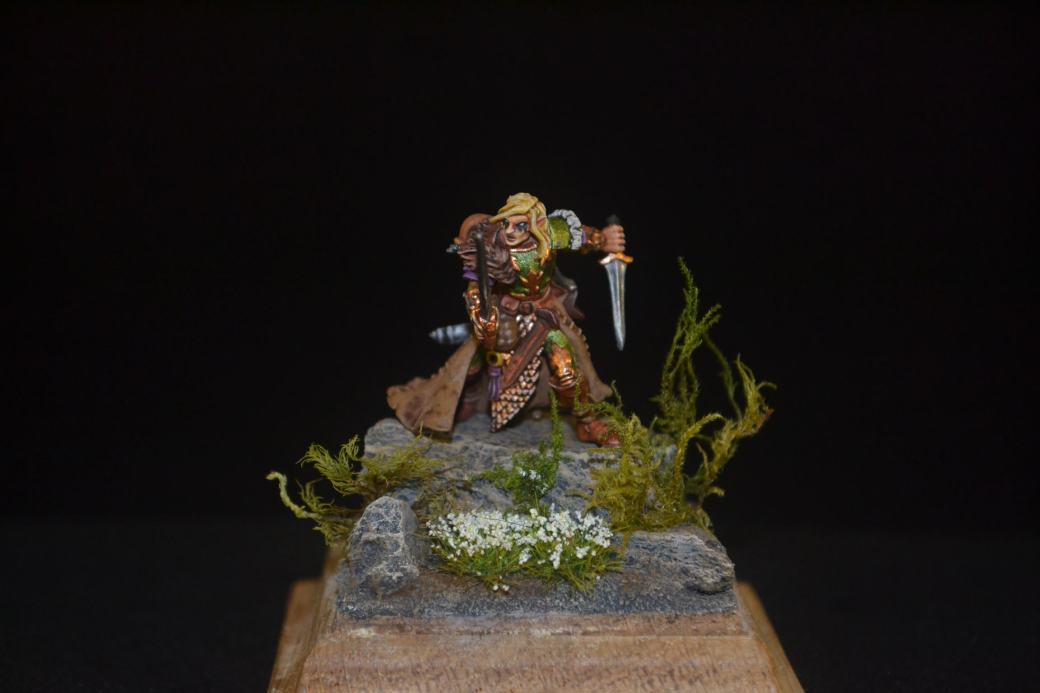
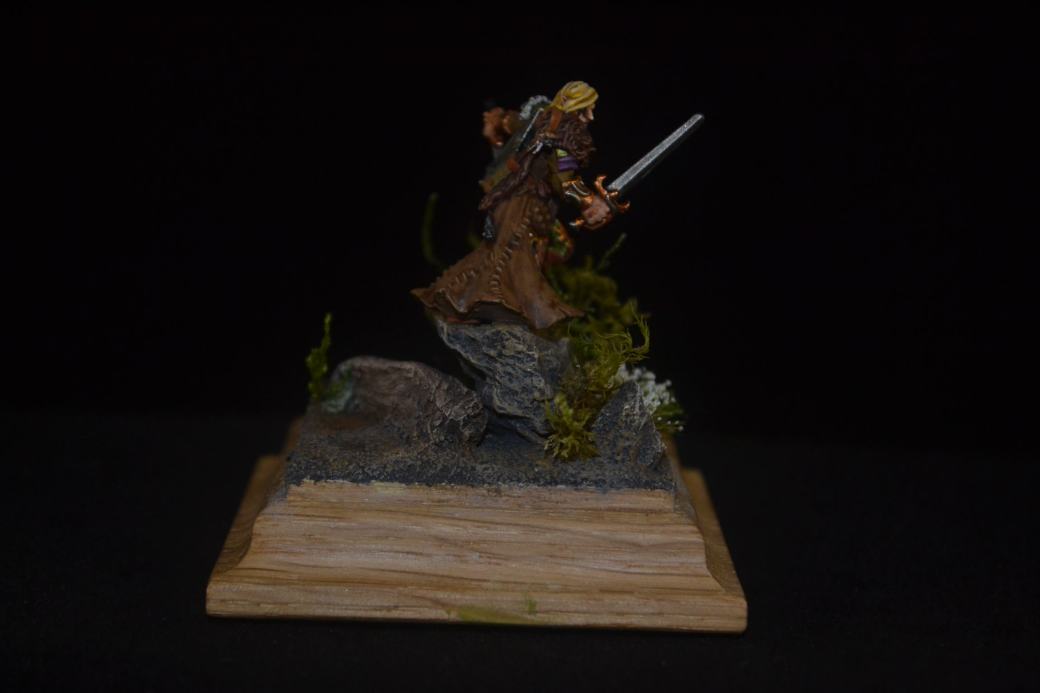
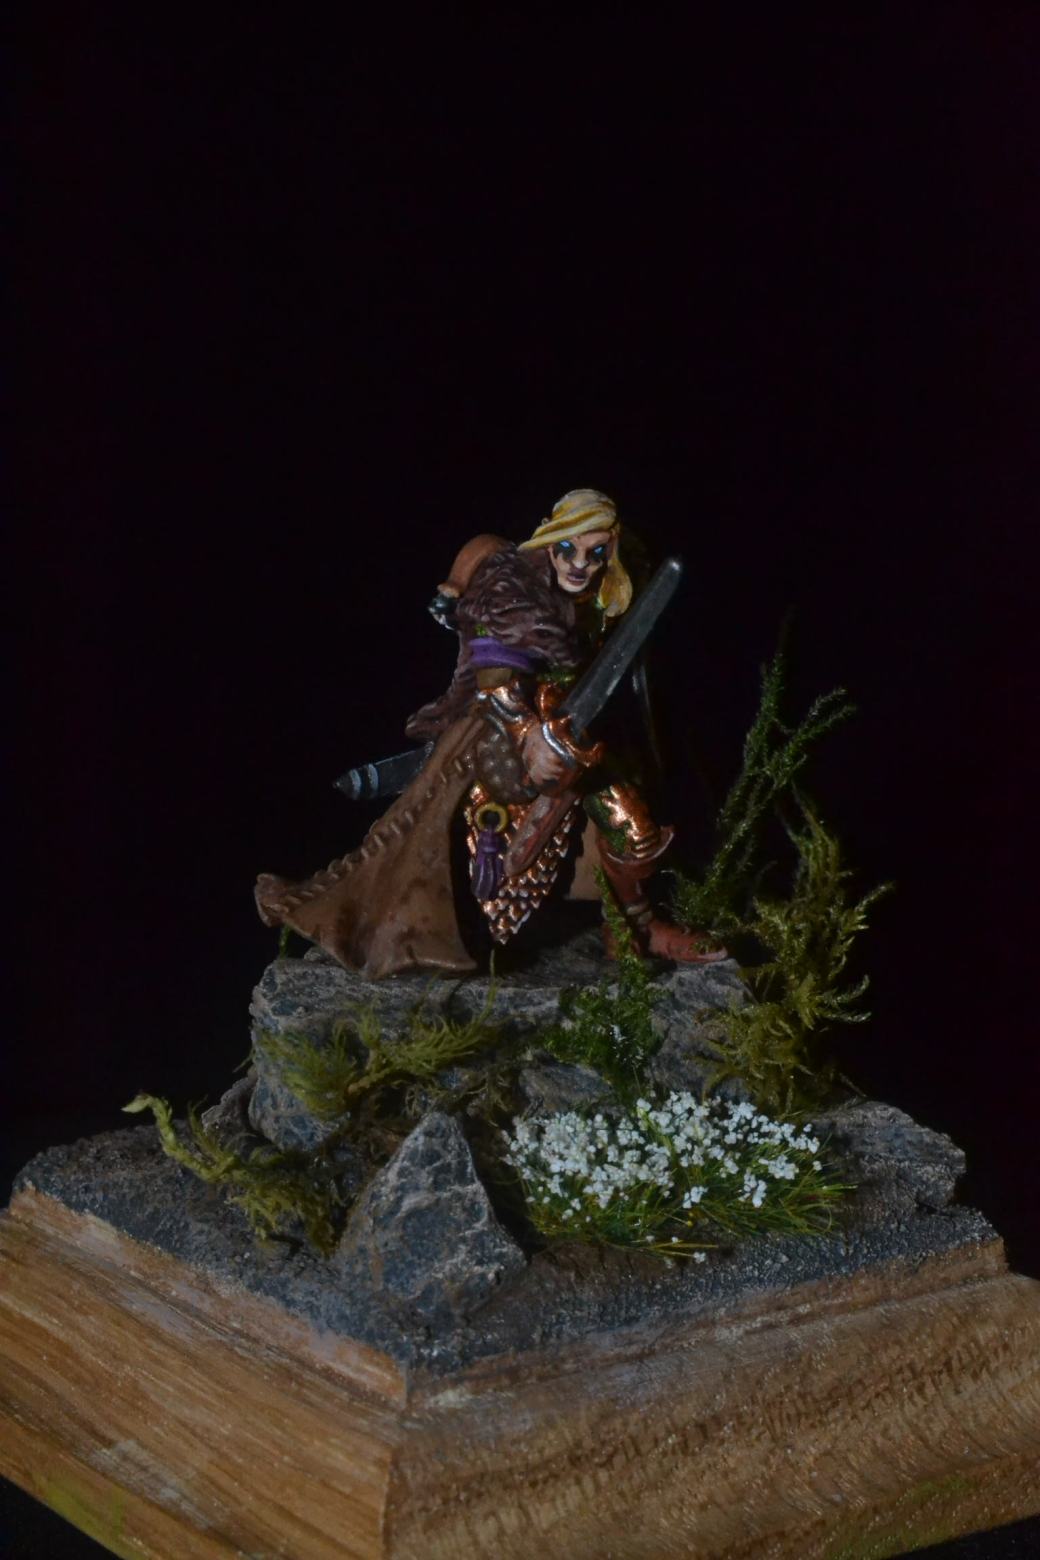
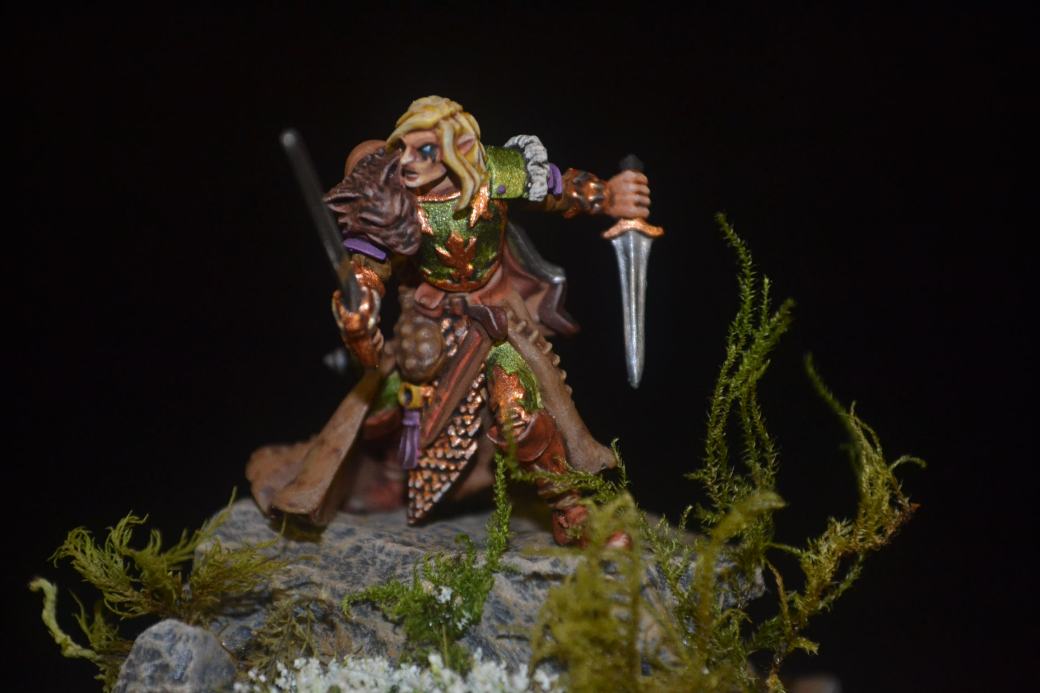
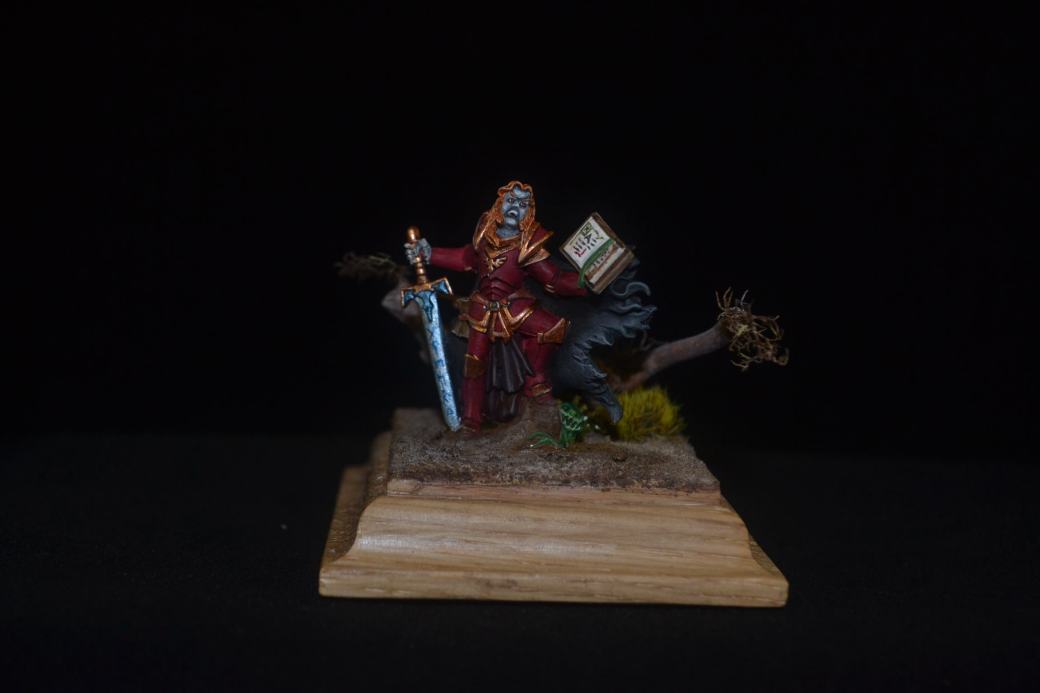
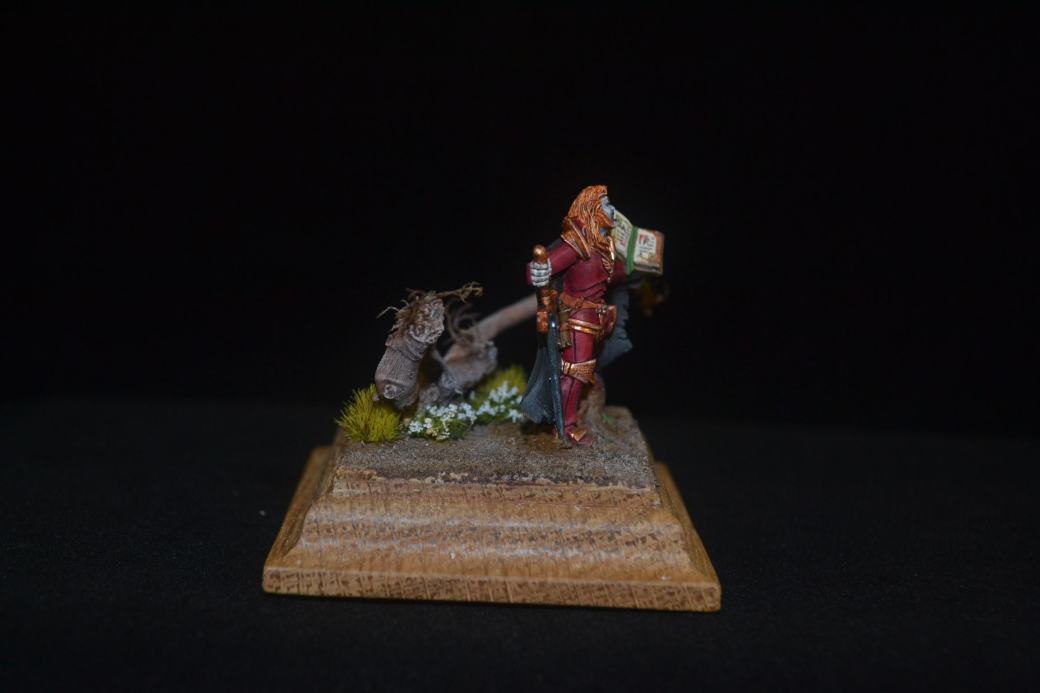
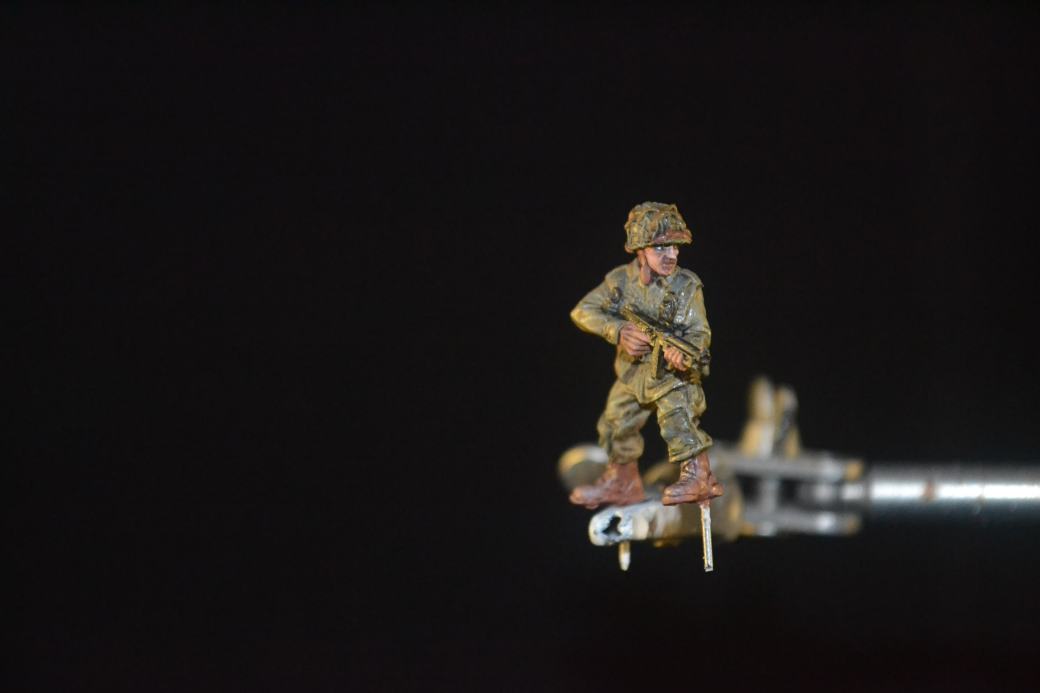
Currently I plan to have eight figures, seven US 101st Airborne and one German. So far I’ve made good progress on four of the US figures. Not a great deal to say. The figures are all ironically from a German site I discovered called “Stoessis Heroes” and are excellent castings in my opinion. Painted using a combination of Vallejo acrylics and Winton and Newton oils.
Photo’s of base progress and figures below. The pictures of the figures are poor as I had little time to mess about with the focus which seemed hell bent on placing the focal emphasis on the clamp!
TIM


:format(jpeg):mode_rgb():quality(90)/discogs-images/R-6321773-1416421597-7222.jpeg.jpg)