

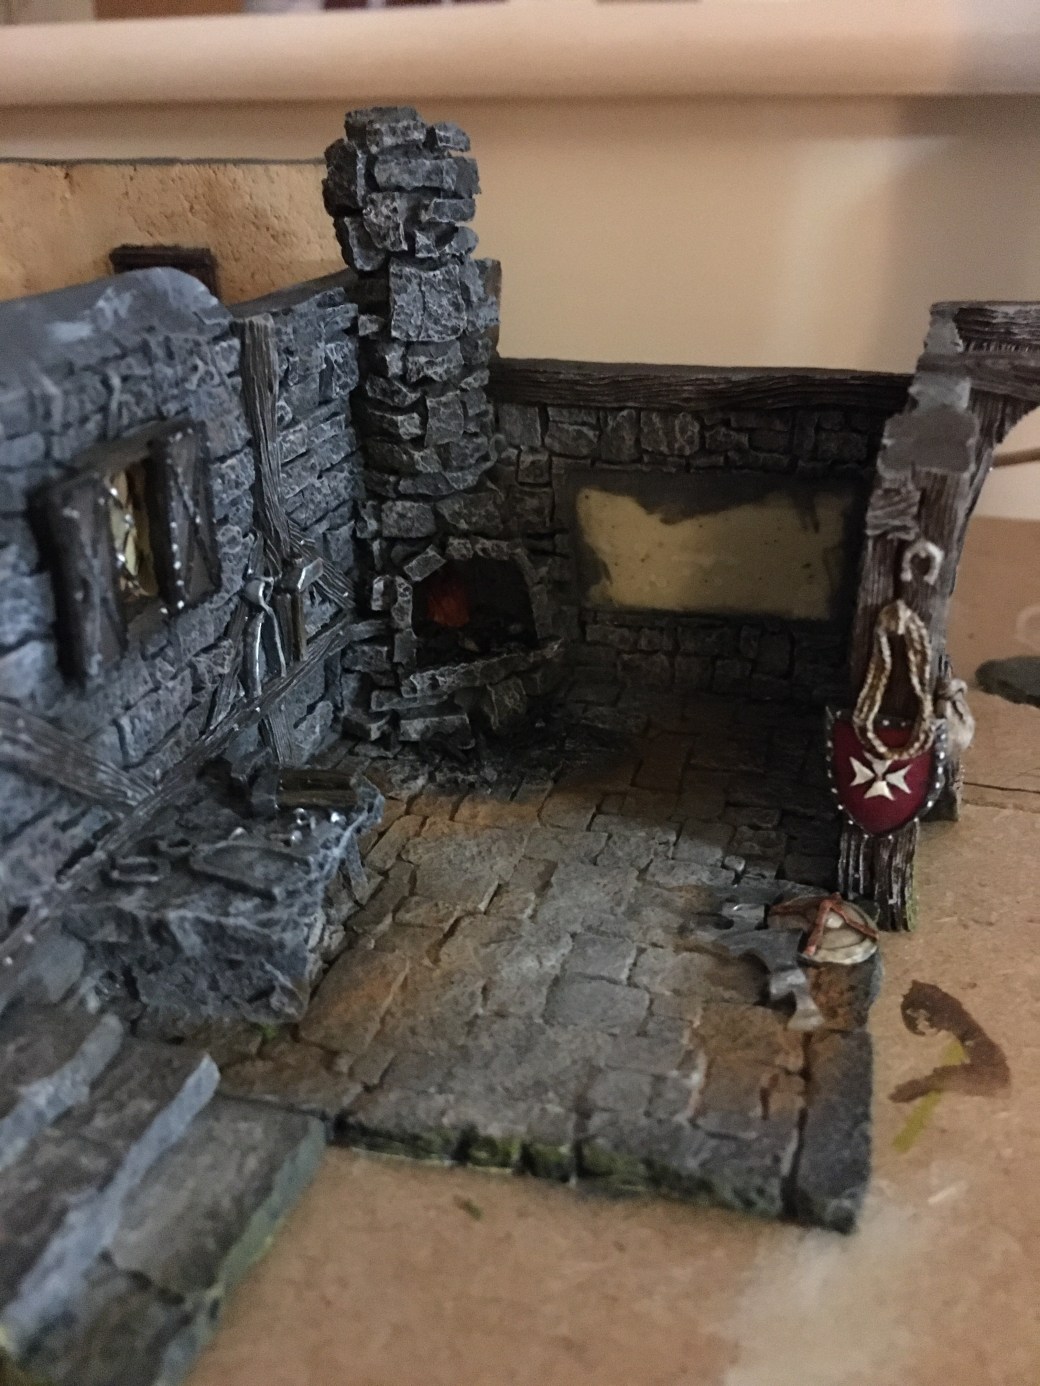
All the time I was painting the Blacksmiths building I had half an eye on the tree I had made. I wasn’t happy with it and knew that I would need to do something about it or it would bug me forever and a day. I decided to start over.
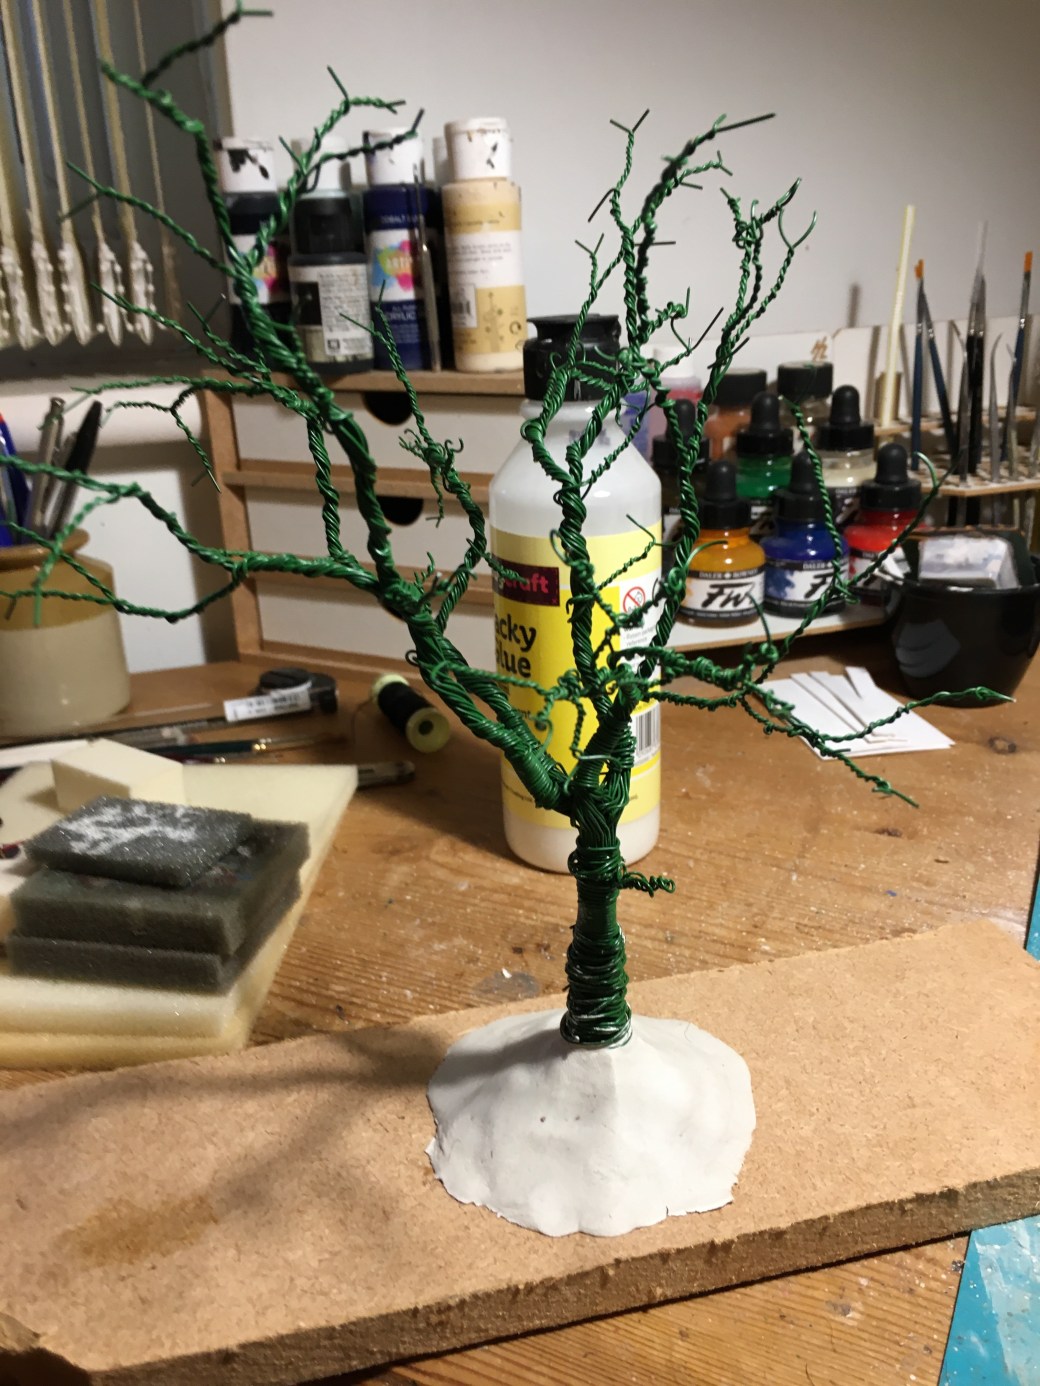
Out came the florist wire and I spent several hours bending and twisting the wire into shape until I came up with a tree shape I liked. The main branches on this one would not be so far apart and as such I would be able to produce a less sparse and leafy canopy.

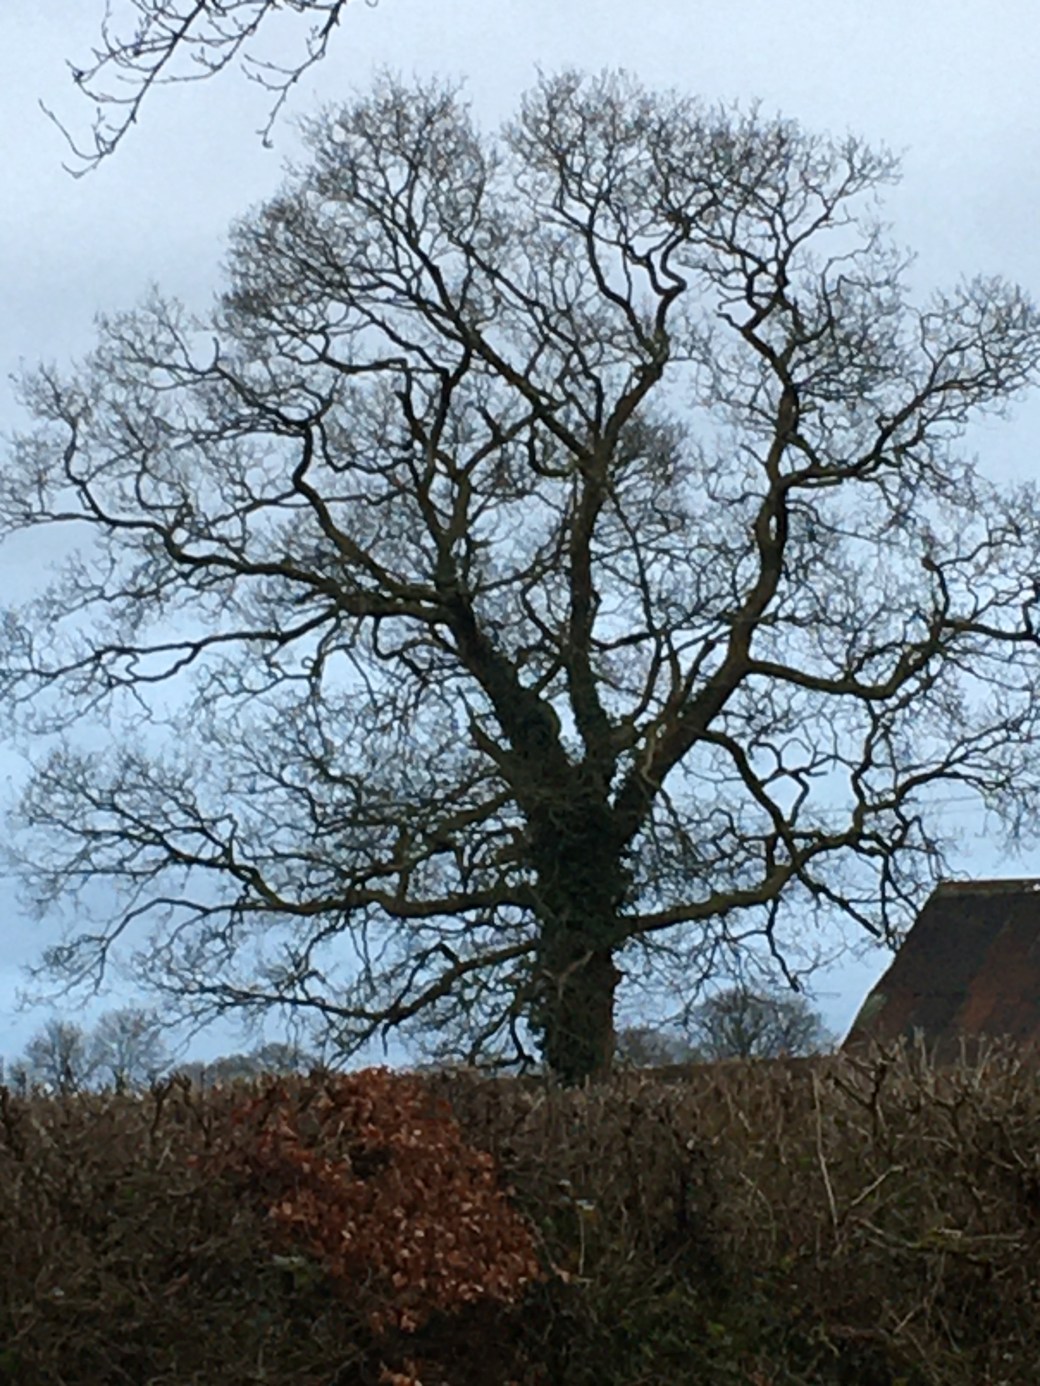
It was looking good and I was pleased and so next I put it on the base to get a feel for what it would look like in a mock up against the buildings. I didn’t like what I saw. It was a nice enough looking tree but it was to small. Oak trees are bloody enormous and this one needs to look like a mature adult tree not one going through pubity. It needed to look more like this one in the field opposite our house only in leaf.
Here we go again! Start over or …or … or…?
Then I had an idea! A light bulb moment.
What if I could combine this tree with the other one?
Somethings you just have to give a go and I couldn’t shake off the idea so there was nothing for it but to strip down the first tree and see what could be achieved. Either I would end up with one decent looking tree or two shit ones fit for the bin.

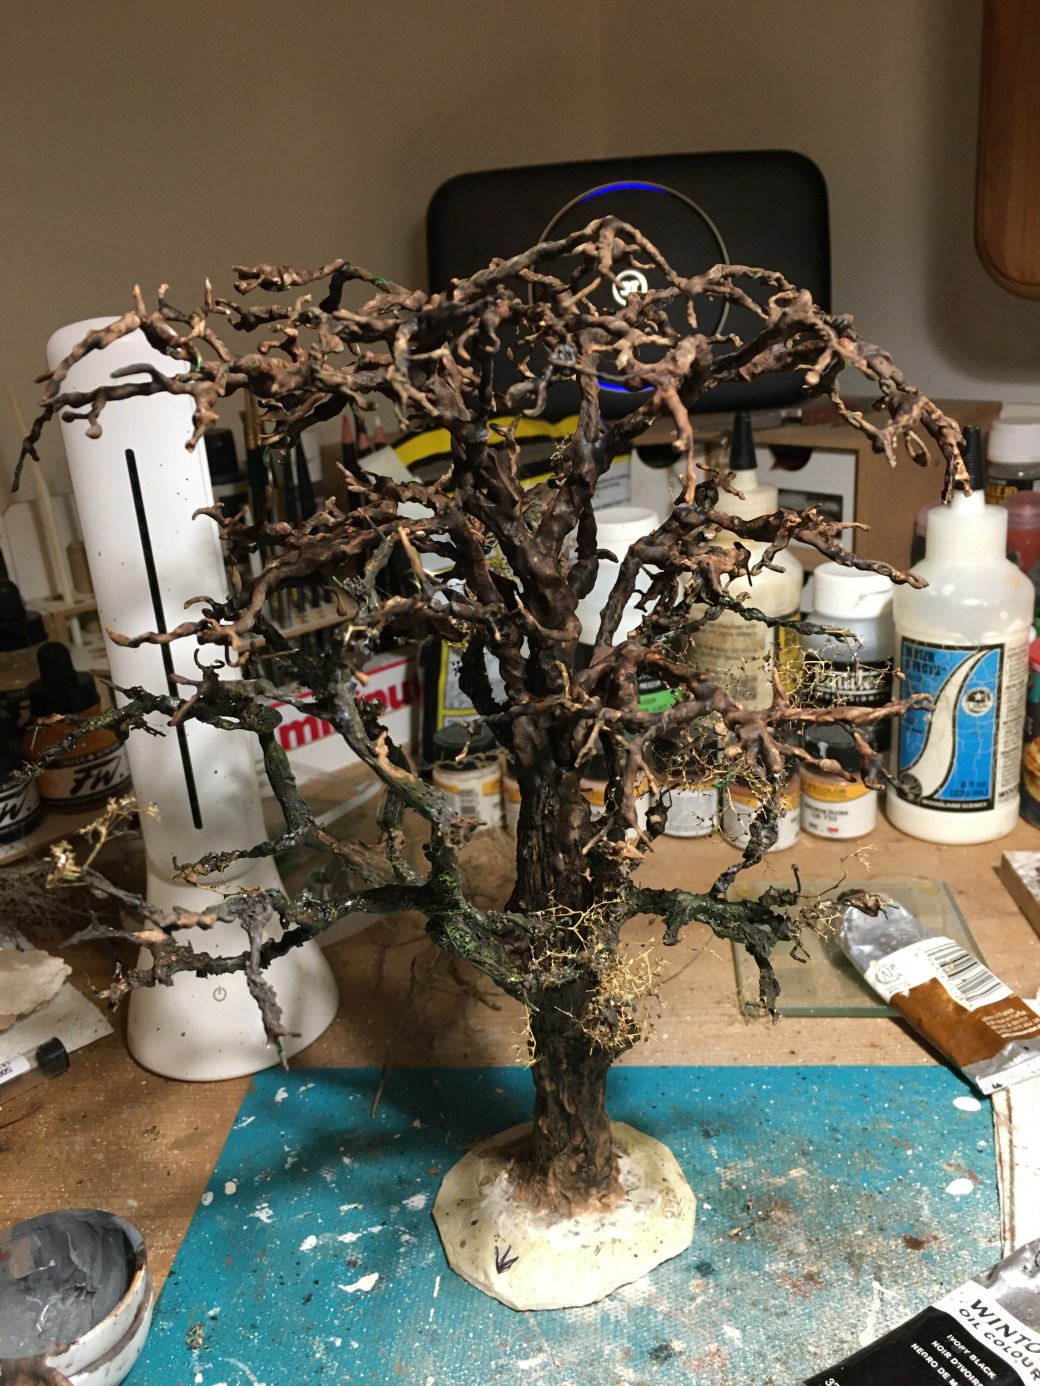
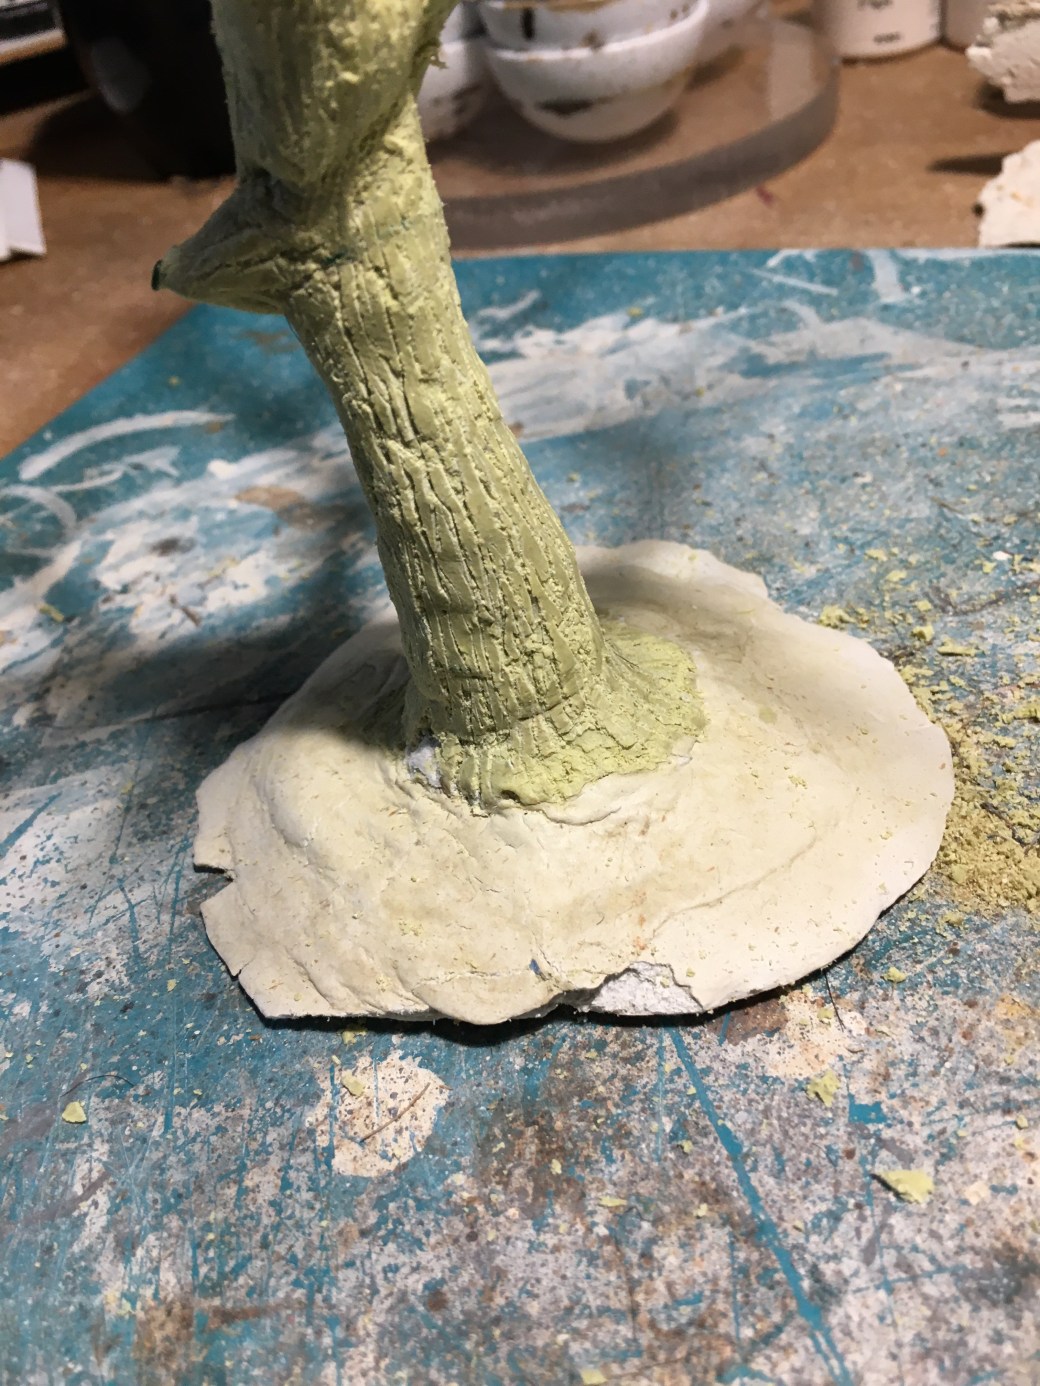
A test fit followed and it looked to have serious possibilities so out came the glue followed by the Milliput followed by the filler and several hours later I got to this stage.


Allowed to dry the next stage would, once again, be to get some paint on it. This would hopefully start to make it look a little more like a proper tree. Brown and black diluted oils along with some dry brushing got me to this stage, albeit with more paint work to be done.
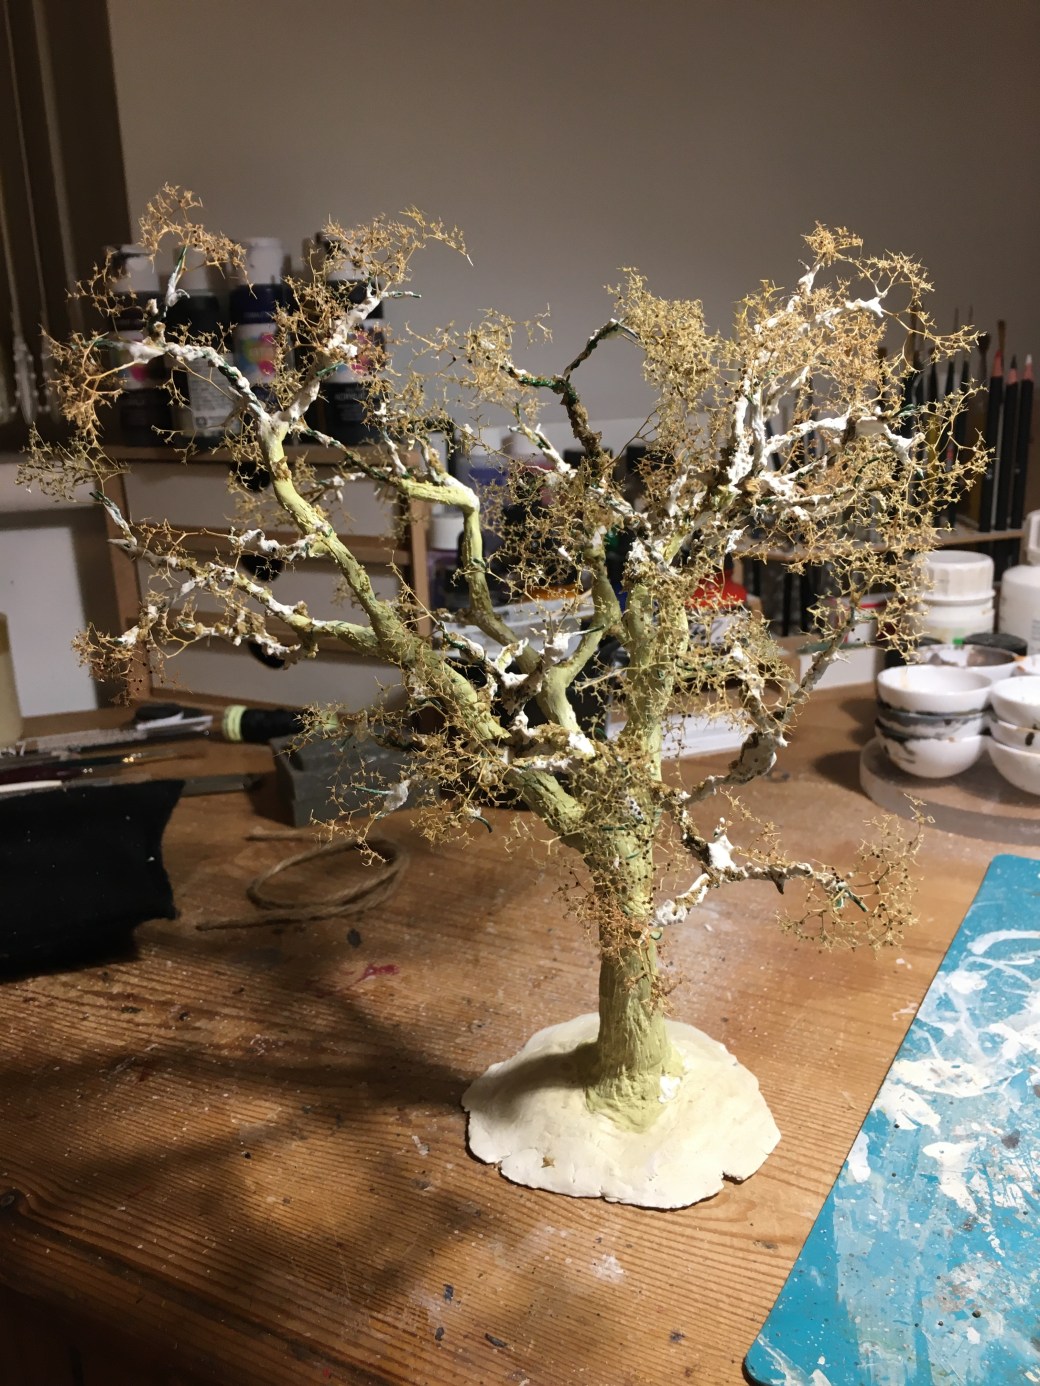
After some further painting I was ready to move to the next stage. Now normally I would start adding Sea Foam for the smaller branches, however, on this occasion I decided to go with a different approach. Although I like the look of Sea Foam it’s very delicate and becomes brittle. Instead I went for a technique using wadding that SWMBO had. The wadding was dyed and immersed in a mix of water, PVA and paint and then stretched out over the branches of the tree. Bit by bit each piece was teased out and layered over the branches. With so many more branches this time around I felt confident this technique would work. This got me to this stage.
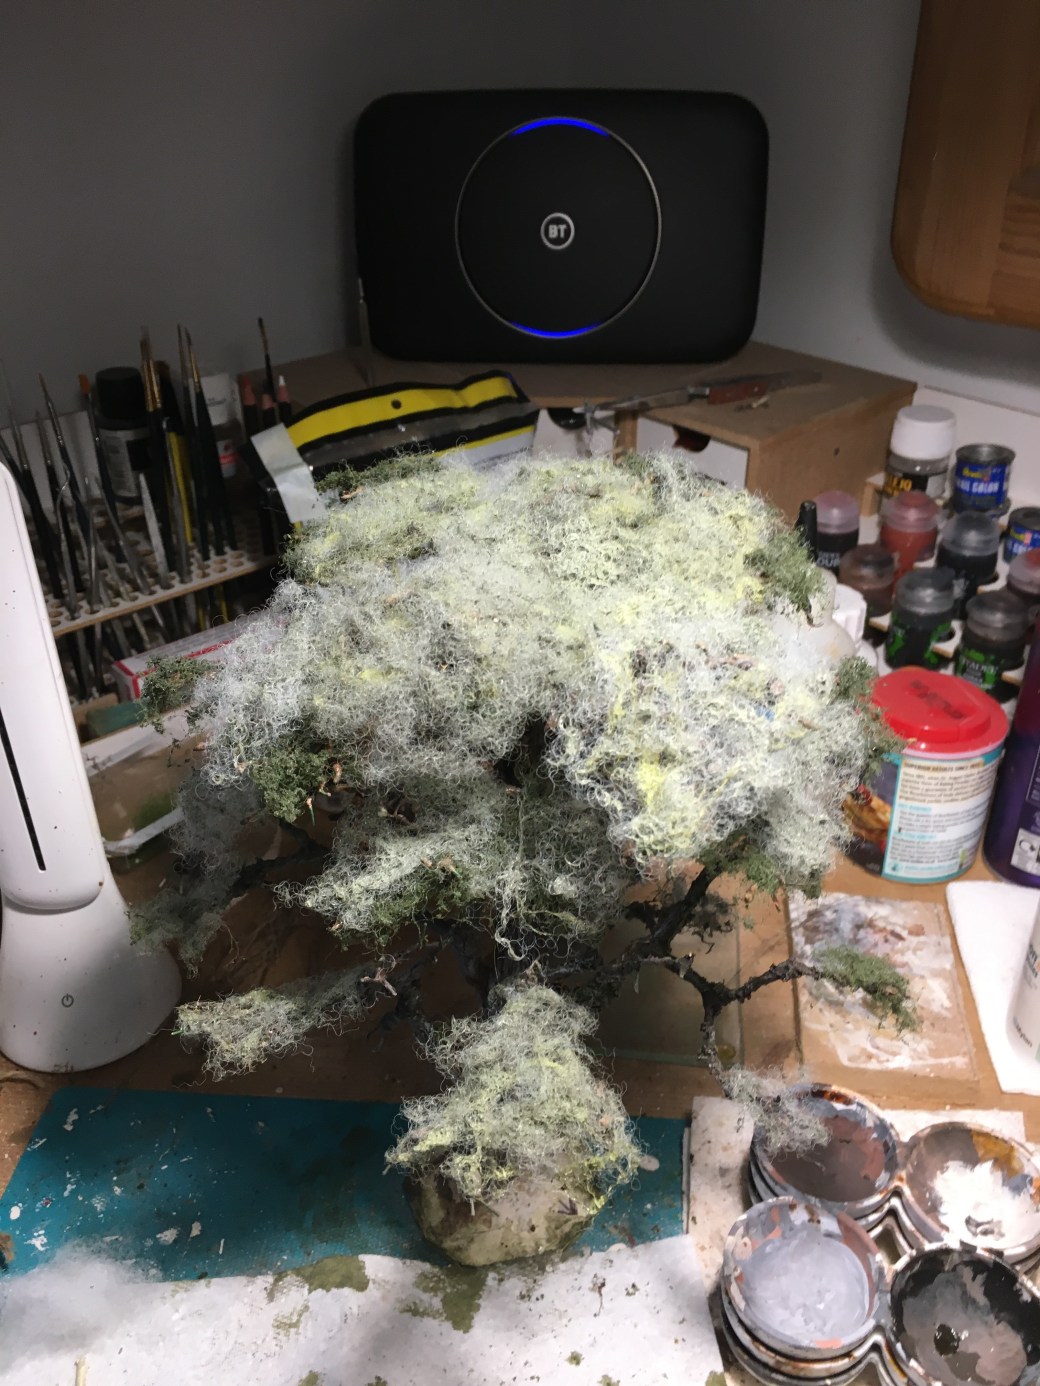

Looks crap doesnt it?
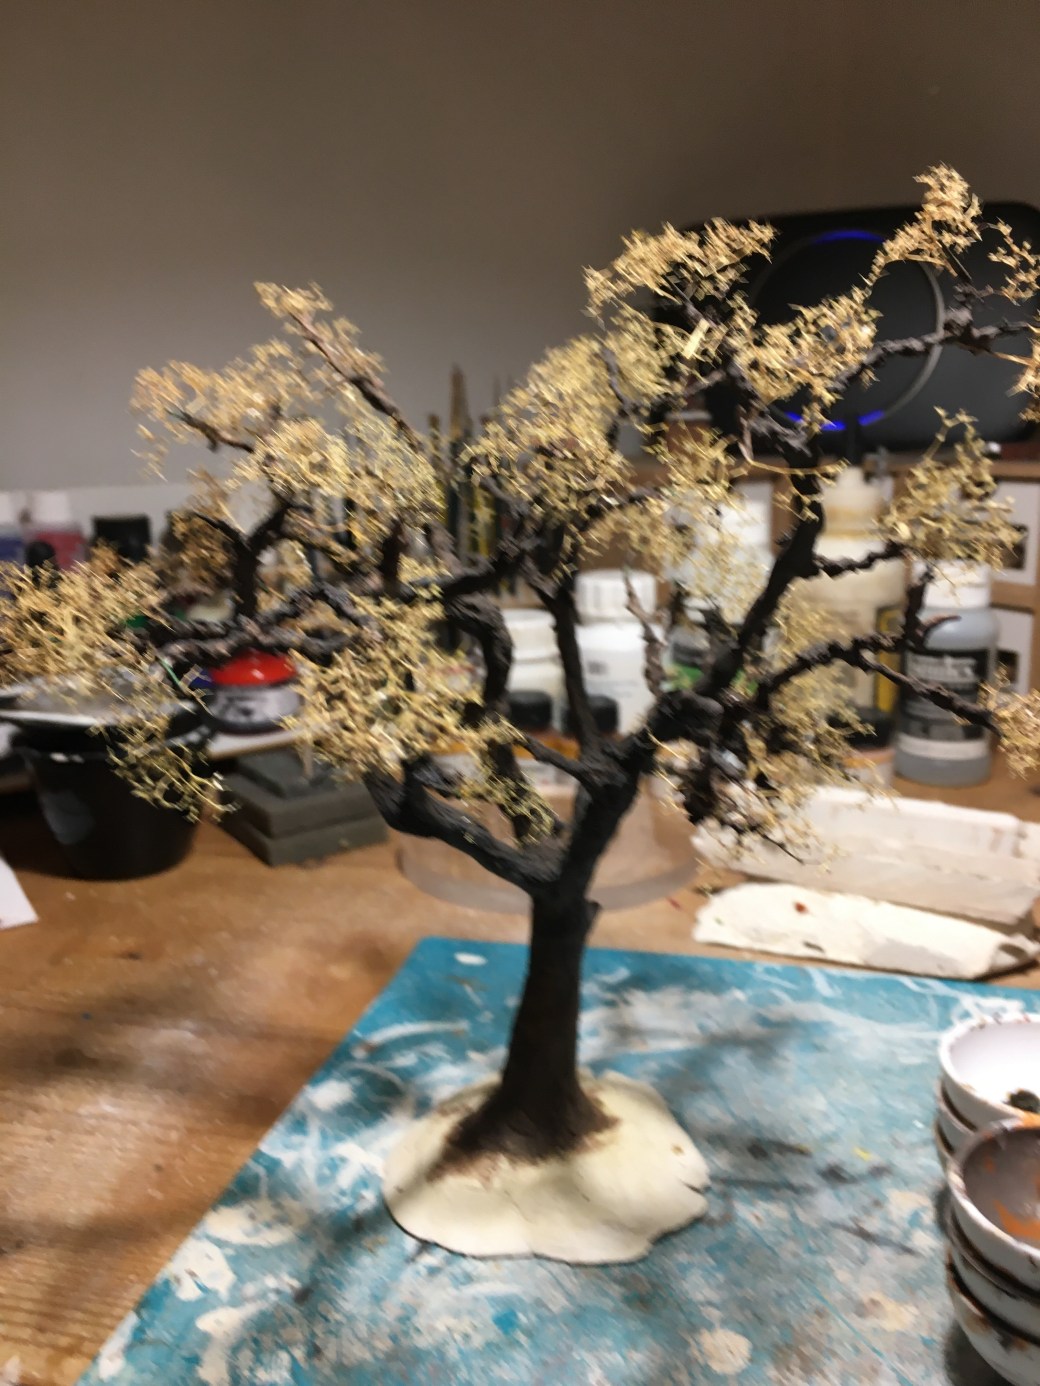
But then it was time to apply some static grass and Noch leaves of various shades. I started with a sample piece to make sure I was on track with the look I was after. If I had to start over it would be easier to remove one section rather than the whole lot.
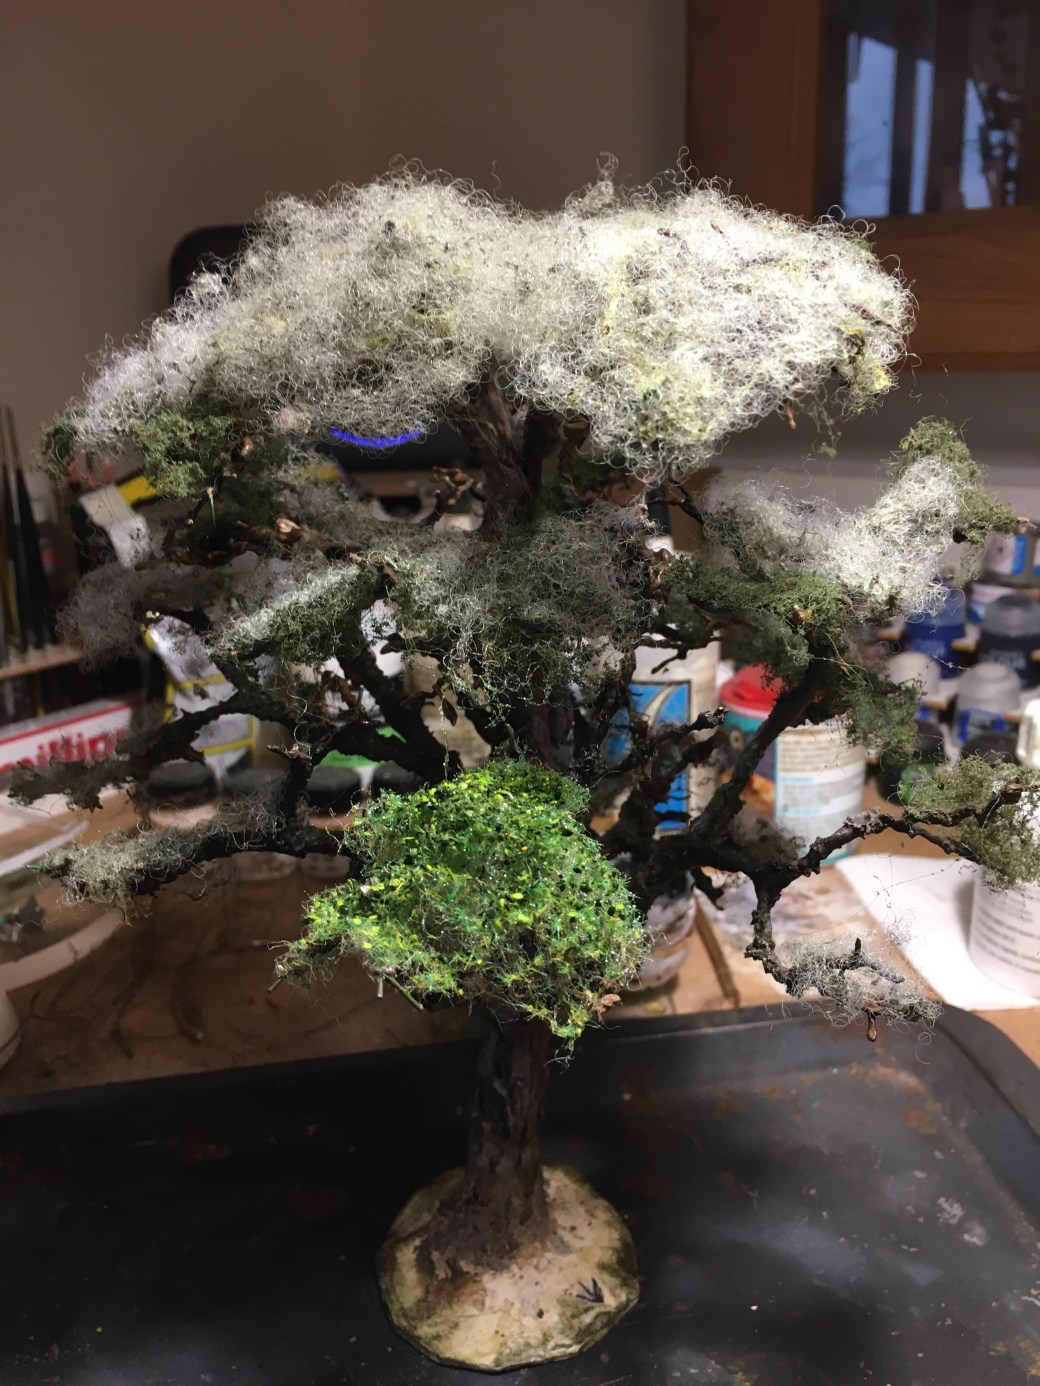
I liked the look, in fact I was very pleased with it so it was time to boldly go …
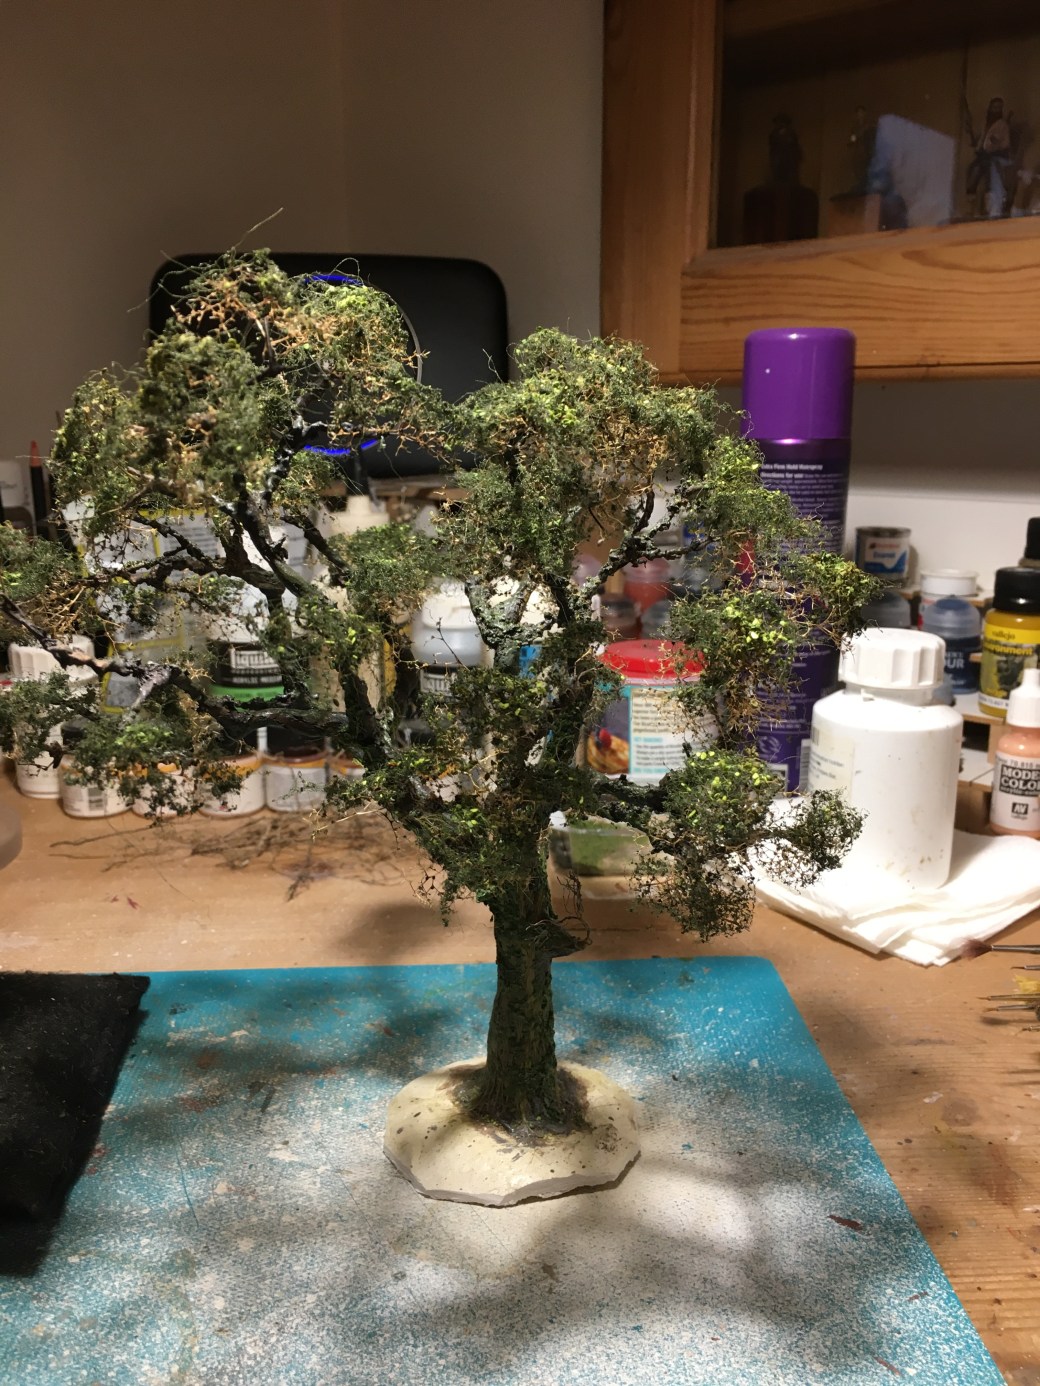
No holding back and in a short matter of time the tree looked like this.

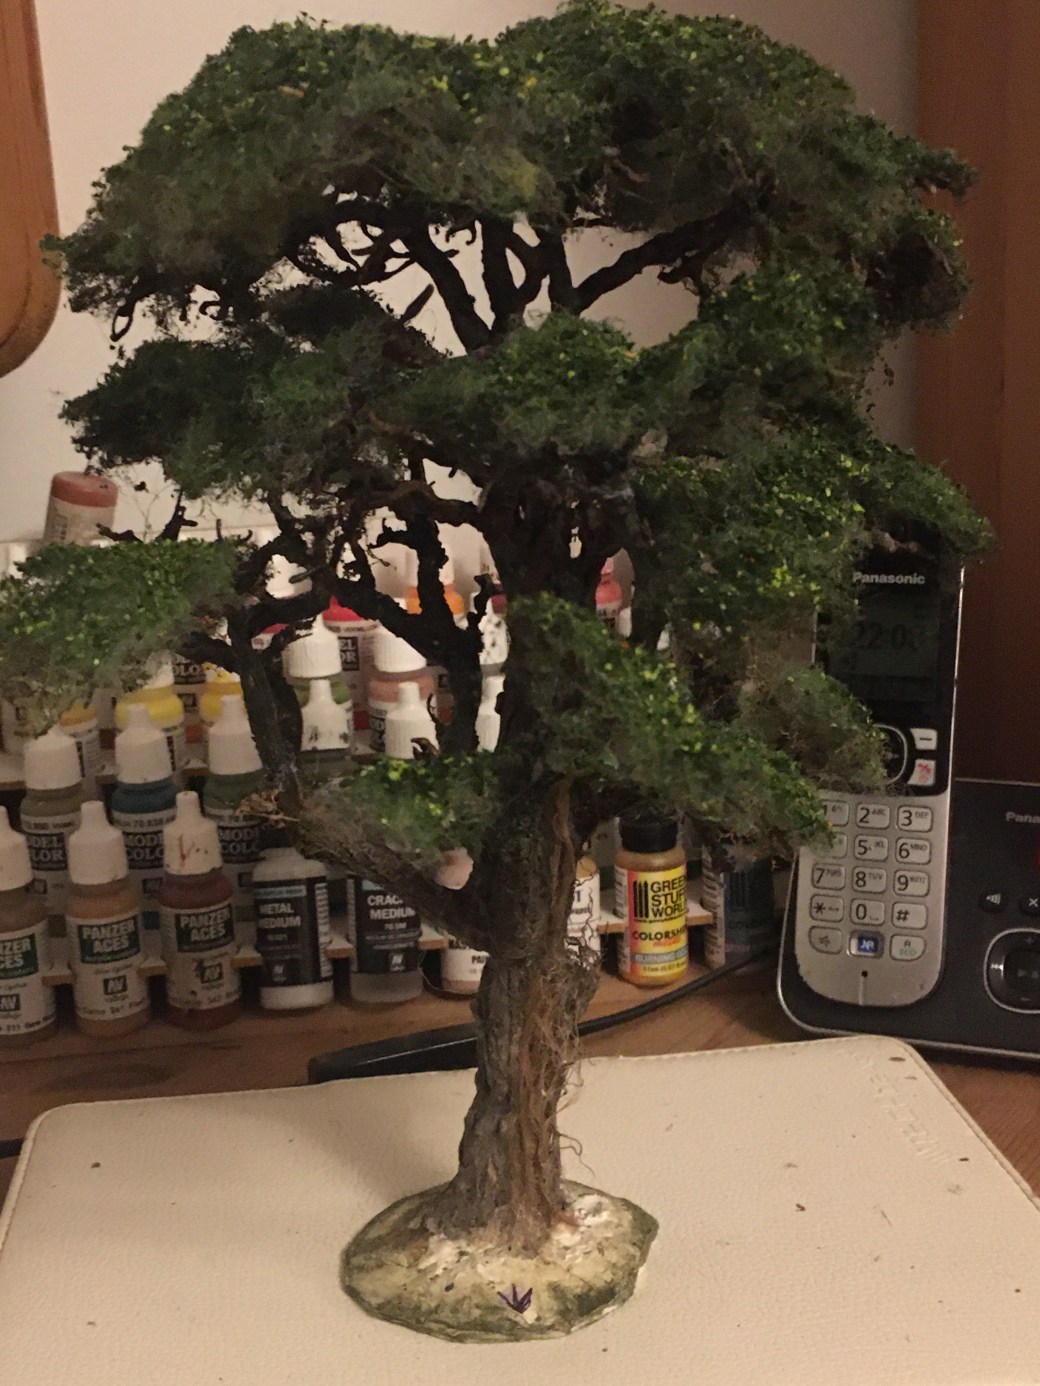
I was more than a little chuffed with the result. The next step was to do a little more dry brushing and reapply ivy to the trunk and some of the branches before eventually considering it complete.

Looking ahead I need to think carefully about when I fix it permanently to the base. That might not be for a while pending what access I need to allow myself but that will be determined all in good time.
In the meanwhile below is a before and after image of the tree. The before image being the first tree that I wasn’t happy with, the second one being the adapted tree which I like. Let me know what you think in the comments if you have time.


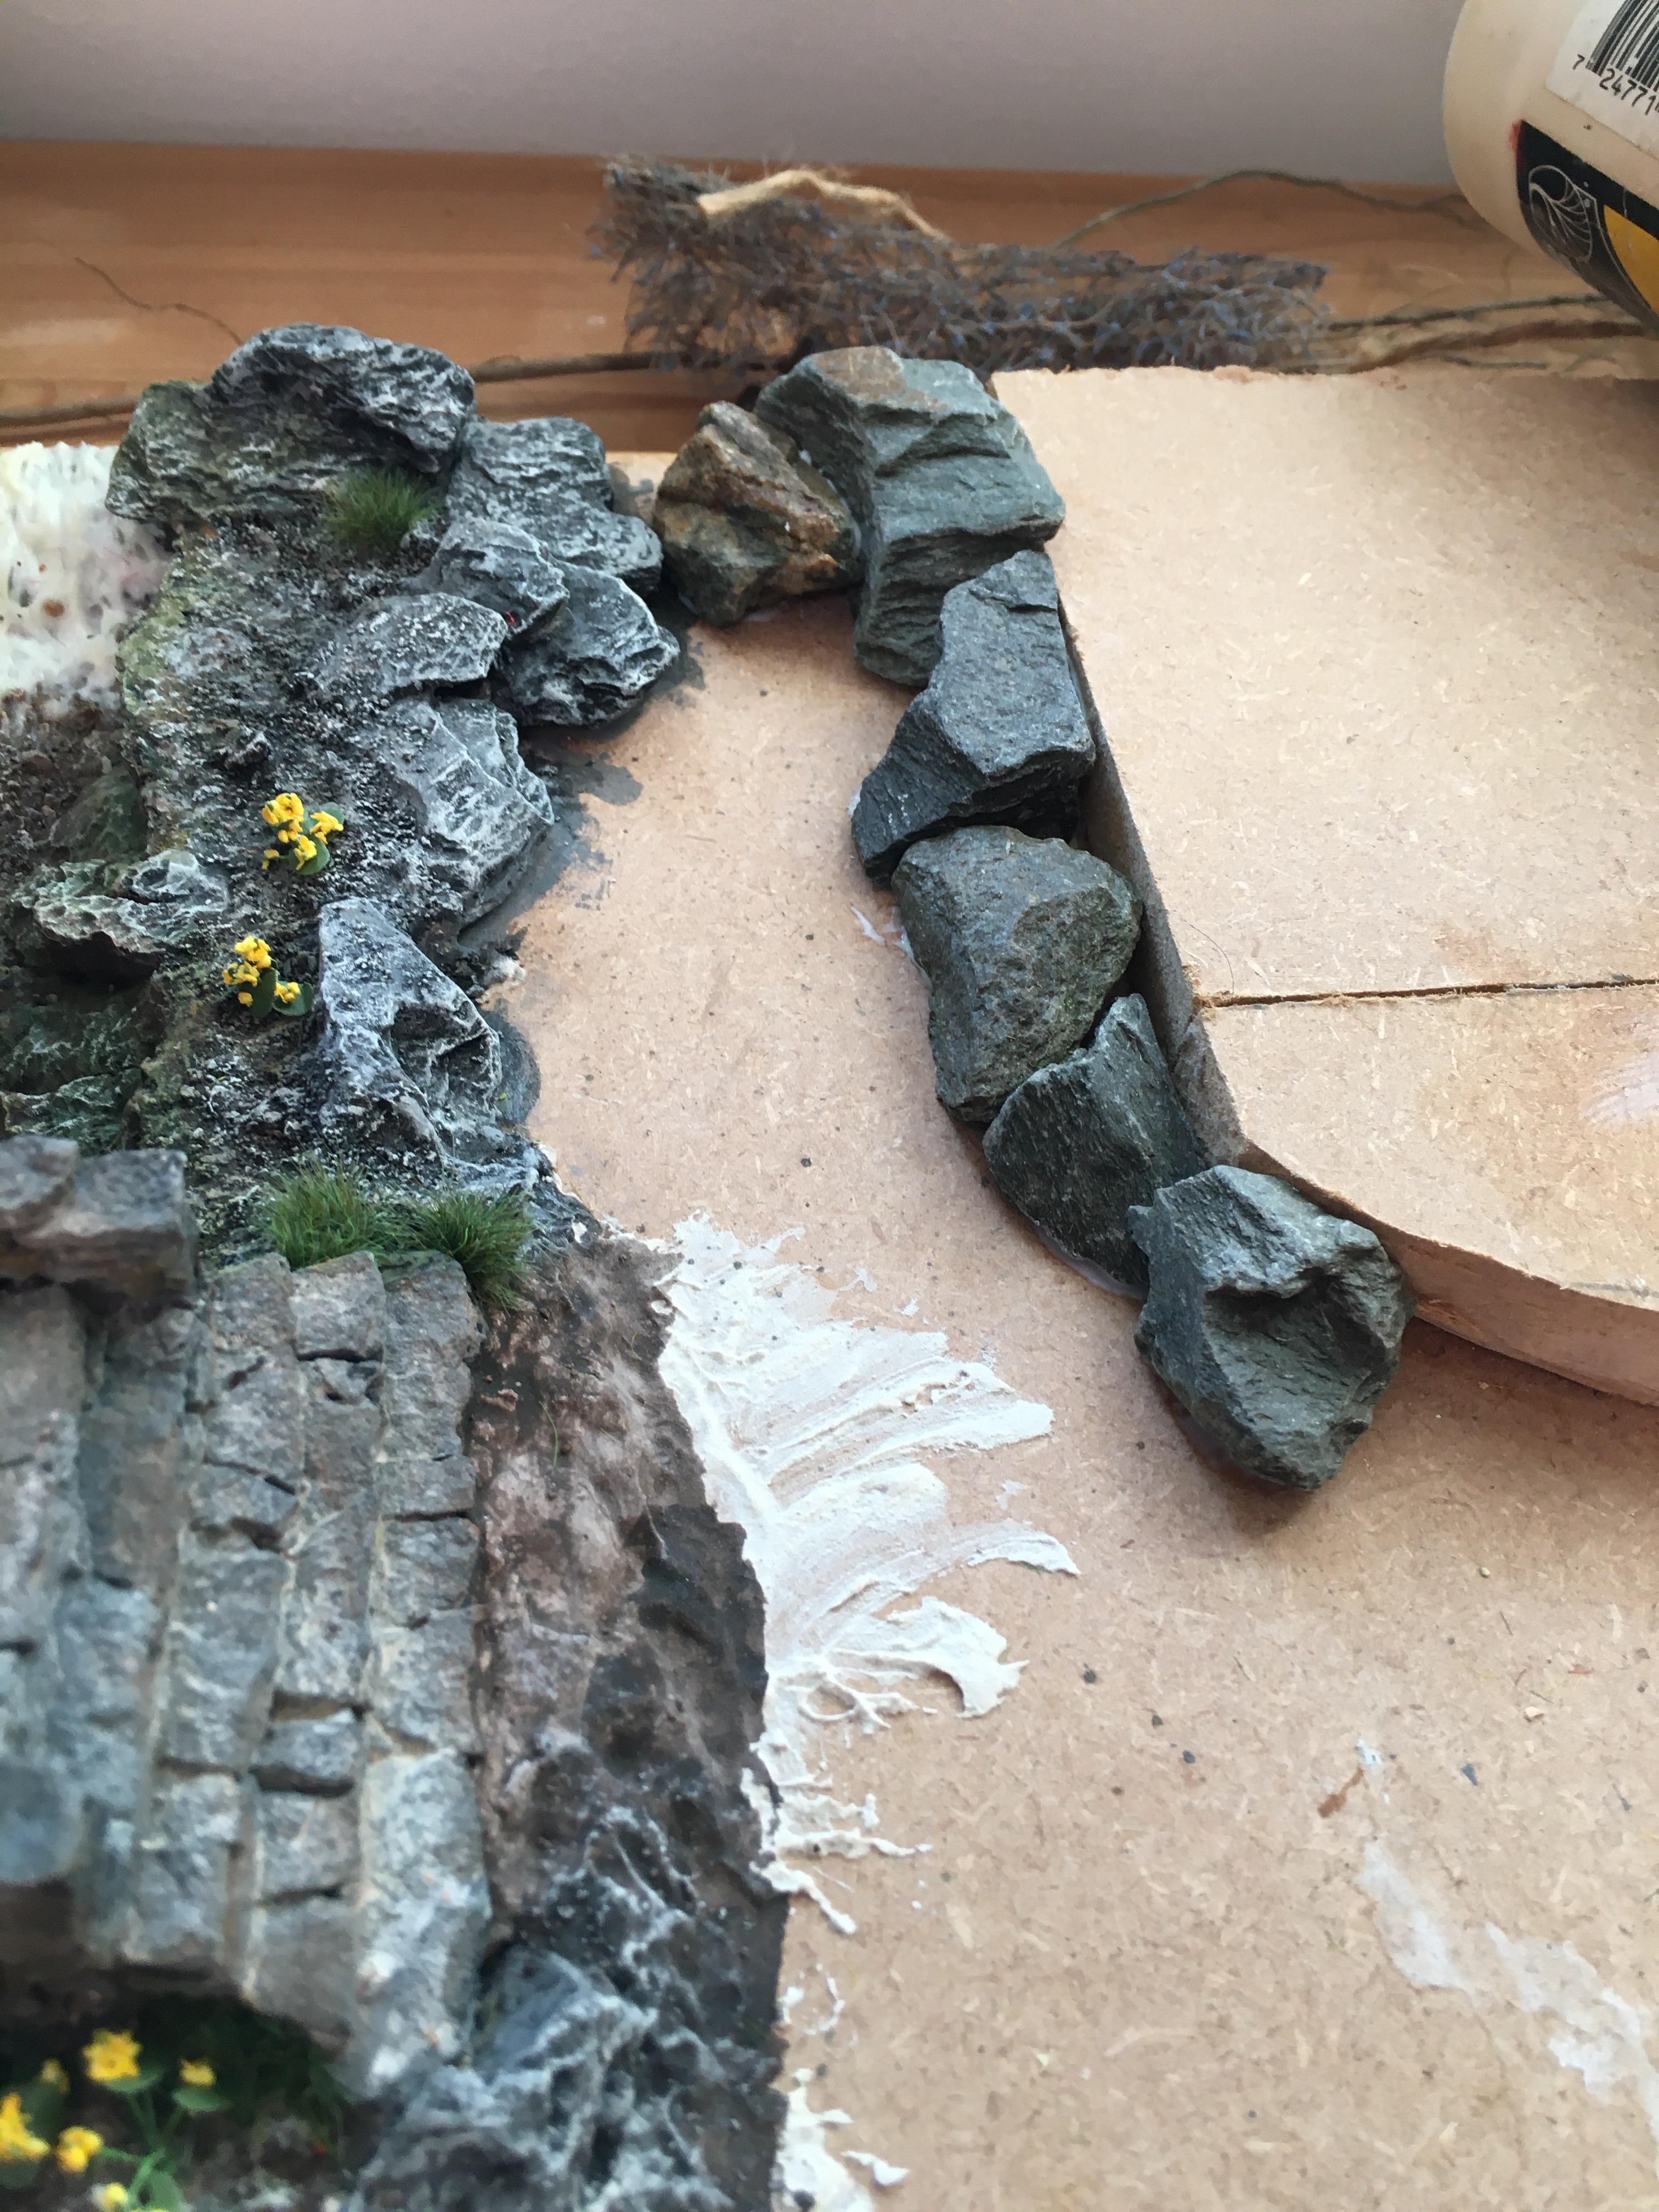
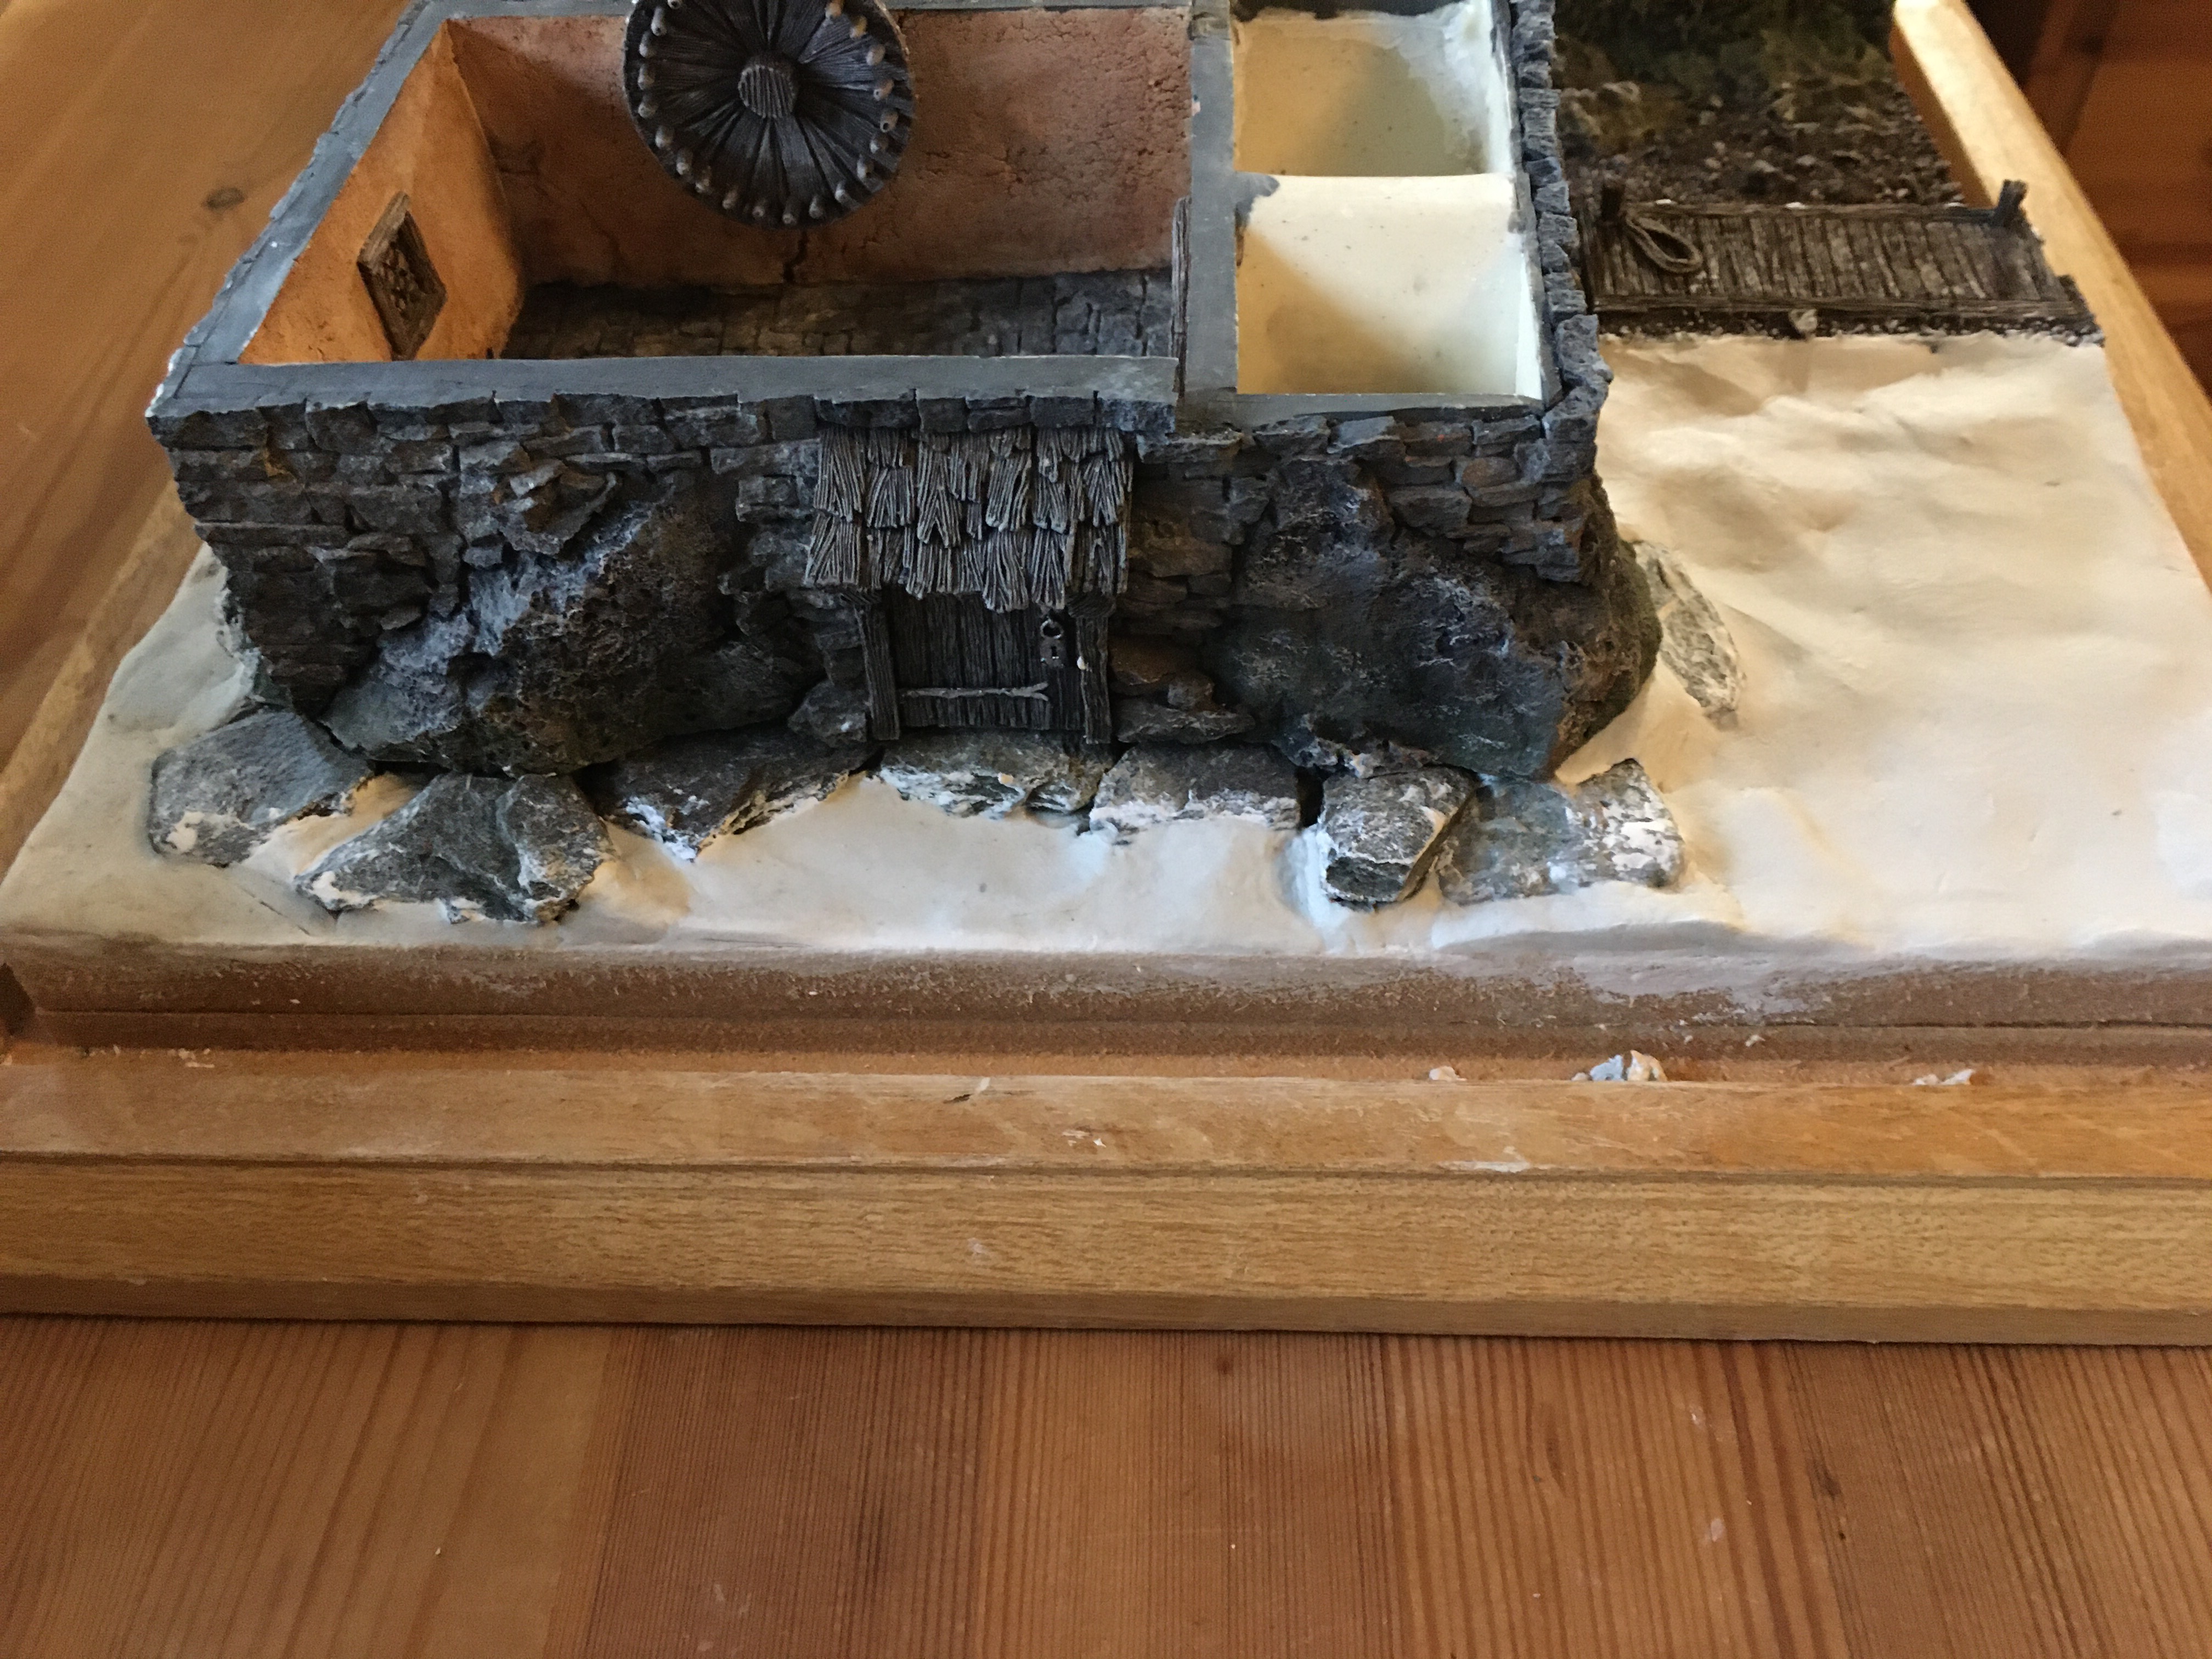
Next I think I will start work on the base work around the Blacksmiths building and think about how I intend to make some hedgerow.
TIM


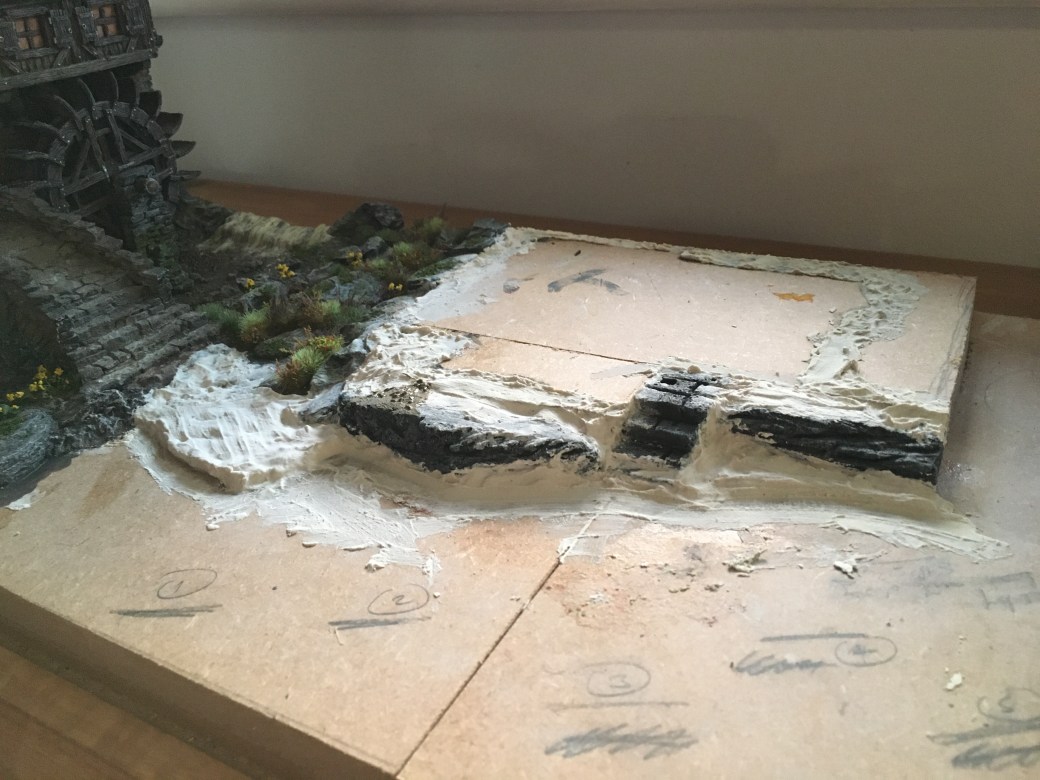


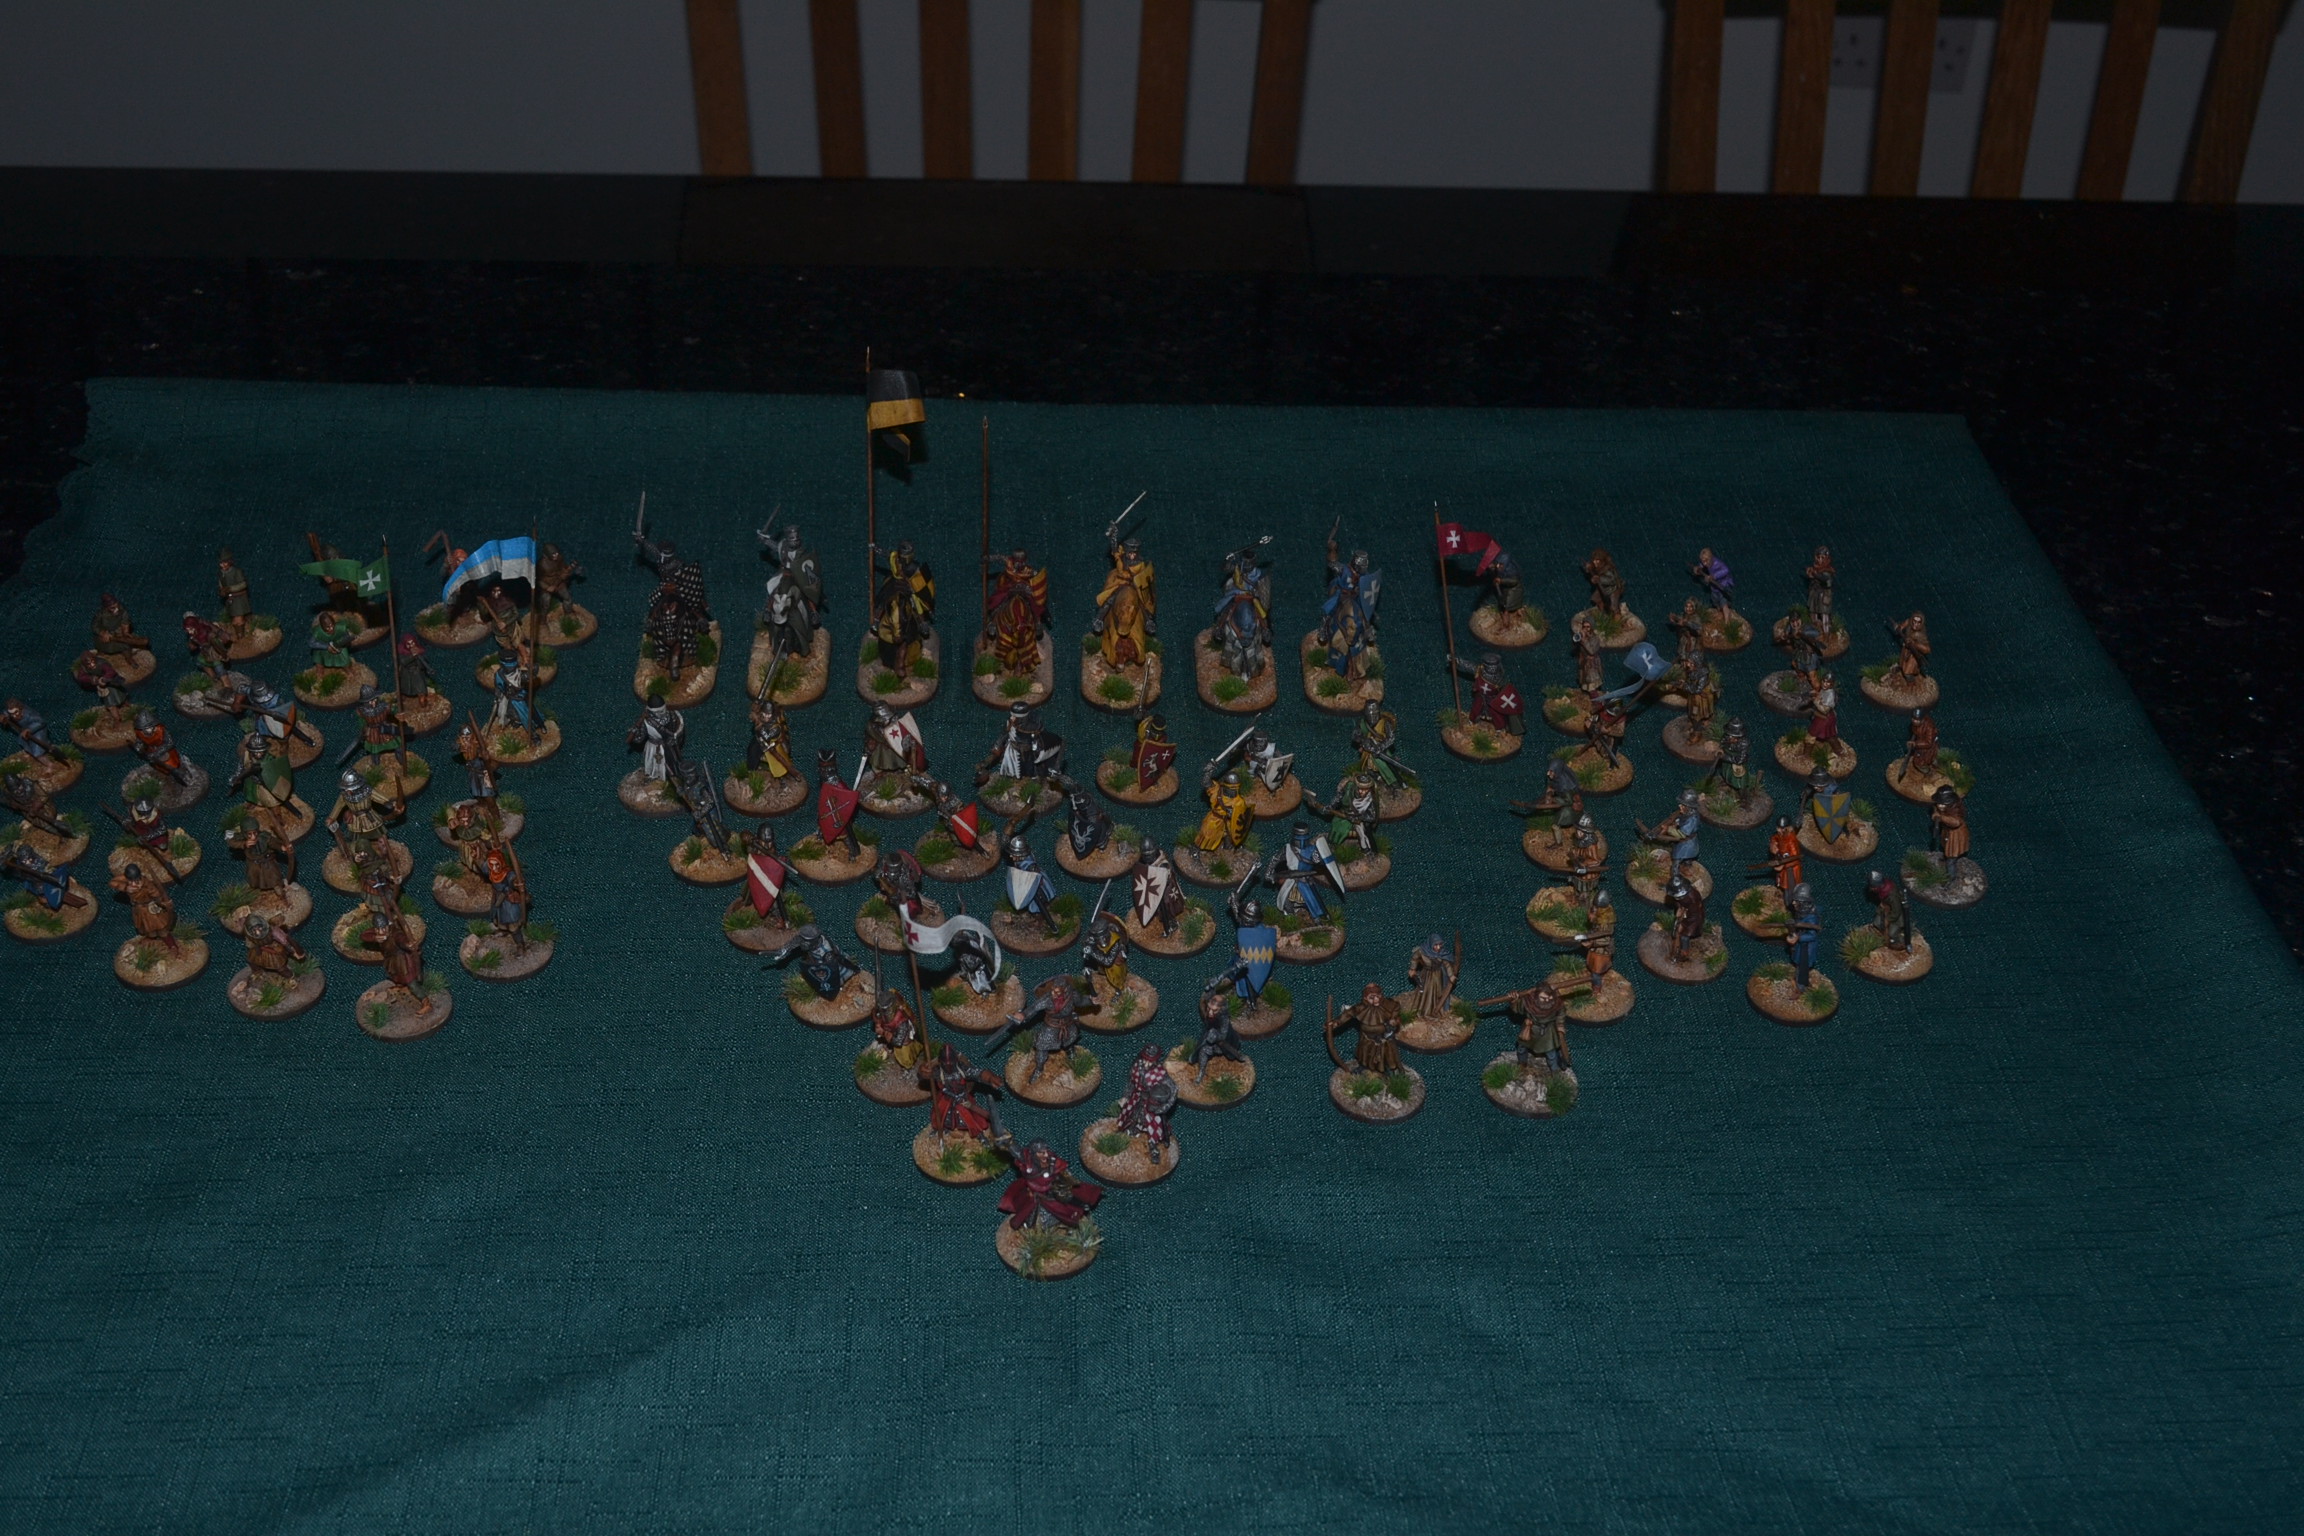

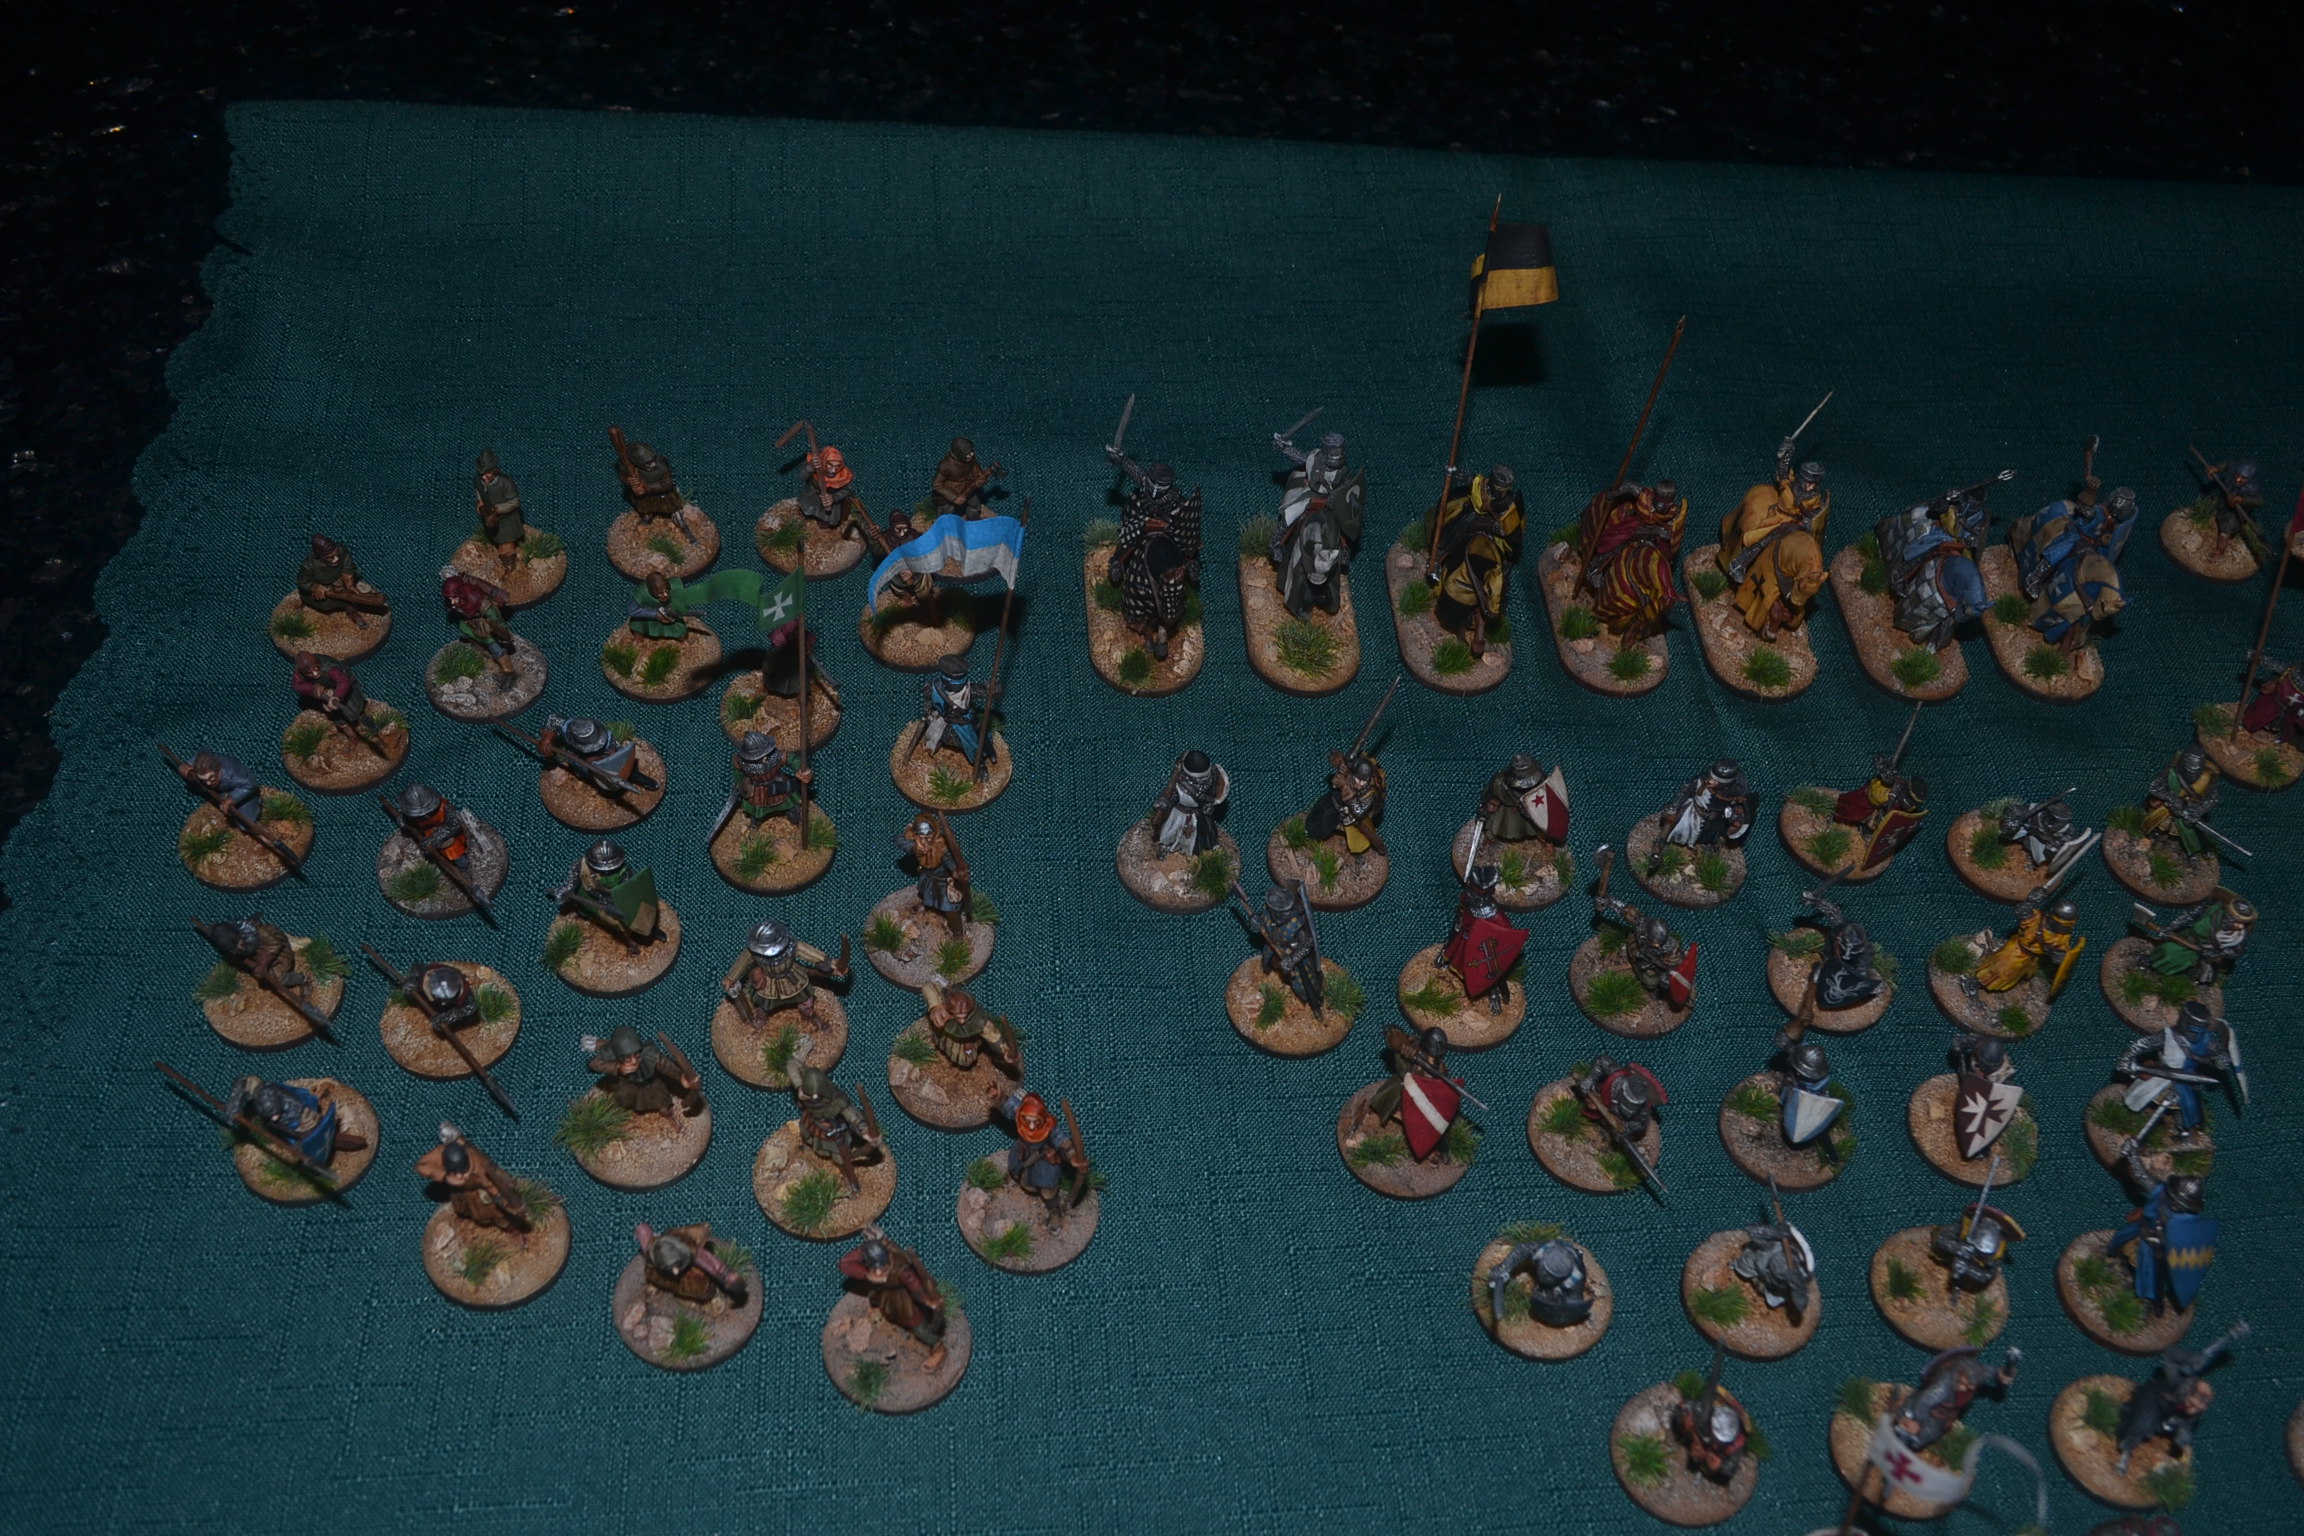


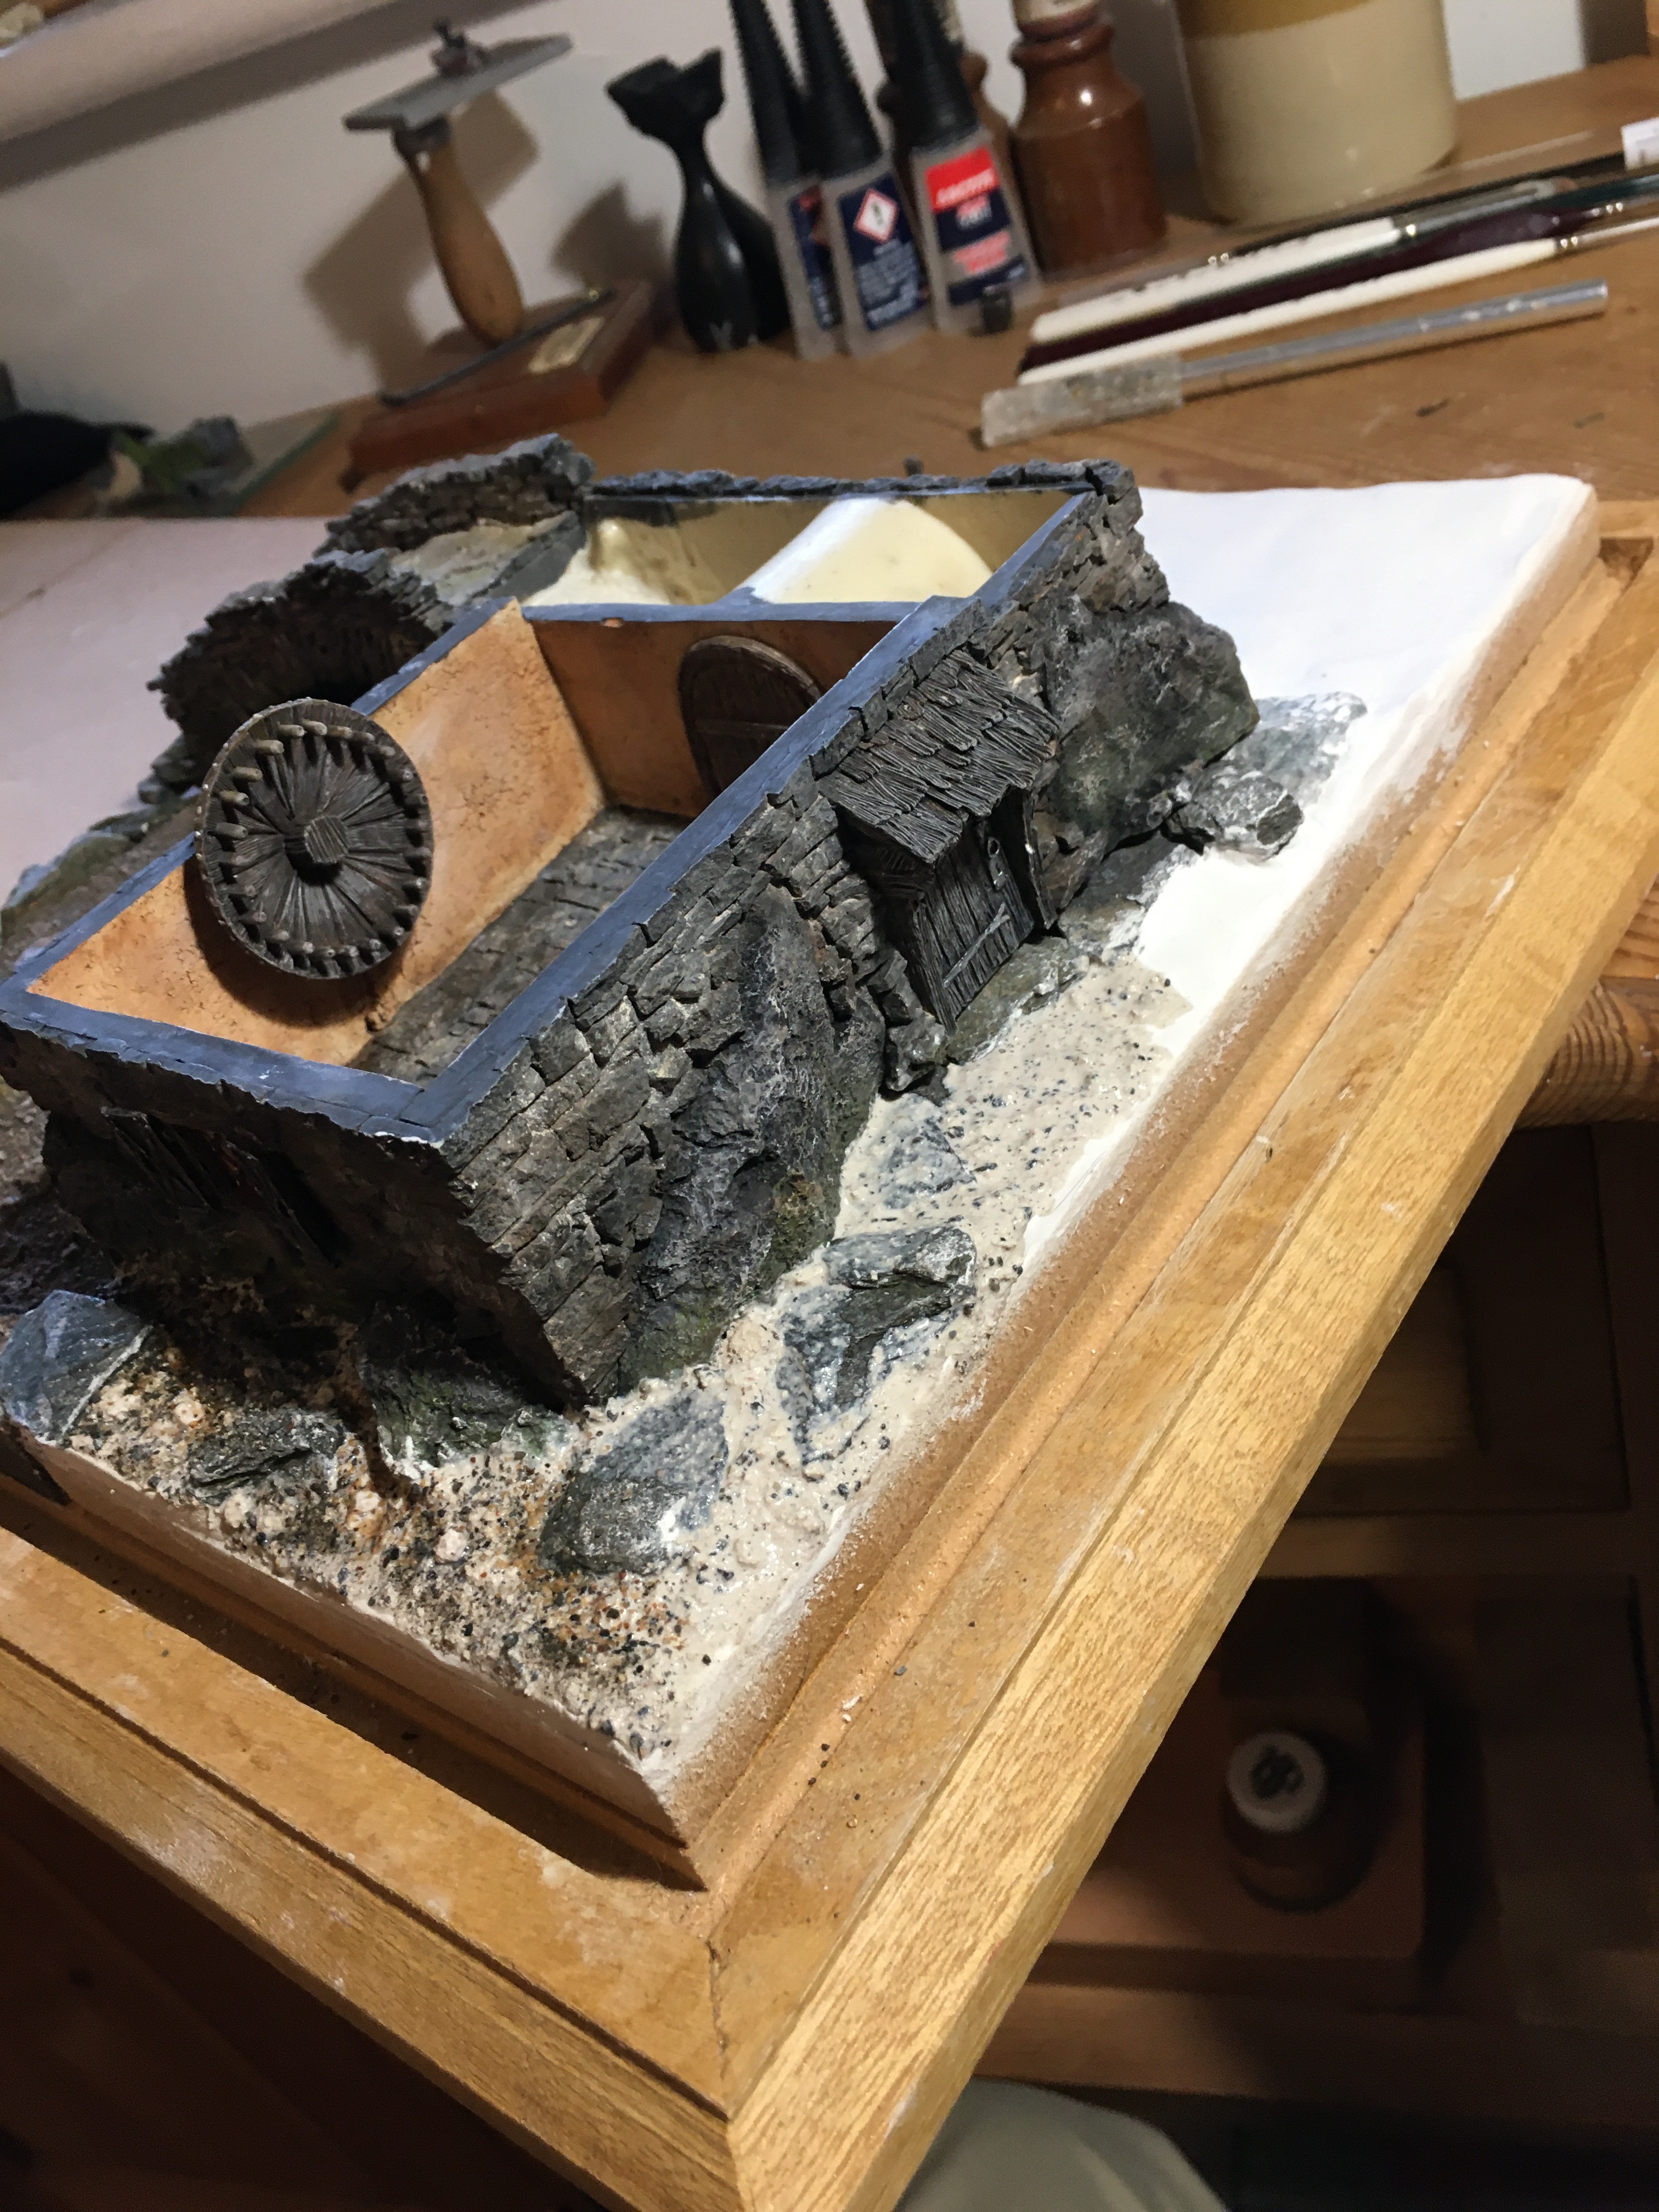
 The final image for this week shows just where I am for now.


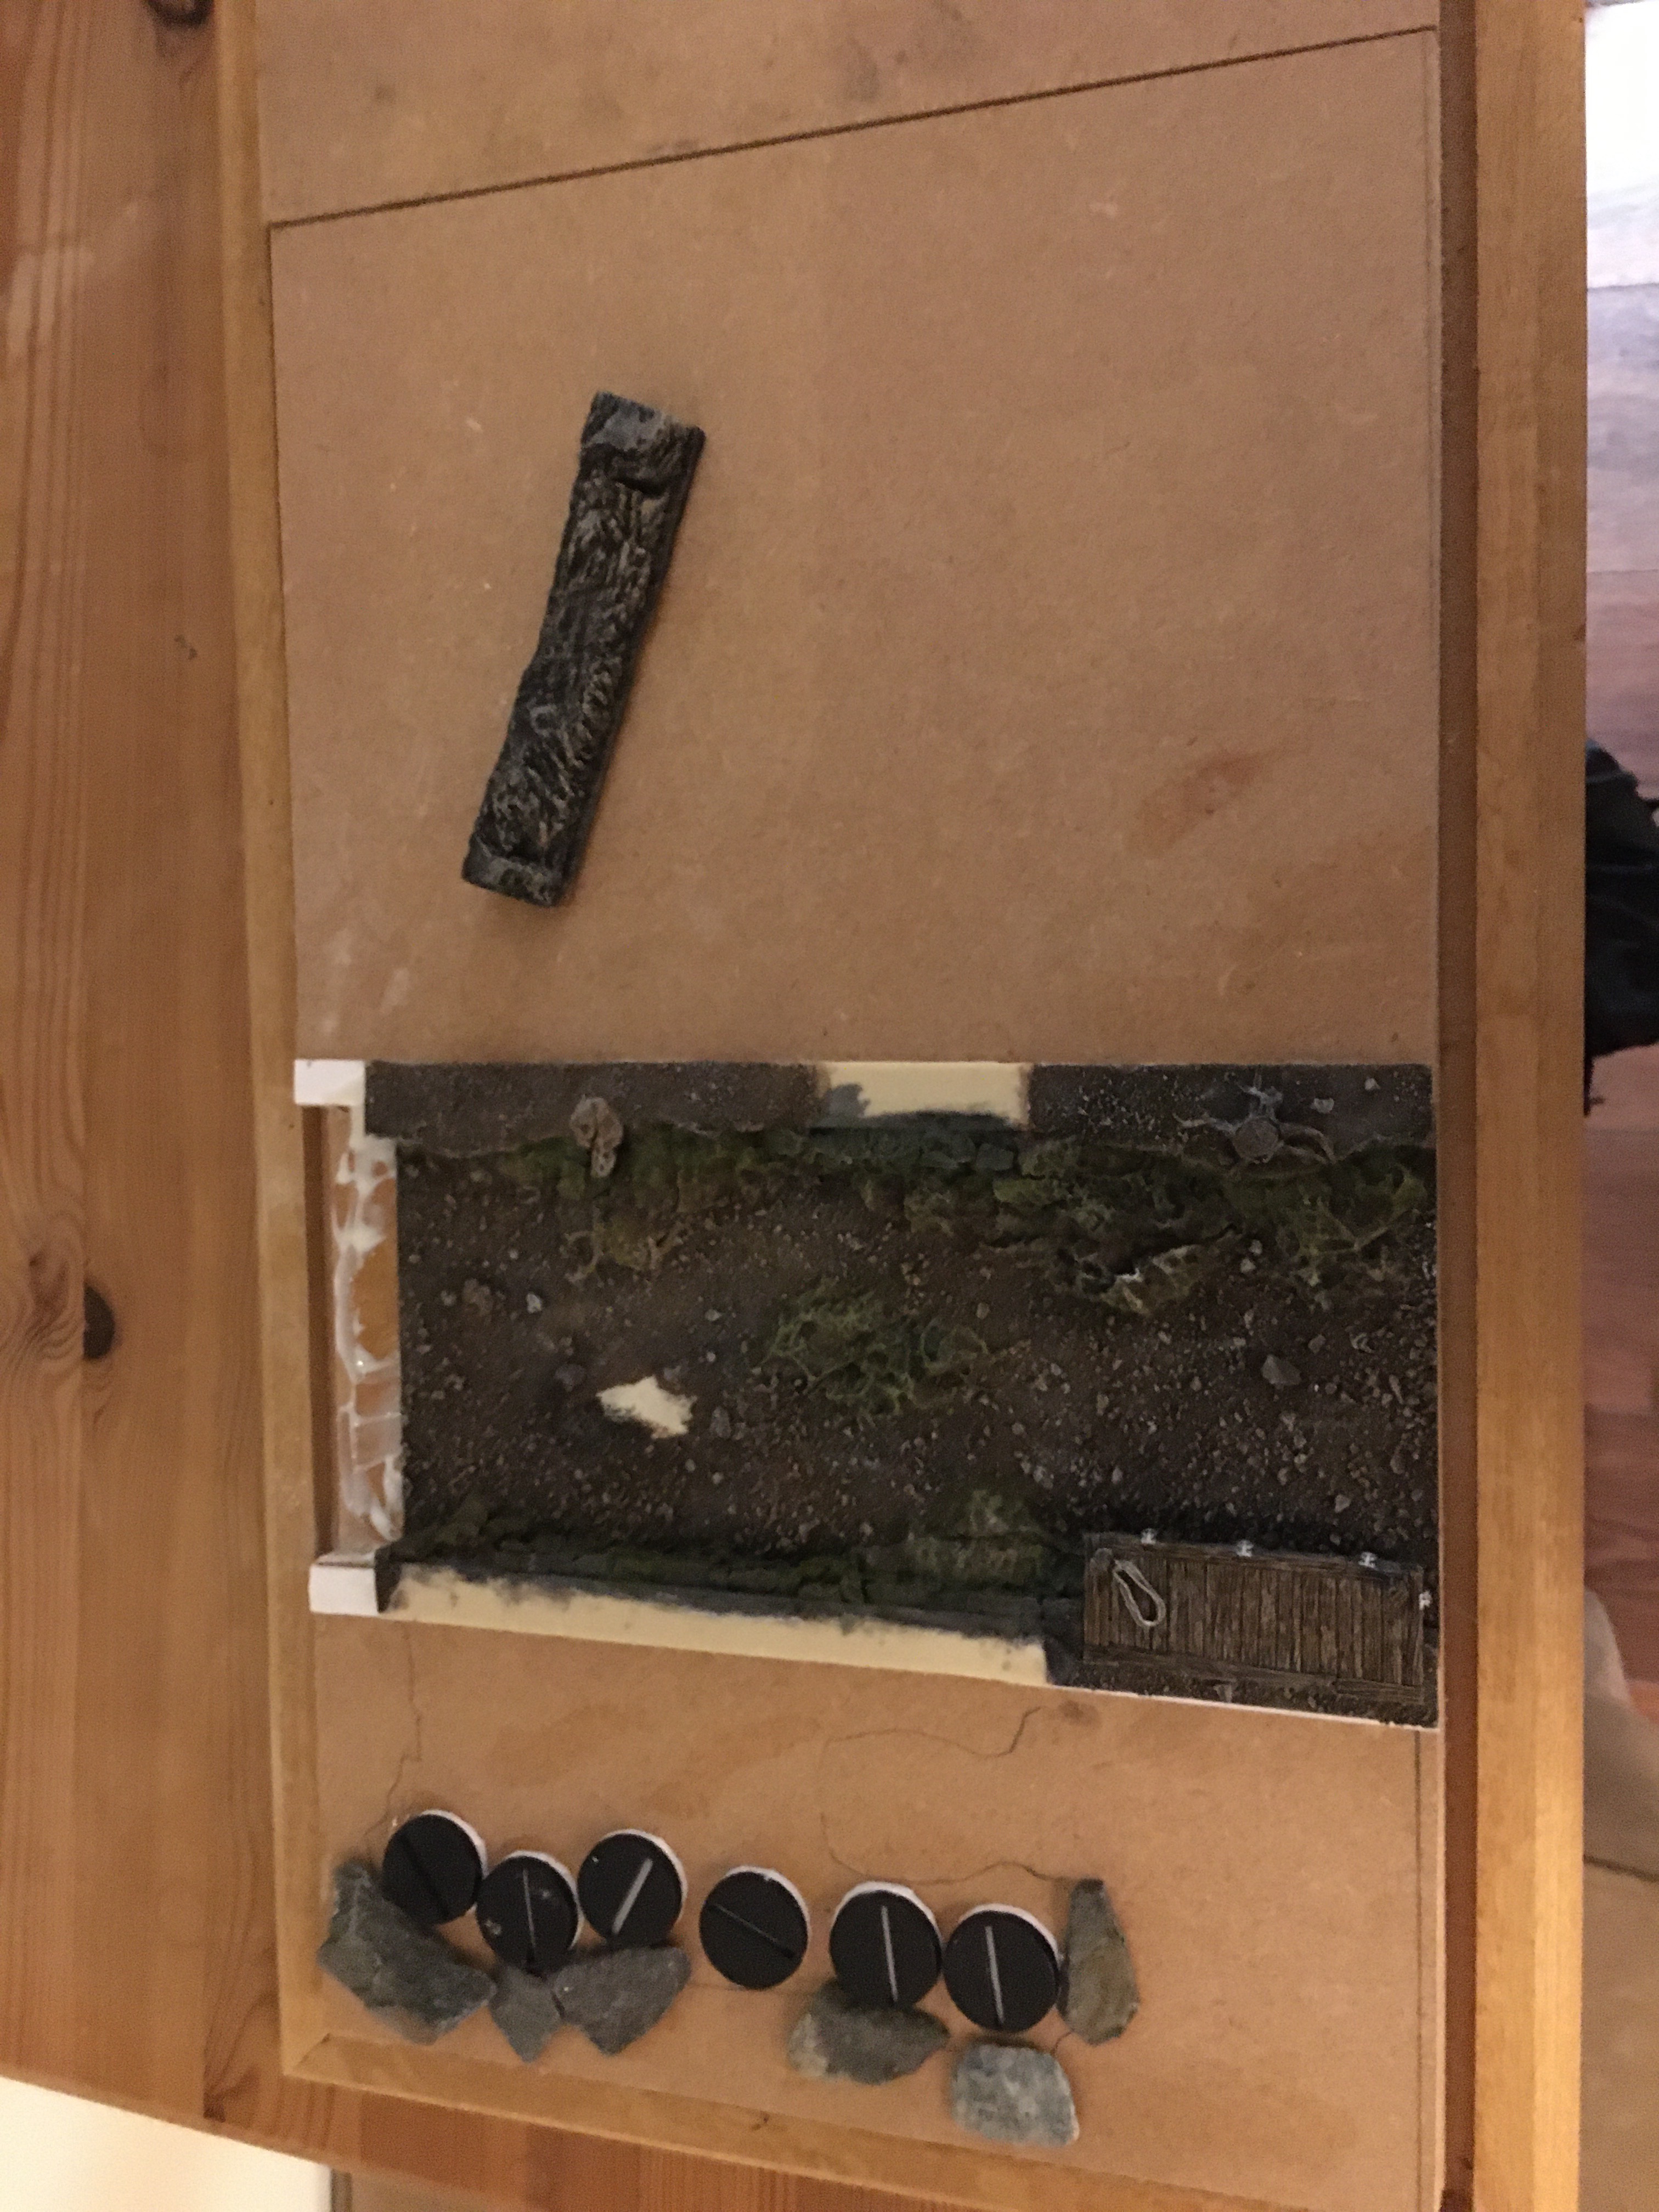
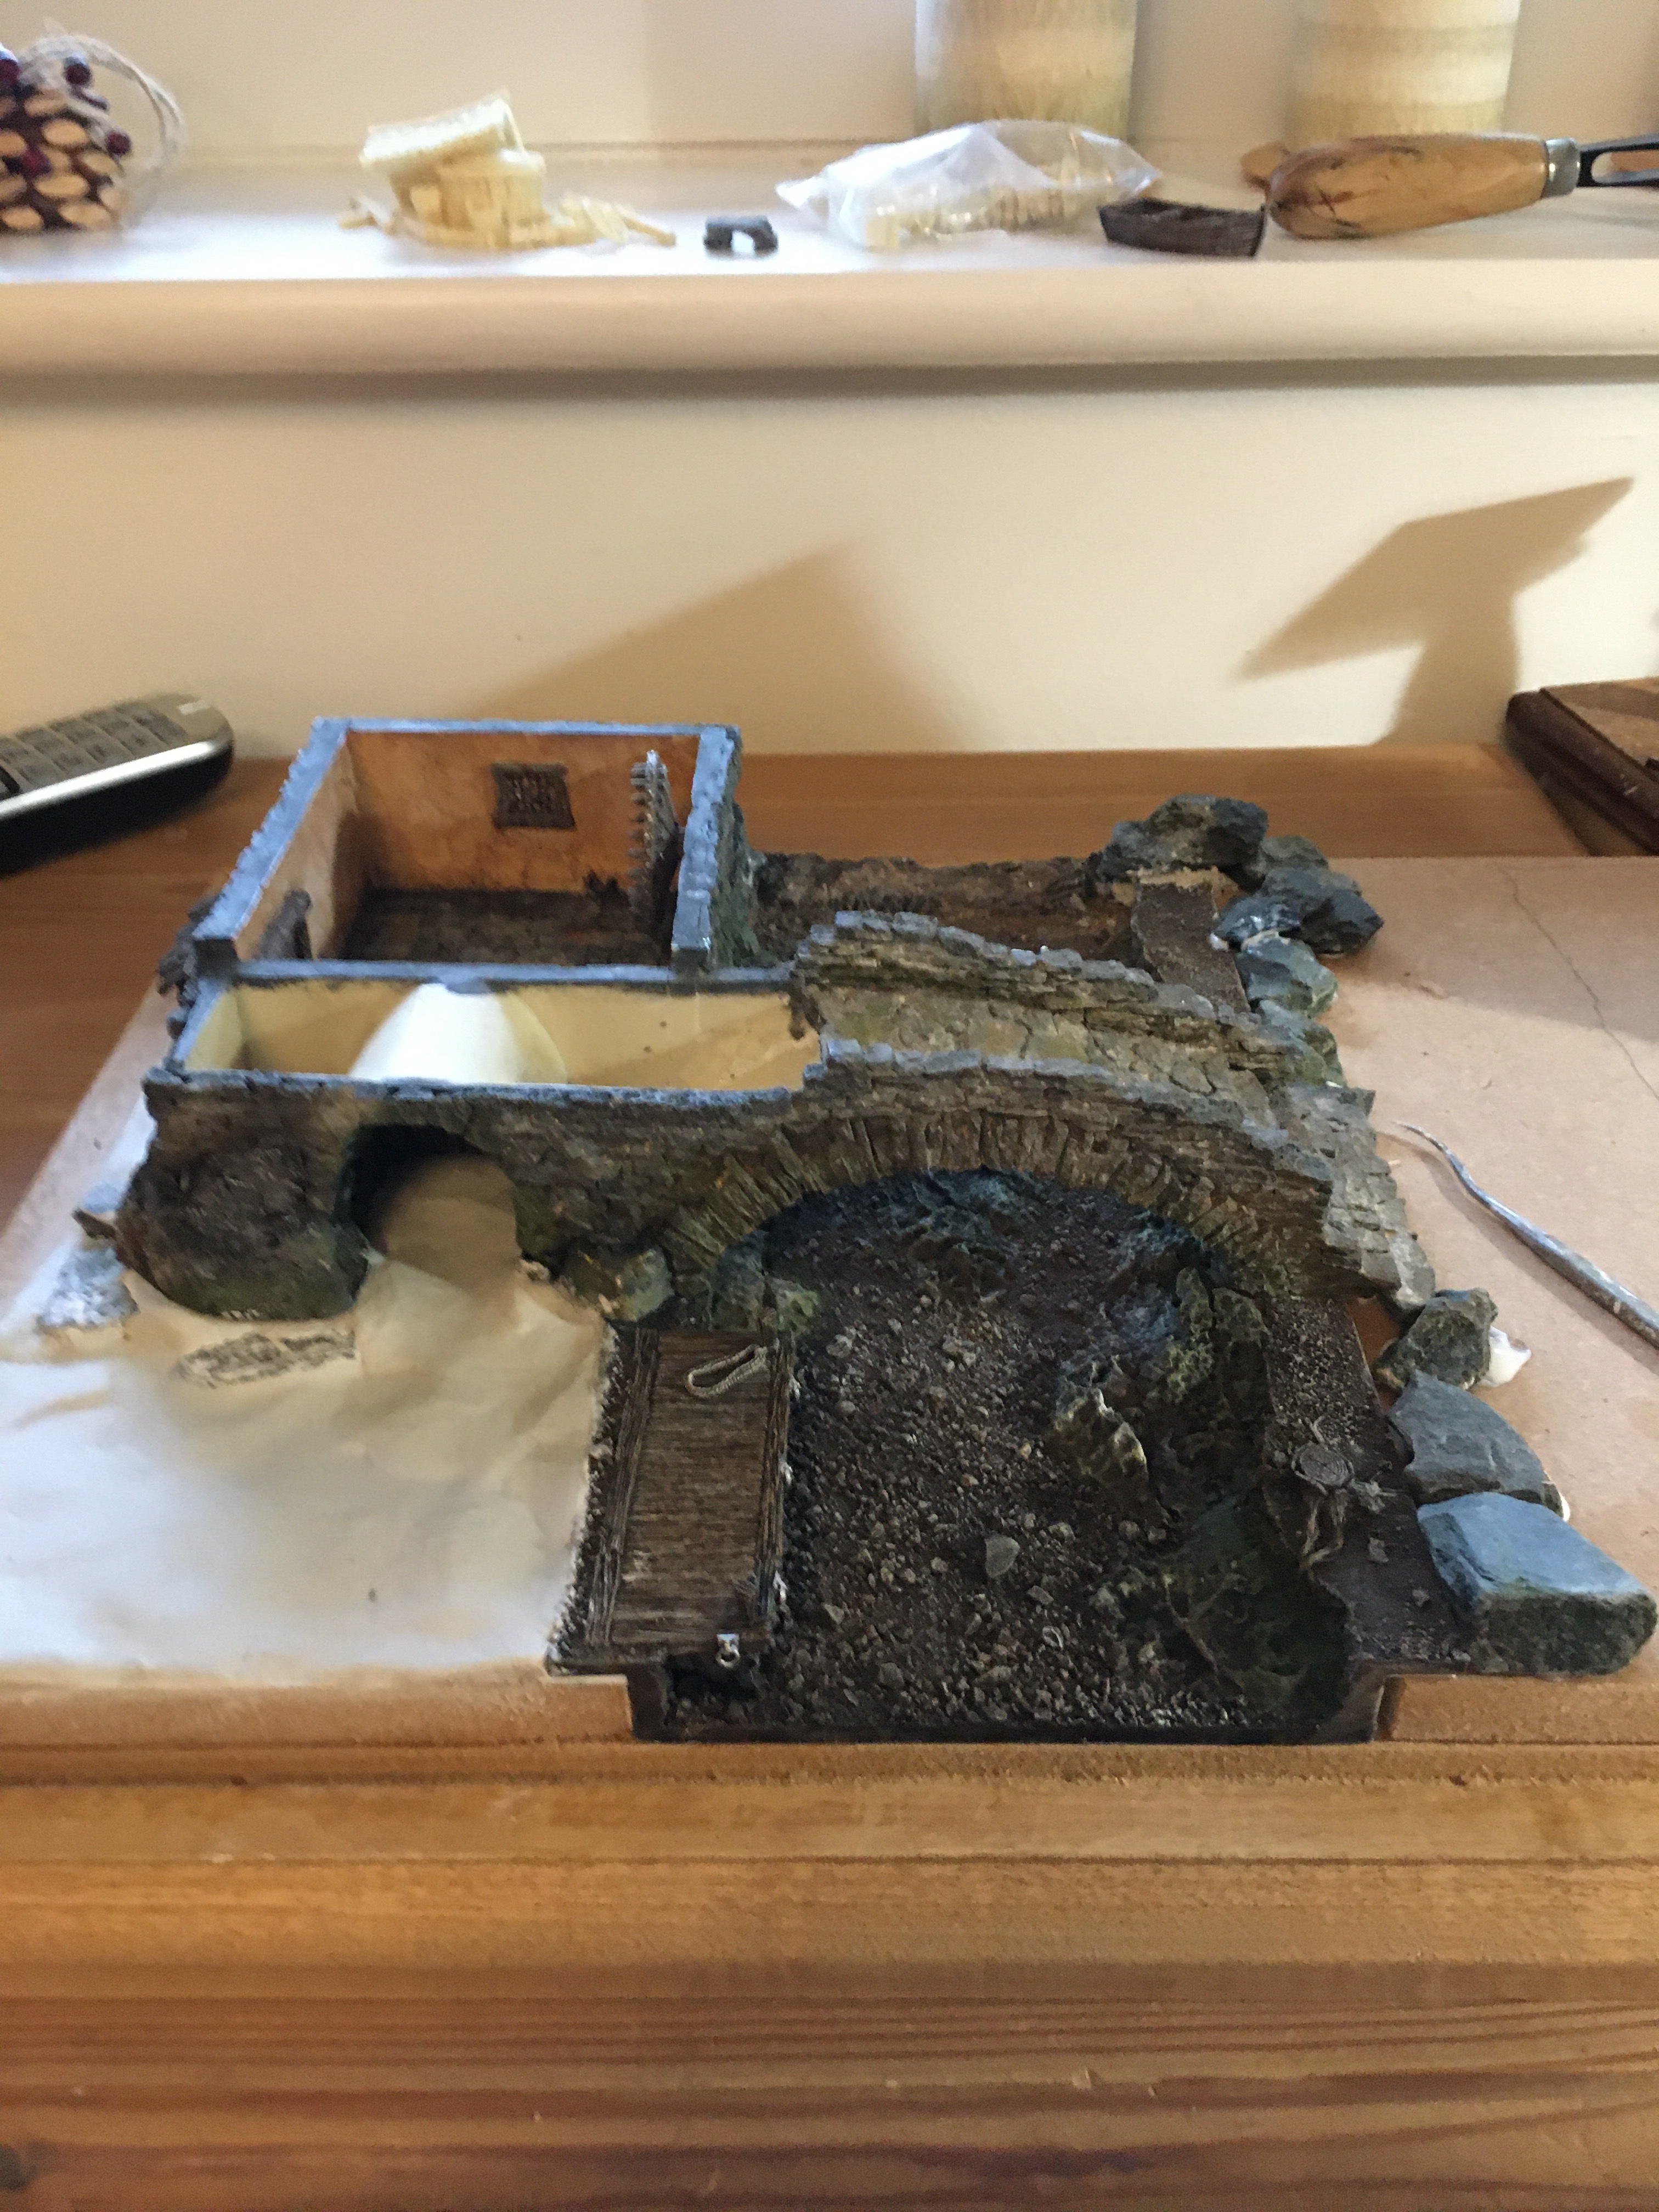
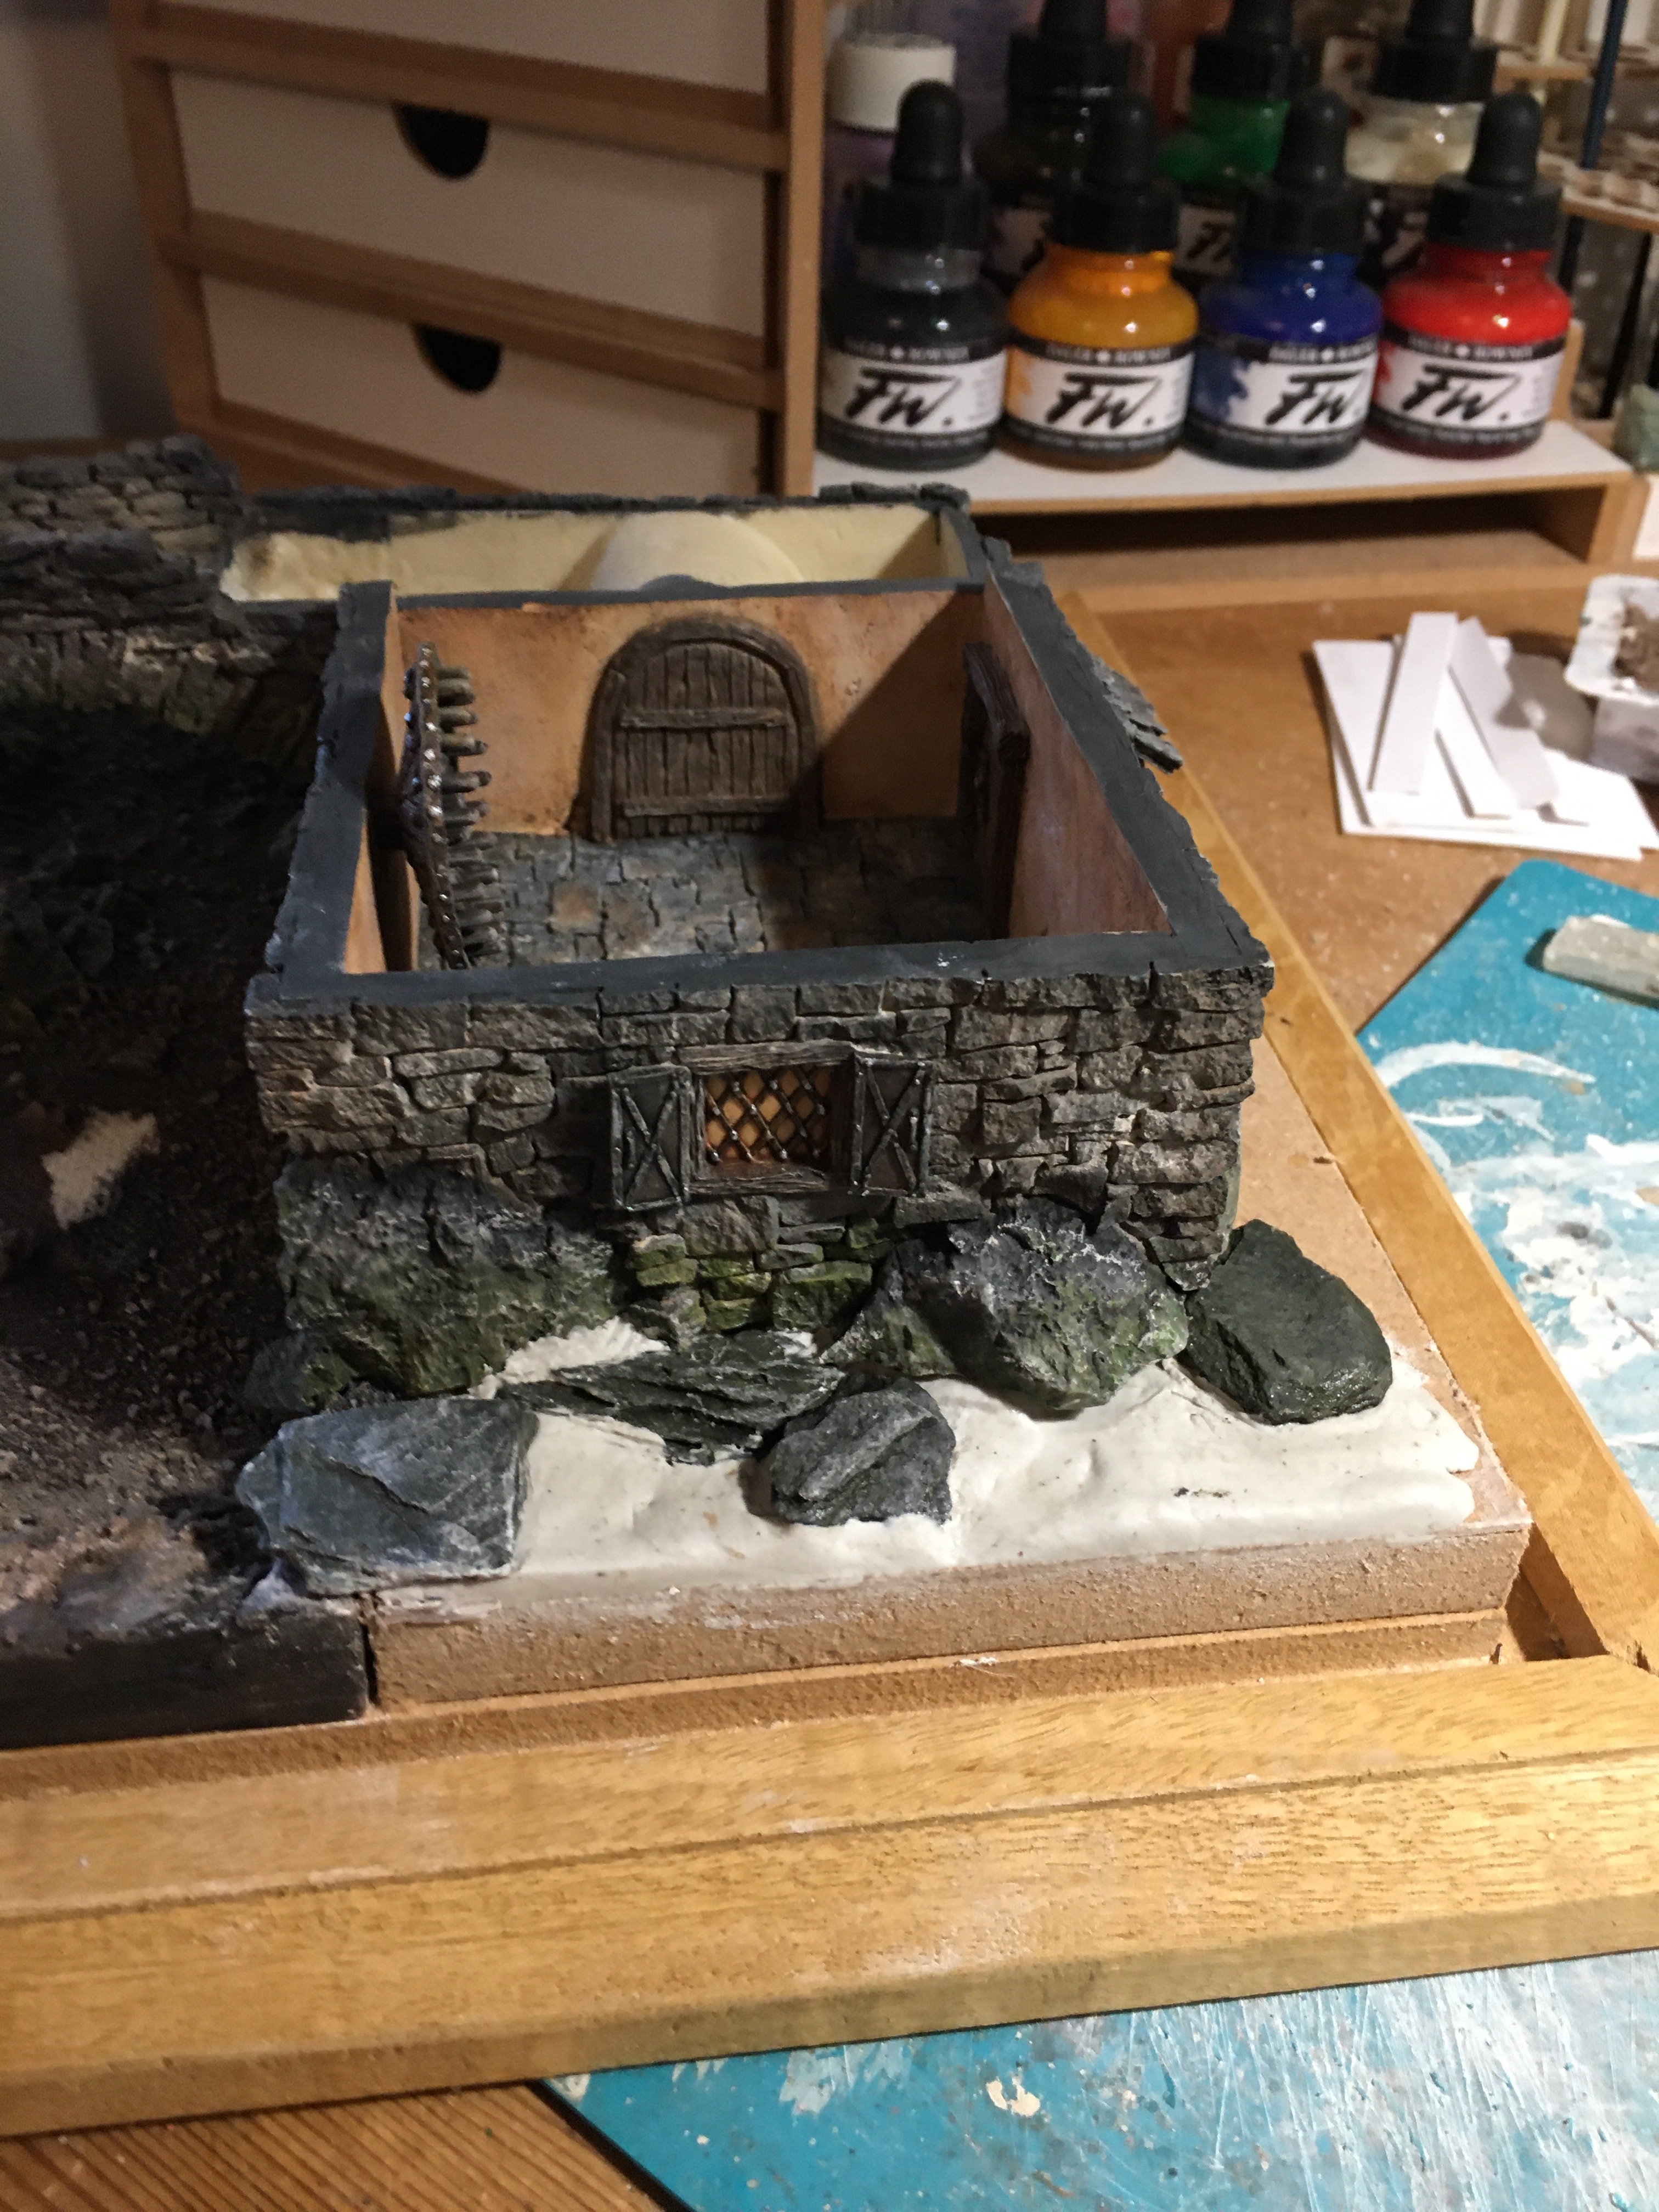


Not an exciting post this week but progress is progress and like it or not the boring stuff has to get done as well. Hopefully this coming week will settle down and I can make a start on the Blacksmiths building.
TIM