This is another of my little dioramas which I had largely forgotten about as it now sits in a box stored away. I haven’t done a great deal of WW2 stuff in my time but although it is not on display it does get an airing every now and then when I go to shows with my club. WW2 stuff is popular and the club typically has a theme running for this period in history. Alas this year it gets to stay in its box thanks to Covid-19 so in some ways it is apt this model should be next in sequence for Memory Monday. Originally this model was posted in three parts but as this is a re-post I have merged all three parts into this single post.
—000—
28mm – WW2 US Winter Troops – Part 1
Tiring somewhat of WW1 I felt the need to undertake something new, not so much in terms of figures so much as terrain.
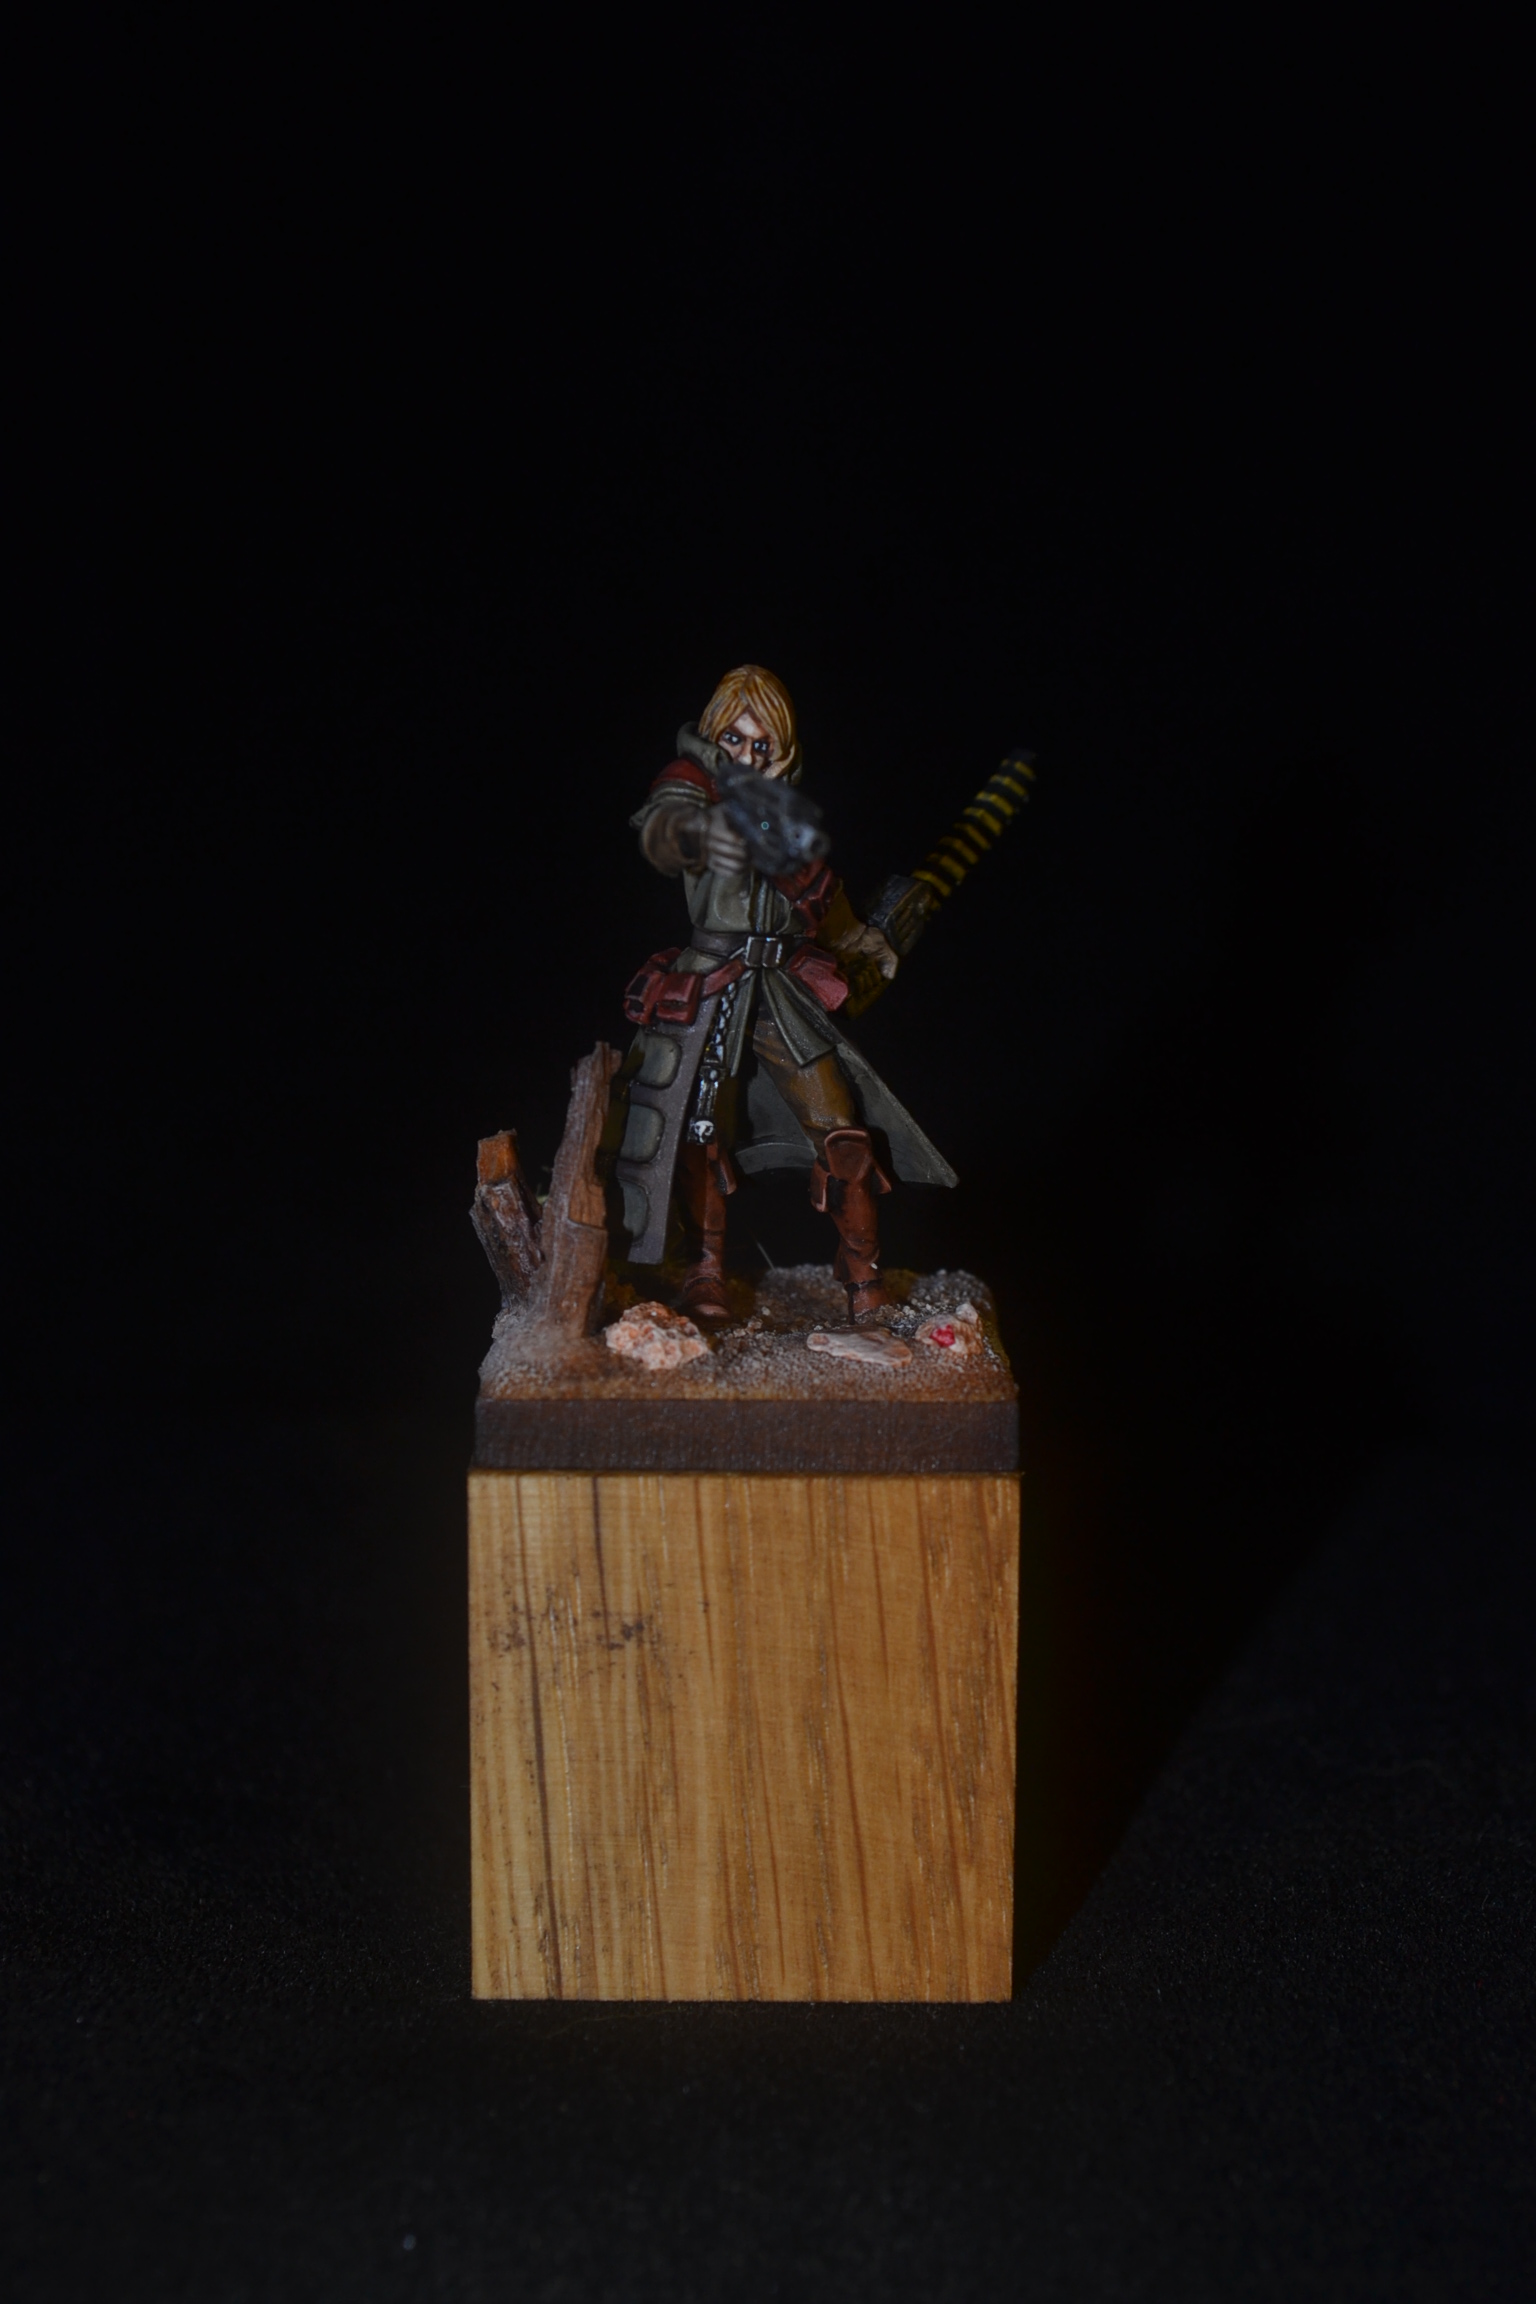
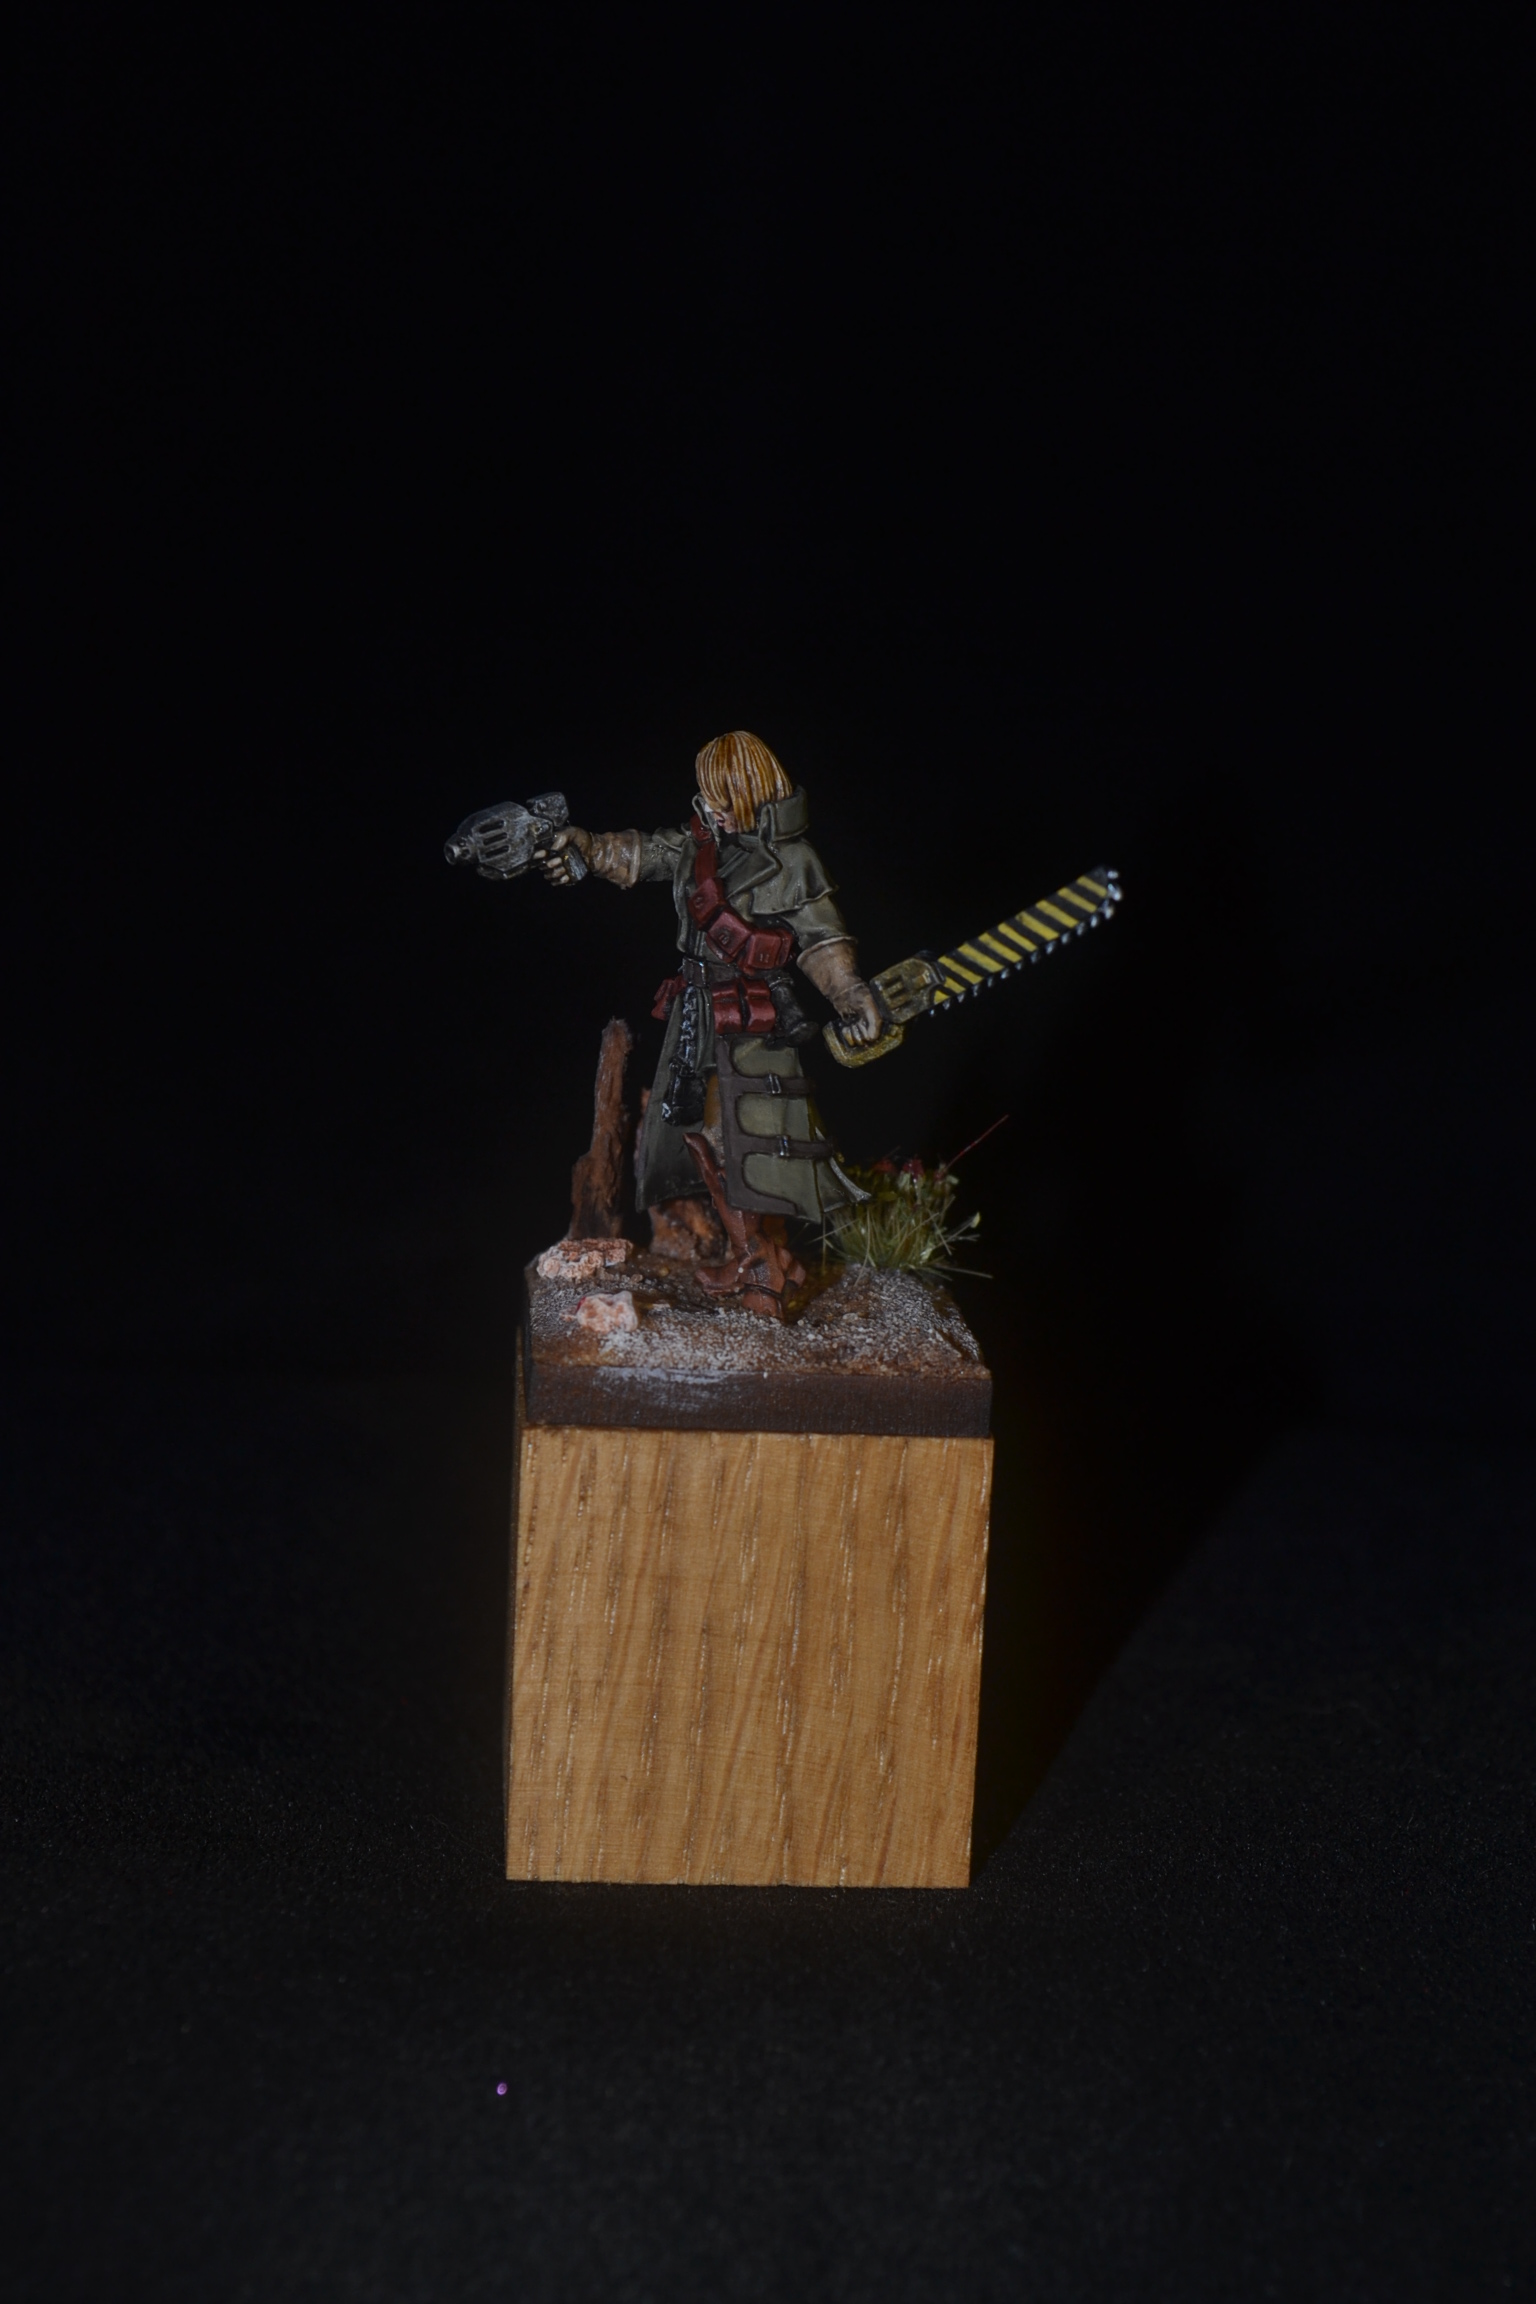
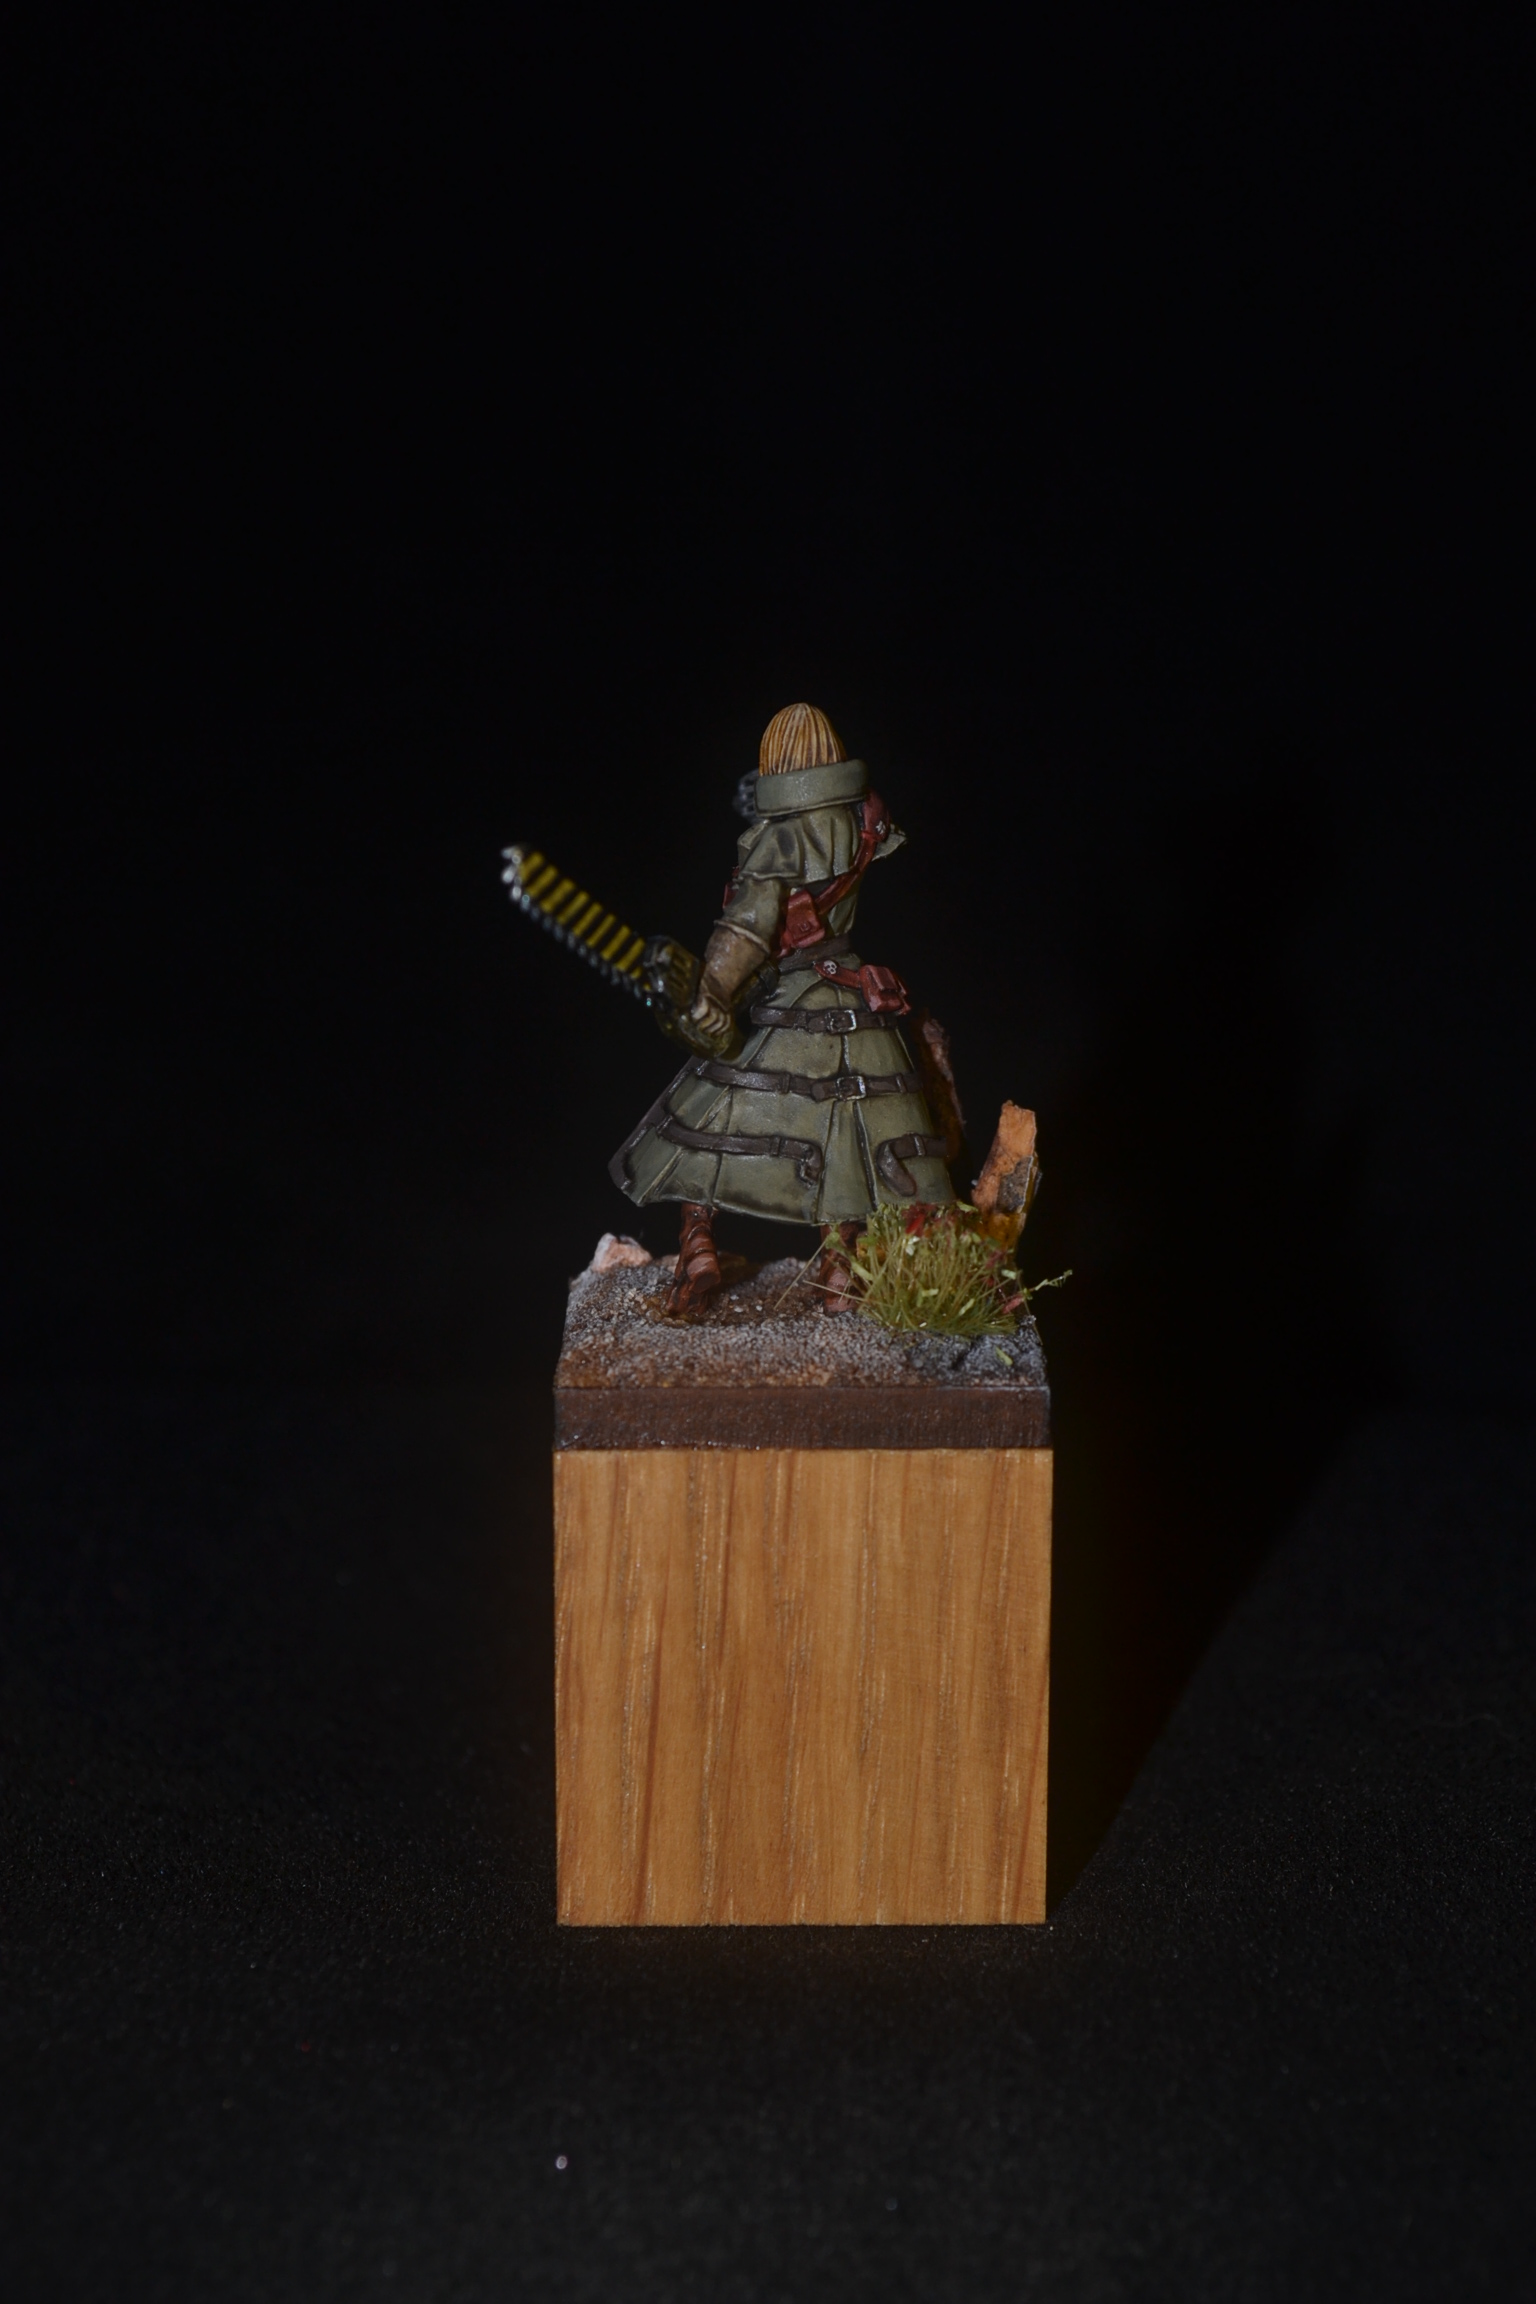
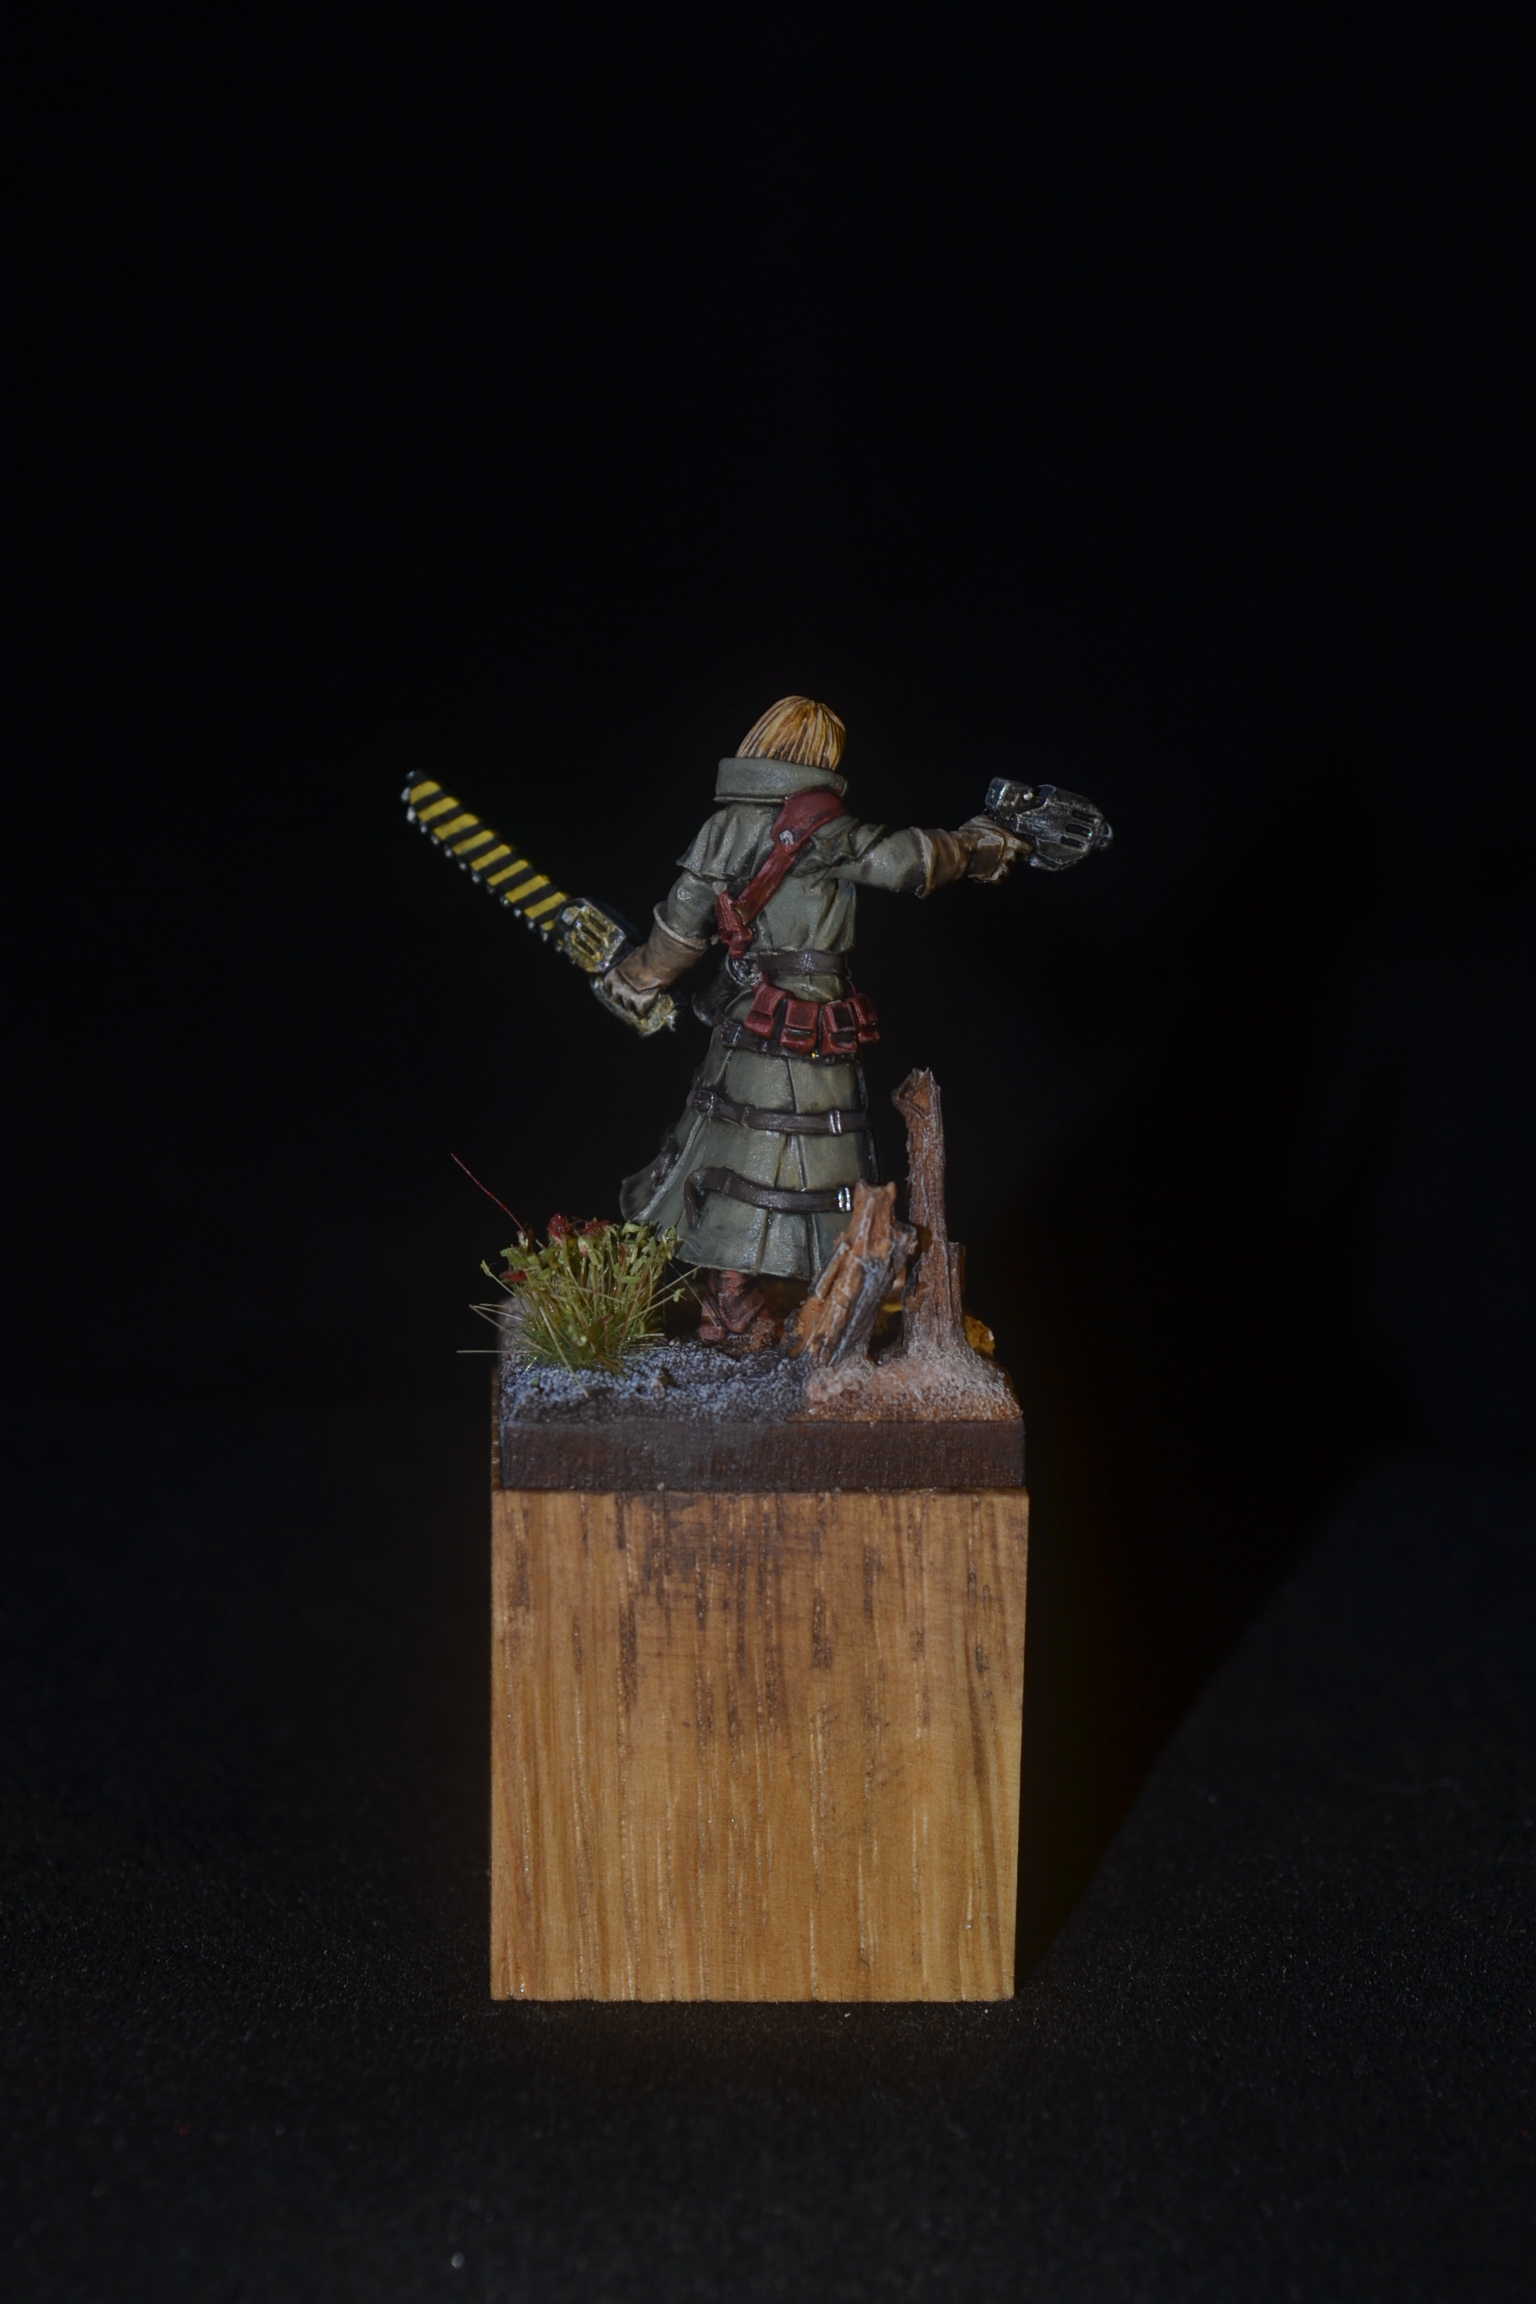
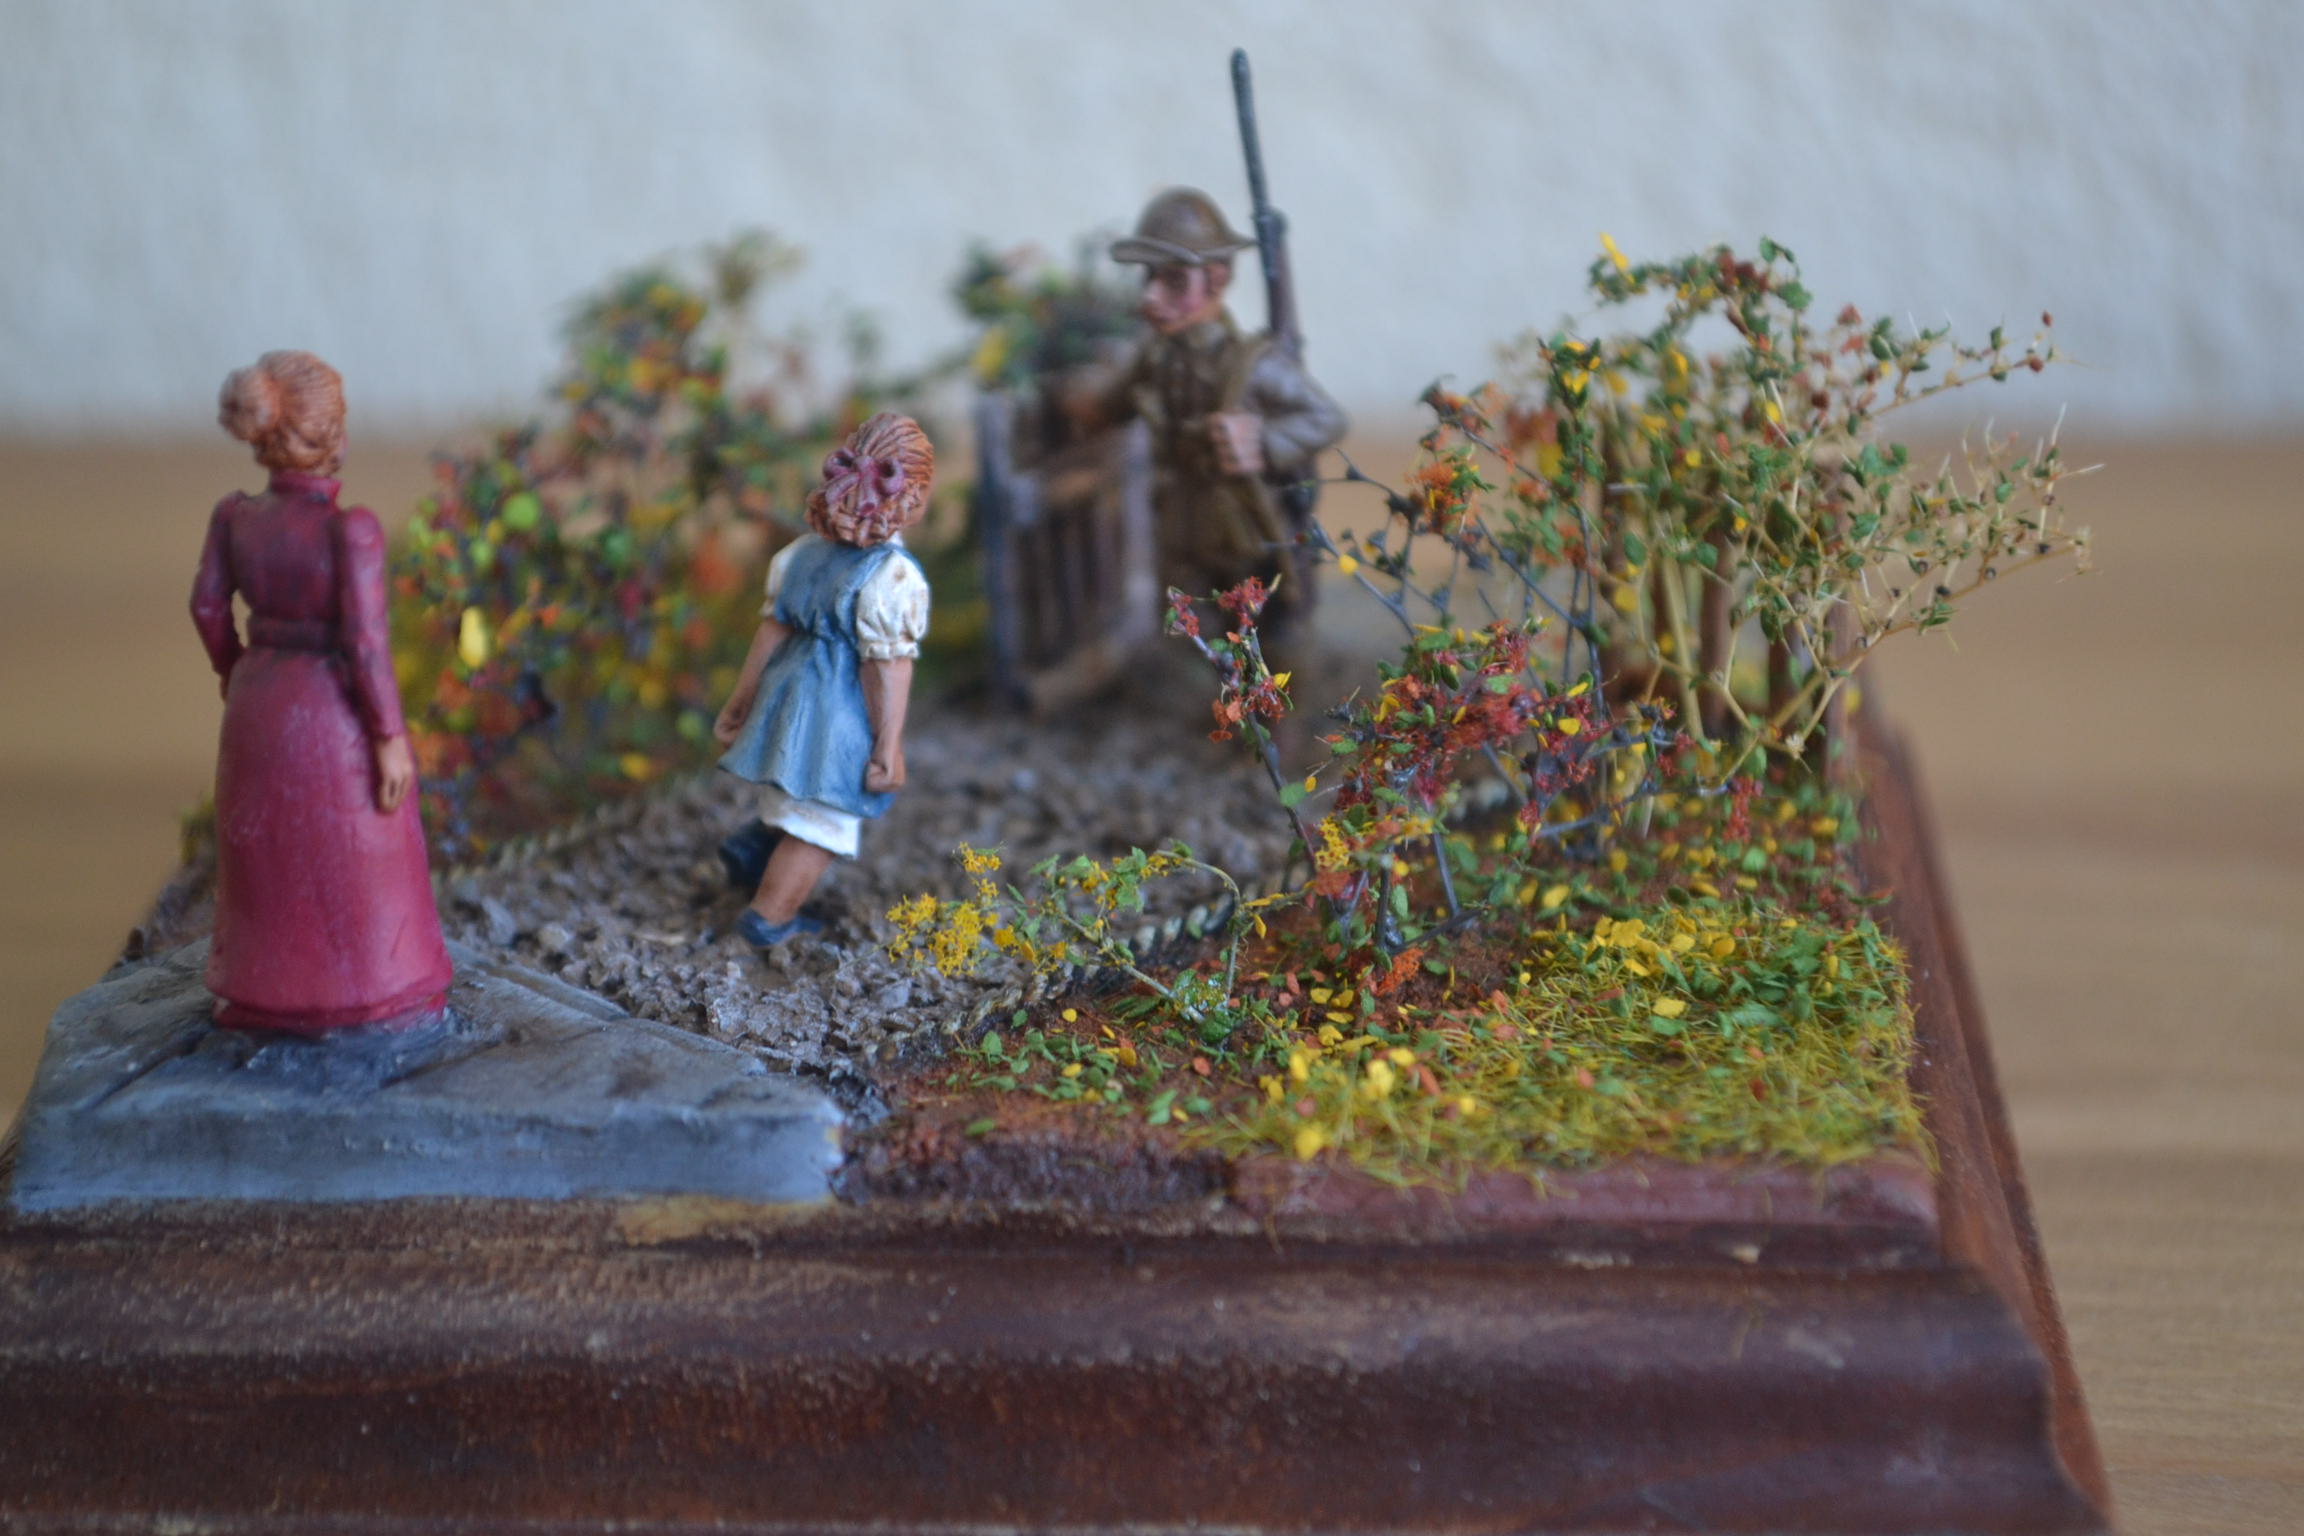
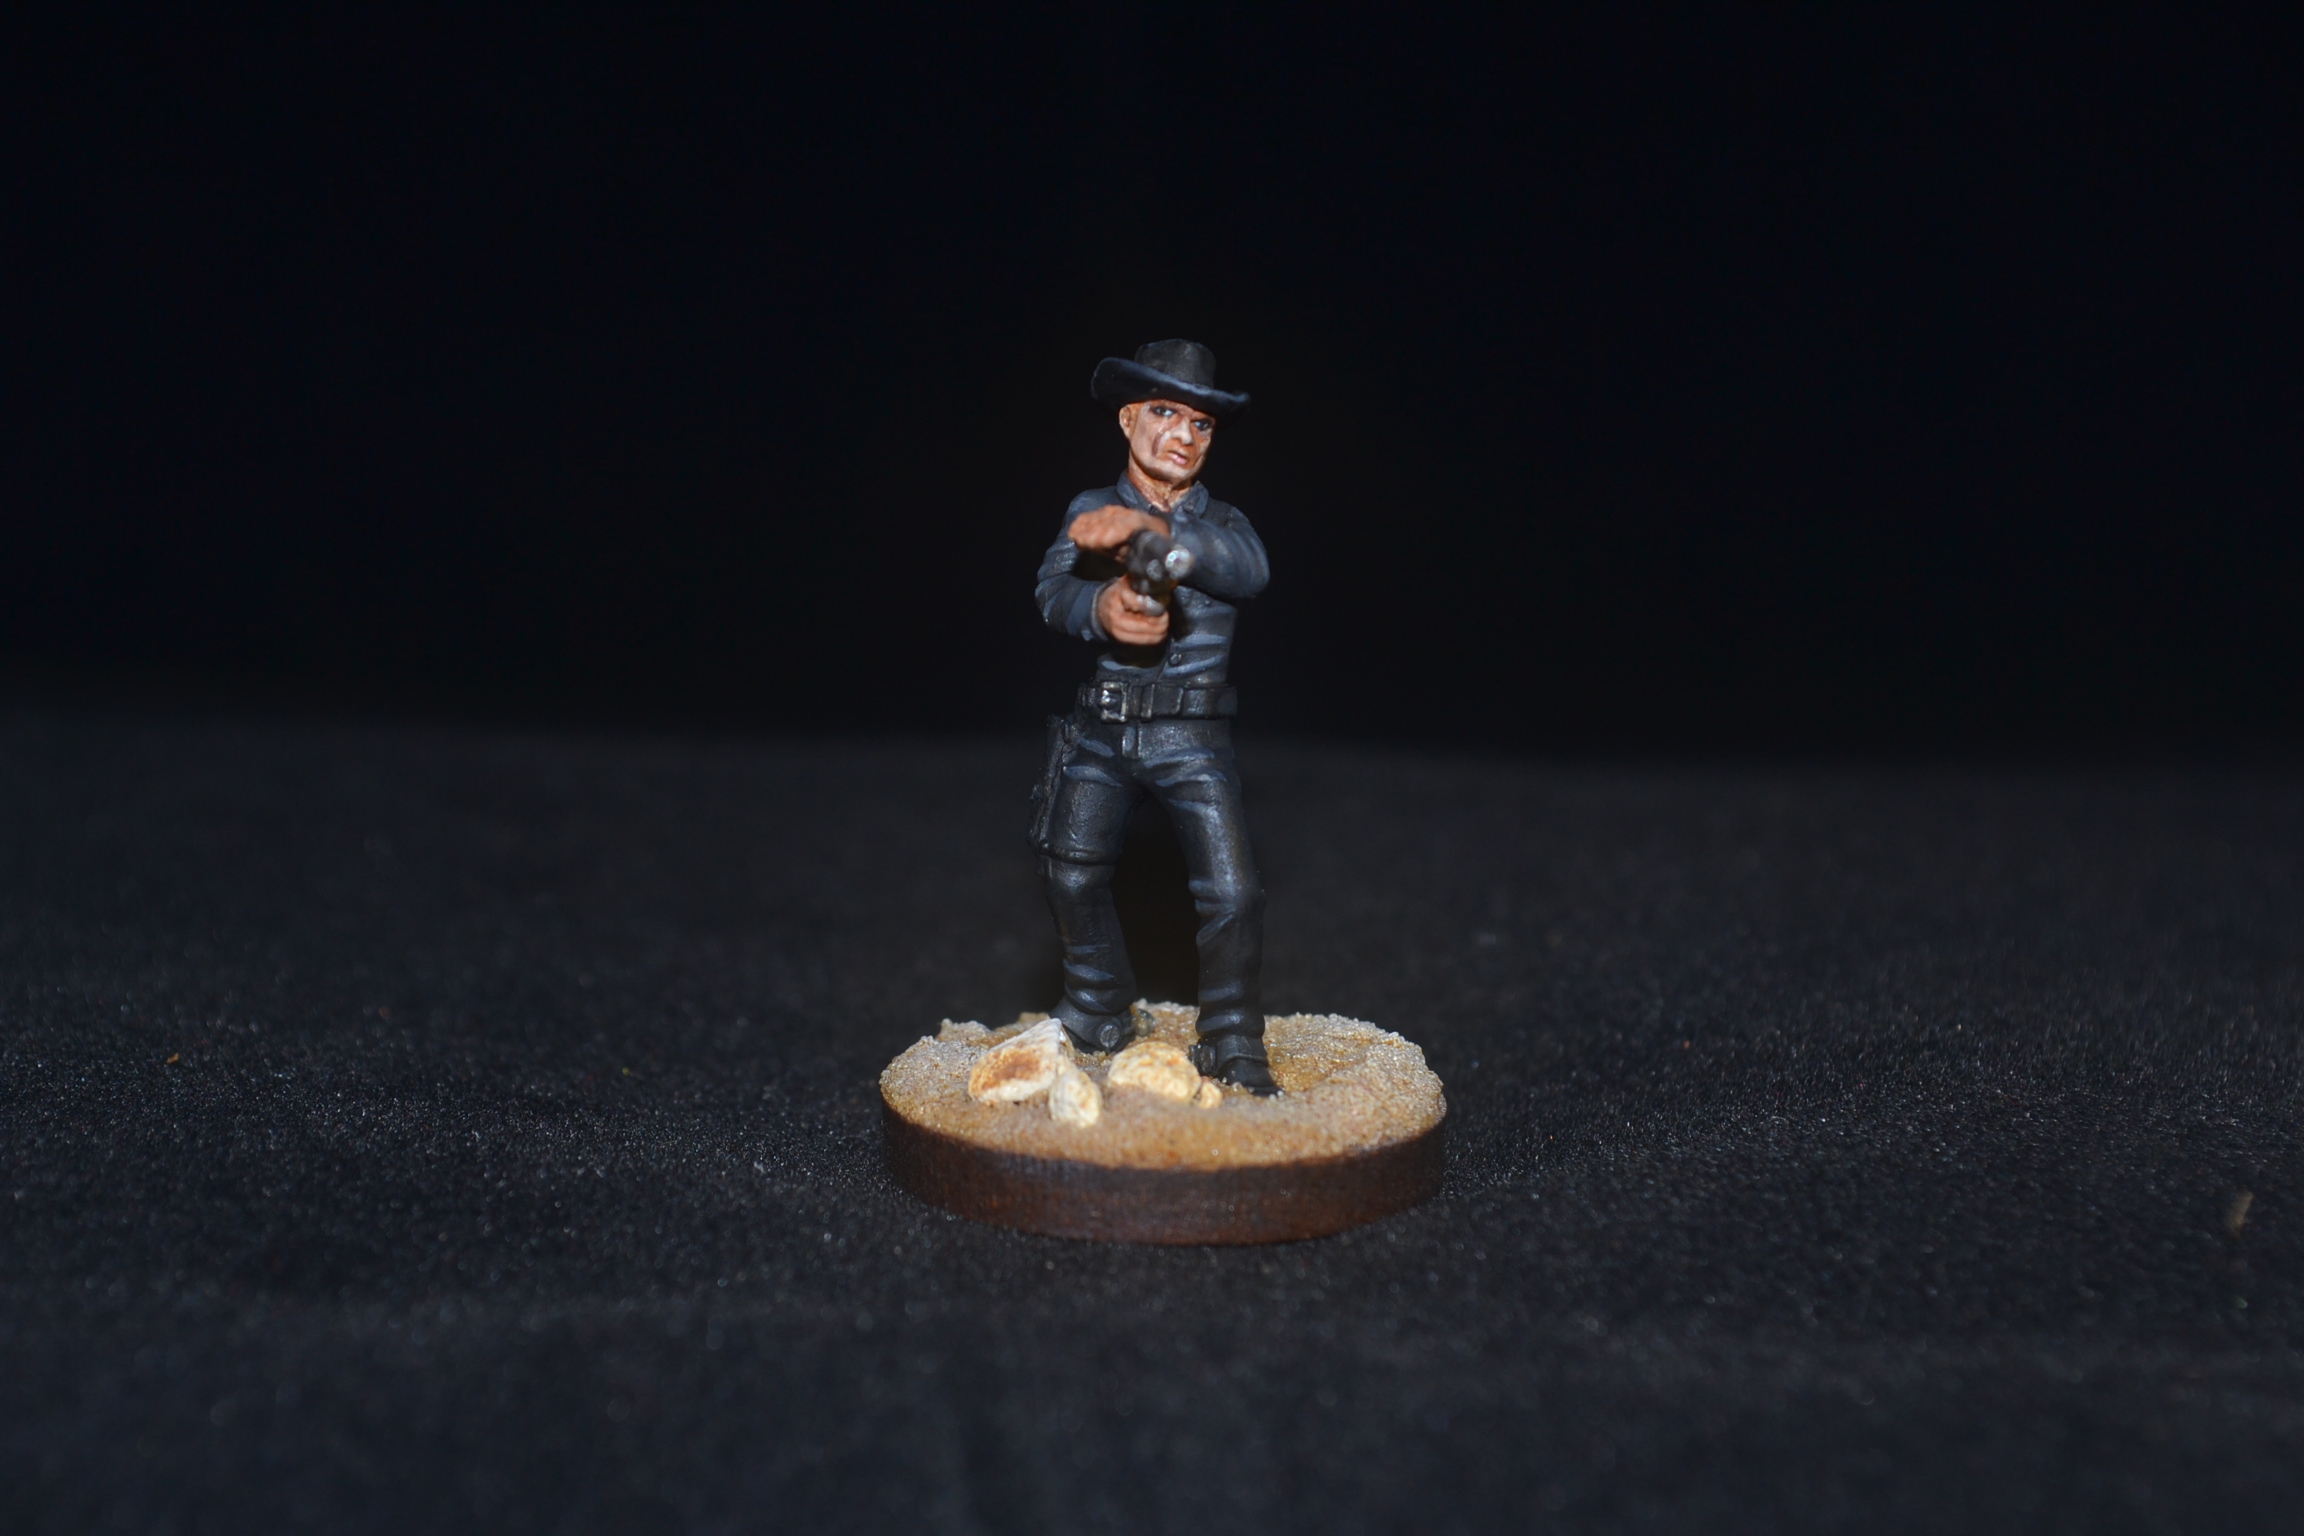
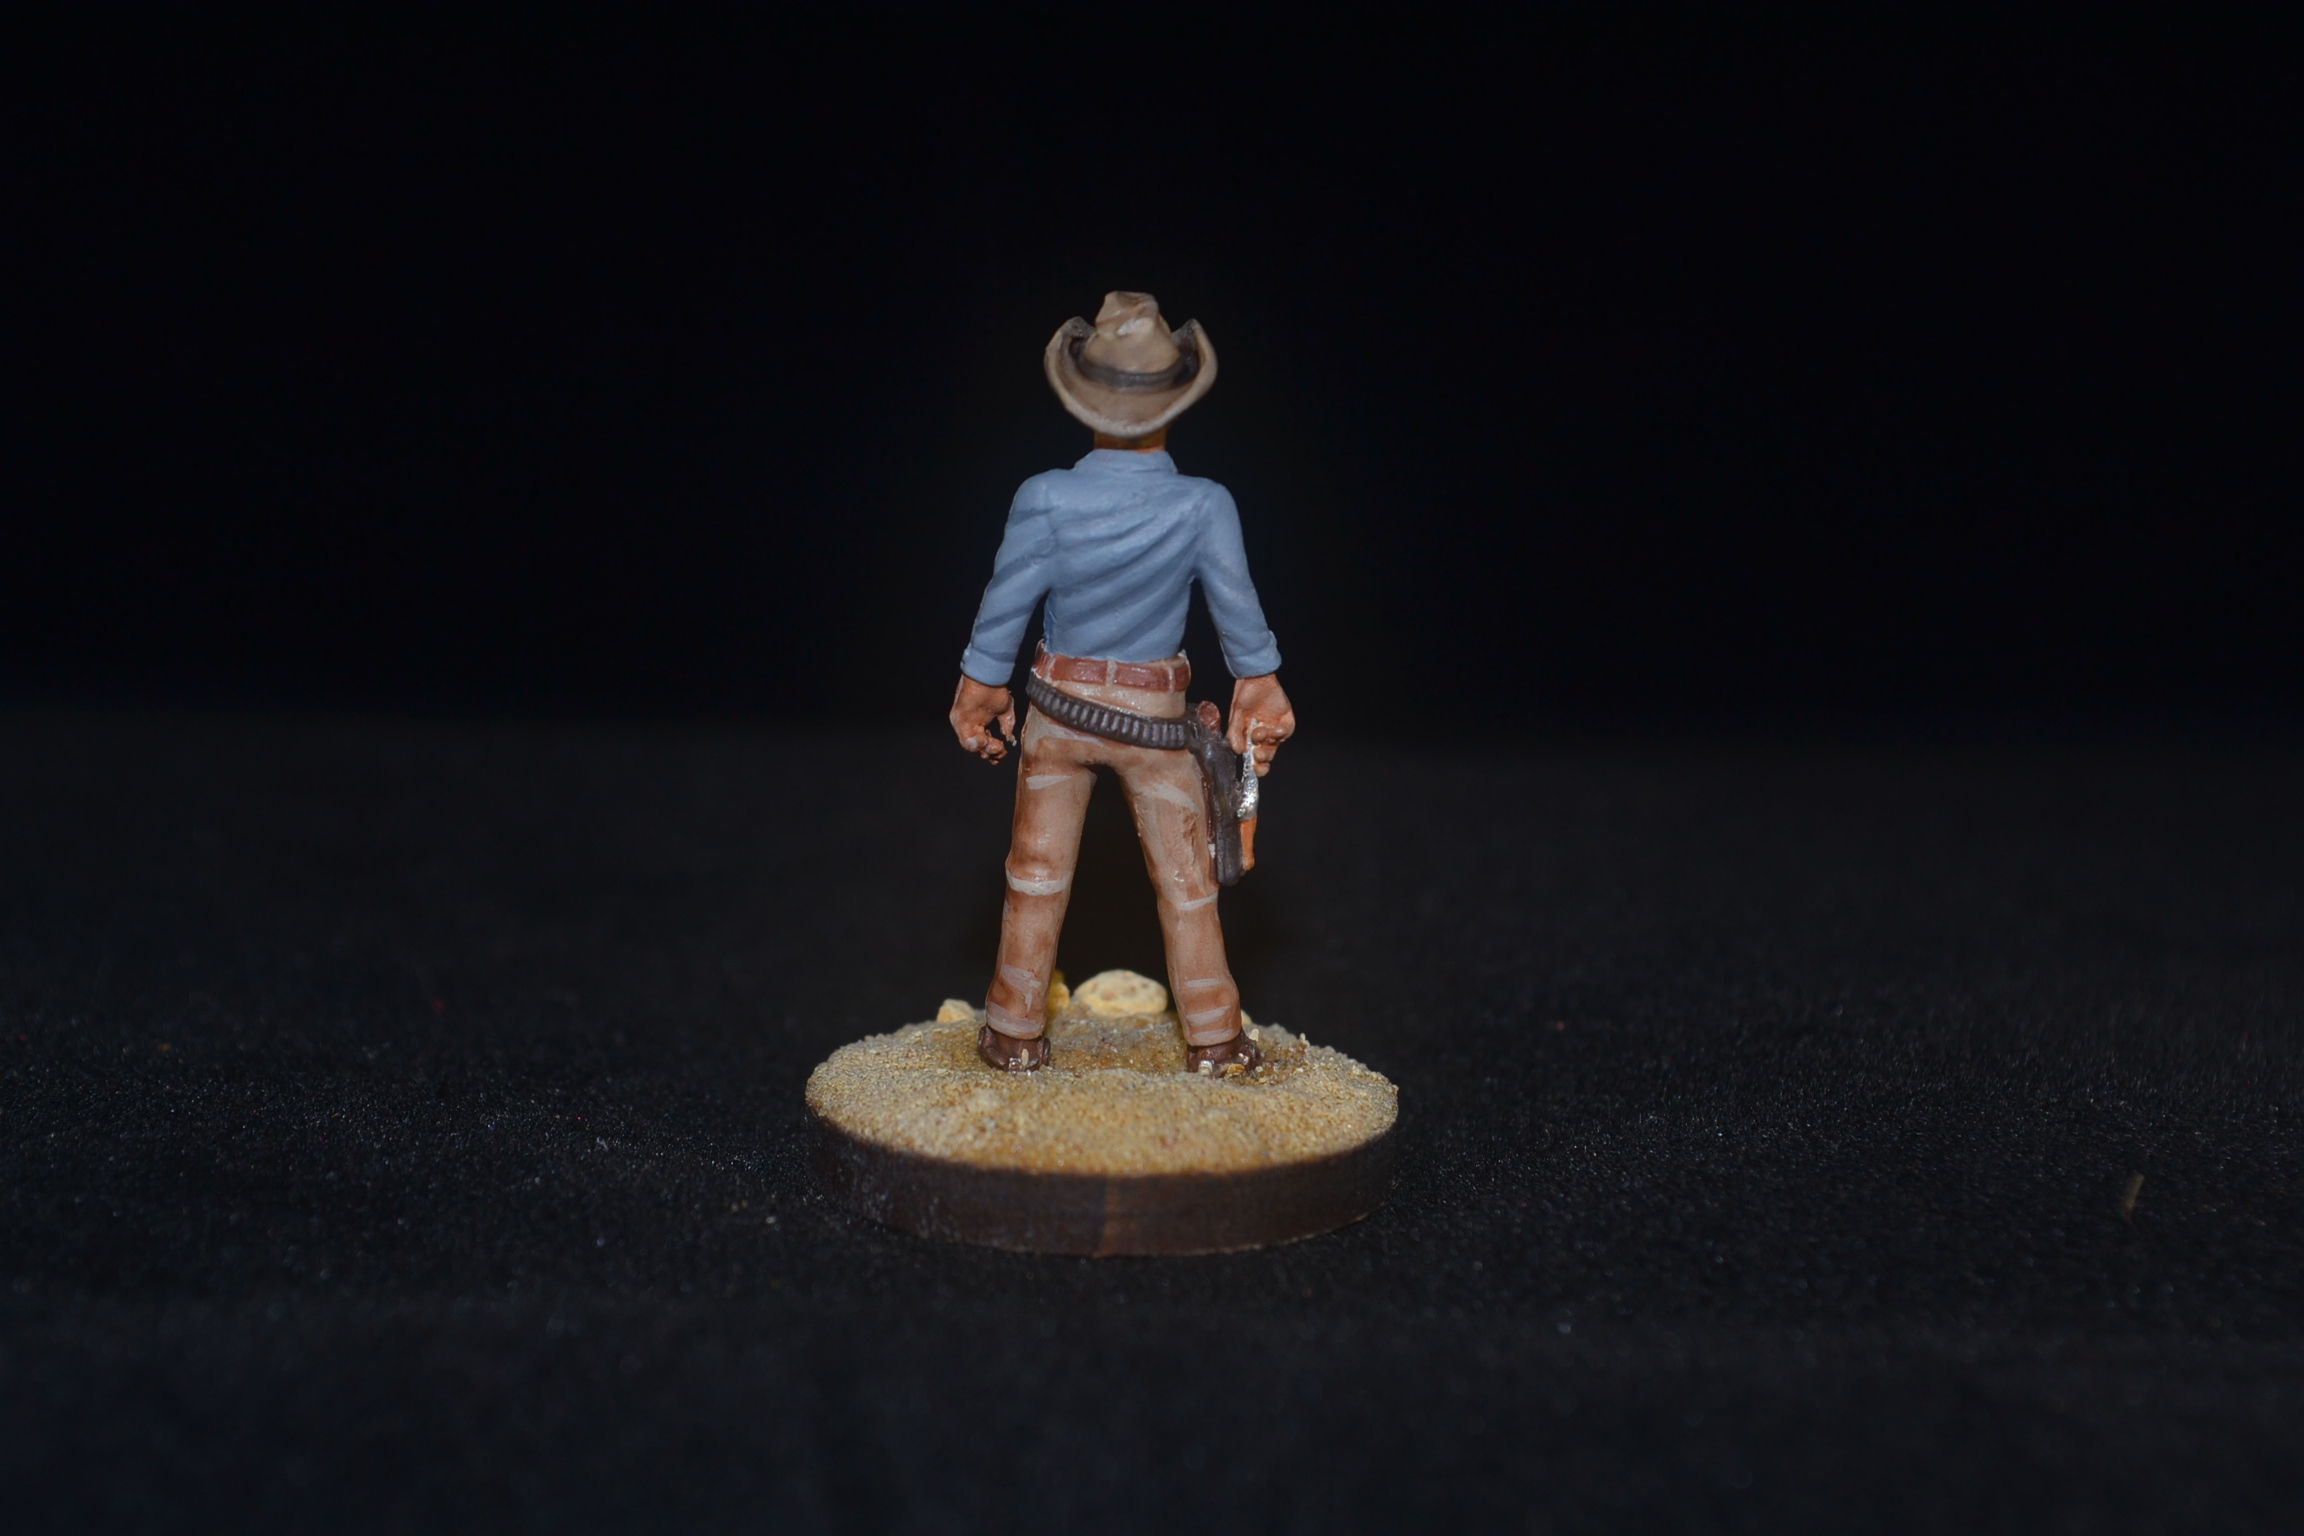
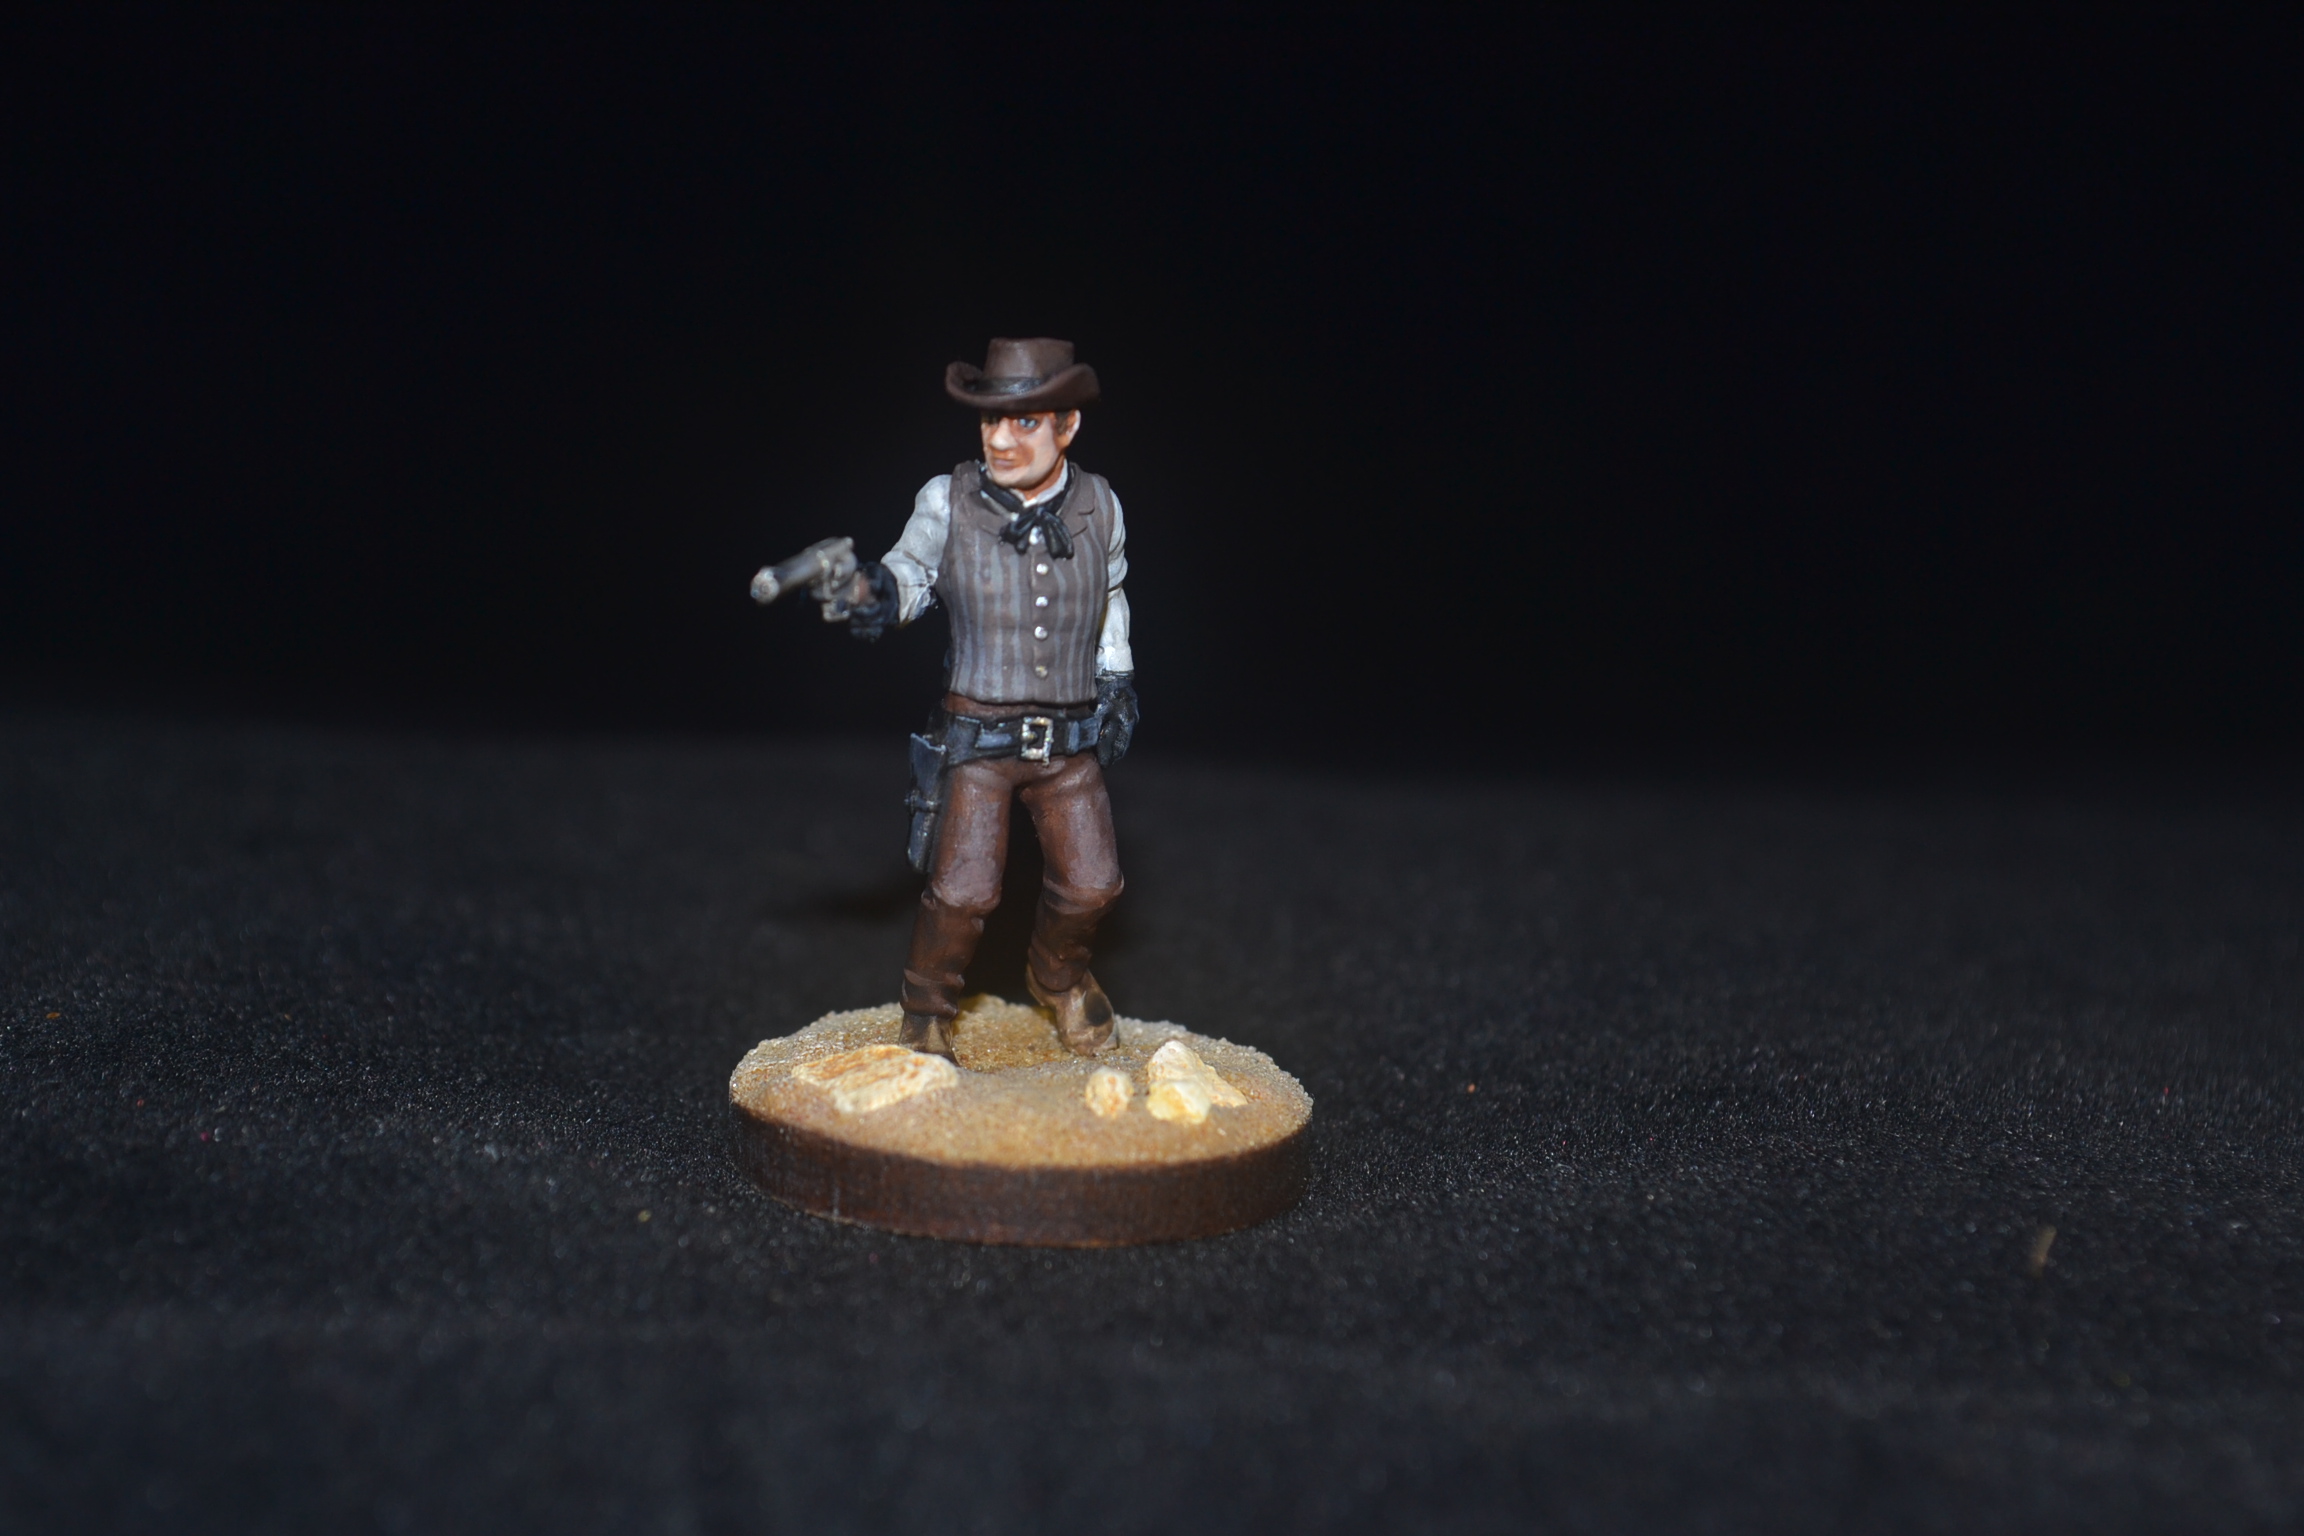
Until very recently I had only dabbled with snow affects once in the past and that was a long time ago. The result of which ended in the model below.

The model itself, an Andrea 54mm figure based on Robert Redford’s portrayal of Jeremiah Johnson if I remember correctly, came out OK at the time but the snow and my early attempt at a tree stump now look far from pleasing and very dated. It was only when I was dusting it that I thought I wouldn’t mind having another go at some snow based models.
Now before I continue I ought to answer a question that I am sure the previous paragraph has thrown up. Why was I, a product of the male chauvinistic 60’s, 70’s and 80’s, doing my own dusting when I have a perfectly good wife capable of doing such things? A good question for sure but Her who Must Be Obeyed has made it perfectly clear that she will not be held responsible for any breakages and thus the job rests with me. To be fair she has a point. Allow me to digress a little further.
We have a border collie who can open every door in the house. I was once the proud owner of a remote-controlled Dalek which spoke. The dog hated the Dalek and ran from it when it was in use. Her Who Must Be Obeyed in her infinite wisdom thought it would be a good idea to stand the Dalek in front of our bedroom door to stop the dog from going in. A cunning plan but one which led to the dog trashing the Dalek and me calling her a moron. It is against this back drop that she now has nothing to do with my models and collectibles! Hard to blame her really.
Back to modelling.
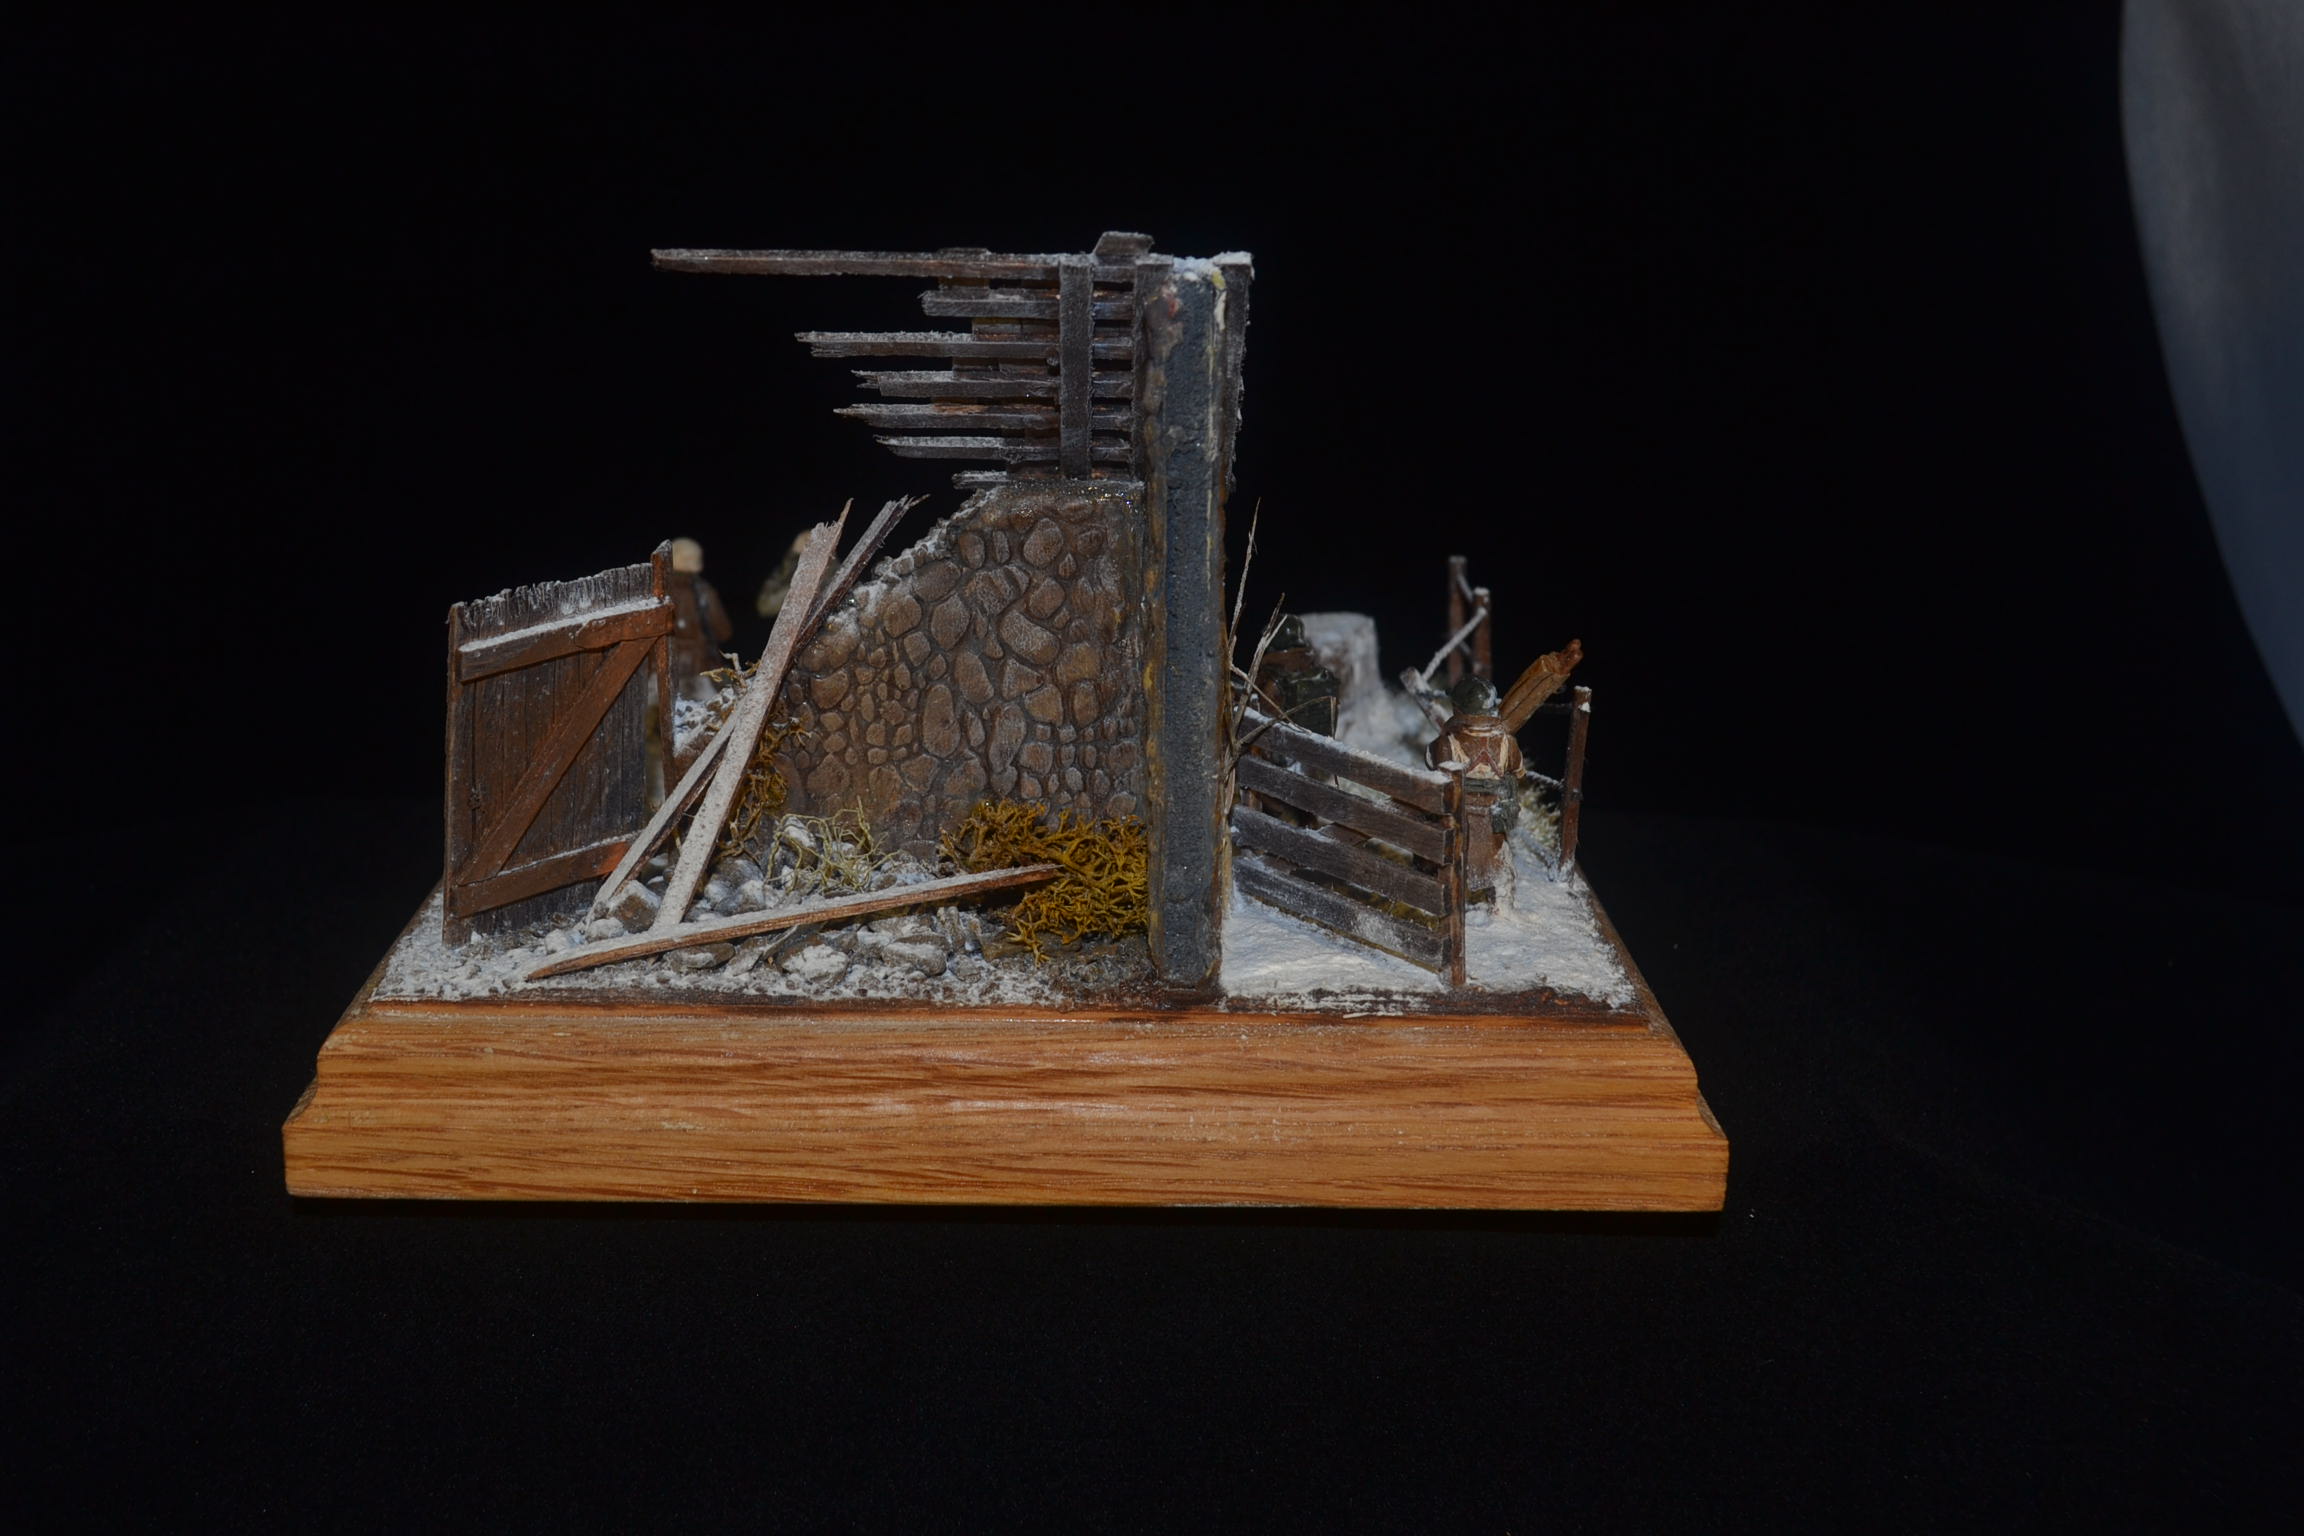
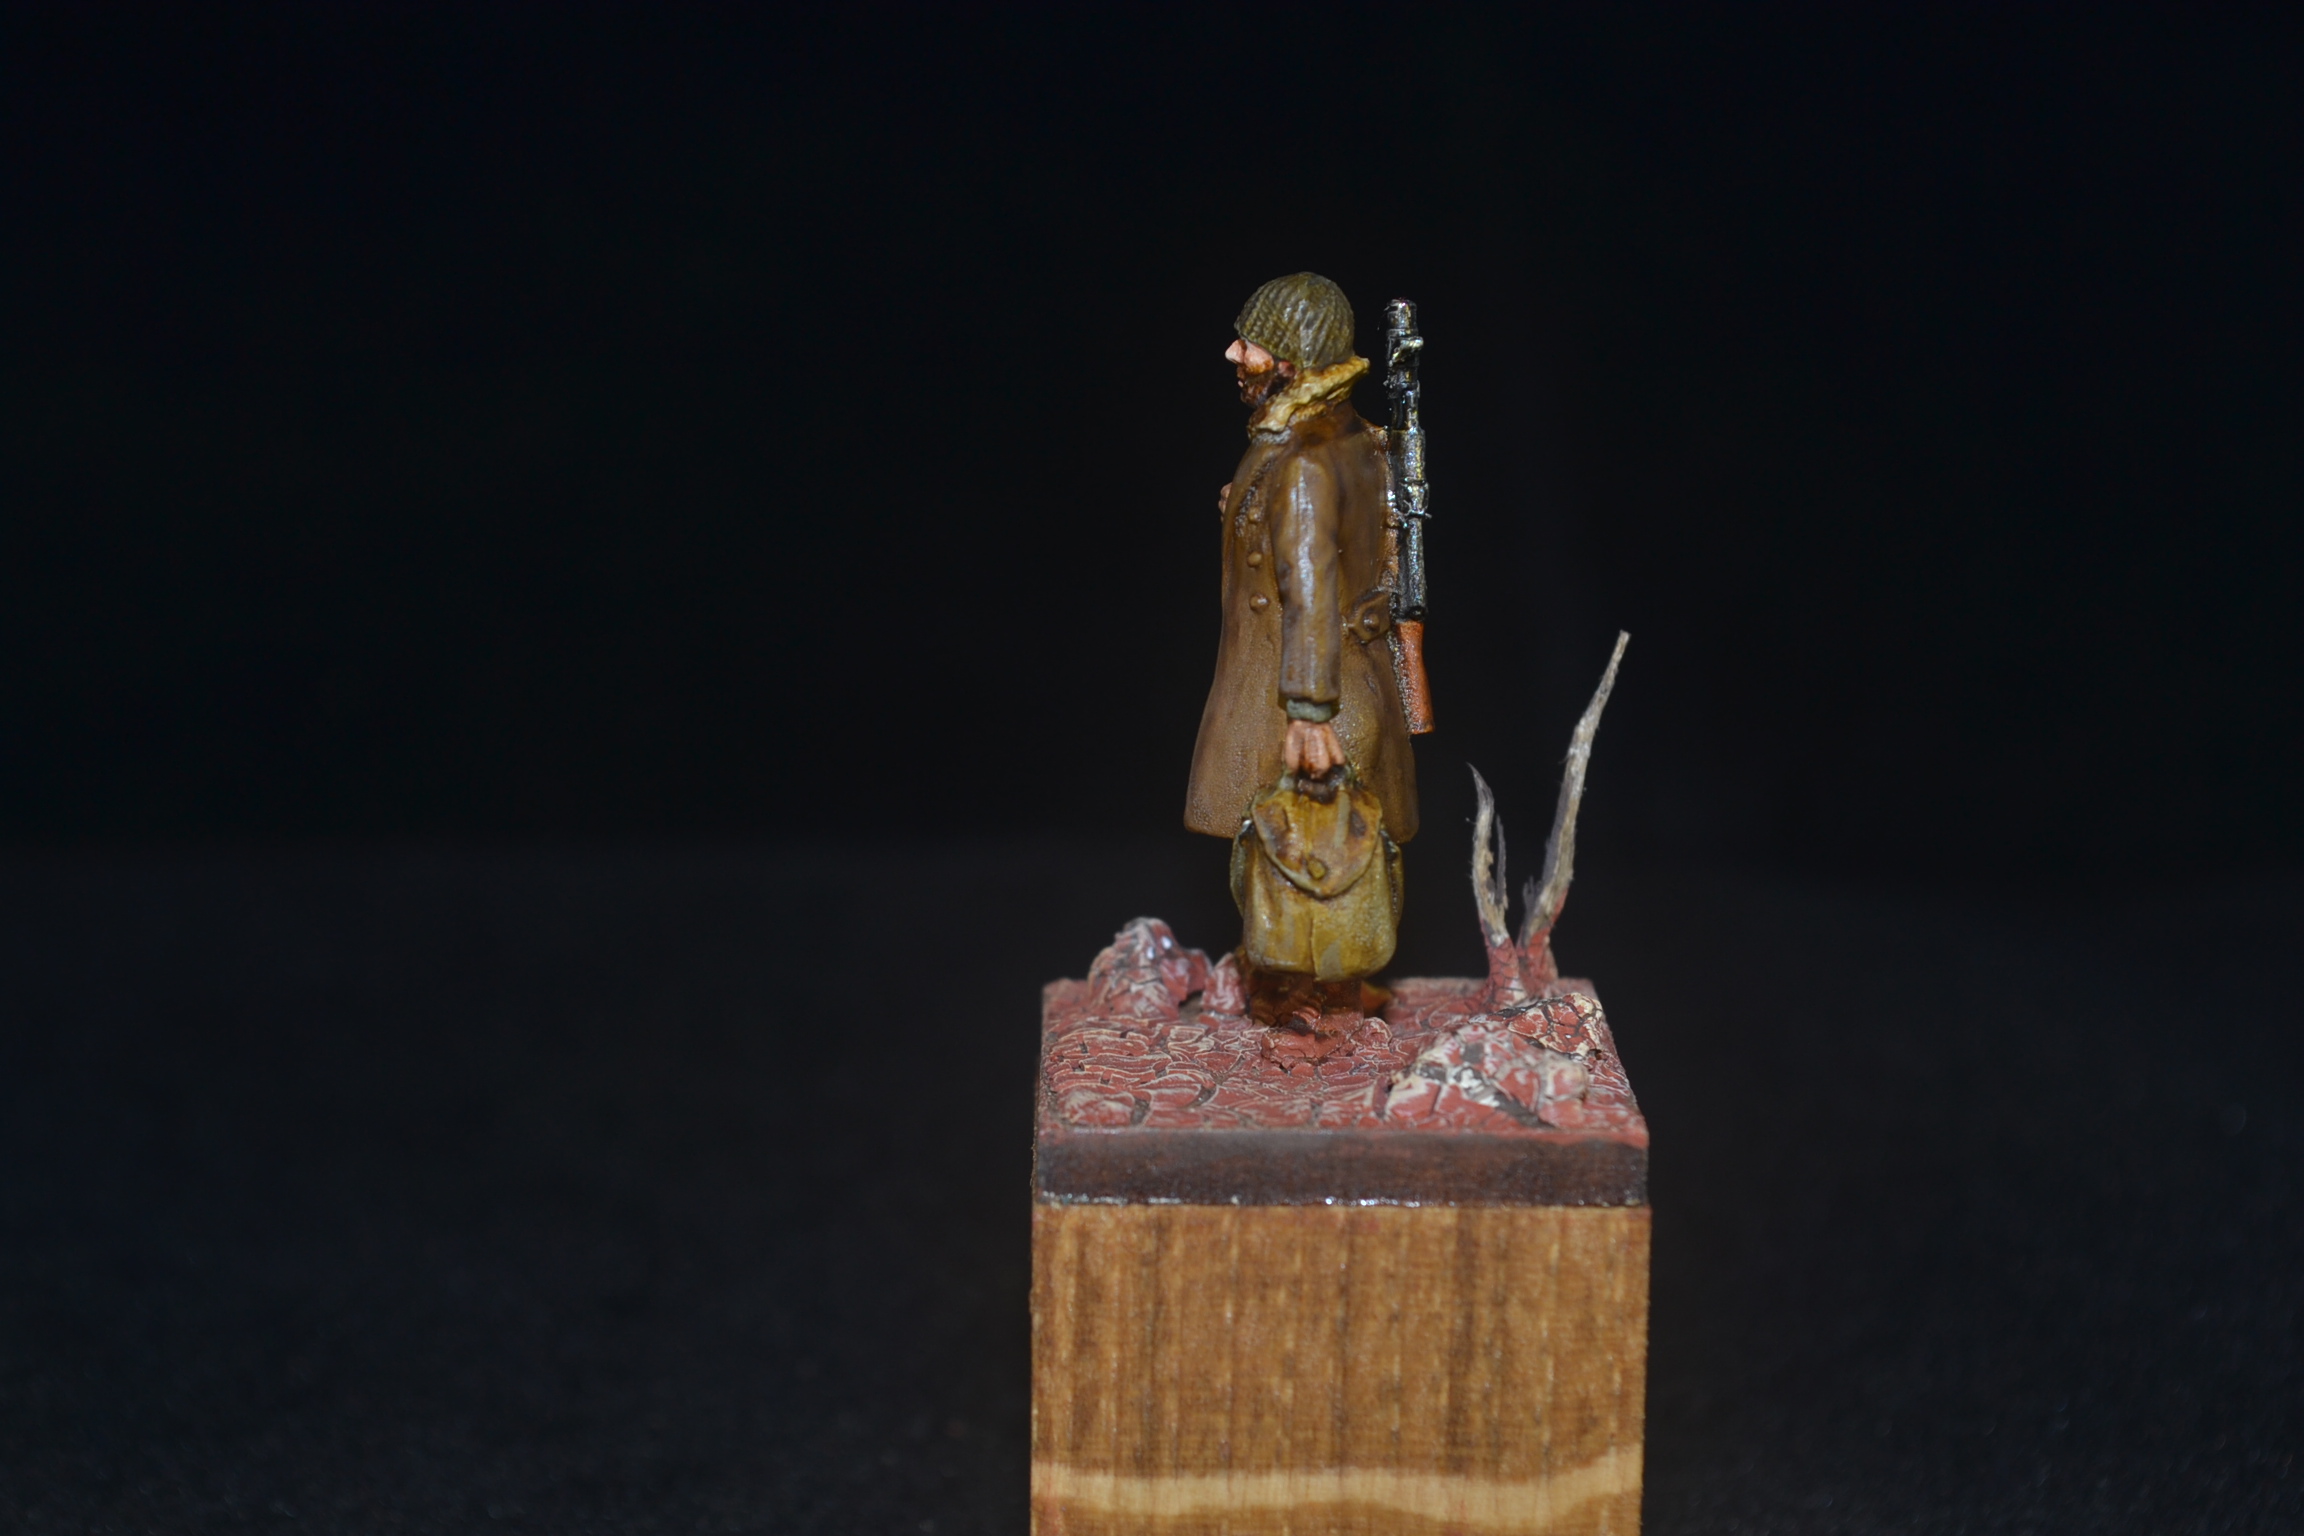
I had a good browse on the Warlord Games site and found some great looking 28mm US winter troops which I decided to purchase. I then found some snow and ice products produced by Precision Ice and Snow which I also bought. Not cheap but the amount of stuff that came in the bundle I purchased will more than see me through the rest of my modelling days I expect. As for a scene I thought I’d go for a derelict building or part of one to be more precise. The combination of US troops, snow and a derelict building all adds up to something completely brand new to get my teeth into.
A check on my paints resulted in the need to order some new ones, all Vallejo in this instance, and while I waited for them to arrive in the post I started to get my head around the build itself. Initially I did think I could cut some corners given that most of the end result would be covered in snow but I then decided that was the wrong approach. If I was to do it properly I ought to build the thing to look right before adding the snow, in that way what ever might show through would in turn look right too.
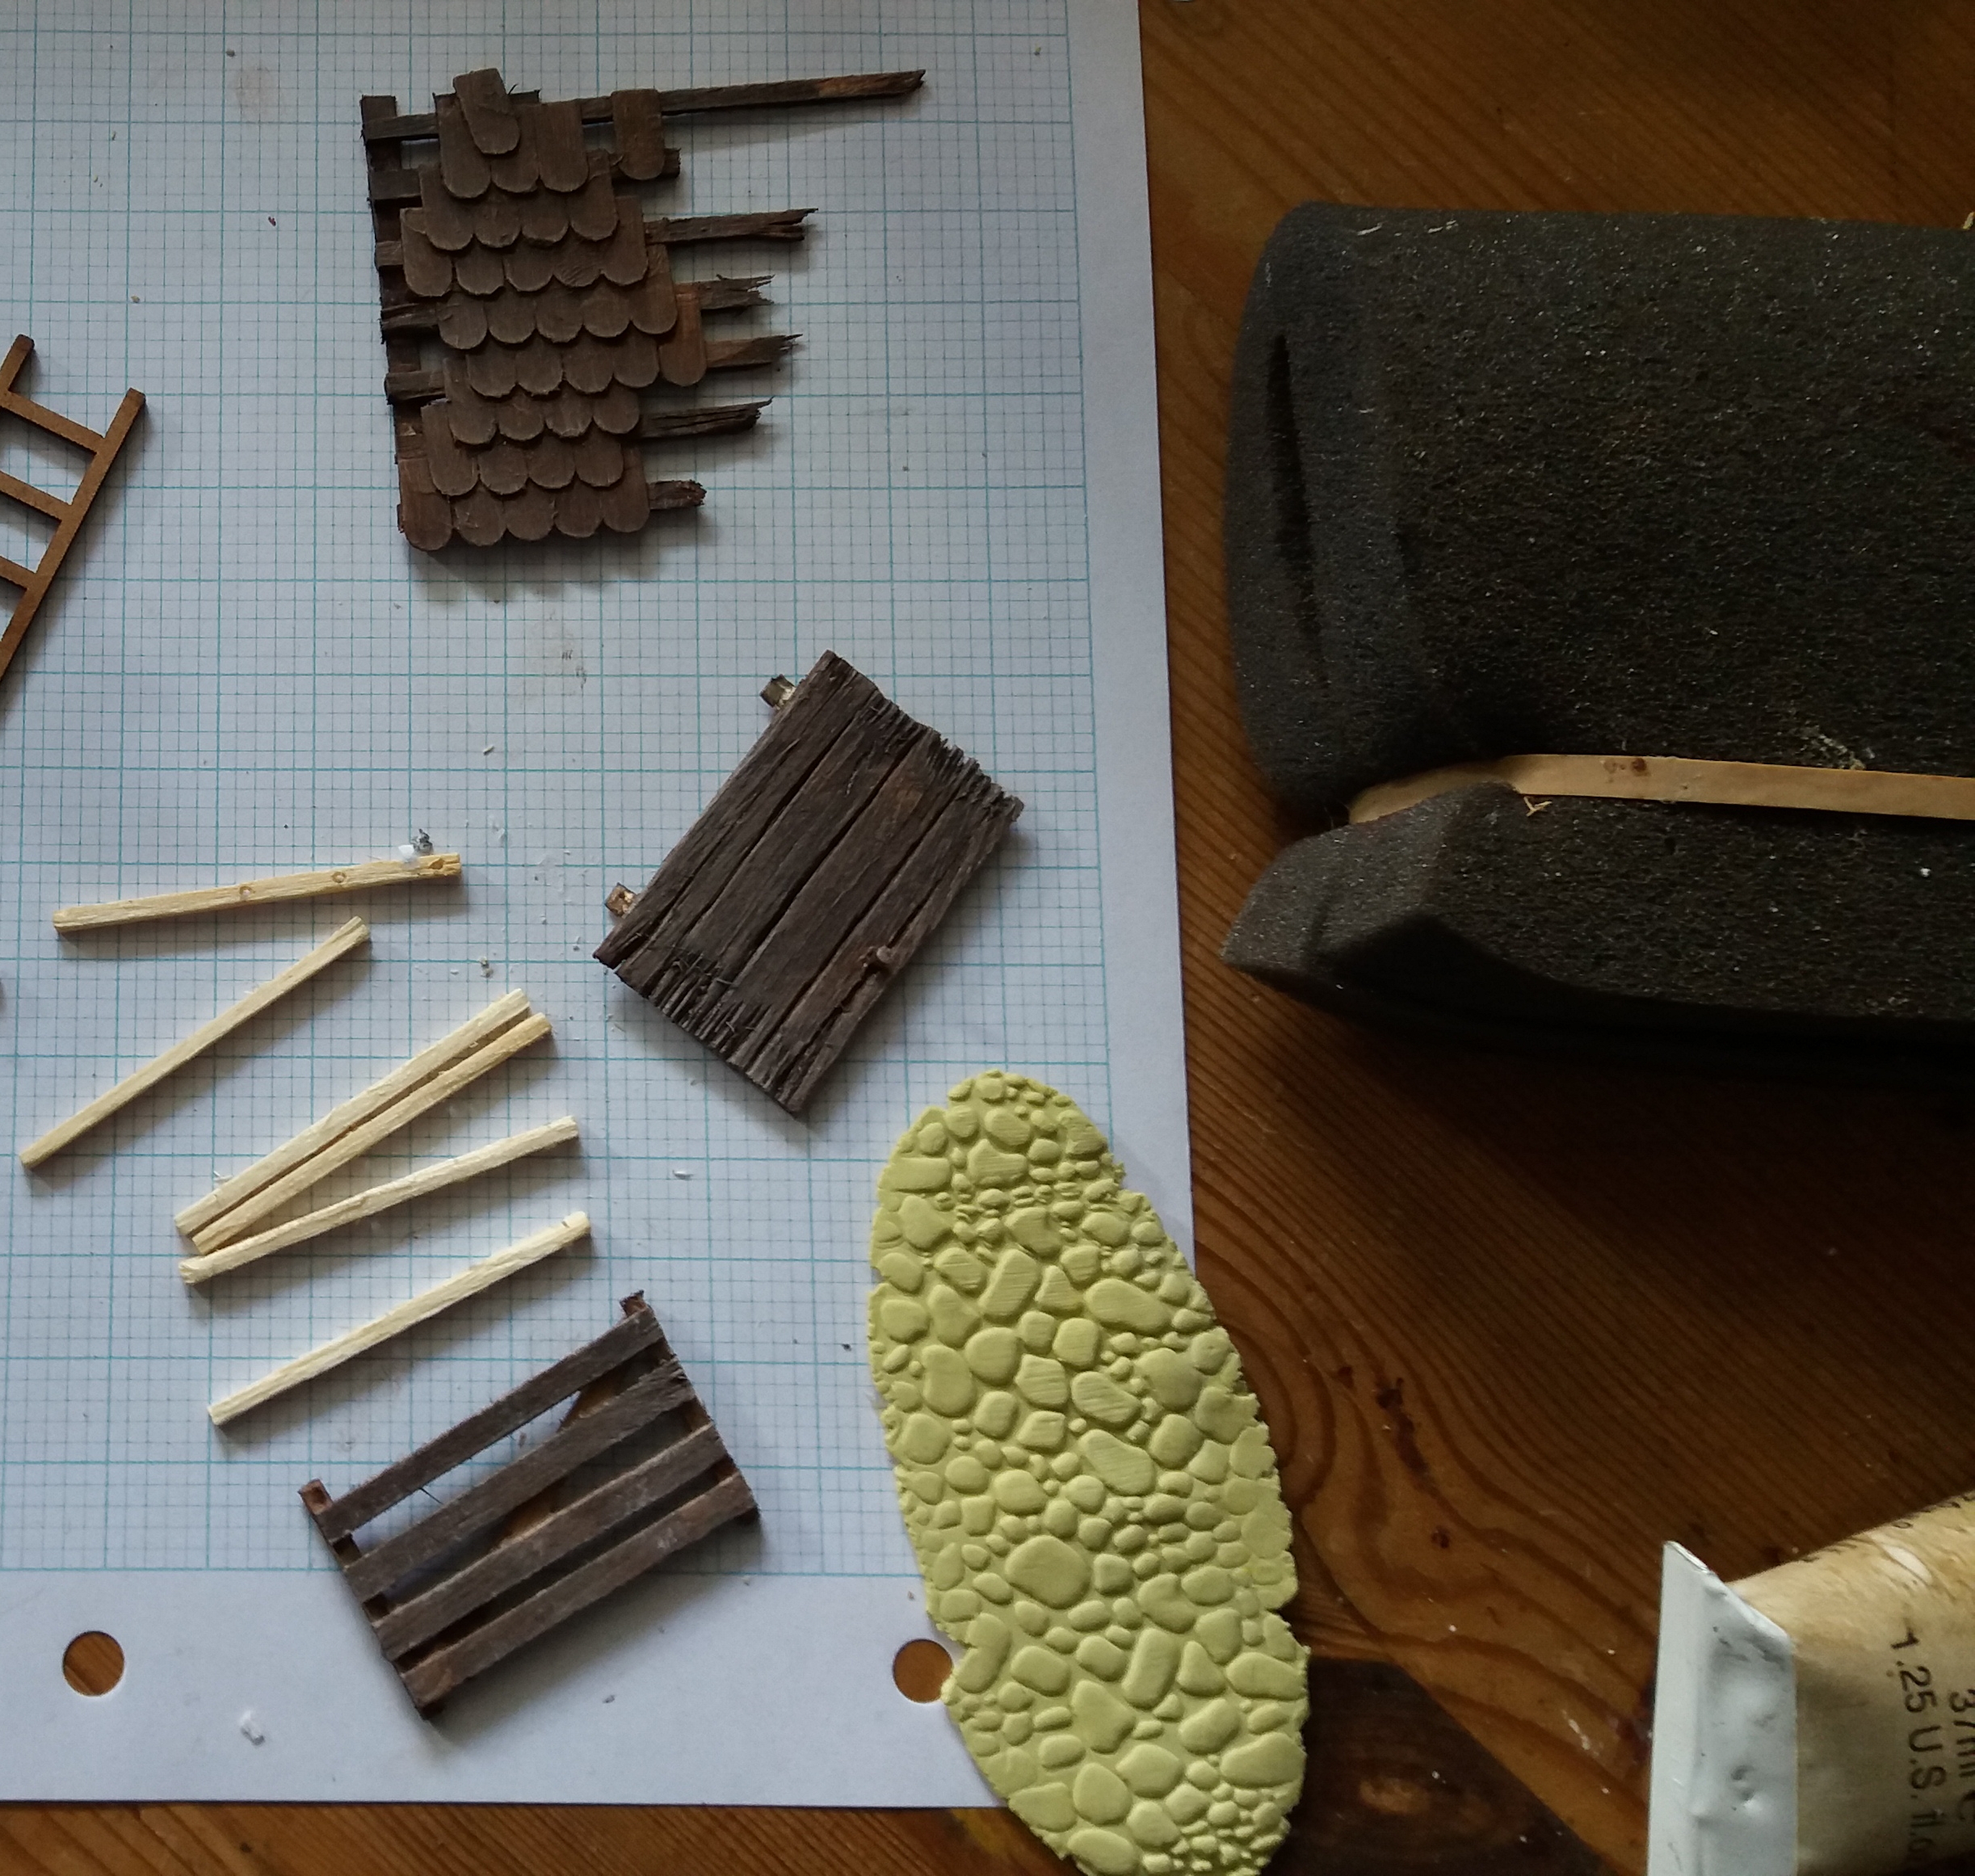
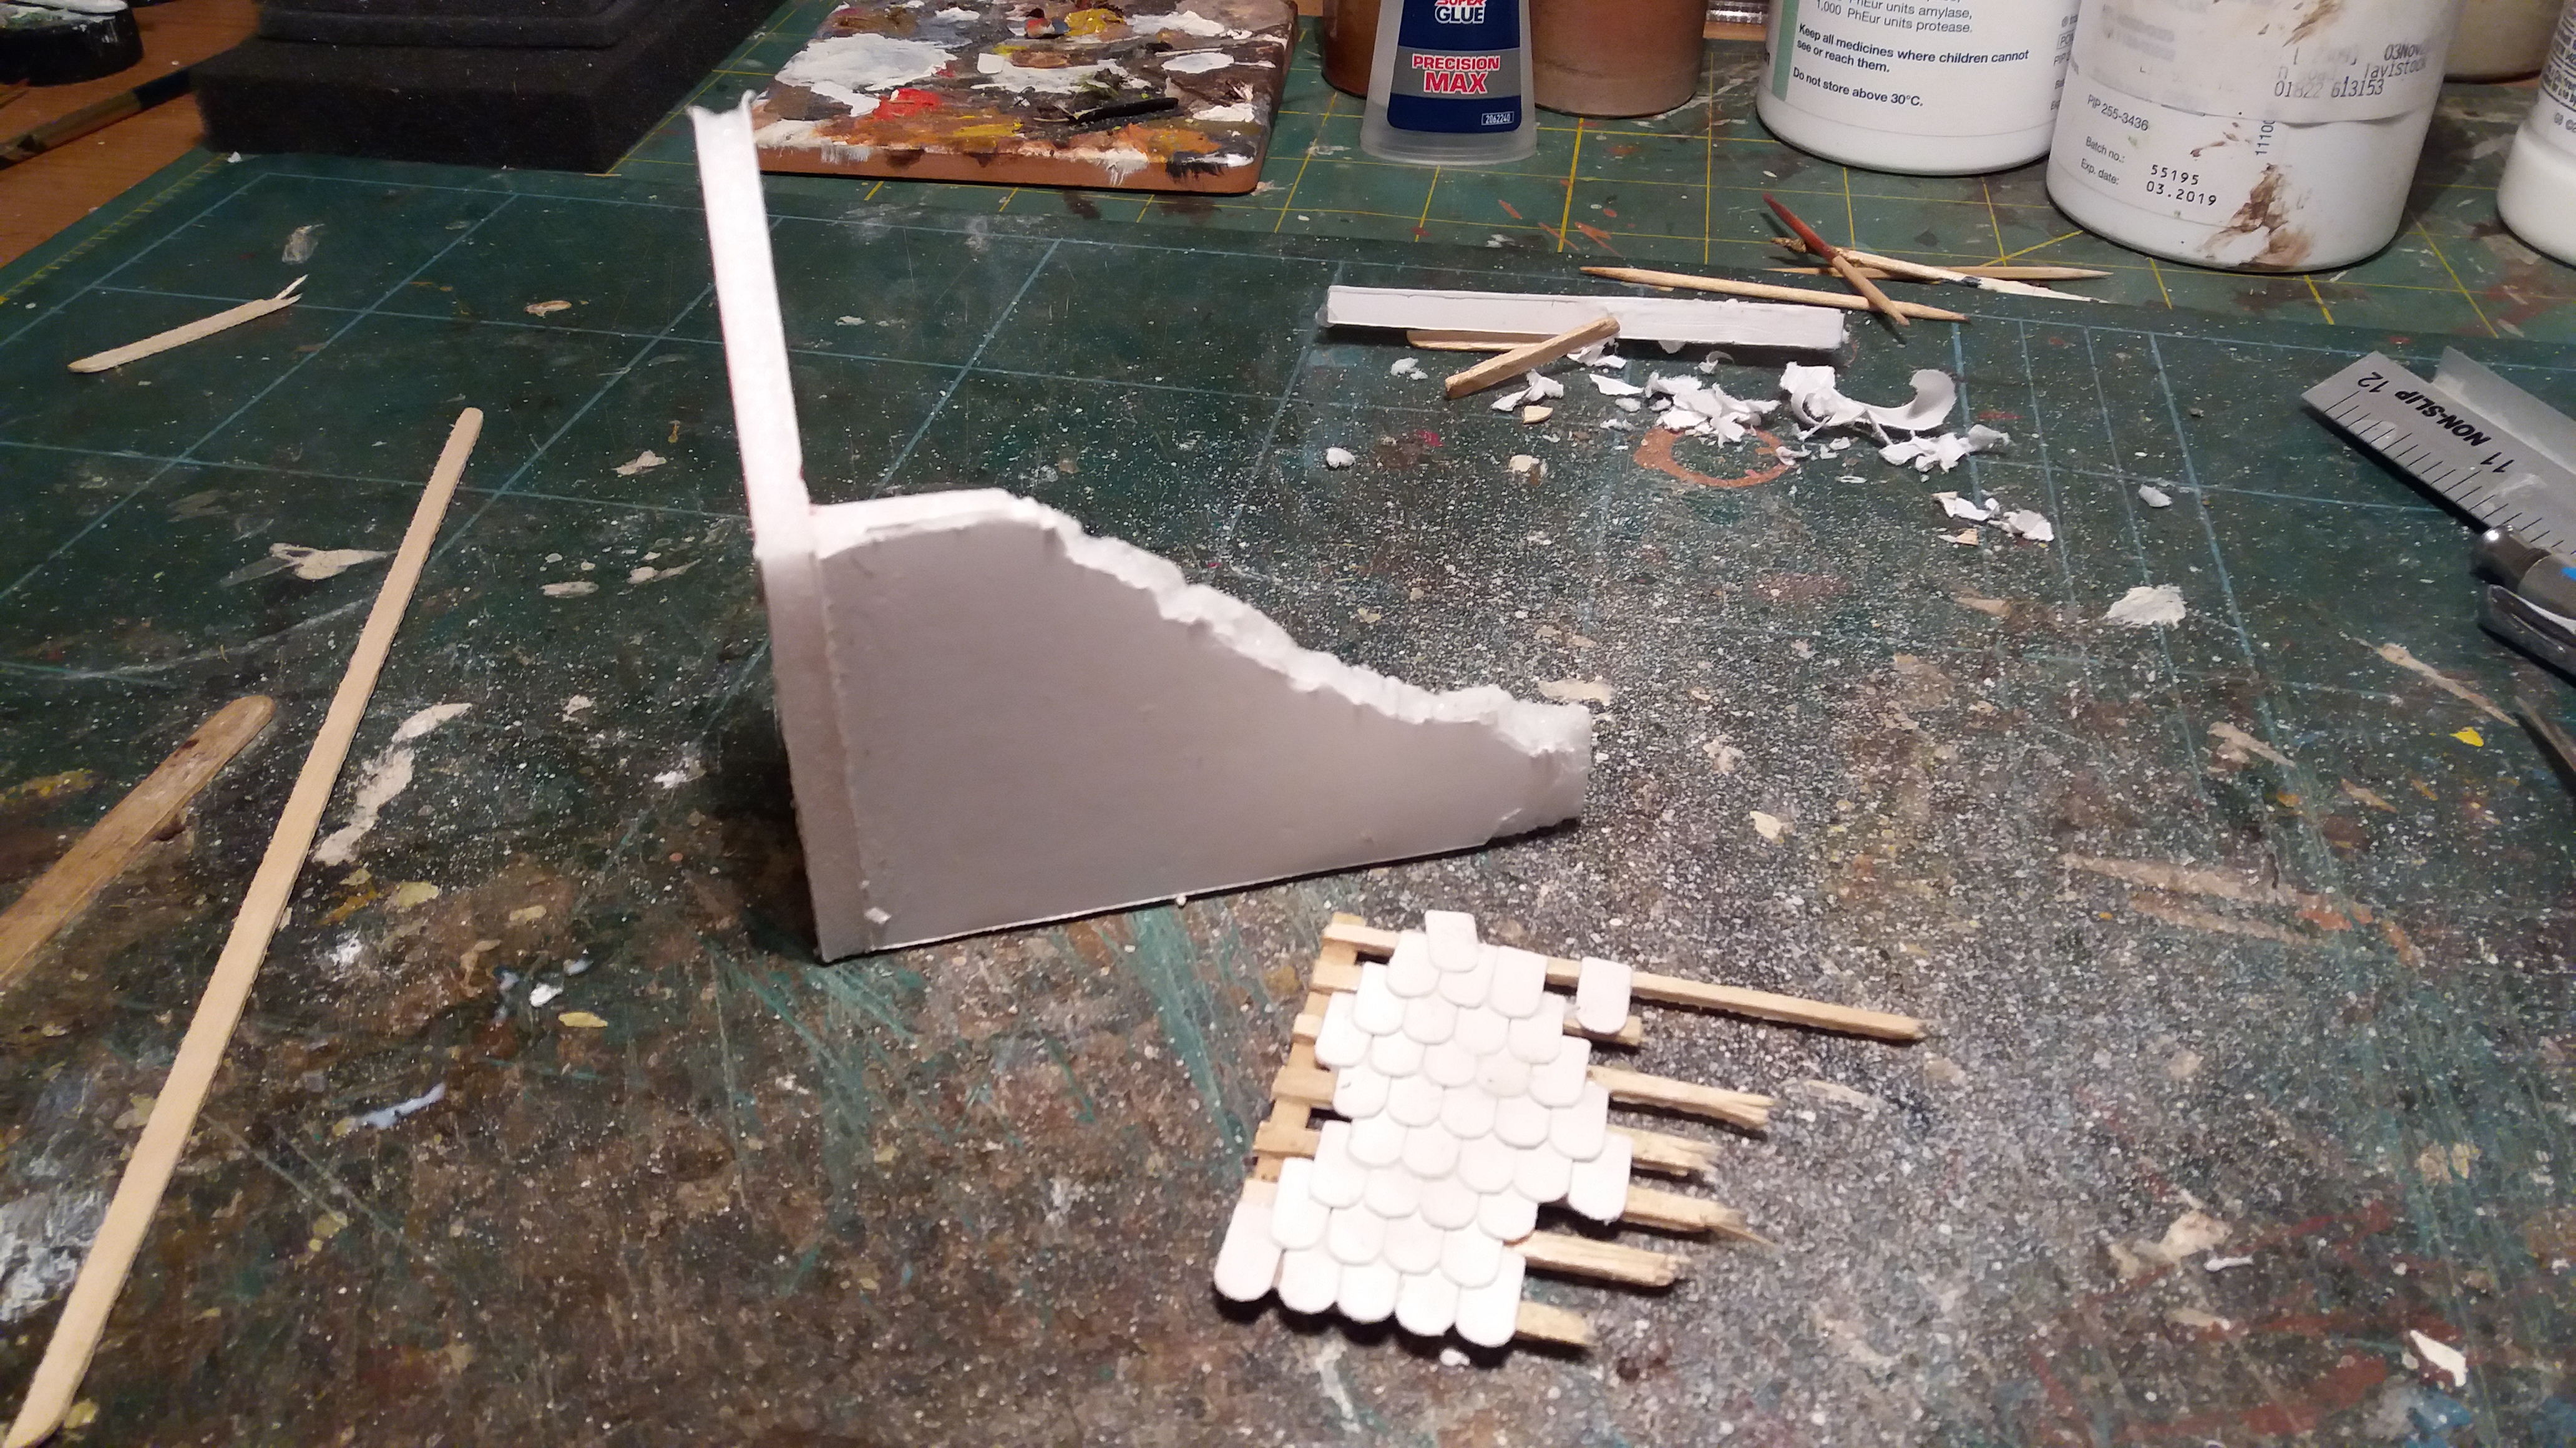
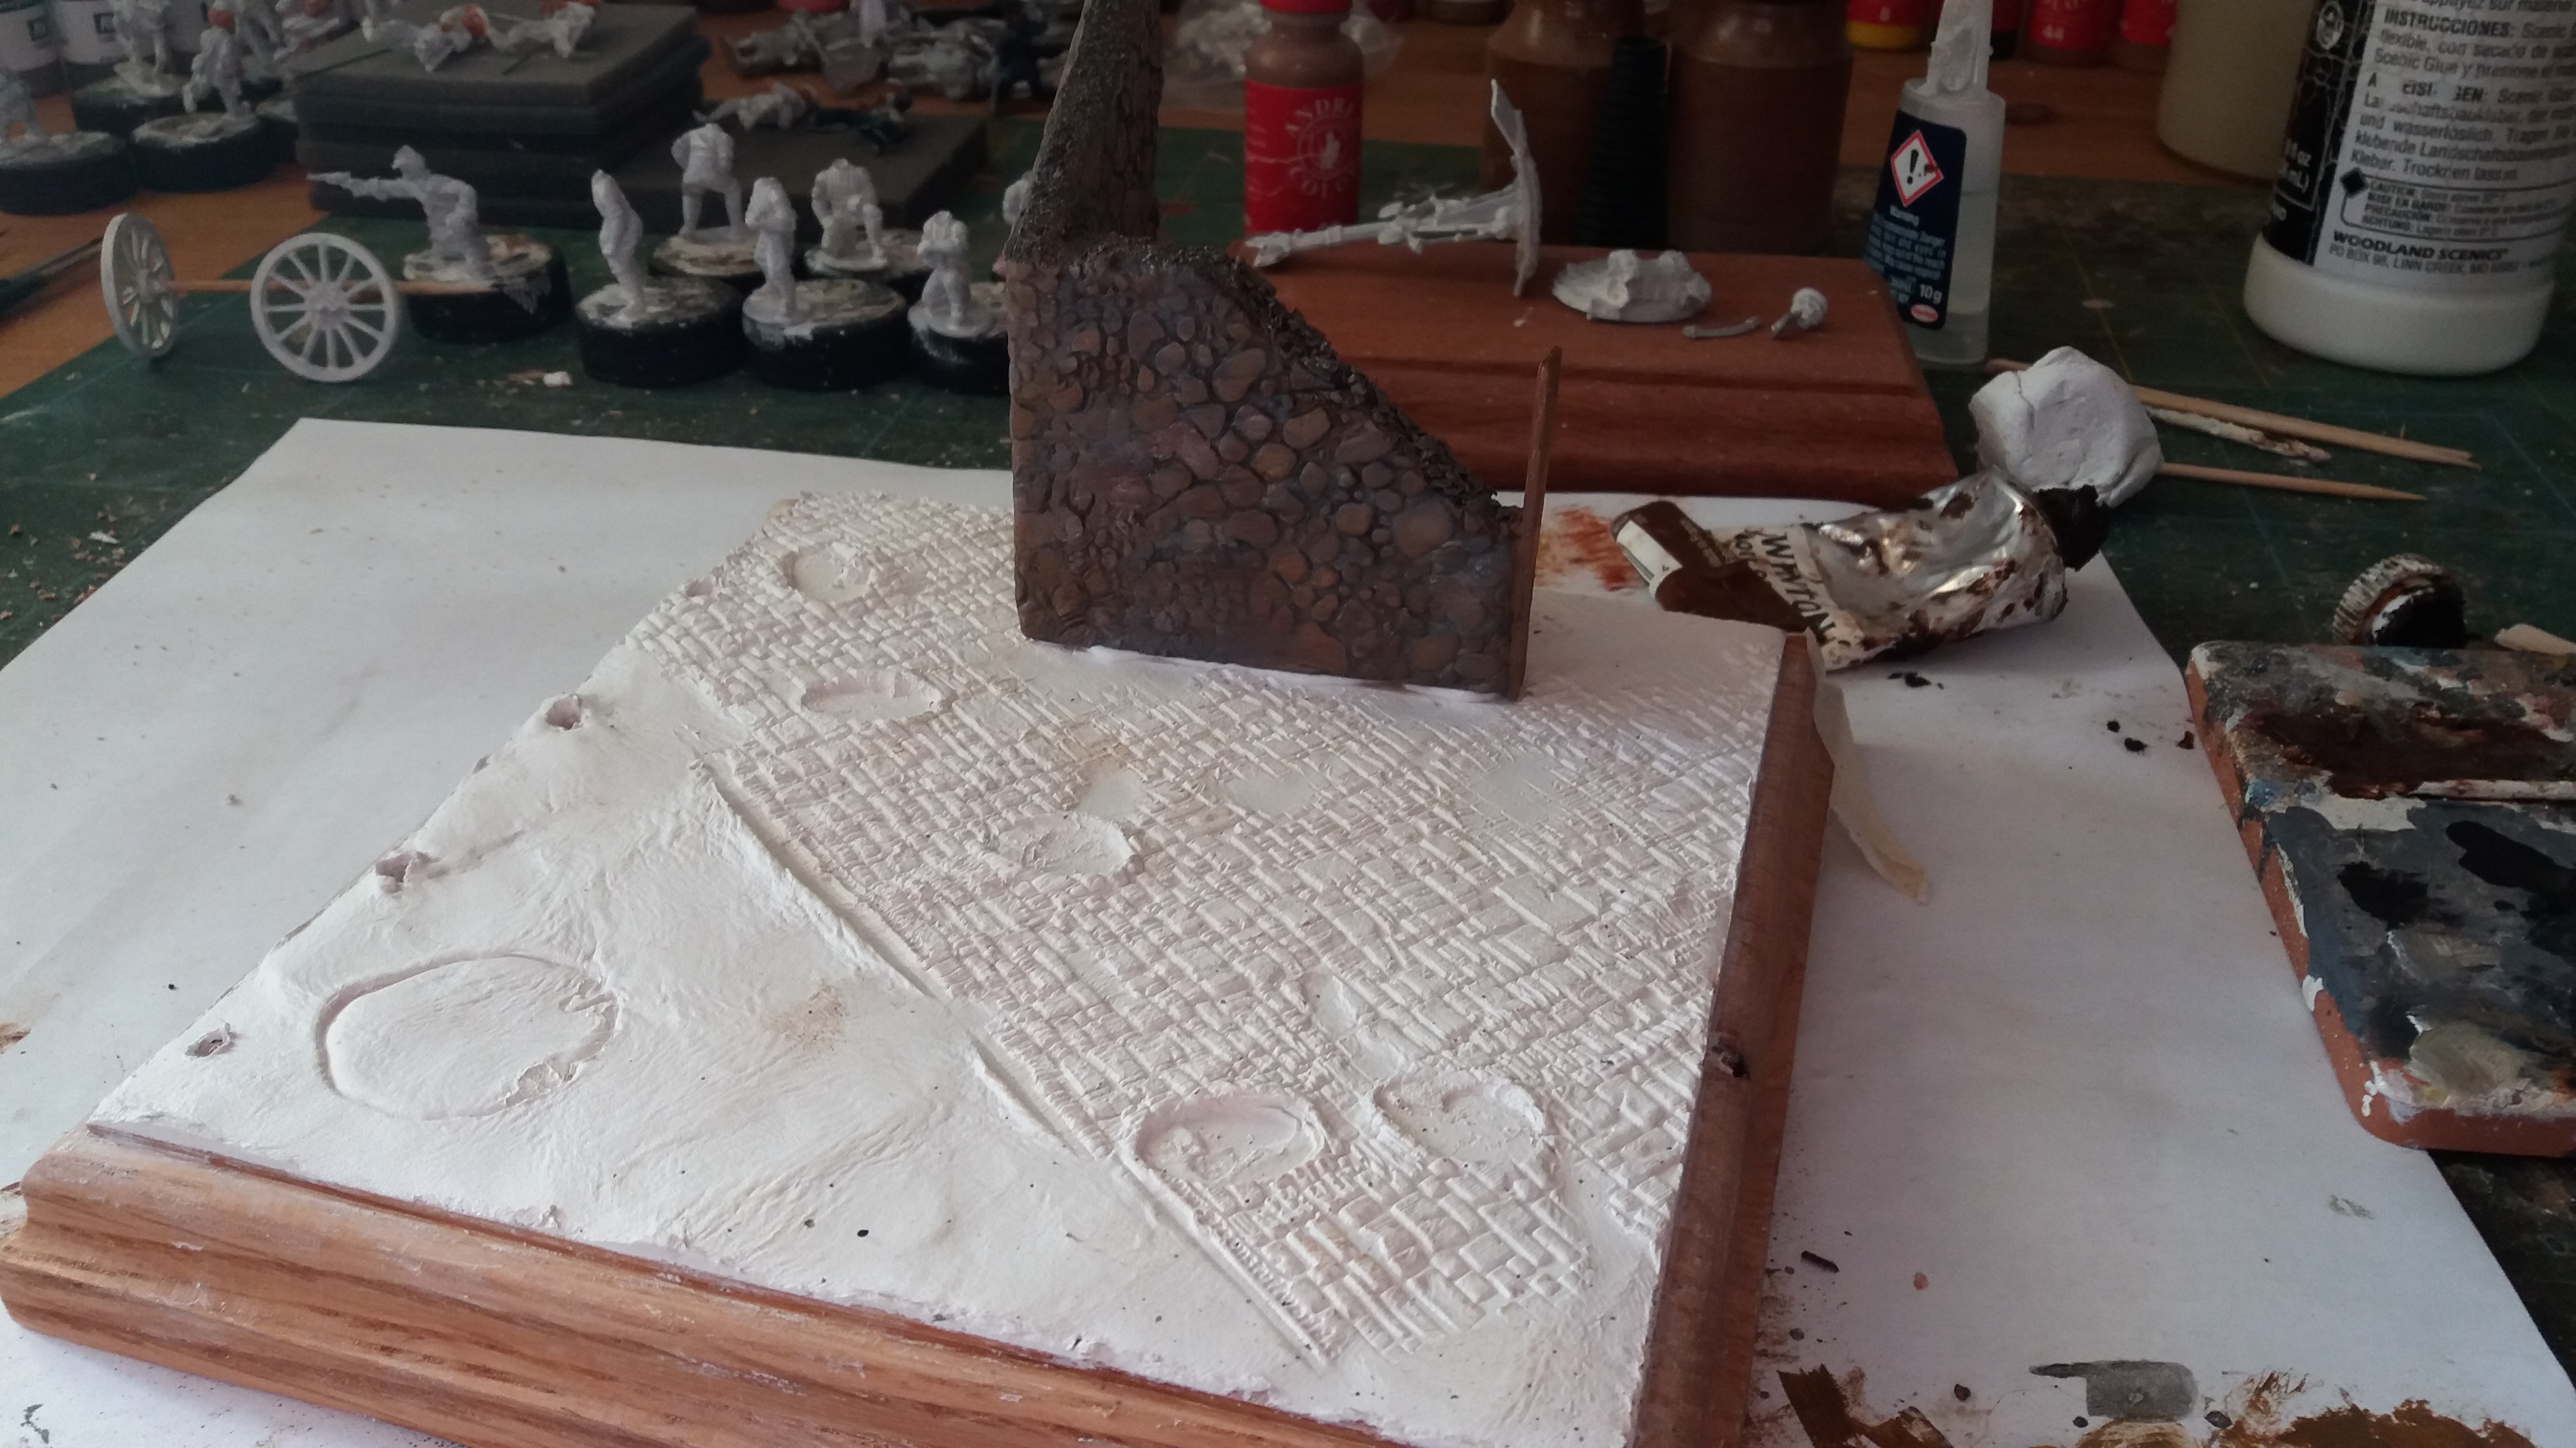
The mini project is now under way and the pictures below are of the early stages. I initially cut out some foam board for the two wall sections which were then glued together. Milliput was flattened out and then rolled using a Green Stuff World cobblestone textured rolling-pin and then applied to the foam board both on the inside and the outside. A little tip I discovered. In order to easily pick up the rolled Milliput first lay down some talcum powder on to your flat surface before hand, it lifts up easily that way.
The gate was made from wooden coffee stirrers as was the door and the roof beams. The tiles were made once again using my Green Stuff World tile punch. The fence posts were made from match sticks and drilled to make way for the twisted wire that will be inserted in due course.
Next up will be the complete assembly of all the various bits and pieces, the figure painting and applications of static grass and other ground work but that will have to wait until next time. In the meanwhile a few very unexciting progress pictures.
TIM


—000—
28mm – WW2 US Winter Troops – Part 2
Desk tidied and lists written I am now feeling organised once again. It’s now time to get some things completed and invoke a little more discipline starting with the continuation of this little diorama.
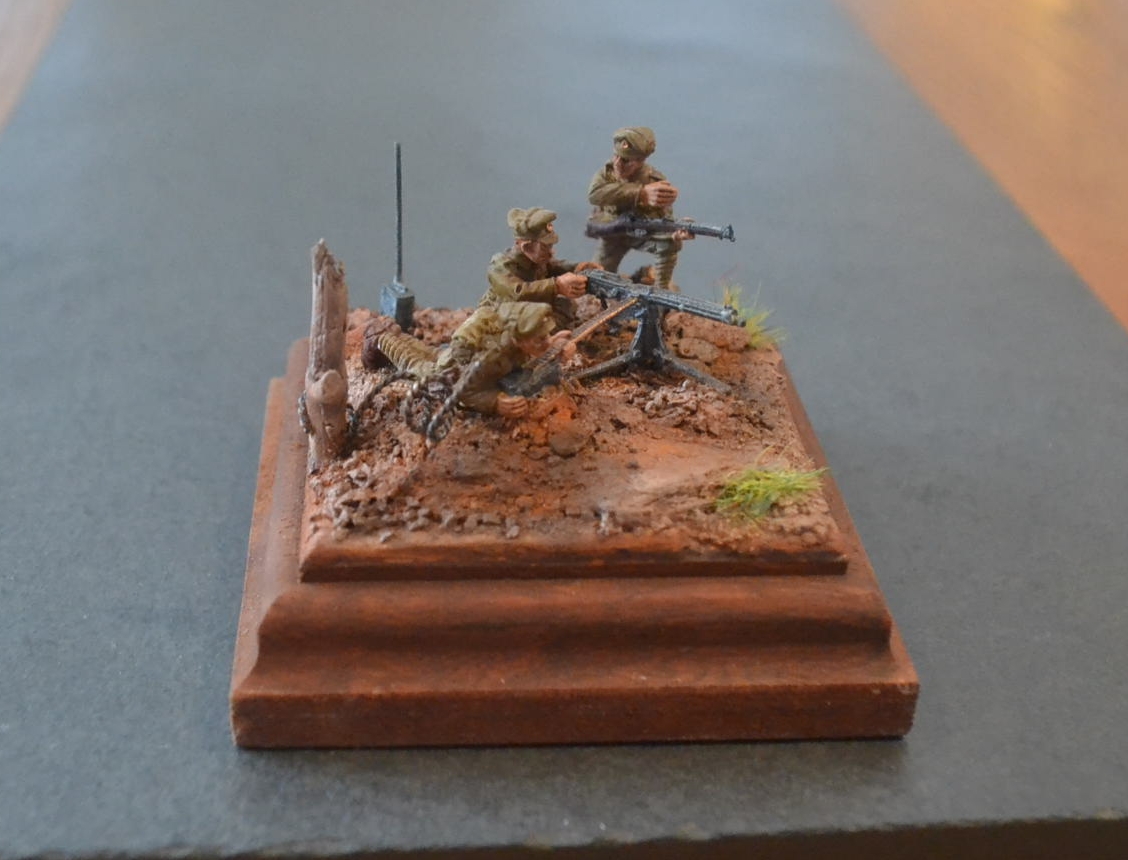
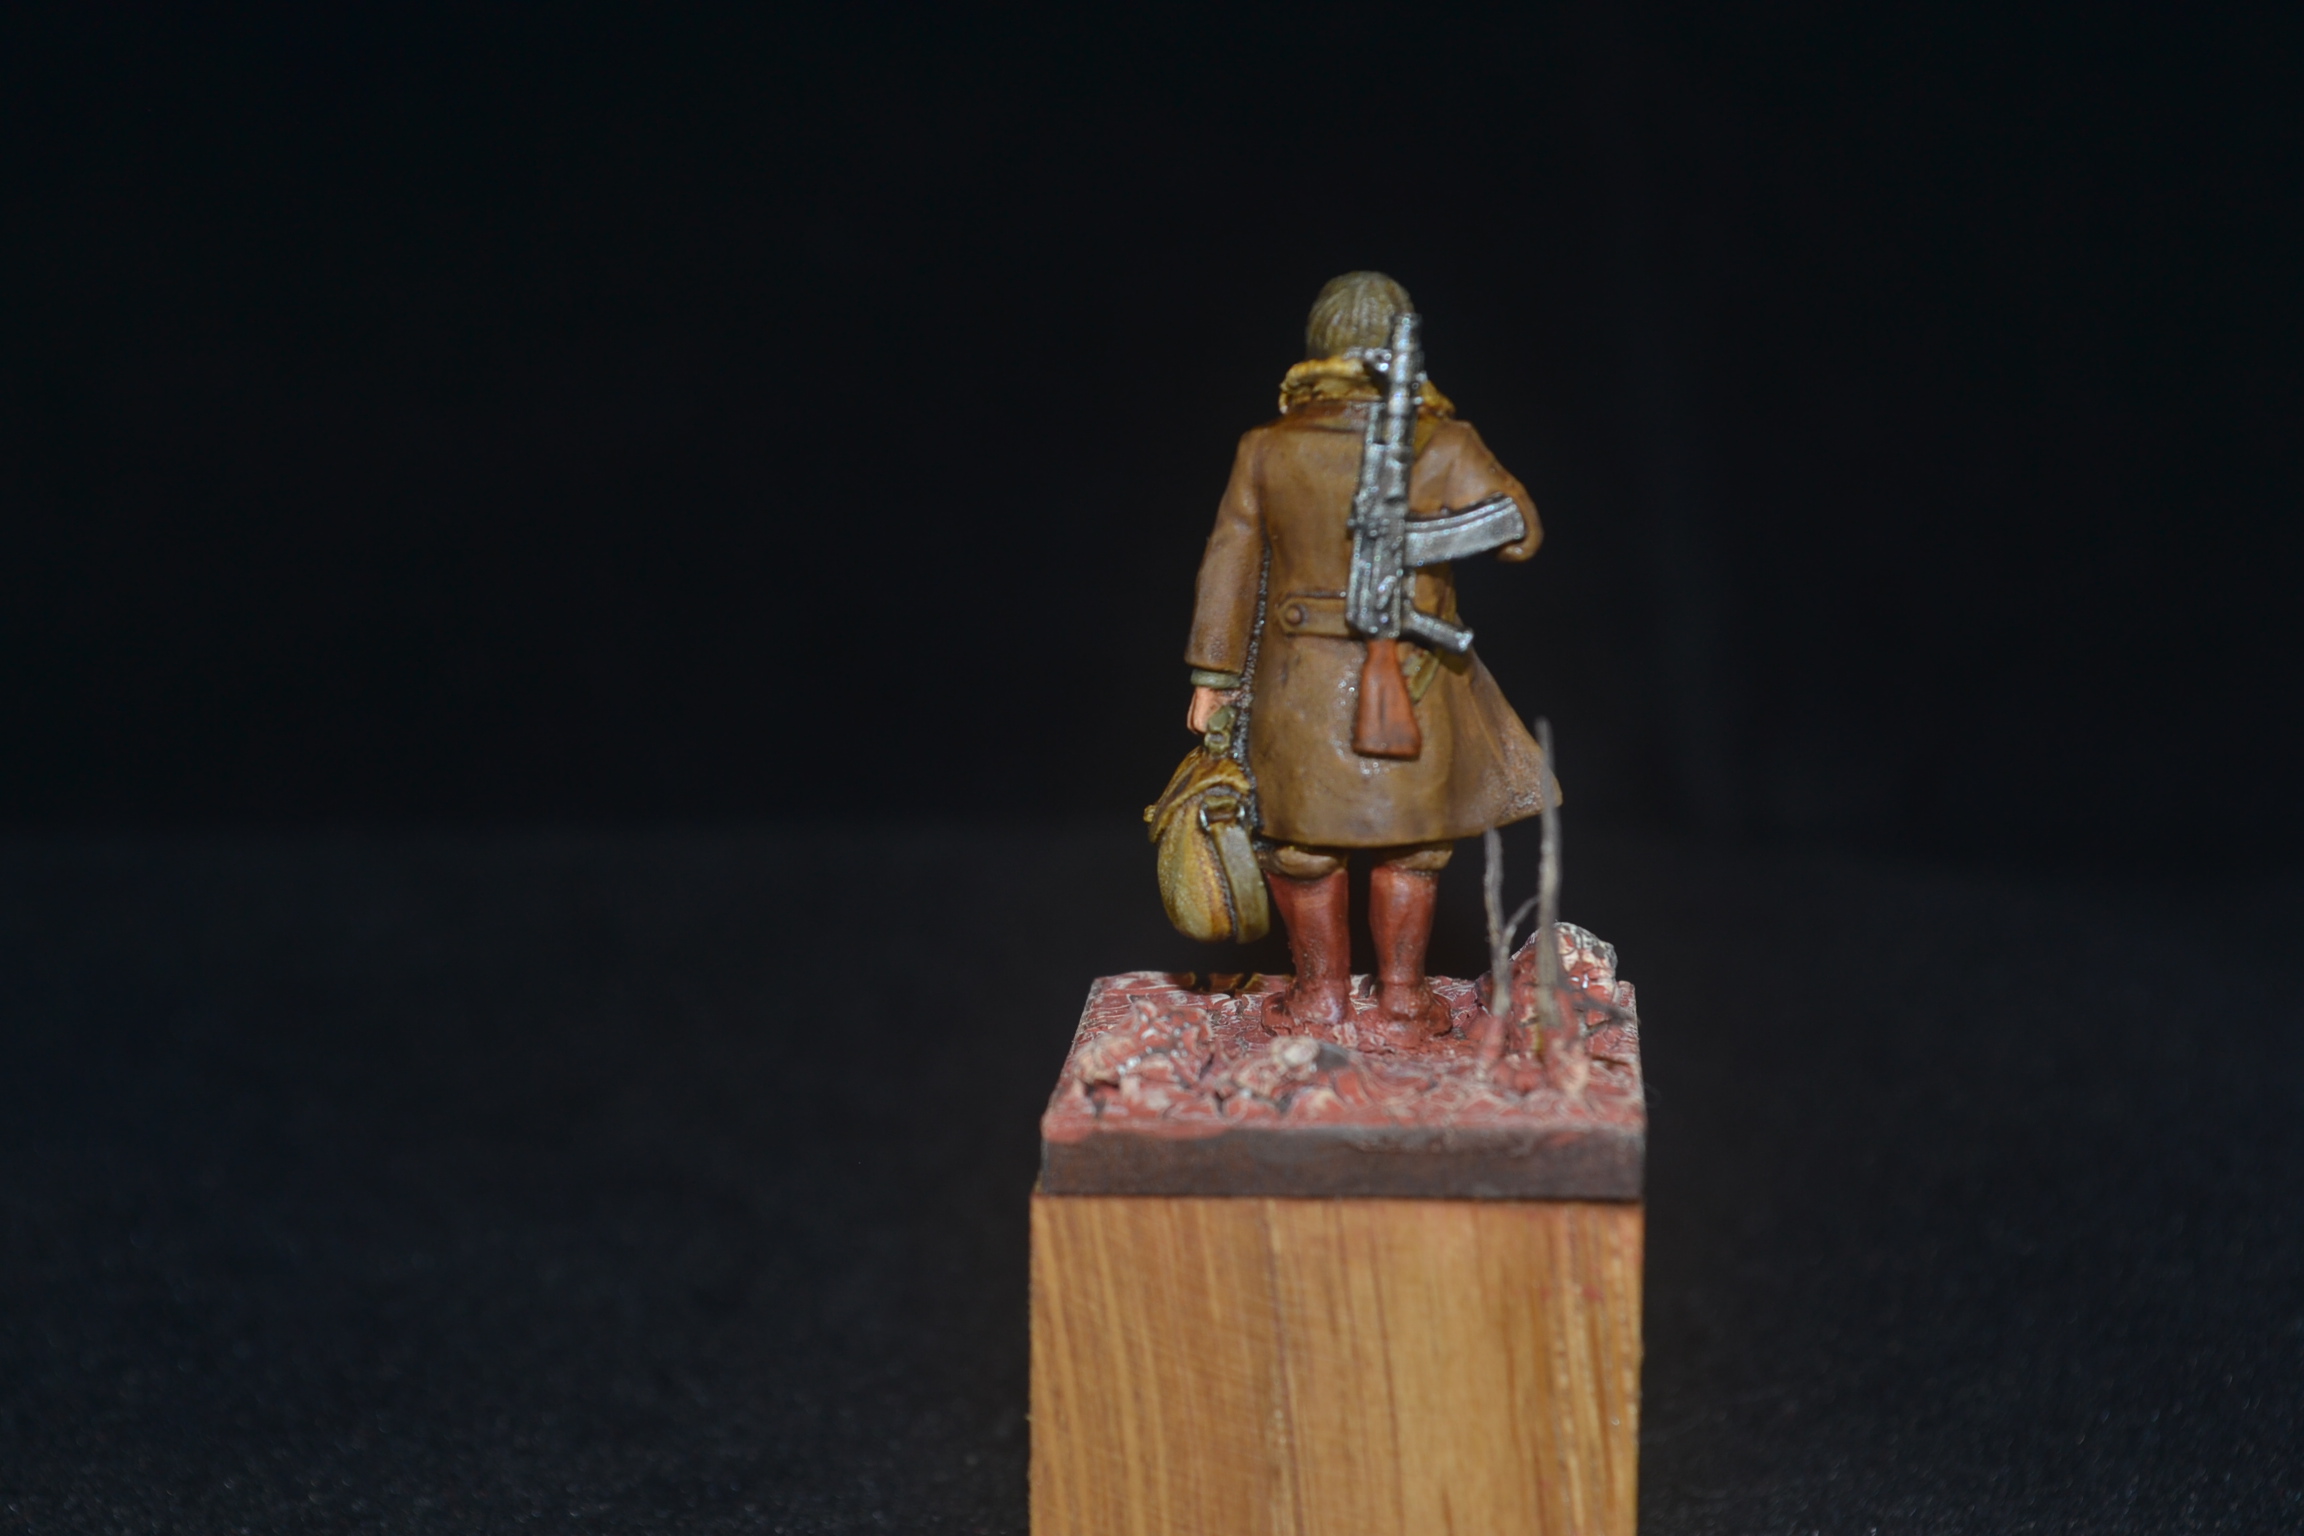
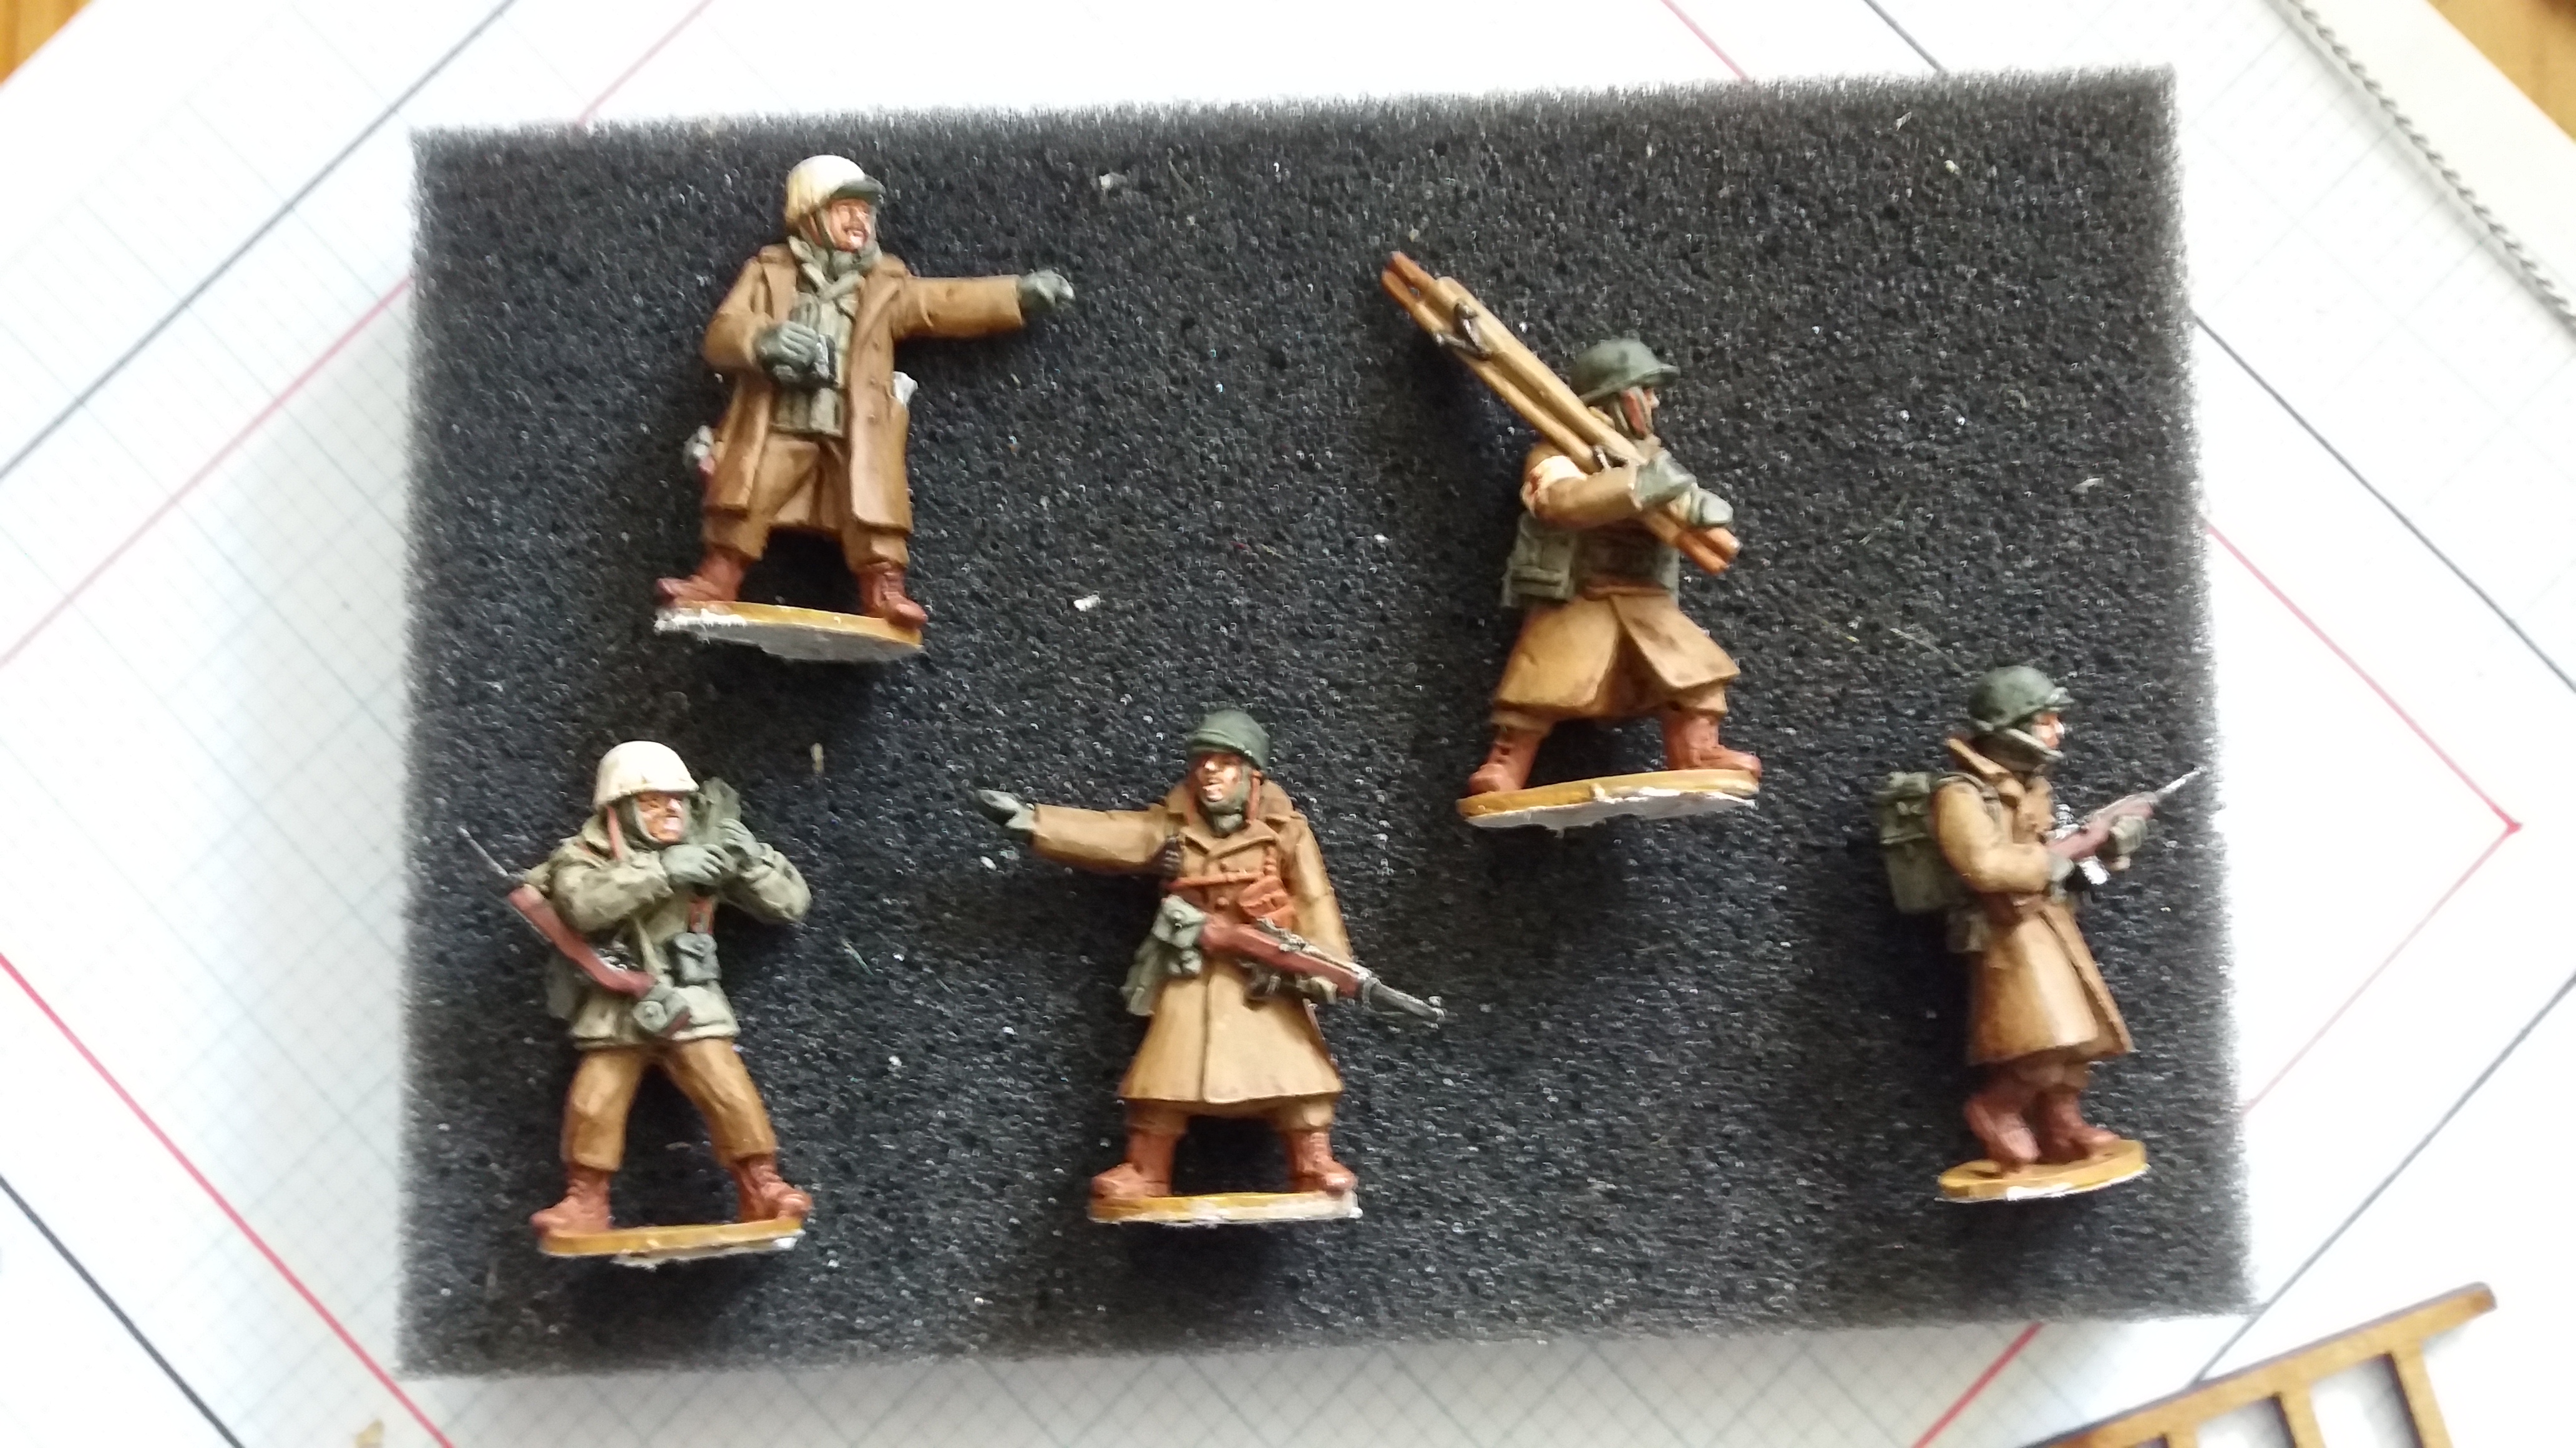
Figures have now been painted and “pre-snow” ground work almost completed. Figures arrived timely as always from Warlord Games and I was pleased with how they painted up. The ground work to date was pretty straight forward but didn’t provide anything significantly new in modelling terms, that will come with adding the snow effect in what will be the third and final part of this little diorama. All in all its gone together reasonably well so far.
The progress pictures below provide a good idea of how the completed diorama would look if I hadn’t decided to go for a snow scene. It will be interesting to see just how it looks when a lot of it will get covered over. Before and after photos should be interesting. Will it look better or worse? No backing out now though. I am committed to the end result so will have to wait and see. Besides I can’t have US troops wandering around in winter gear in the spring!
TIM


—000—
28mm – WW2 US Winter Troops – Part 3
The concluding part of this little diorama. With only the snow to be added I didn’t feel I could justify hanging onto this post until the weekend.
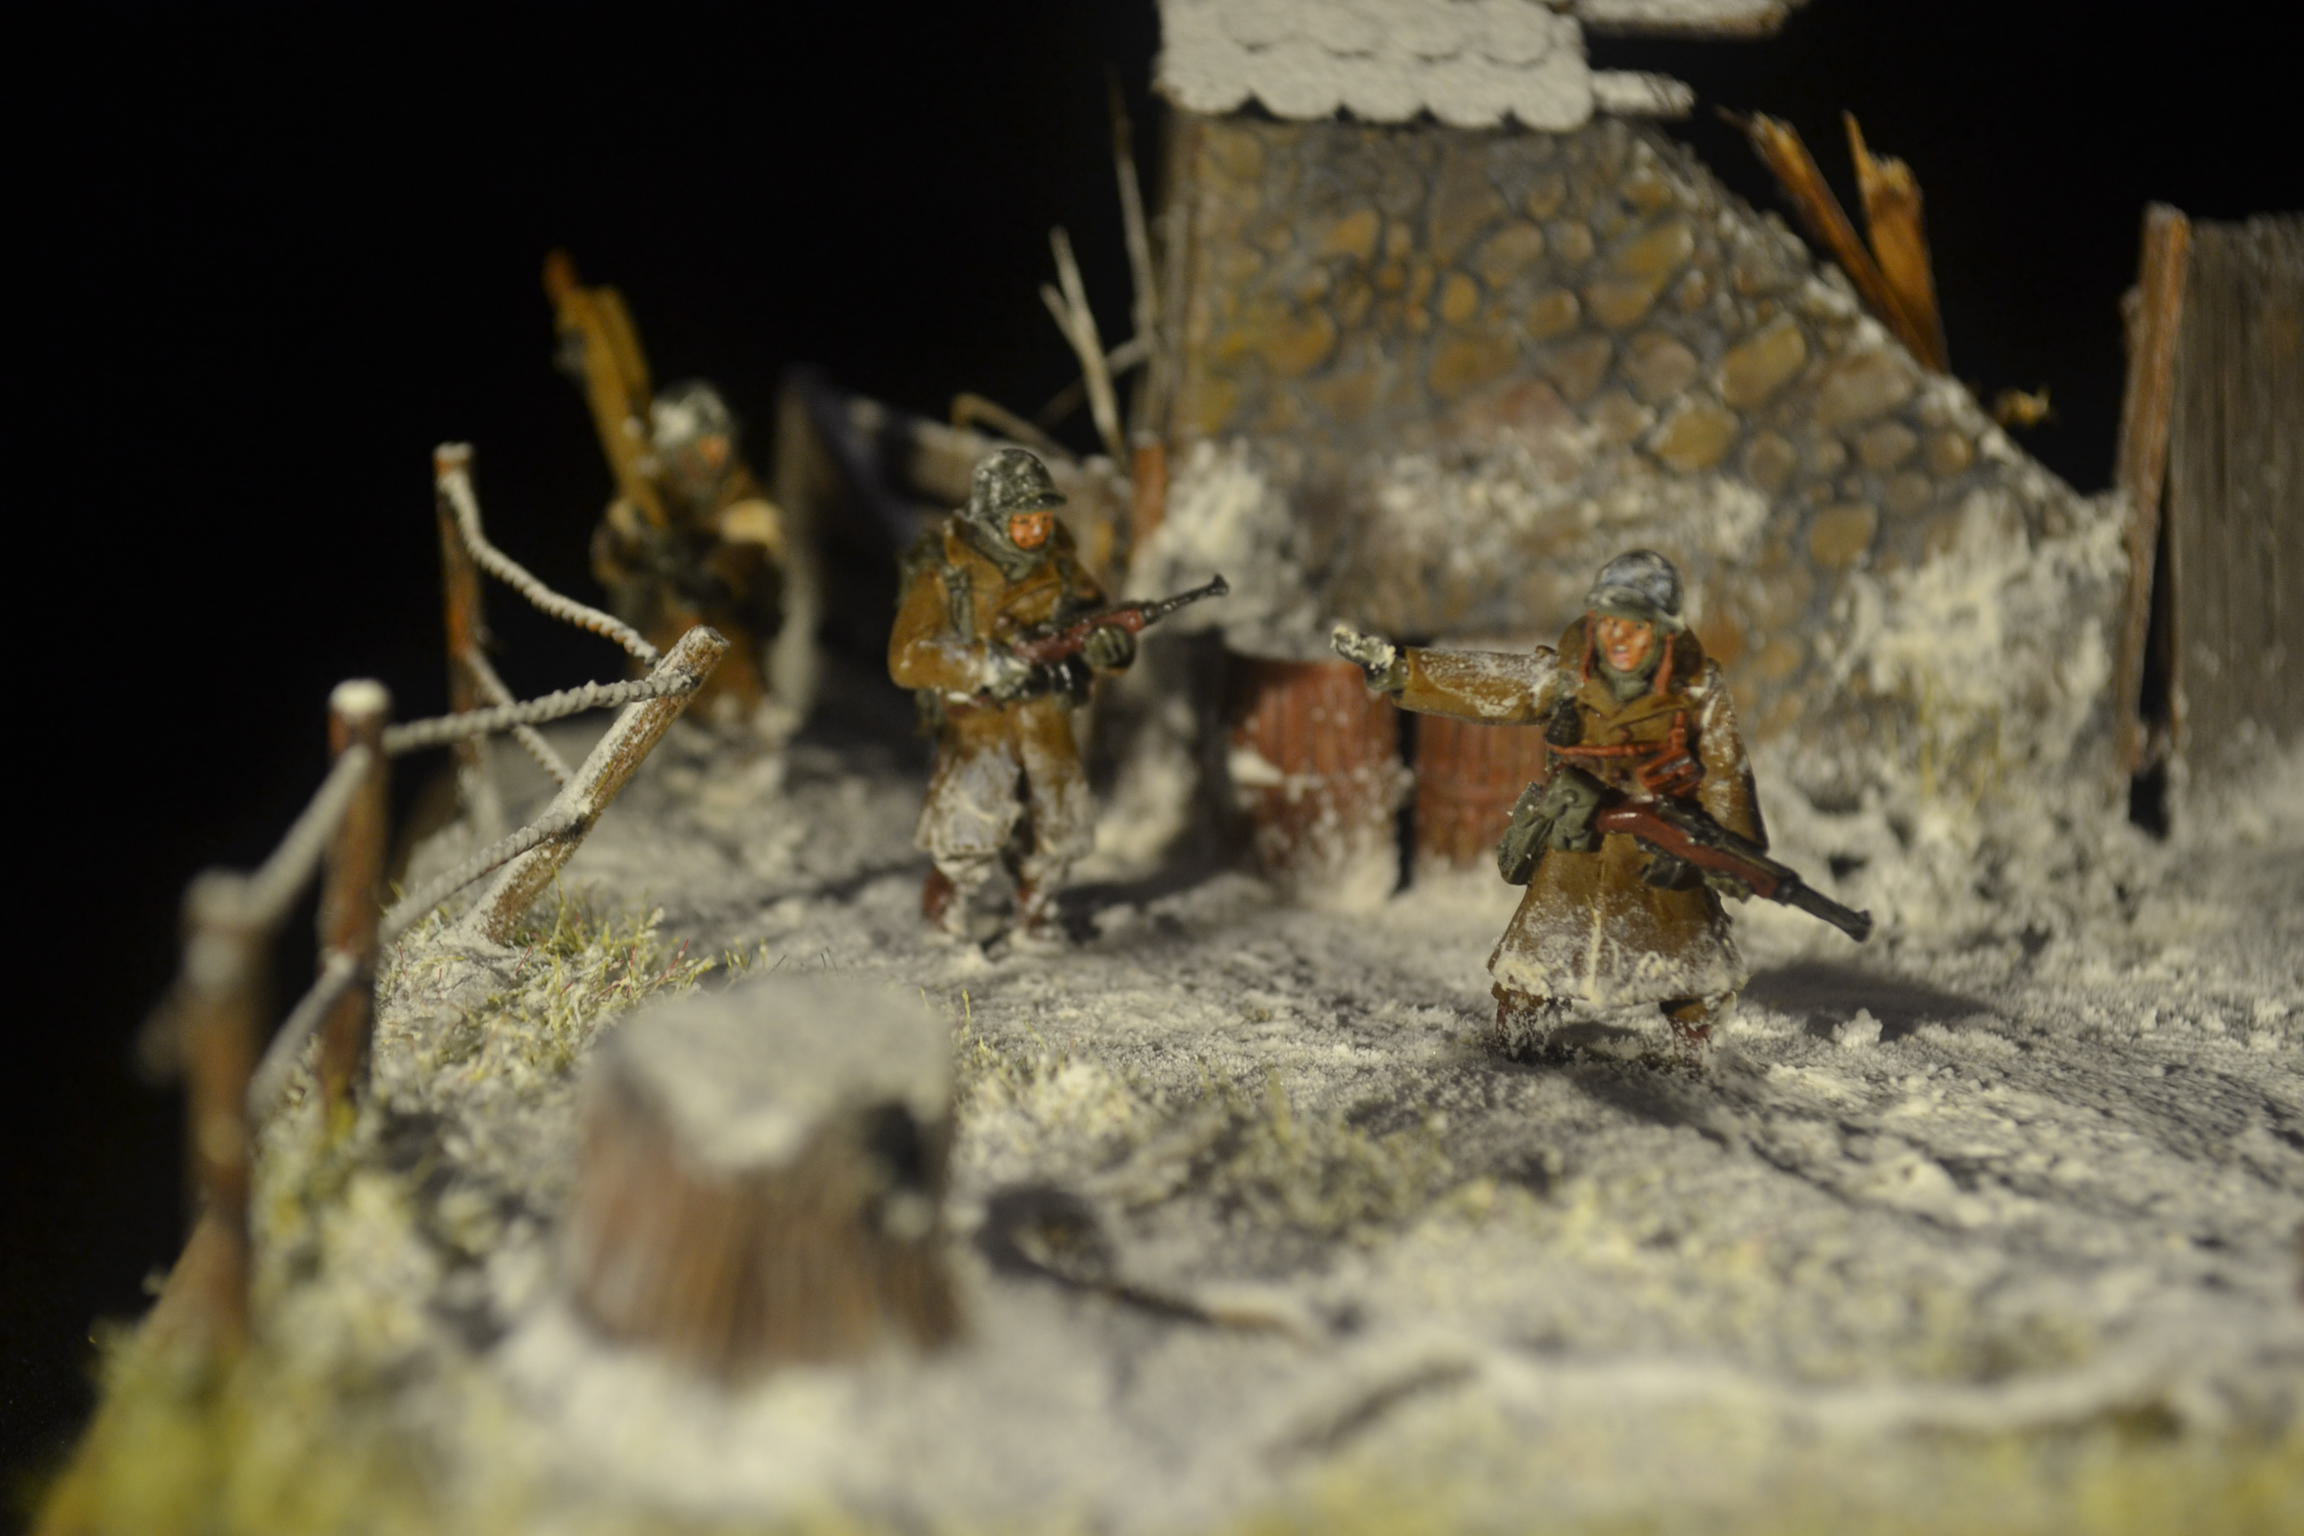
Figures fixed into position, all parts painted and assembled and ground work complete. All that remained to be done was to apply the snow.
I mentioned in part 1 that I had acquired scenic snow materials from a company called Precision Ice and Snow. A few words on what came in the bundle I bought, and before anyone asks no, I’m not on commission!
The various bits can all be bought separately or you can save quite a bit by buying a bundle which is what I chose to do. Everything arrived in a nice little draw string bag which contained:
- 2 x 115g bags of Krycell fine (snow) for use with smaller scale models such as 28mm
- 1 x 115g bag of Krycell Extra (snow) for use with larger models – 1/35th upwards
- 1 x 100ml bottle of adhesive
- 1 x 50ml bottle of Ice and Snow wash
- 1 x 50 tub of winter camouflage paint
- 1 x sieve for applying the snow
- 1 x instruction manual
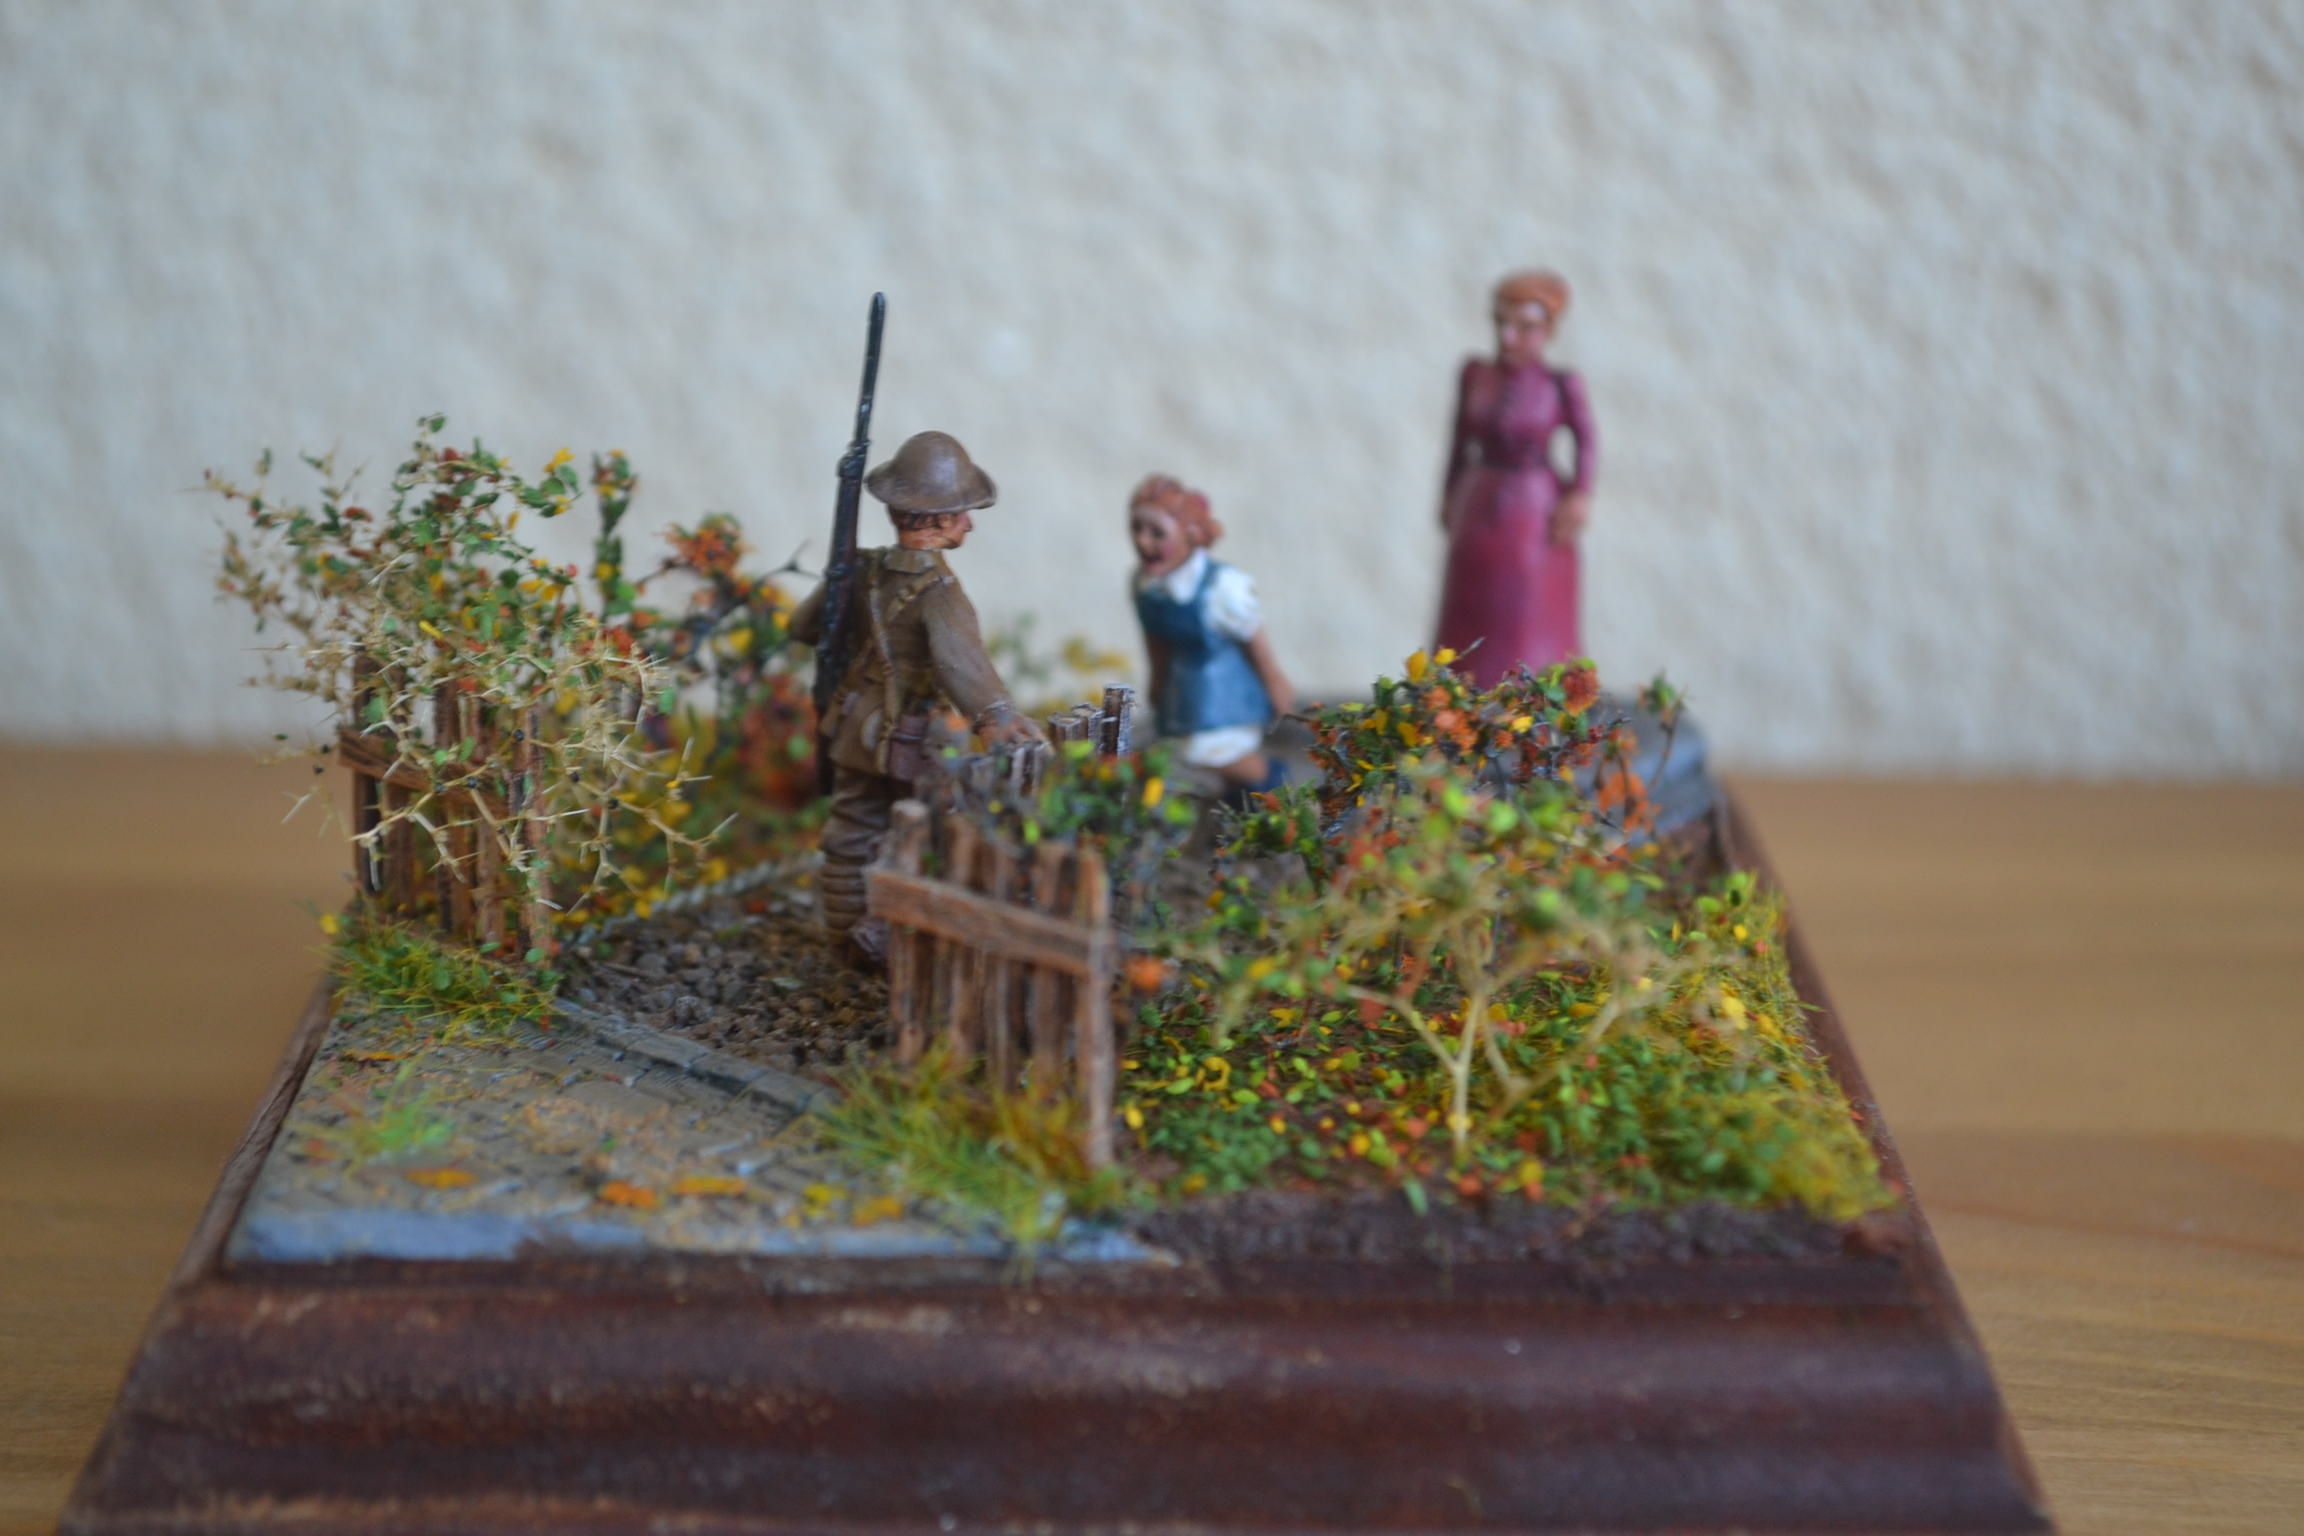
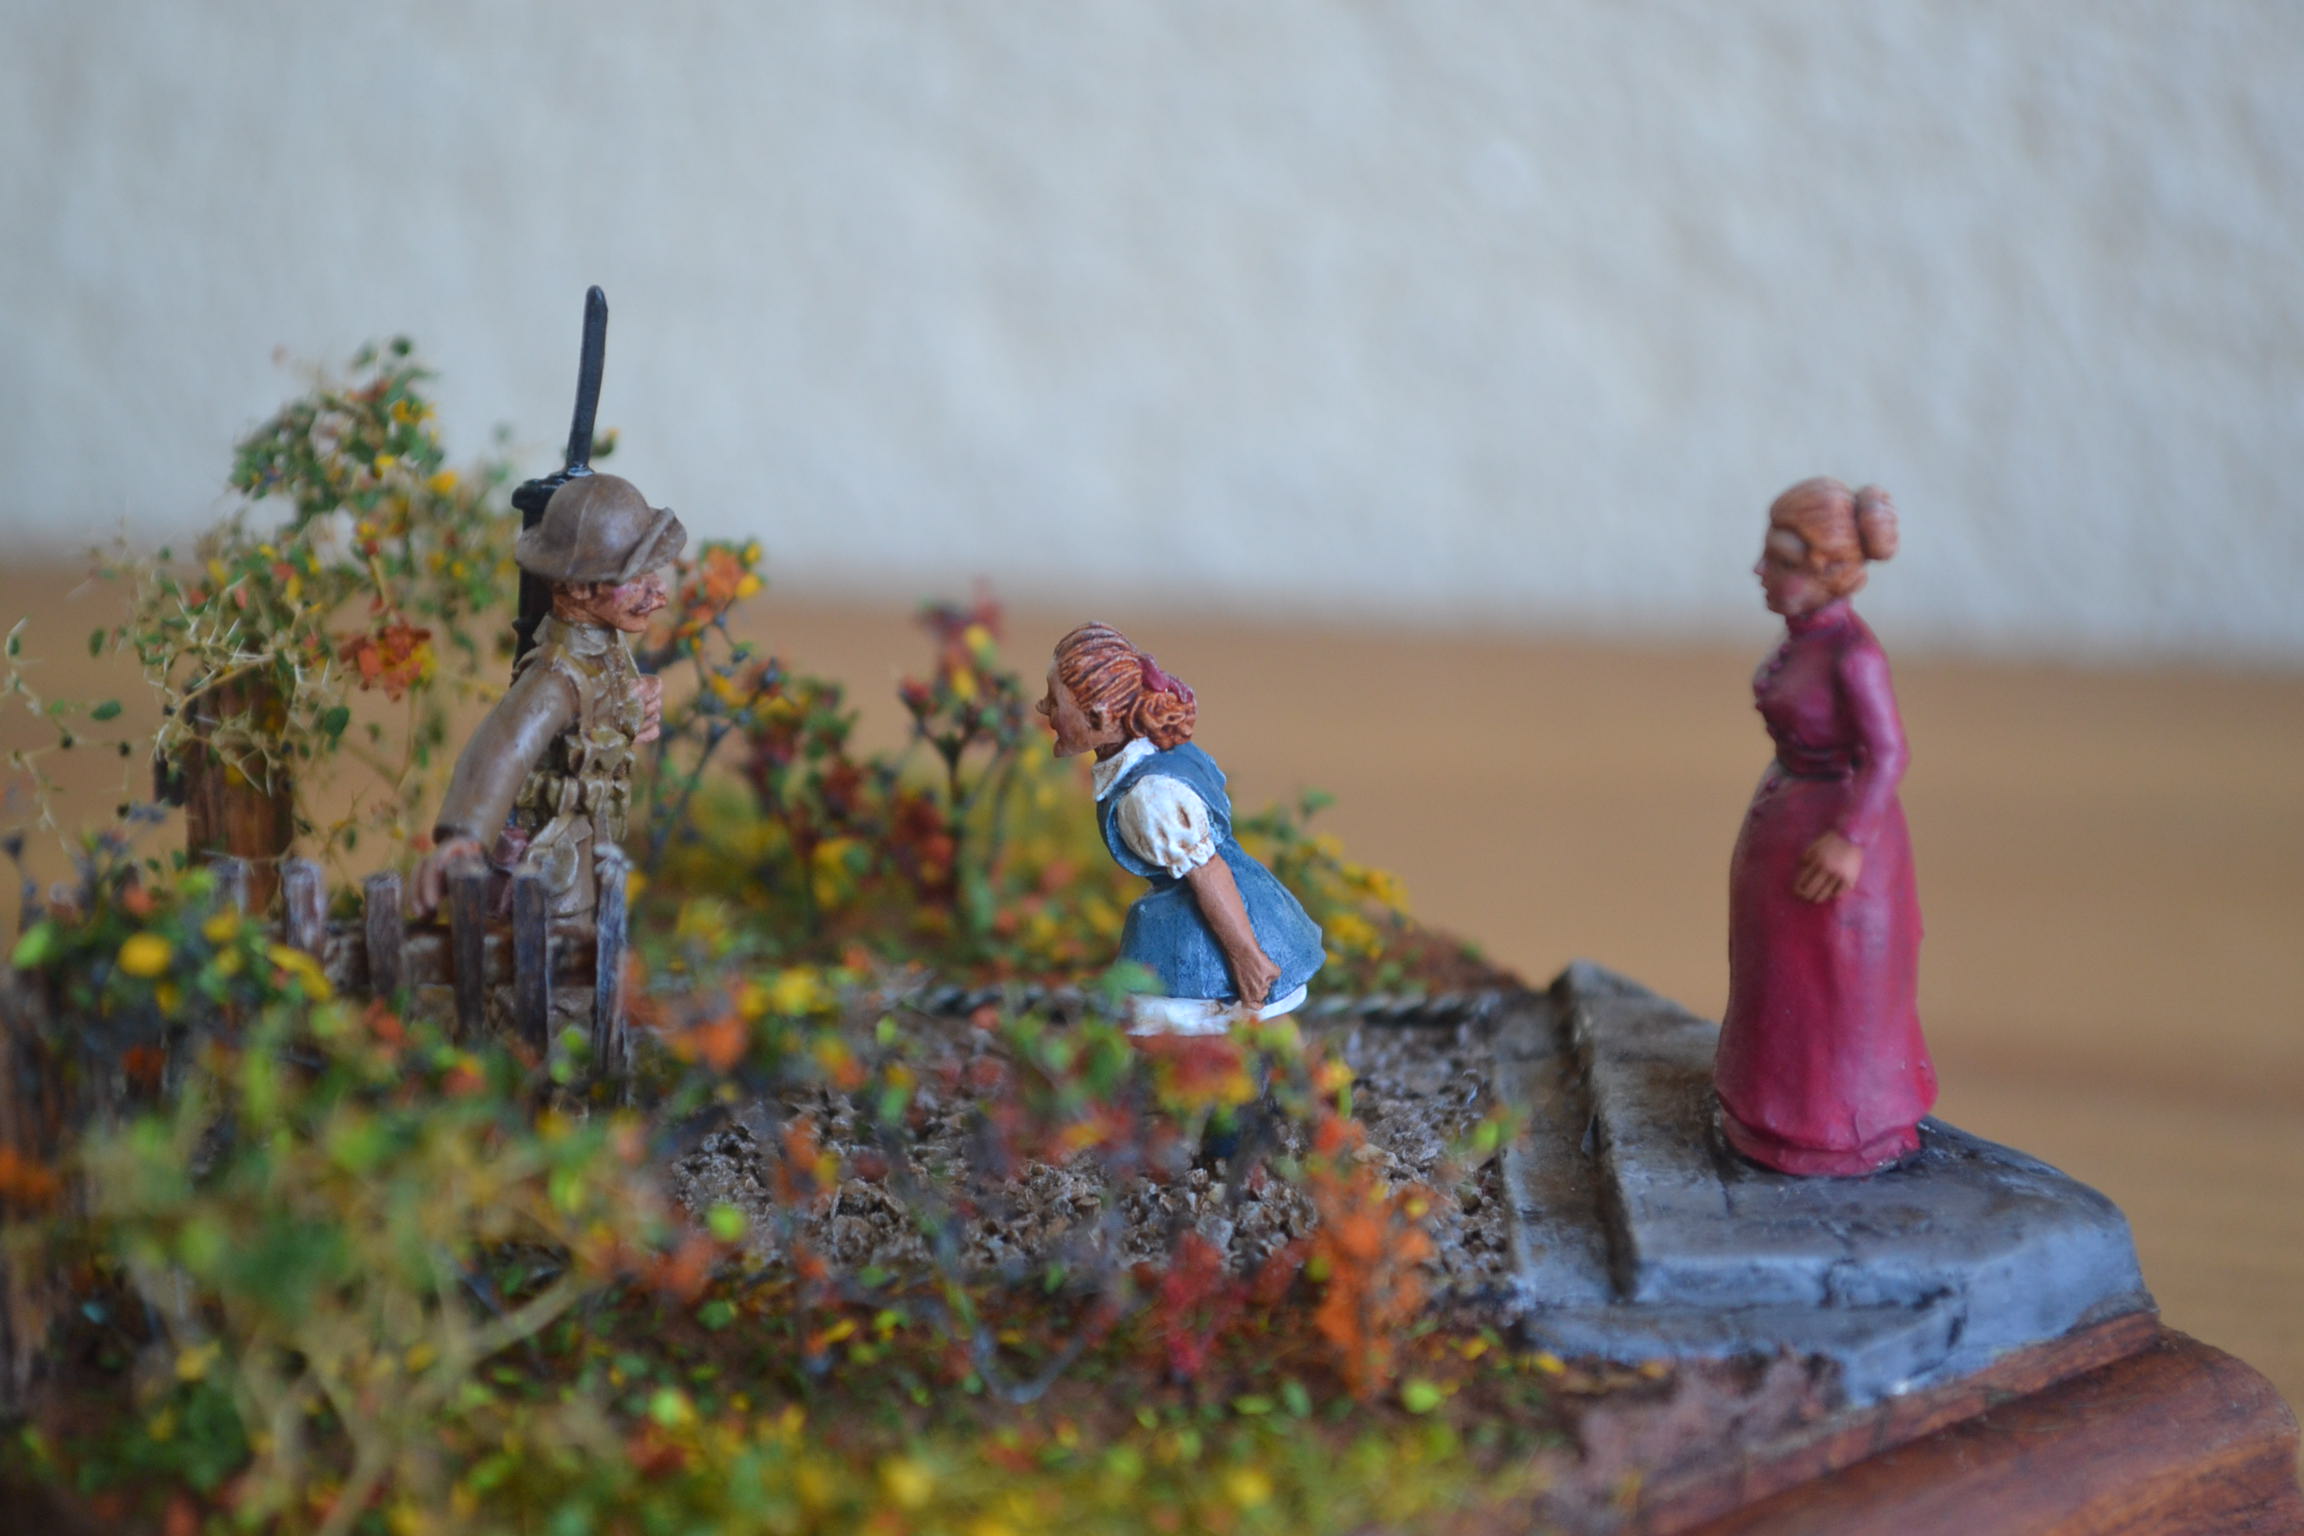
All in all enough to do all the models in snow that I am likely to ever do. The instruction book is great and there are various YouTube tutorials too if that’s of interest so I won’t bother going into greater detail. Just to say that I followed the instructions and achieved the end result as shown in the pictures below.
Personally I like the stuff. Looks realistic to me and goes where you put it. For 28mm it’s really nice and fine and I love the way it has adhered to areas like the top of the fence and to the gate and barn door. There are lots more ways of using this stuff and I’m looking forward to coming up with some other ideas in due course.
TIM