Firstly, thank you to those of you who commented on the original post last week, I really appreciated what you had to say.
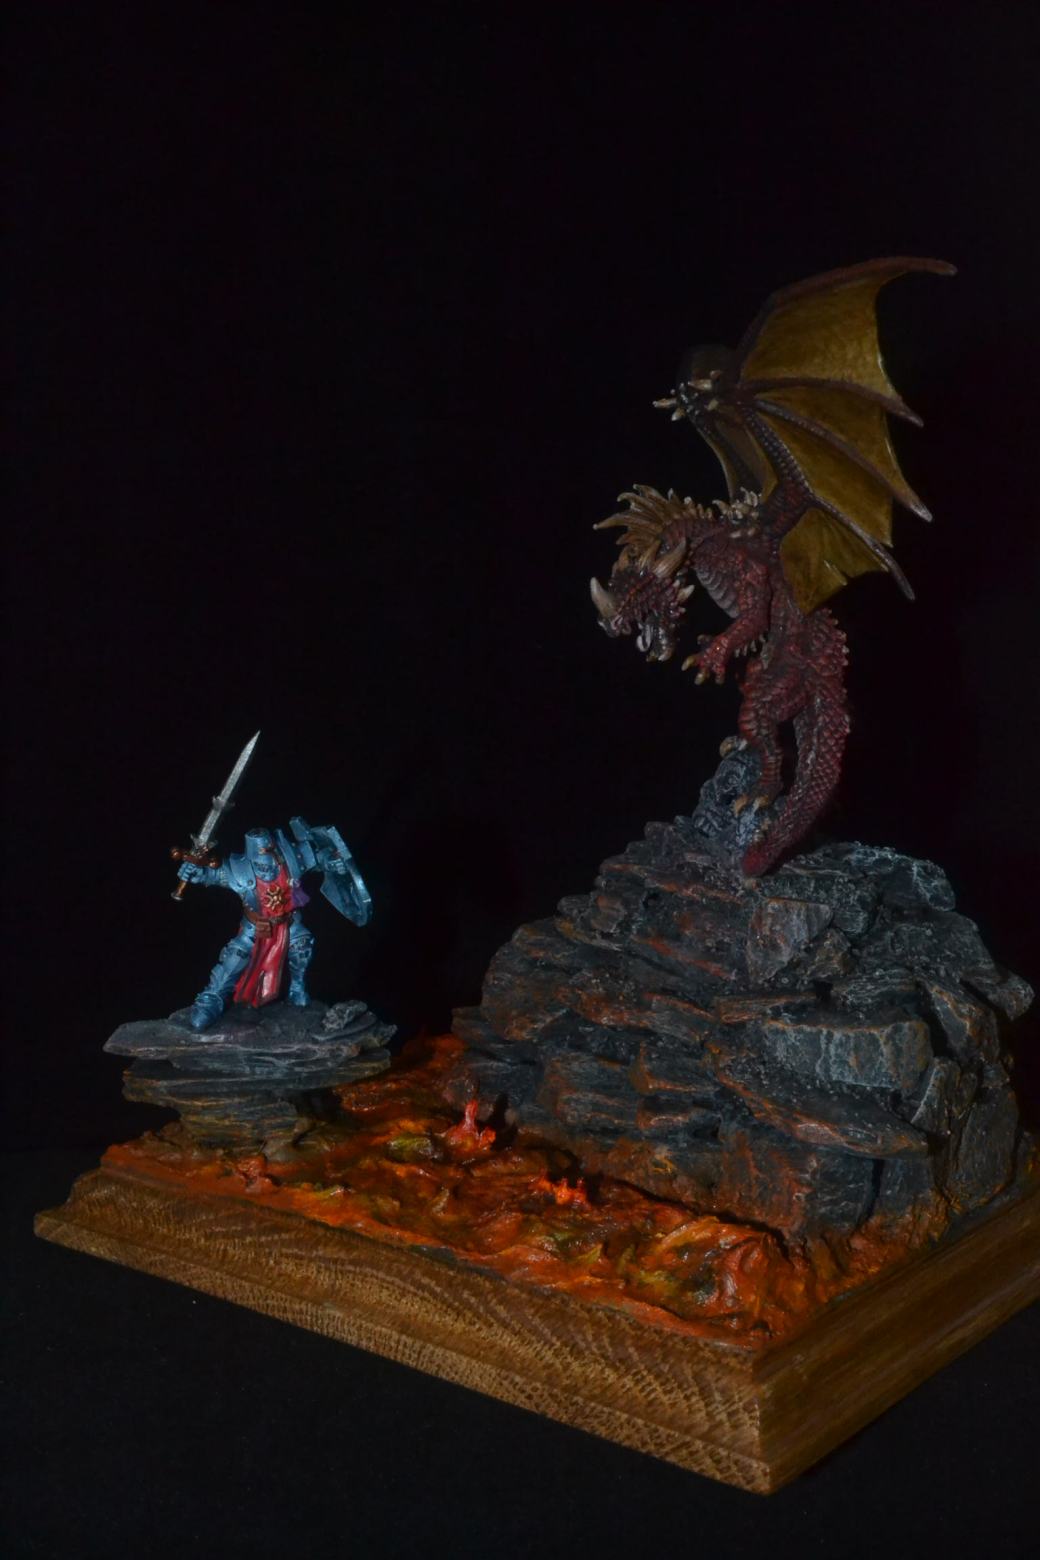
For those of you who may not have seen the initial post and the images of the completed model a photo reminder along with a link to the article.

https://theimperfectmodeller.wordpress.com/2018/07/14/fantasy-island-featuring-nienna-a-28mm-reaper-elf-ranger-the-july-challenge/comment-page-1/#comment-1200
One or two of you already have thoughts on how it was constructed so I suspect this may well confirm your thinking. Let’s get started.
The inspiration for this model came from an image I saw online, a drawing to be precise, which got me thinking about how I could bring something like it to life. My intention at this point was to insert a copy of the image but I never downloaded it at the time and now I cannot locate it. I’m going to therefore lie instead and say that the inspiration was entirely mine, I’m simply that creative!
For a while I mulled over how to build it. Much of what I wanted to do was straight forward but my big concern was the potential weight issue and how to keep it from toppling over. I’m no engineer, mathematician or physicist so this was a big problem in my head. In the end though it didn’t turn out to be the issue I thought it would be.
The key to the “floating island” is of course the waterfall. I had done a waterfall before in a diorama I called “Rocky Mountain Deer Hunt” (see images below) but the backdrop was a solid one which wouldn’t be the case for this model. I couldn’t be sure if it would be possible to see through the waterfall or not so I needed something strong enough to support the island but be transparent if necessary. This naturally ruled out a number of options and pretty much left me with needing to get hold of some clear acrylic.


As is often the case EBay came to the rescue and for a small cost I bought an A5 sheet of 5mm thick acrylic. Getting a wooden base was an easy purchase but now I was stumped by what to use for the island. It needed to be light, solid and versatile enough to be able to shape it. In the end I went for Styrofoam, not a product I’d ever used before but a few things I’d read gave it the thumbs up so I thought I would give it a go. Once again EBay provided the solution and I managed to buy six small blocks which were an ideal size. I only needed one so expect to see others appearing in models over time! I now had all the things I needed so it was time to start the build.
Step 1
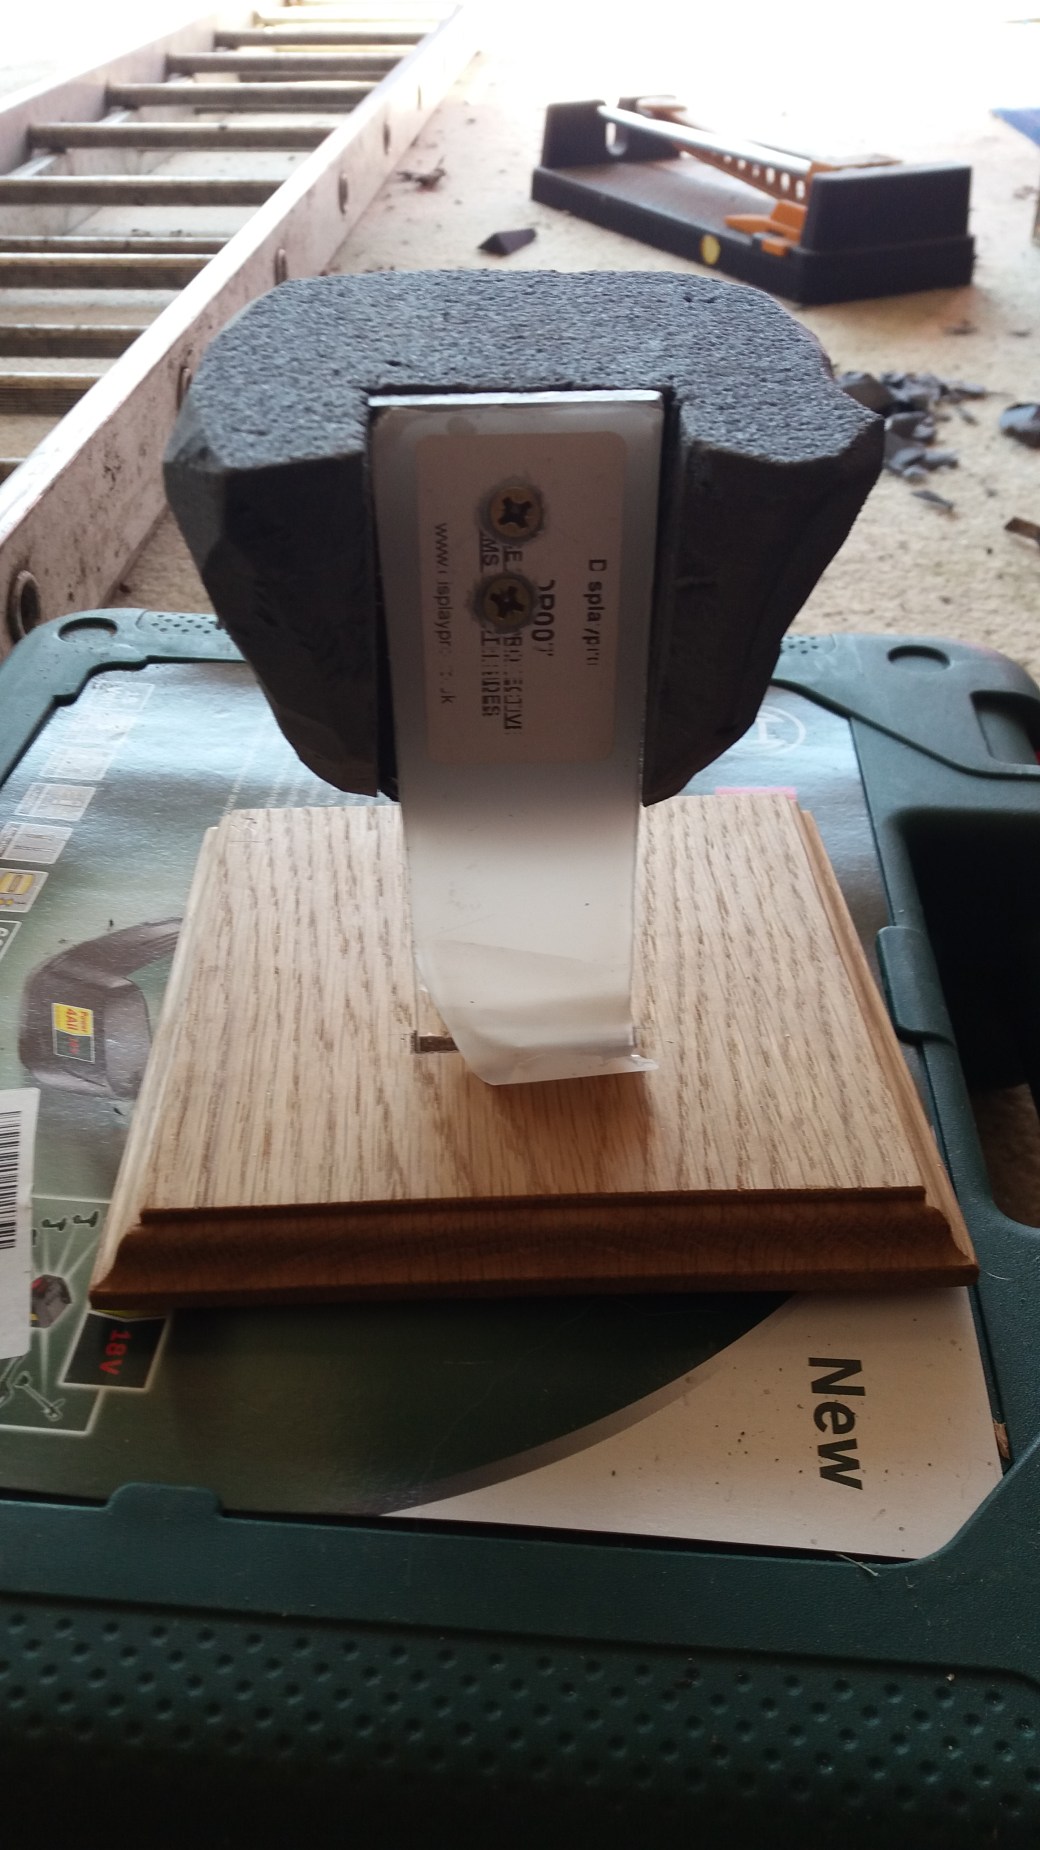
The first thing to do was cut off a suitable length of the acrylic sheet. I read online that up to 5mm thick this stuff can be cut using a tile cutter and then applying a little pressure to snap it. Like many theories it was great but turned out to be complete bollocks. In the end I took a saw to it and some sand paper to smooth off the rough edges. I also drilled a couple of holes which I counter sunk to ensure the screws would be flush once fixed to the Styrofoam.

Step 2
Now that I had cut the acrylic I could determine the location and size of the hole I needed to drill into the wooden base. It needed to be a reasonable fit and a tight one but any rough finish would be covered eventually by ground work.

Step 3
Carving Styrofoam is pretty easy and a sharp knife is all that’s needed to cut away chunks of it. The main thing I needed to do at this stage was get a rough outline and rebate the block in order to counter sink the acrylic. Styrofoam can also be drilled so having lined things up I drilled two holes into the block and inserted a couple of raw plugs.

Step 4
The first moment of truth, making sure it all lined up!
Step 5
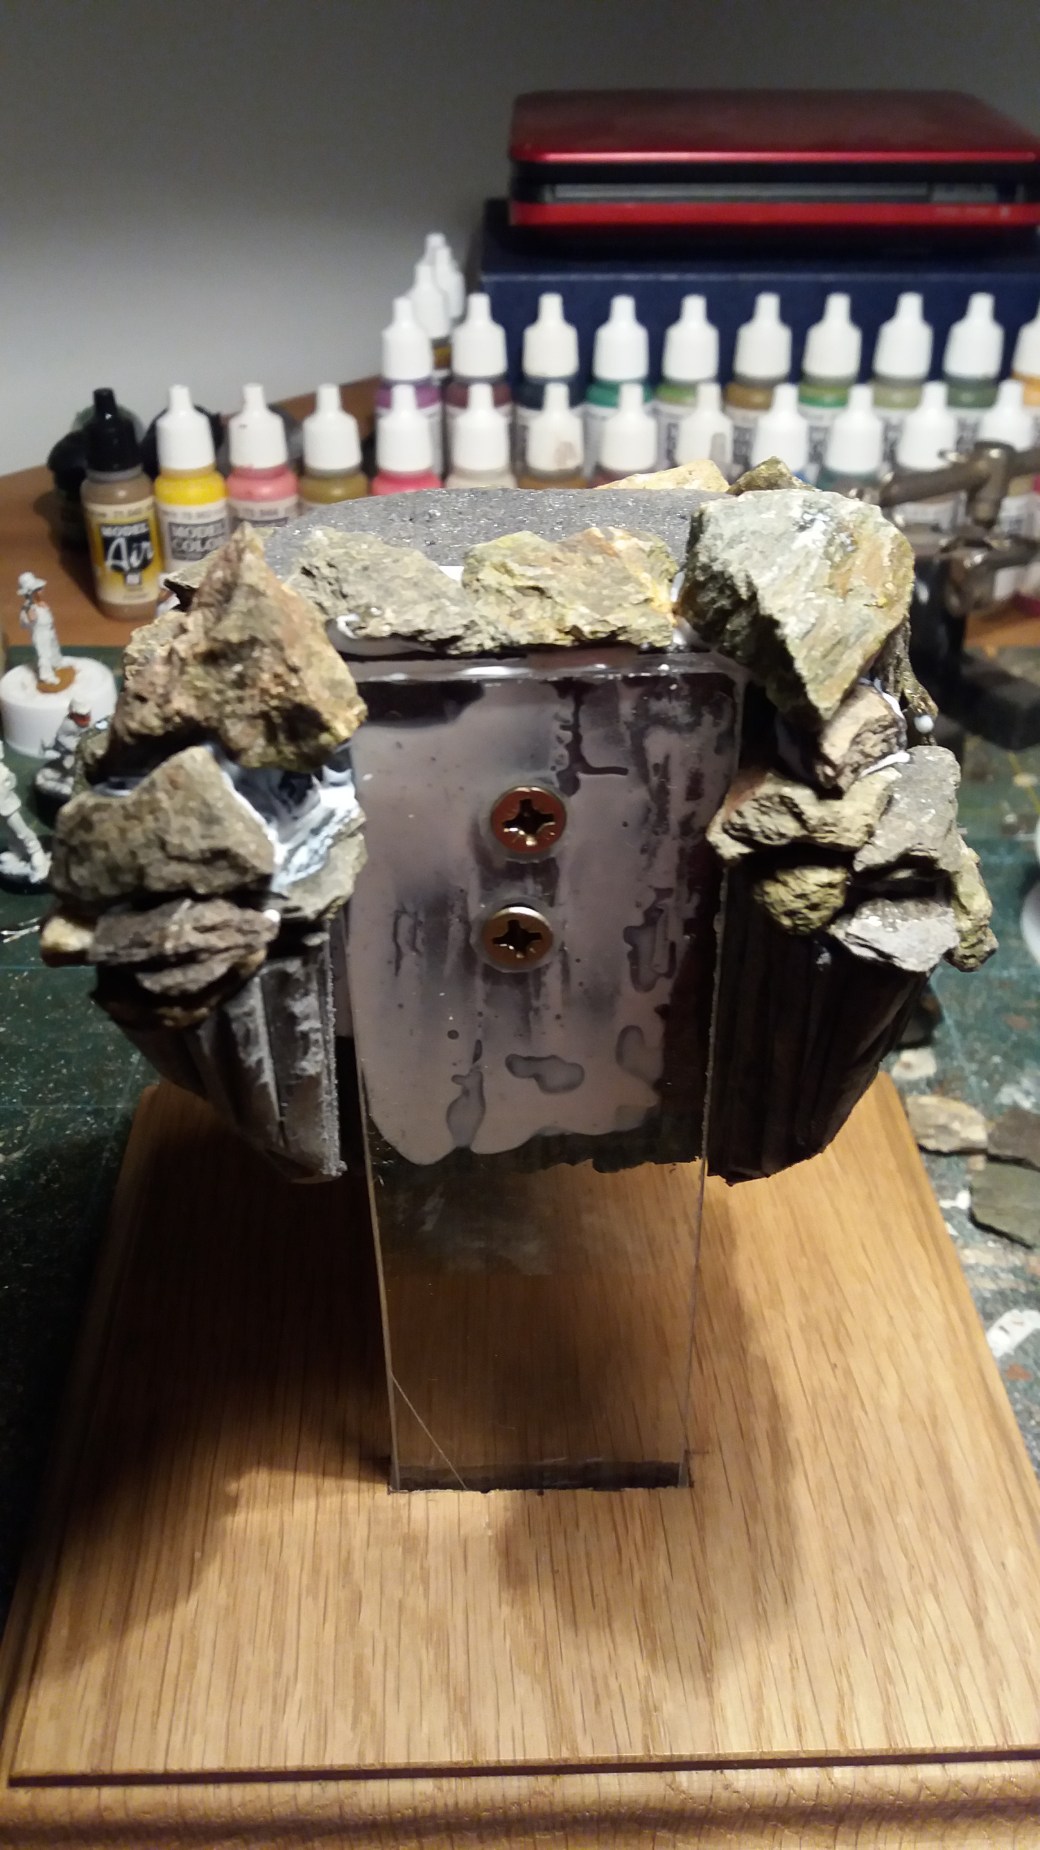
Before screwing and glueing I shaped the top of the block further. I needed to make steps around the top to be able to fix rocks and stones to build it up. Once glued I made sure it was level and left it to dry. At this point I could still remove it from the wooden base if I needed too.

Step 6
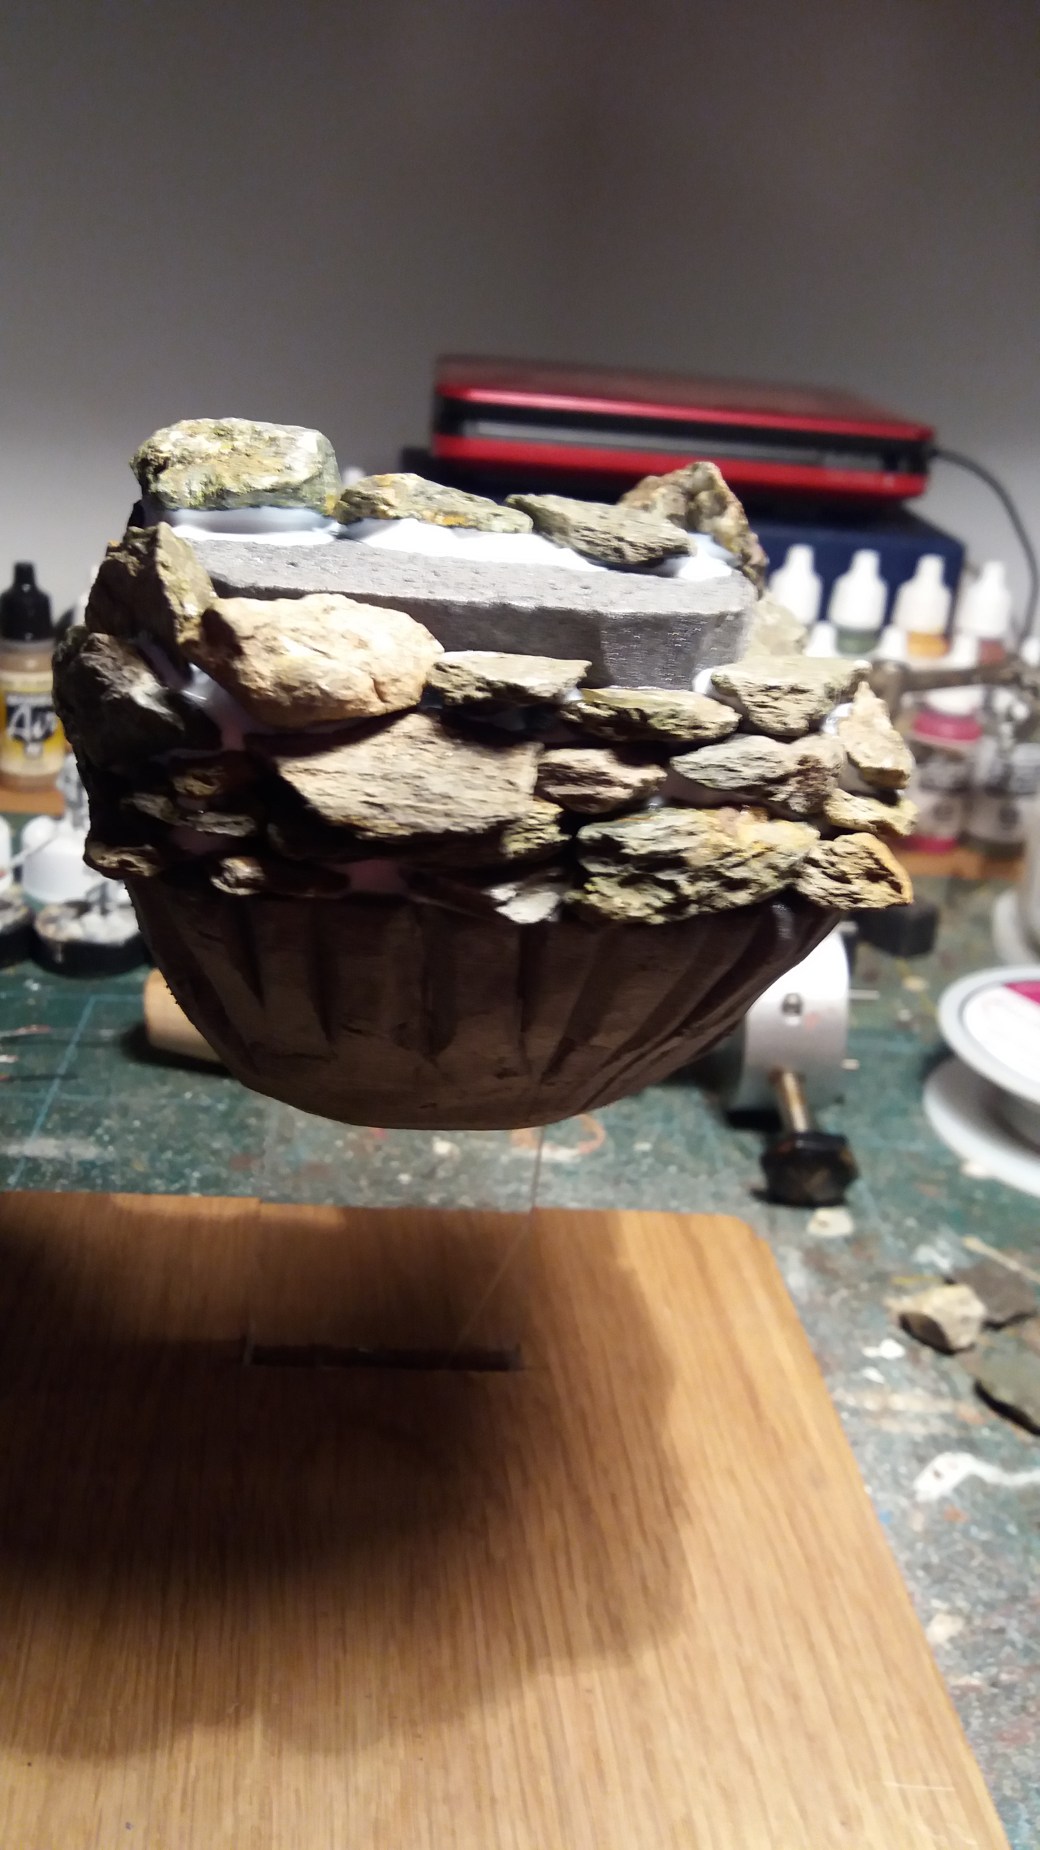
Once dried the next on the to do list was building up the rocks on top and around the Styrofoam. For this I used slate chippings from my front garden. Initially I was concerned about the weight but the acrylic was thick enough not to bend and the positioning on the base ensured it wouldn’t fall over.


Step 7
The build up of the base was a slow process. To ensure things didn’t fall a part it proved necessary to build and glue in layers allowing each layer to fully dry before moving onto the next one. In between drying times I started building a wire based tree, a method I’ve used before. Rather than repeat the various stages of the tree build a link appears below to the two part article I produced previously.
Part 1
https://theimperfectmodeller.wordpress.com/2017/06/04/on-the-work-bench-scratch-built-wire-tree/
Part 2
https://theimperfectmodeller.wordpress.com/2017/06/07/on-the-work-bench-scratch-built-wire-tree-part-2/


Step 8
Having advanced to this stage I then realised that I hadn’t fully thought through how to start the waterfall. In some way I wanted it to be magical, coming out of thin air but using the materials I had (Woodland Scenics Water Effects) was proving difficult. Getting it to stay upright in some way just wasn’t going to work, it needed some support.
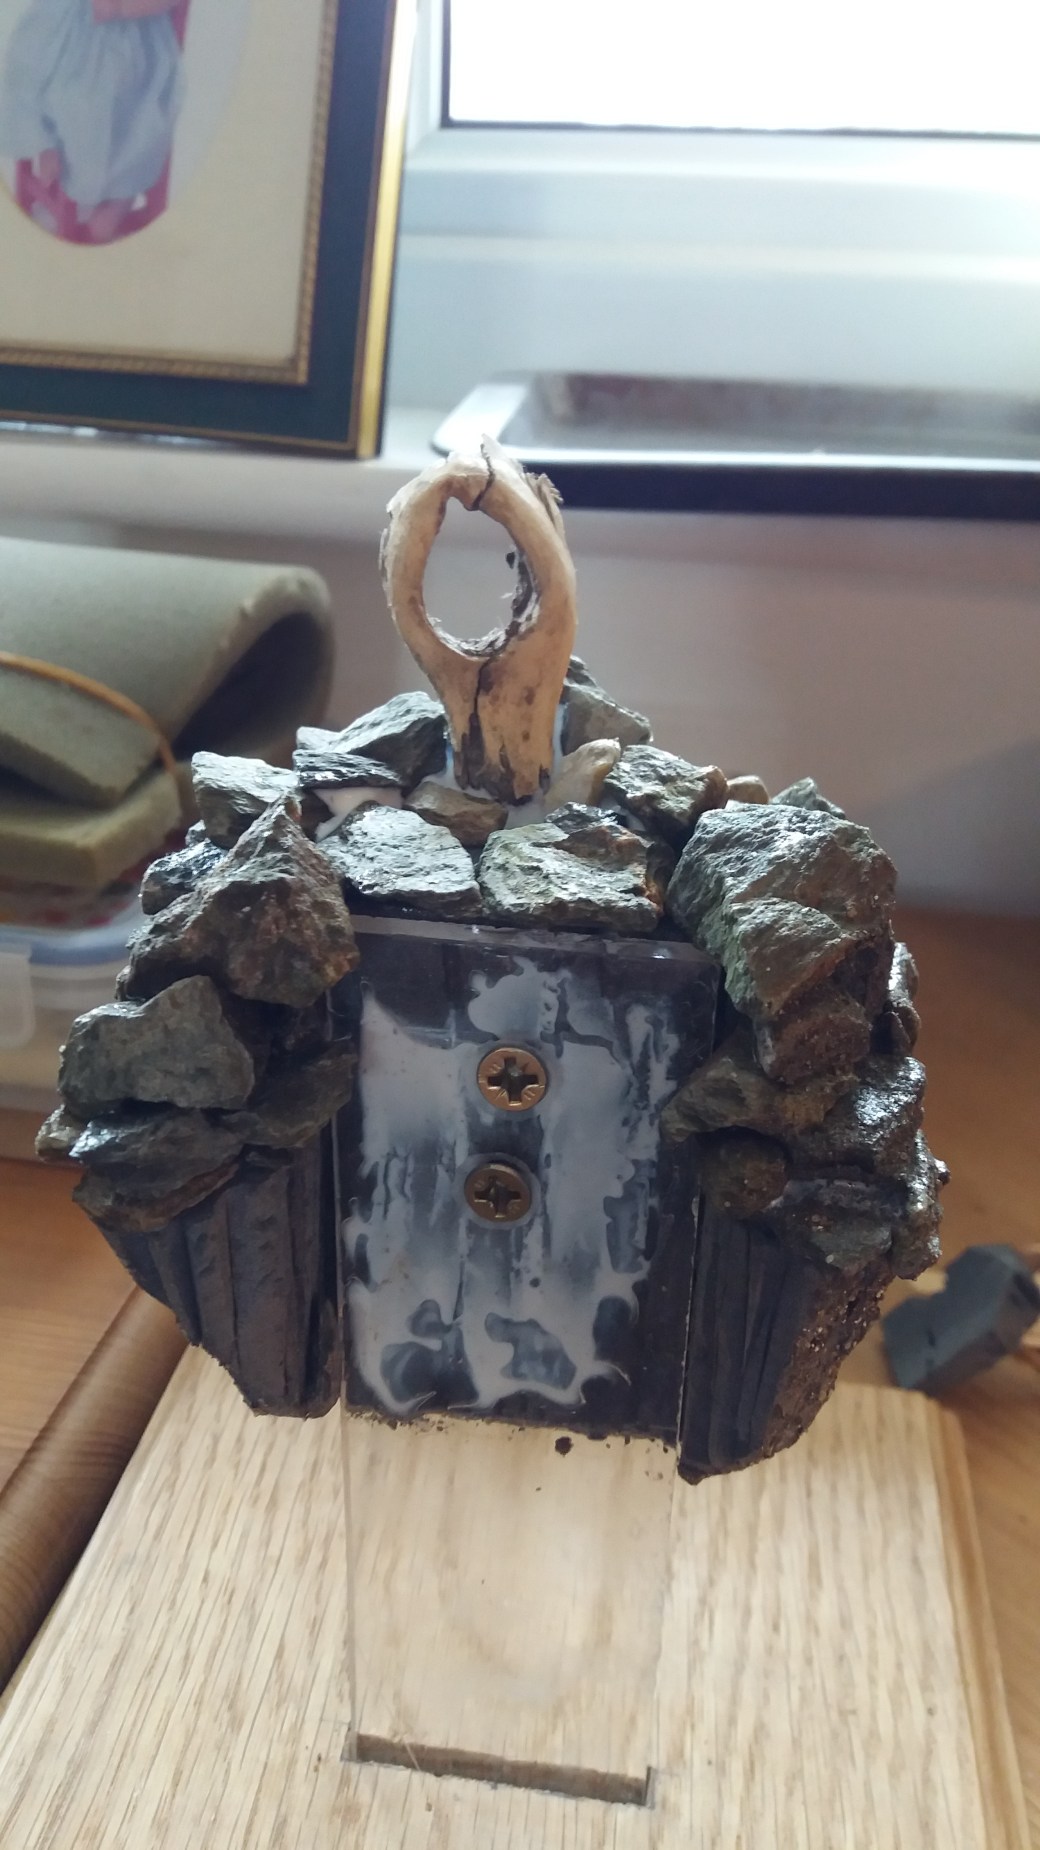
The solution presented itself purely by chance when out walking with Buddy, my dog. Someone had cut their hedge and lying on the ground was a piece of wood with a hole in it. I figured I could use this in some way, the result of which can be seen in the photo’s below.
The basic tree was now fixed into place along with the first step of the waterfall. Woodland Scenics have some great tutorials on how to use their products to I would suggest checking them out if you ever want to undertake a waterfall yourself.
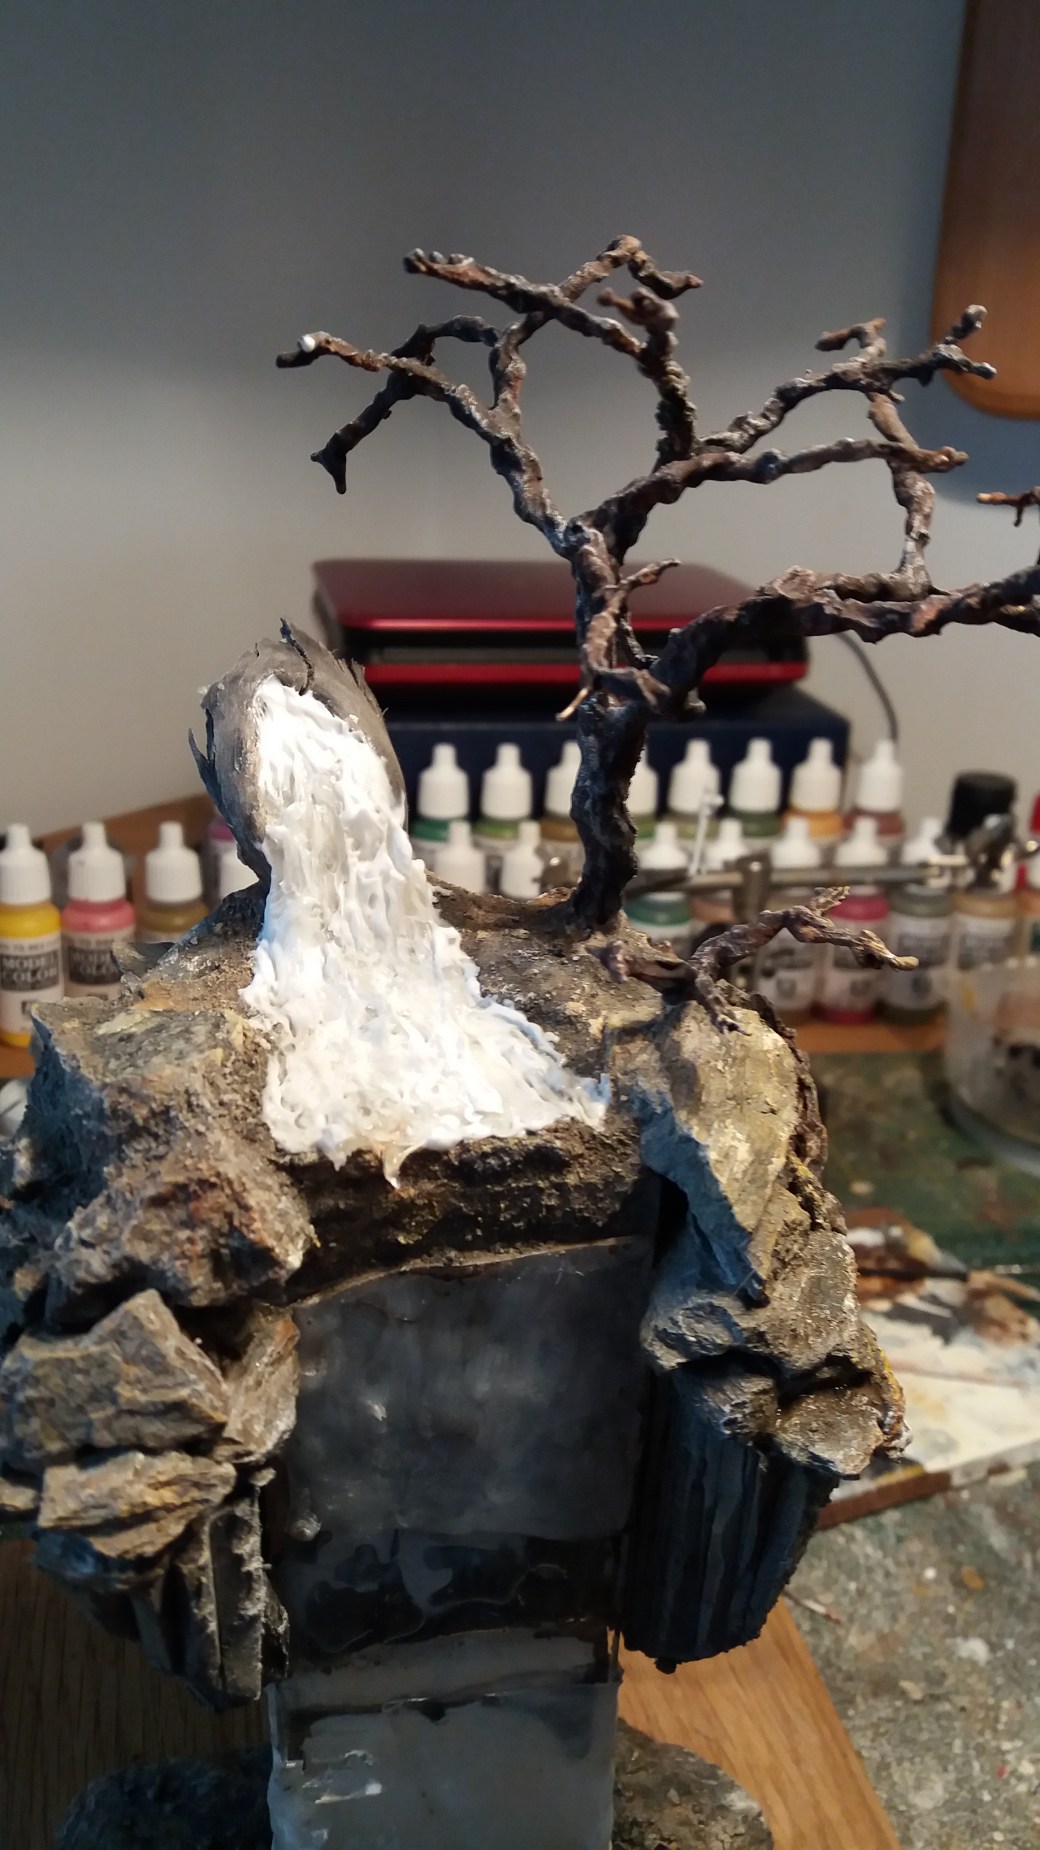
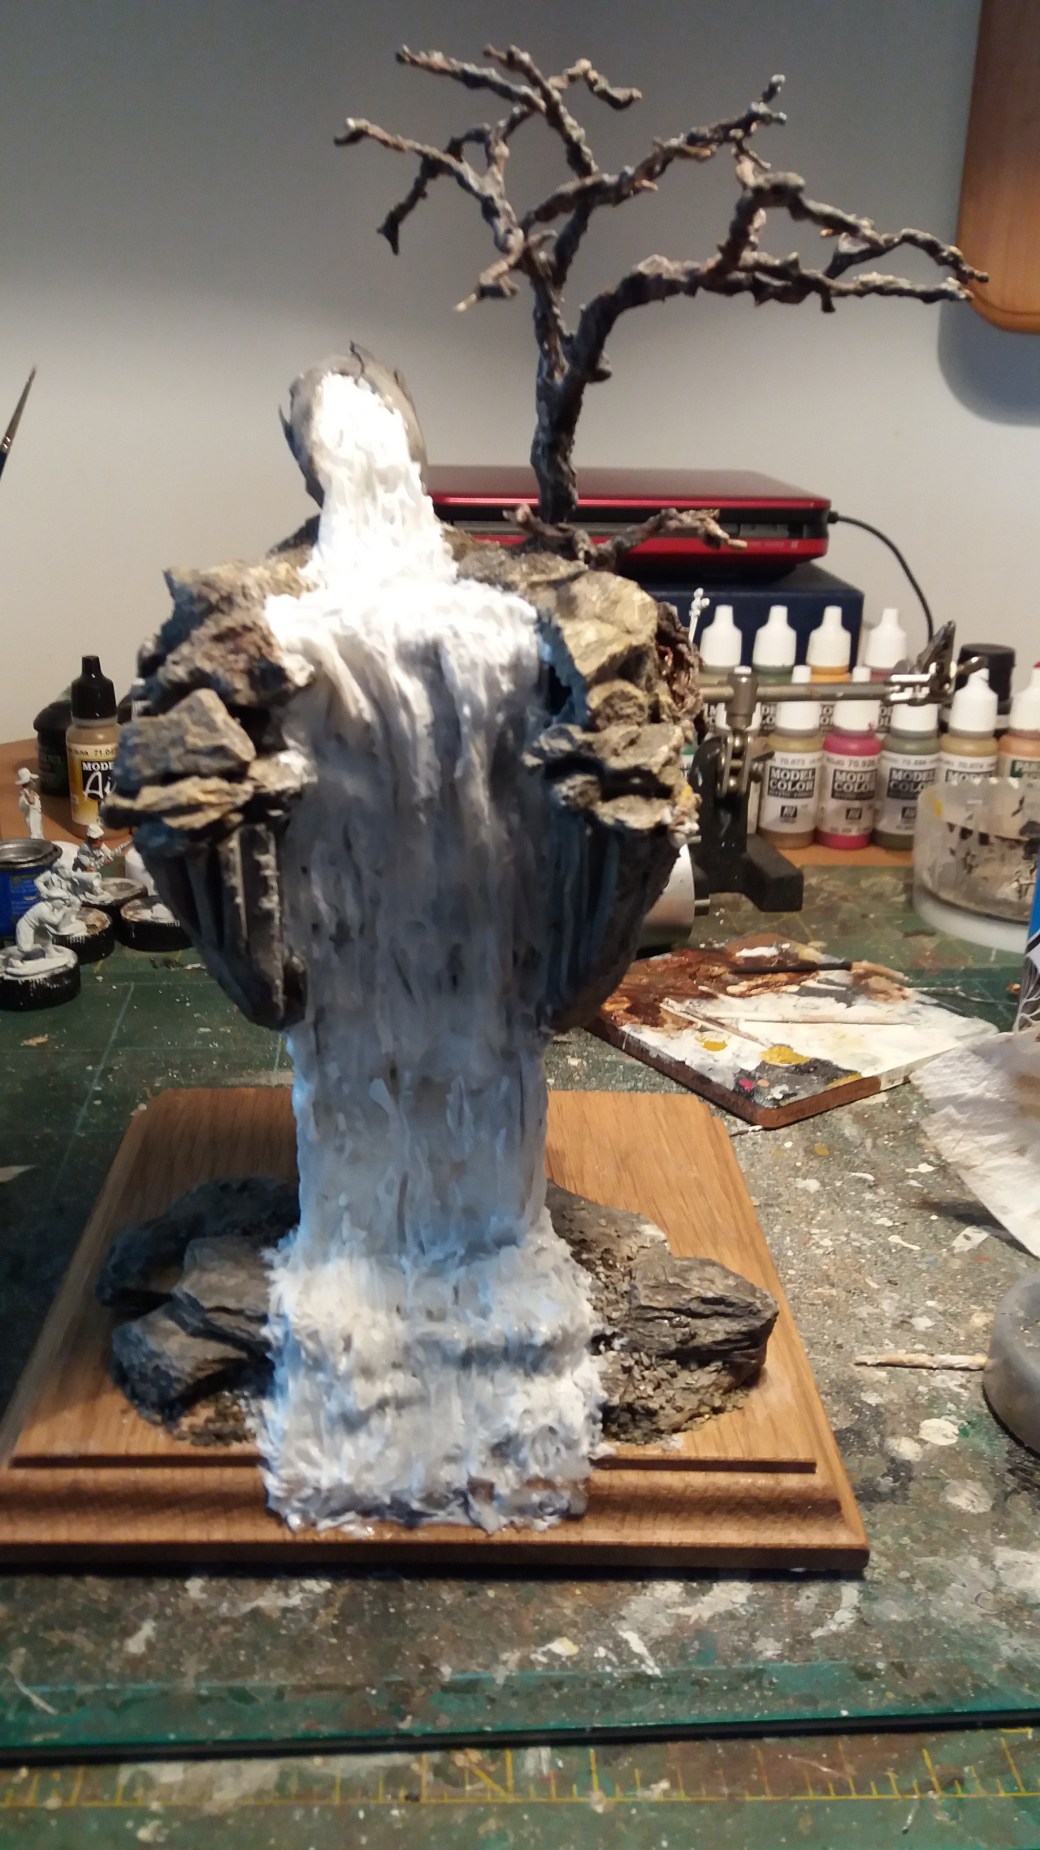
Step 9
The next step was to add the main waterfall to the model and stick it to the acrylic stand at the front and around the sides and at the back. Adding white paint to the Woodland Scenics Water Effects gives the effect of fast flowing water.
It was also time to start constructing the base at the bottom of the waterfall and disguising the drilled area.
Step 10
This step was all about painting the base, finishing the tree and adding suitable vegetation. I like this stage on a model, the colour which gets added really starts to give things a lift and for the first time it starts to look a bit real.
I figured a decent sized waterfall would throw up a certain amount of spray and mist (well it does in my fantasy world even if it doesn’t in the real one!). For this I used some stuffing used in soft toy making, I’m told by She Who Must Be Obeyed that this is called Kapok. This was glued in place at the bottom and then just teased out.


Step 11
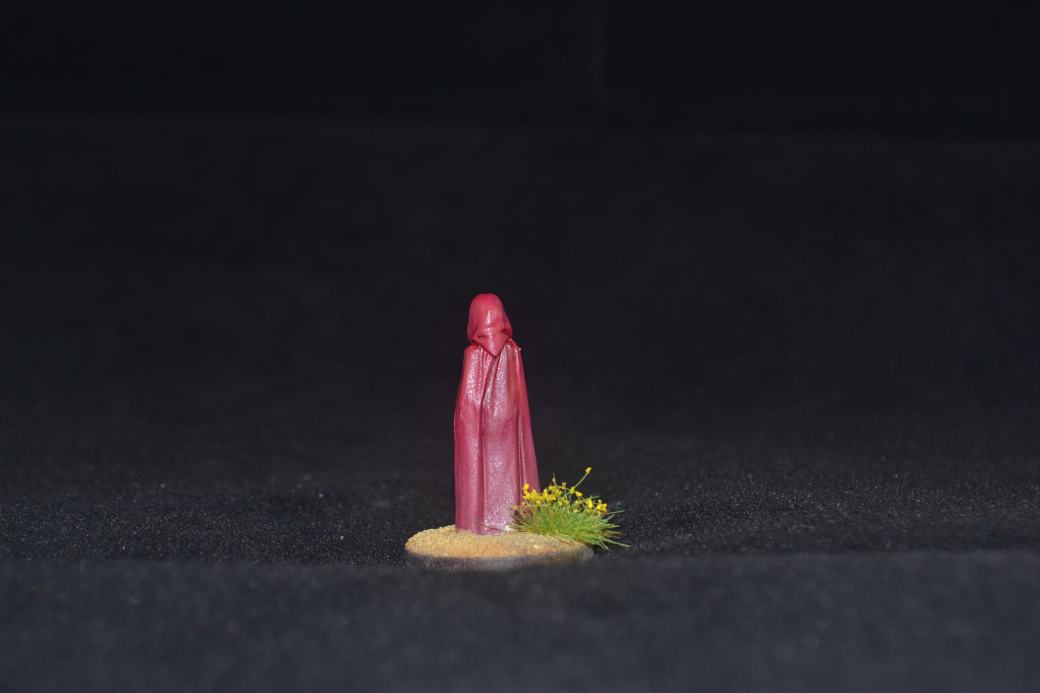
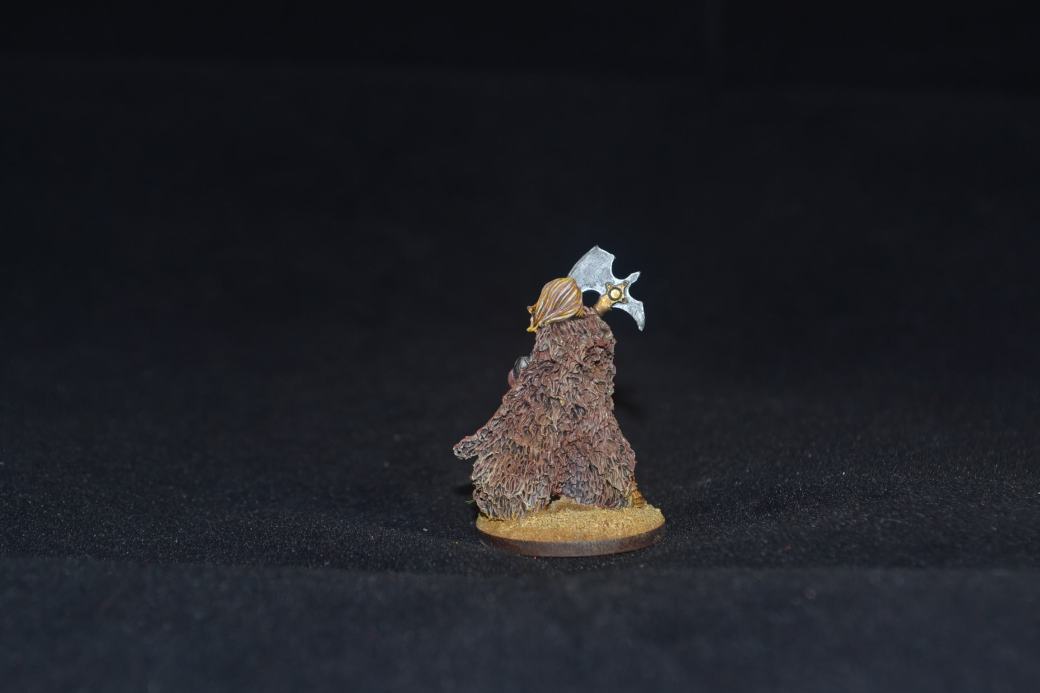
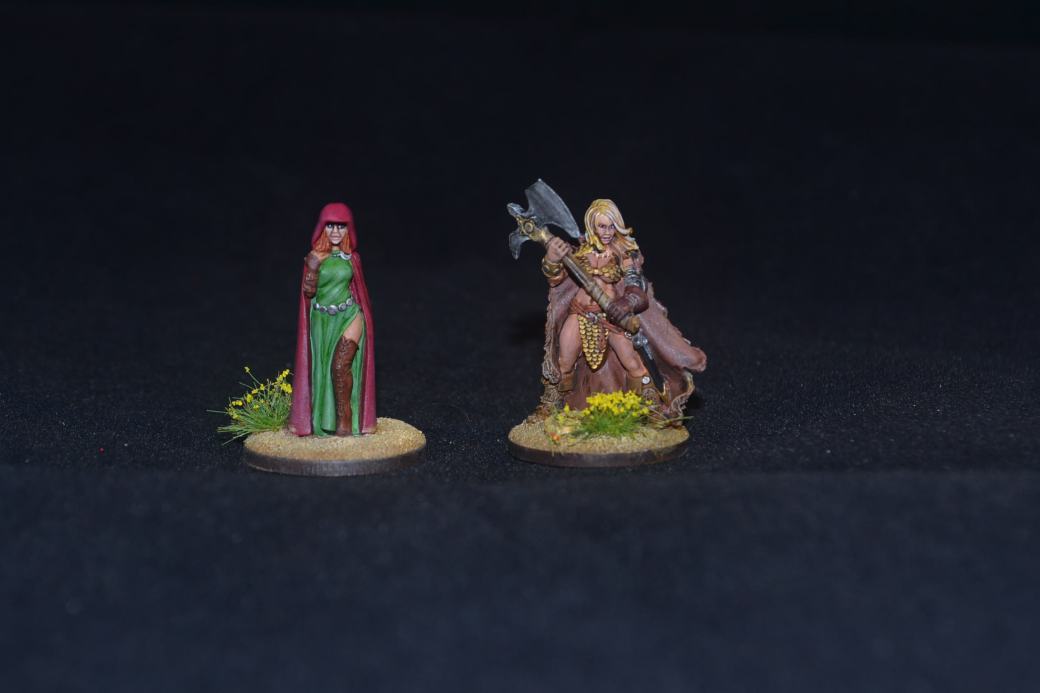
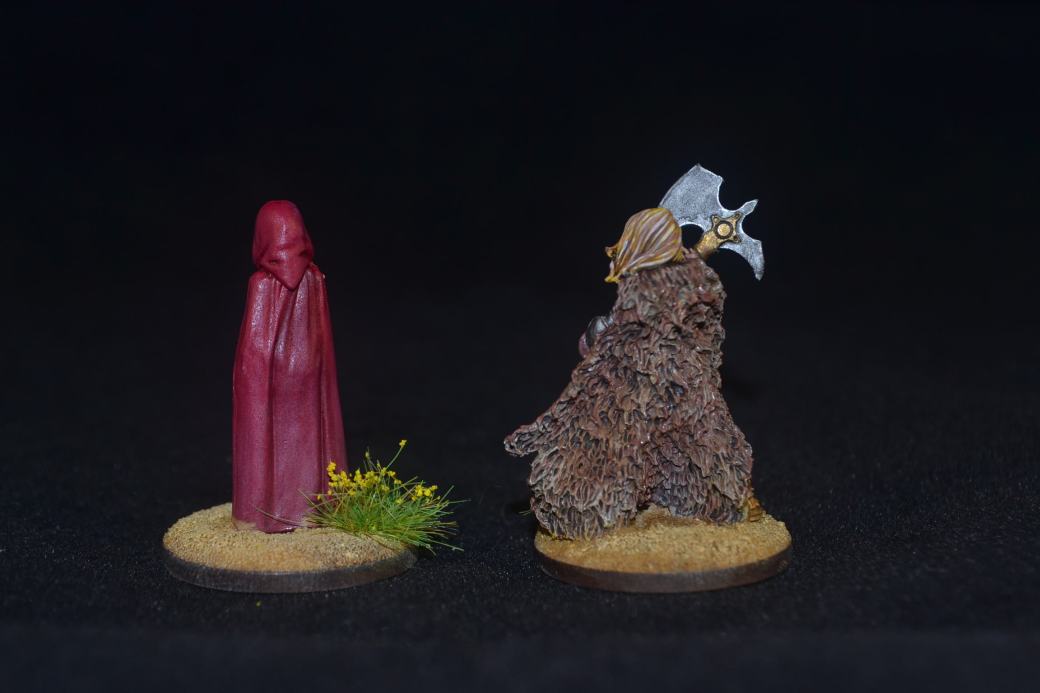
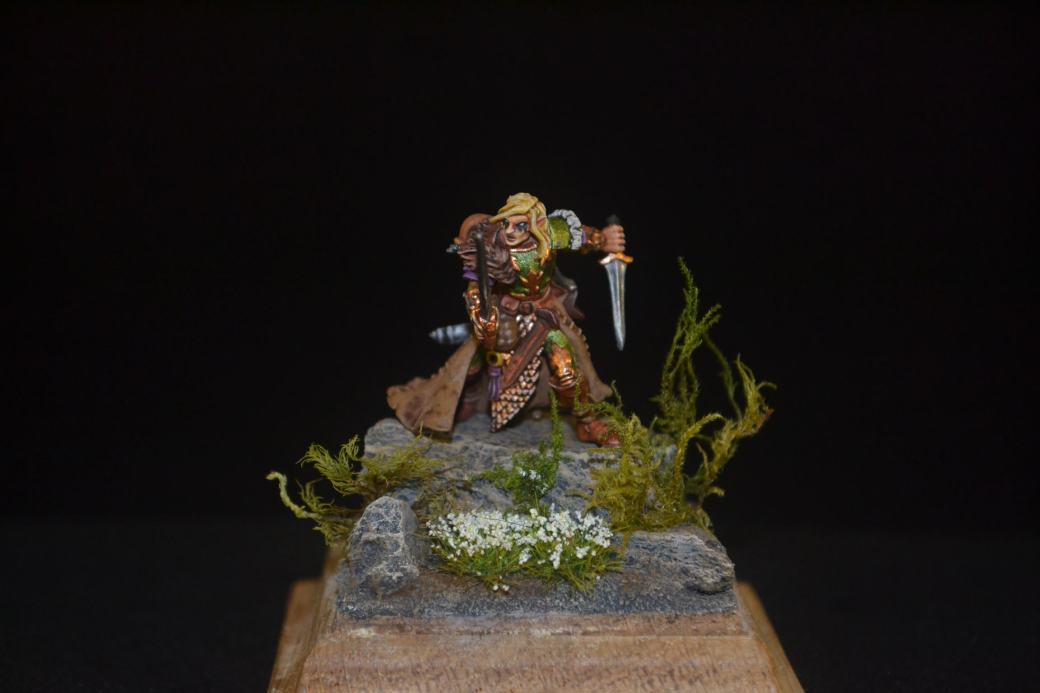
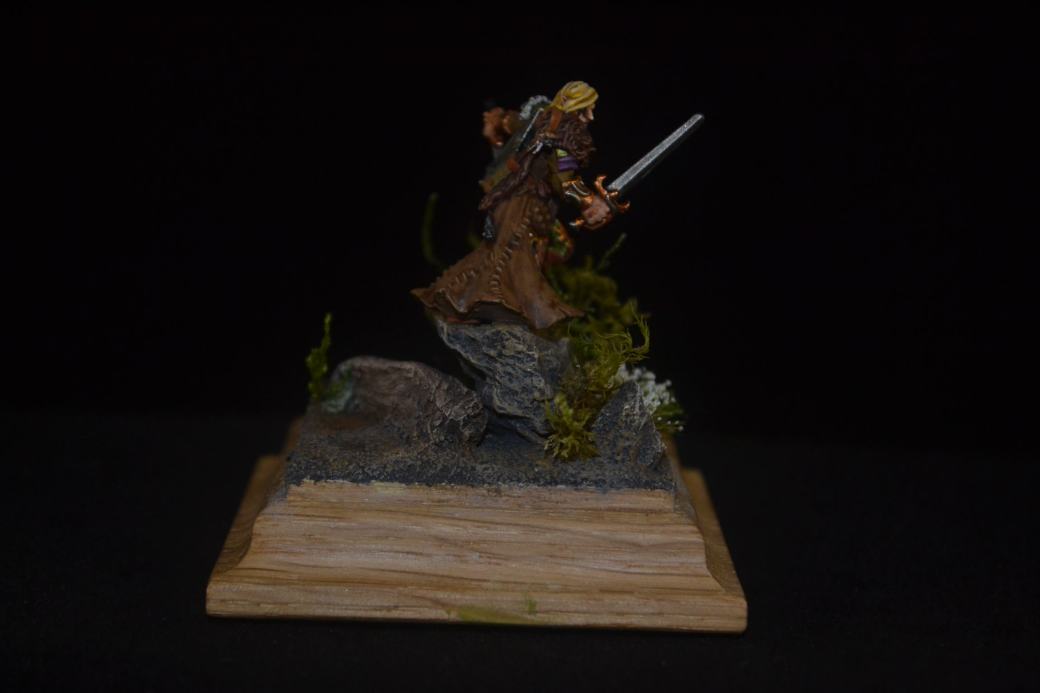
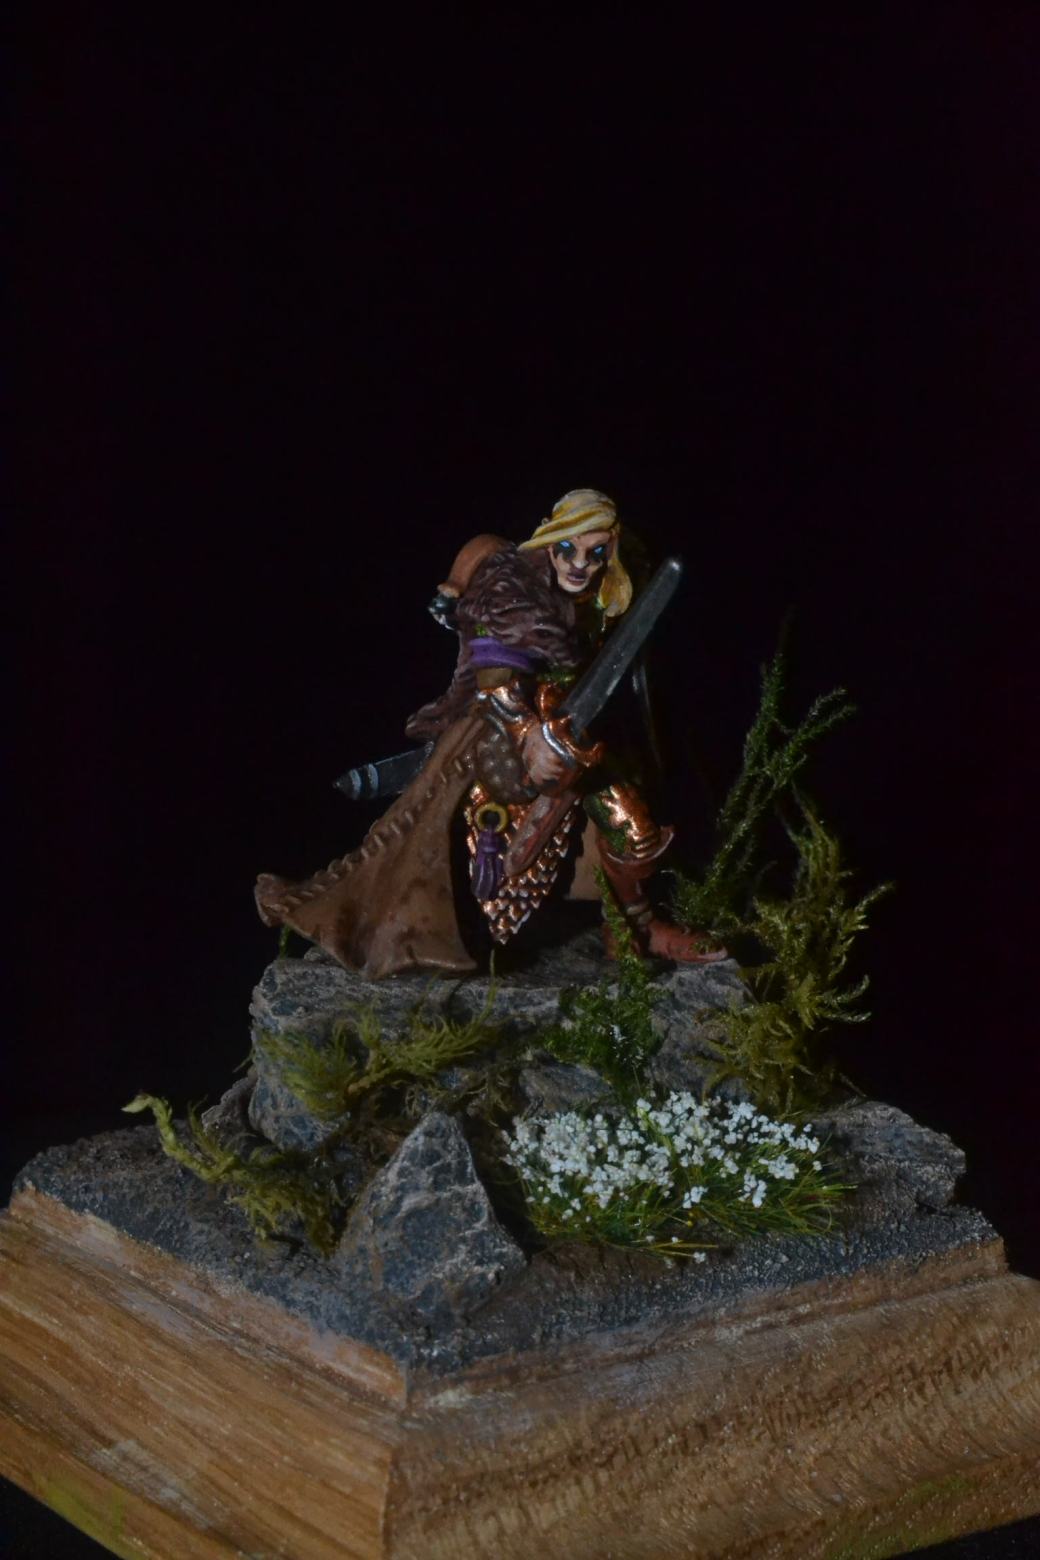
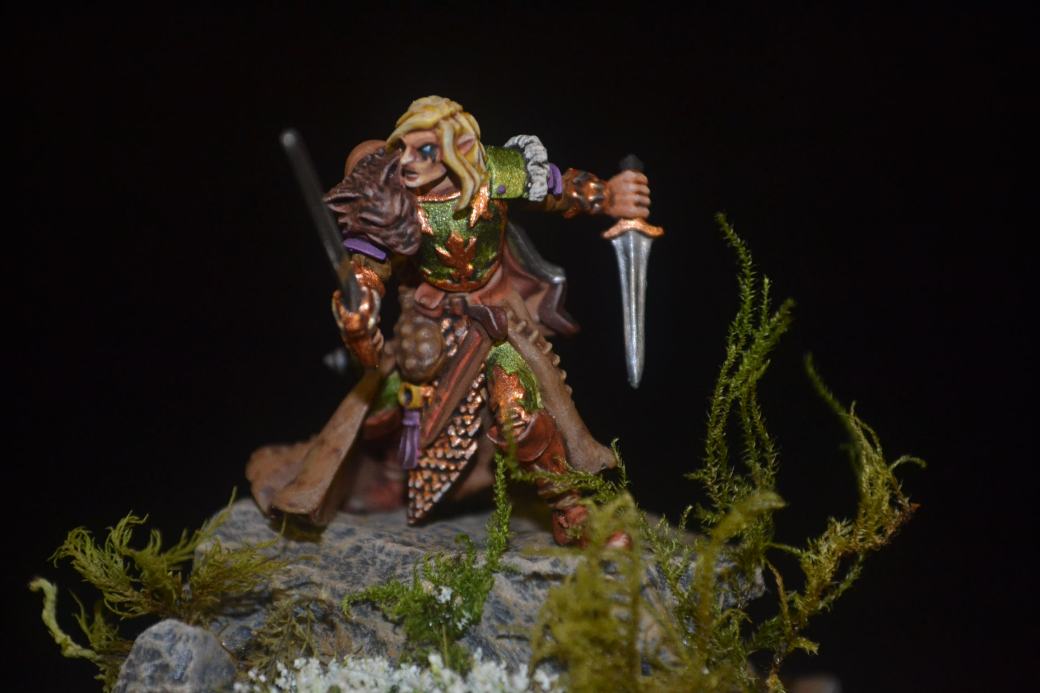
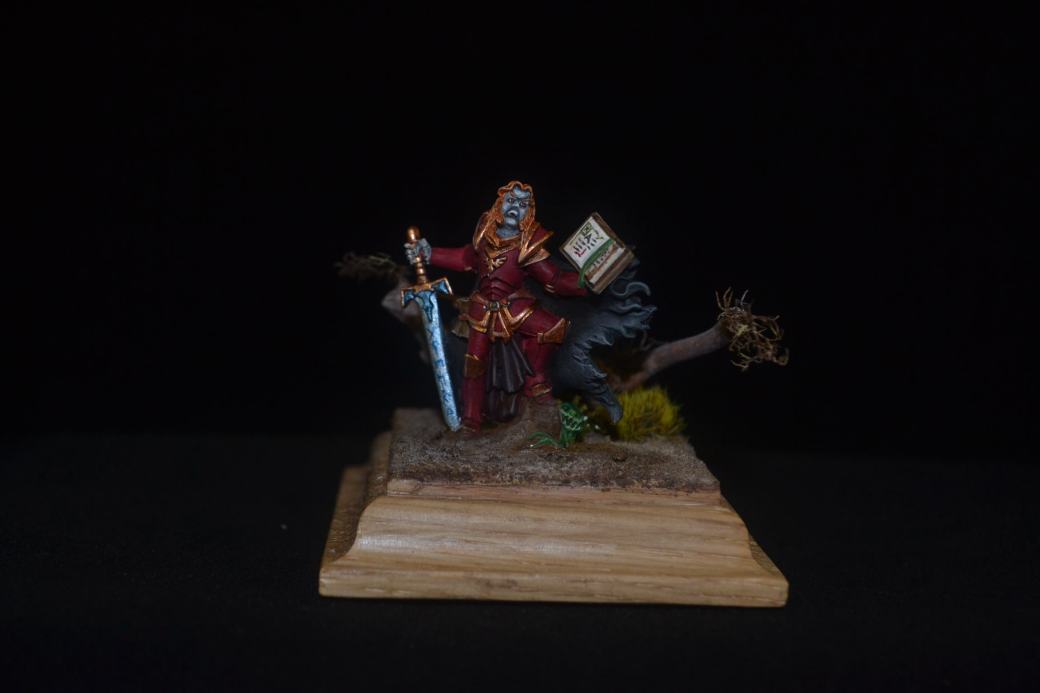
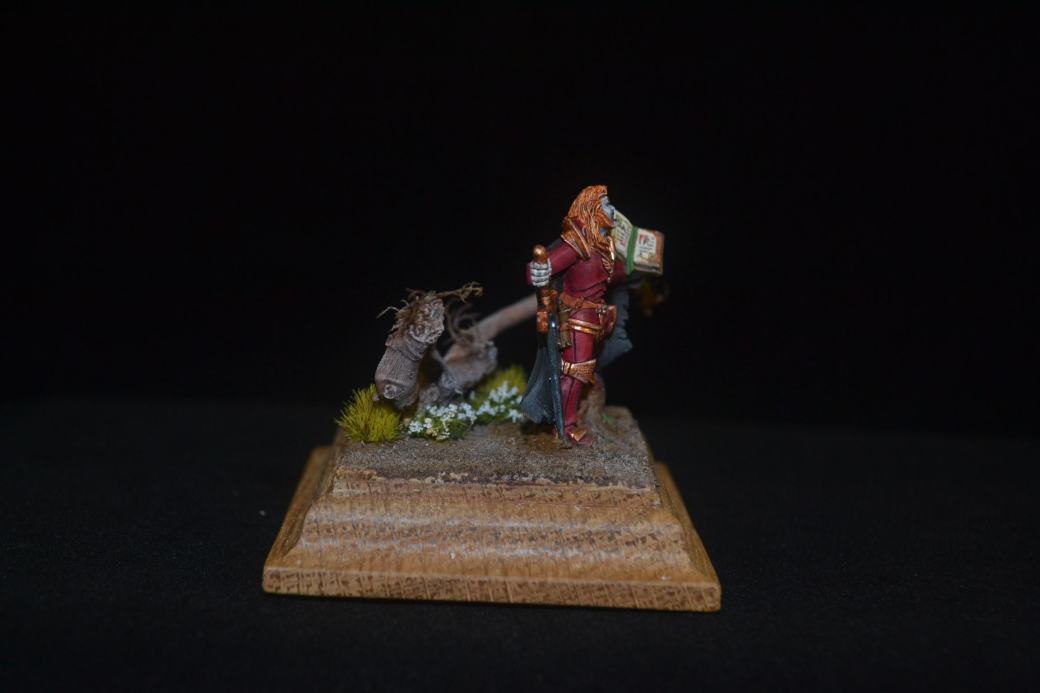
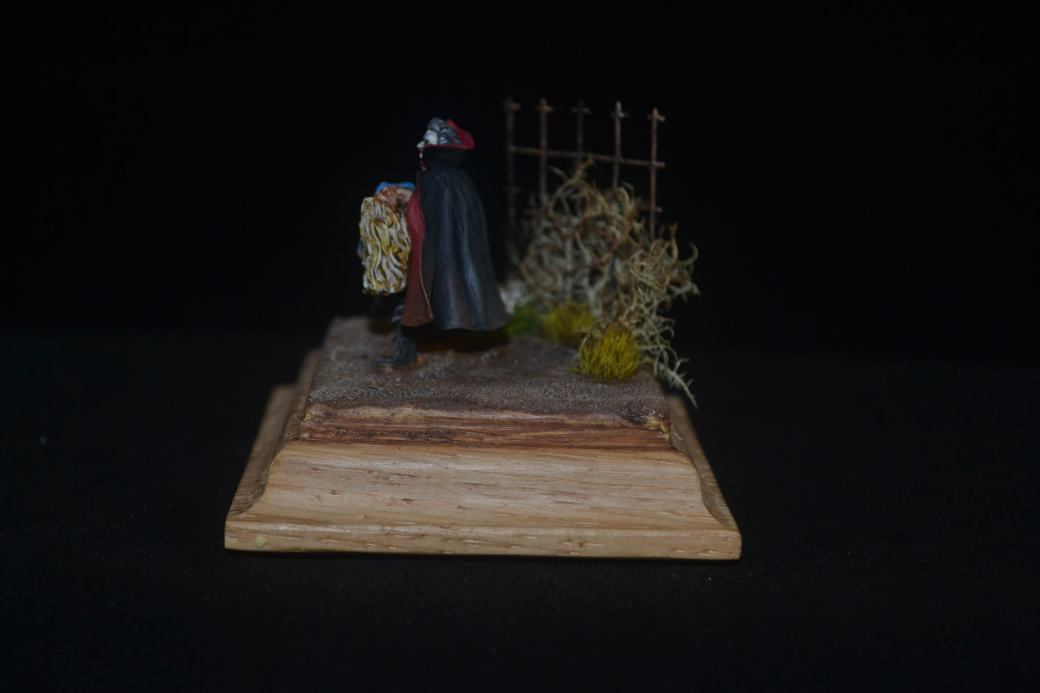
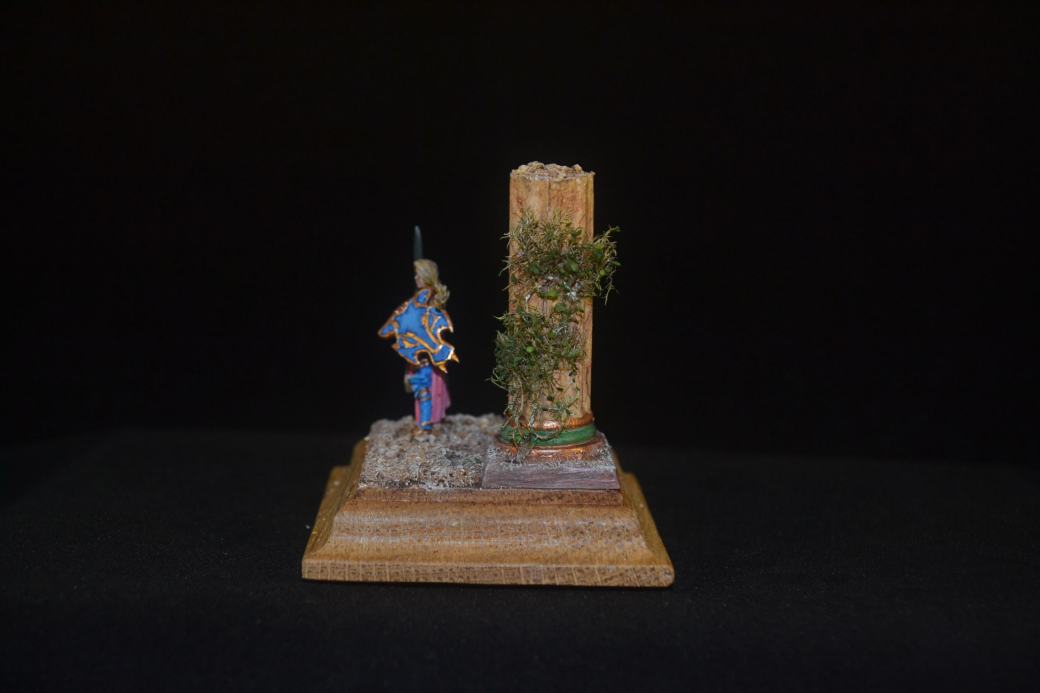
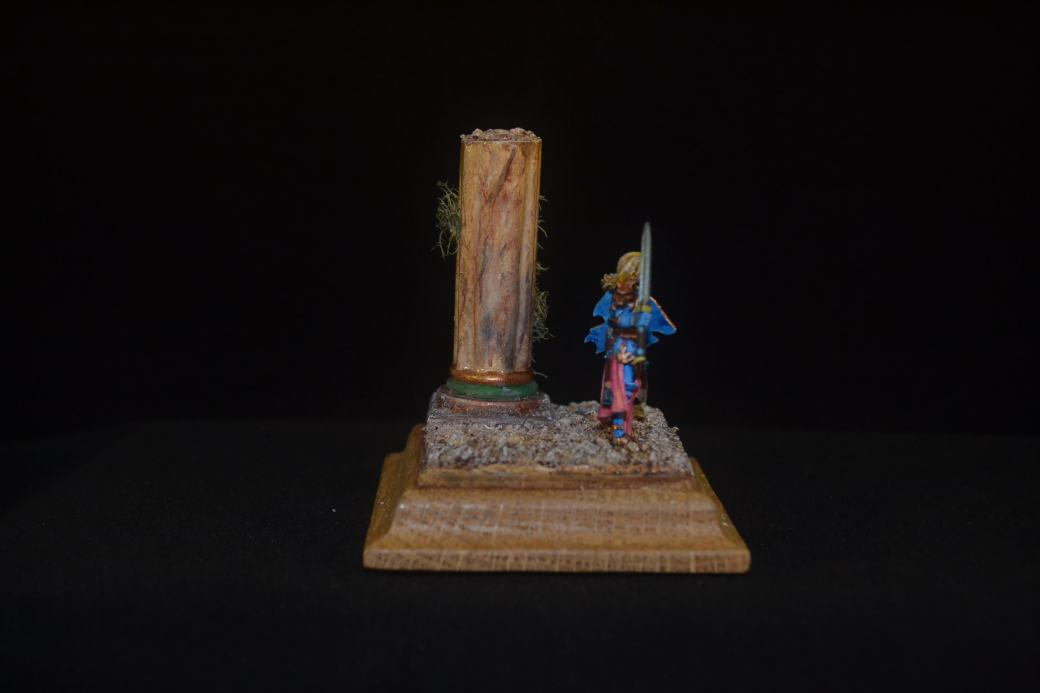
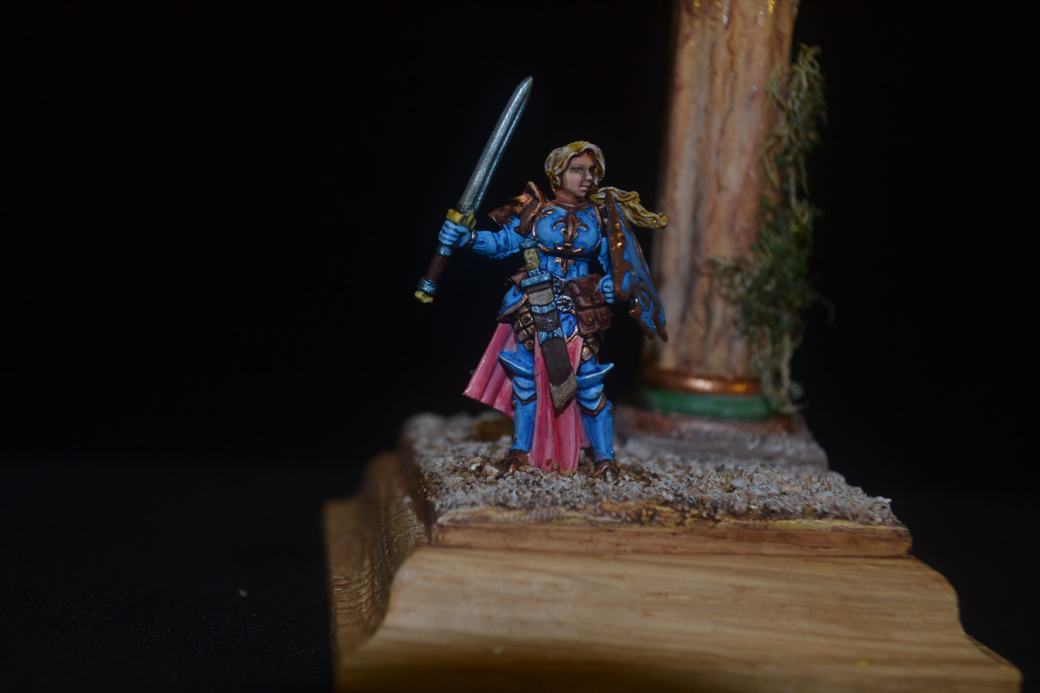
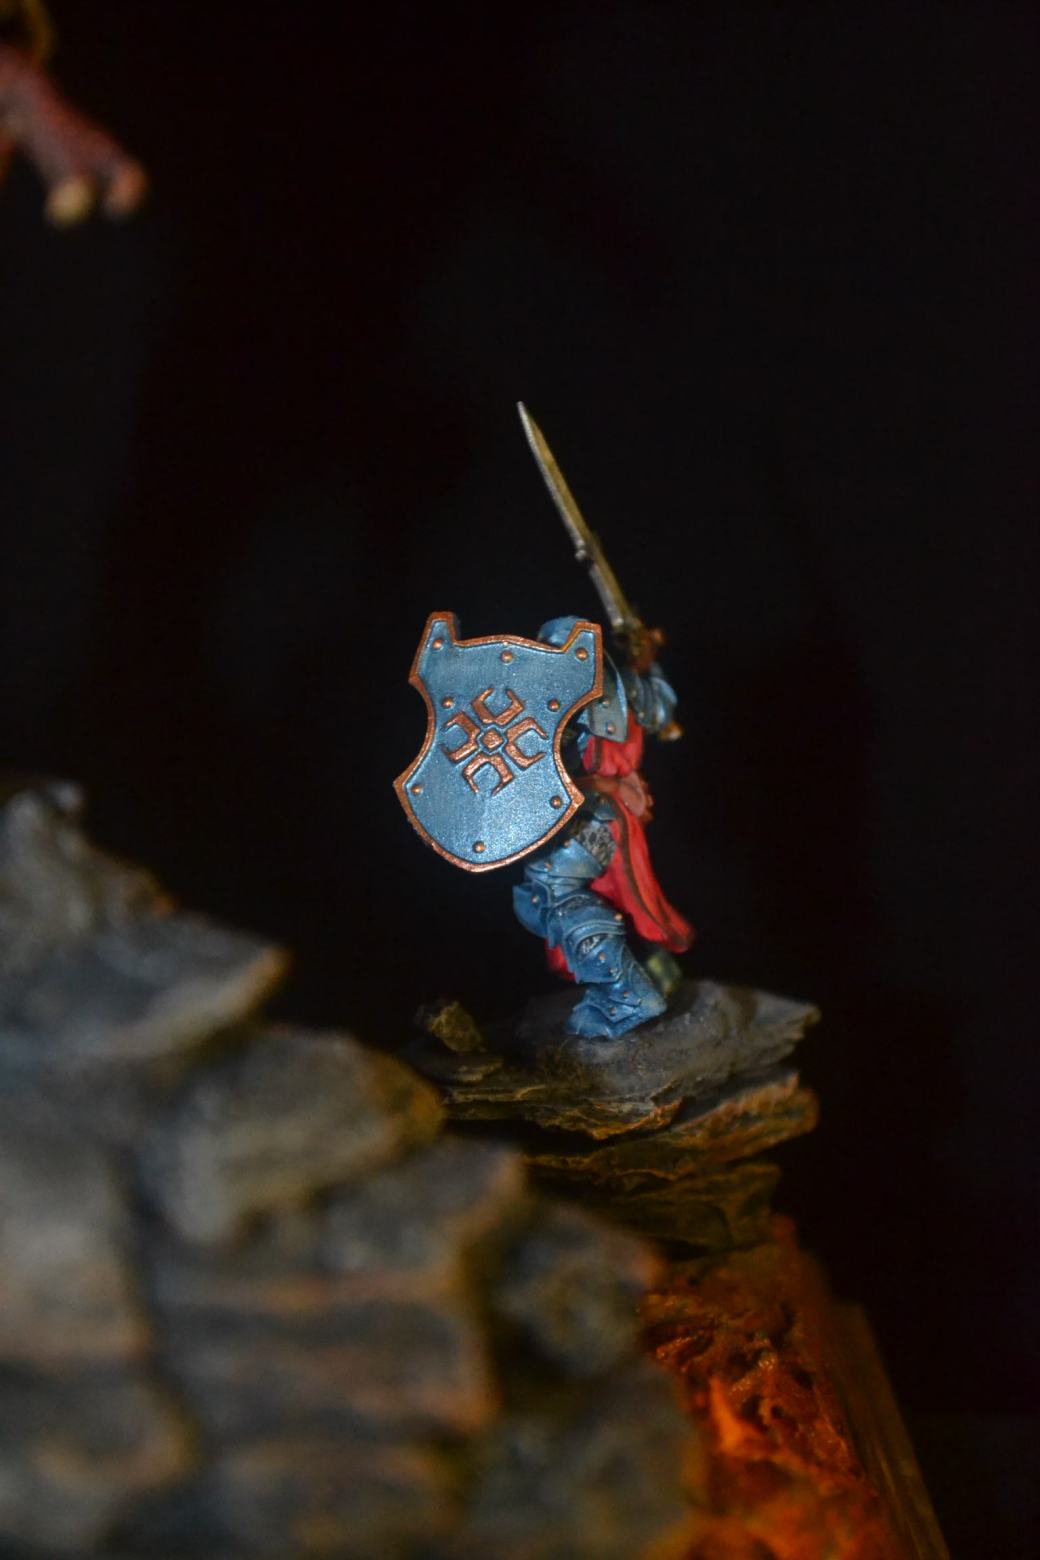
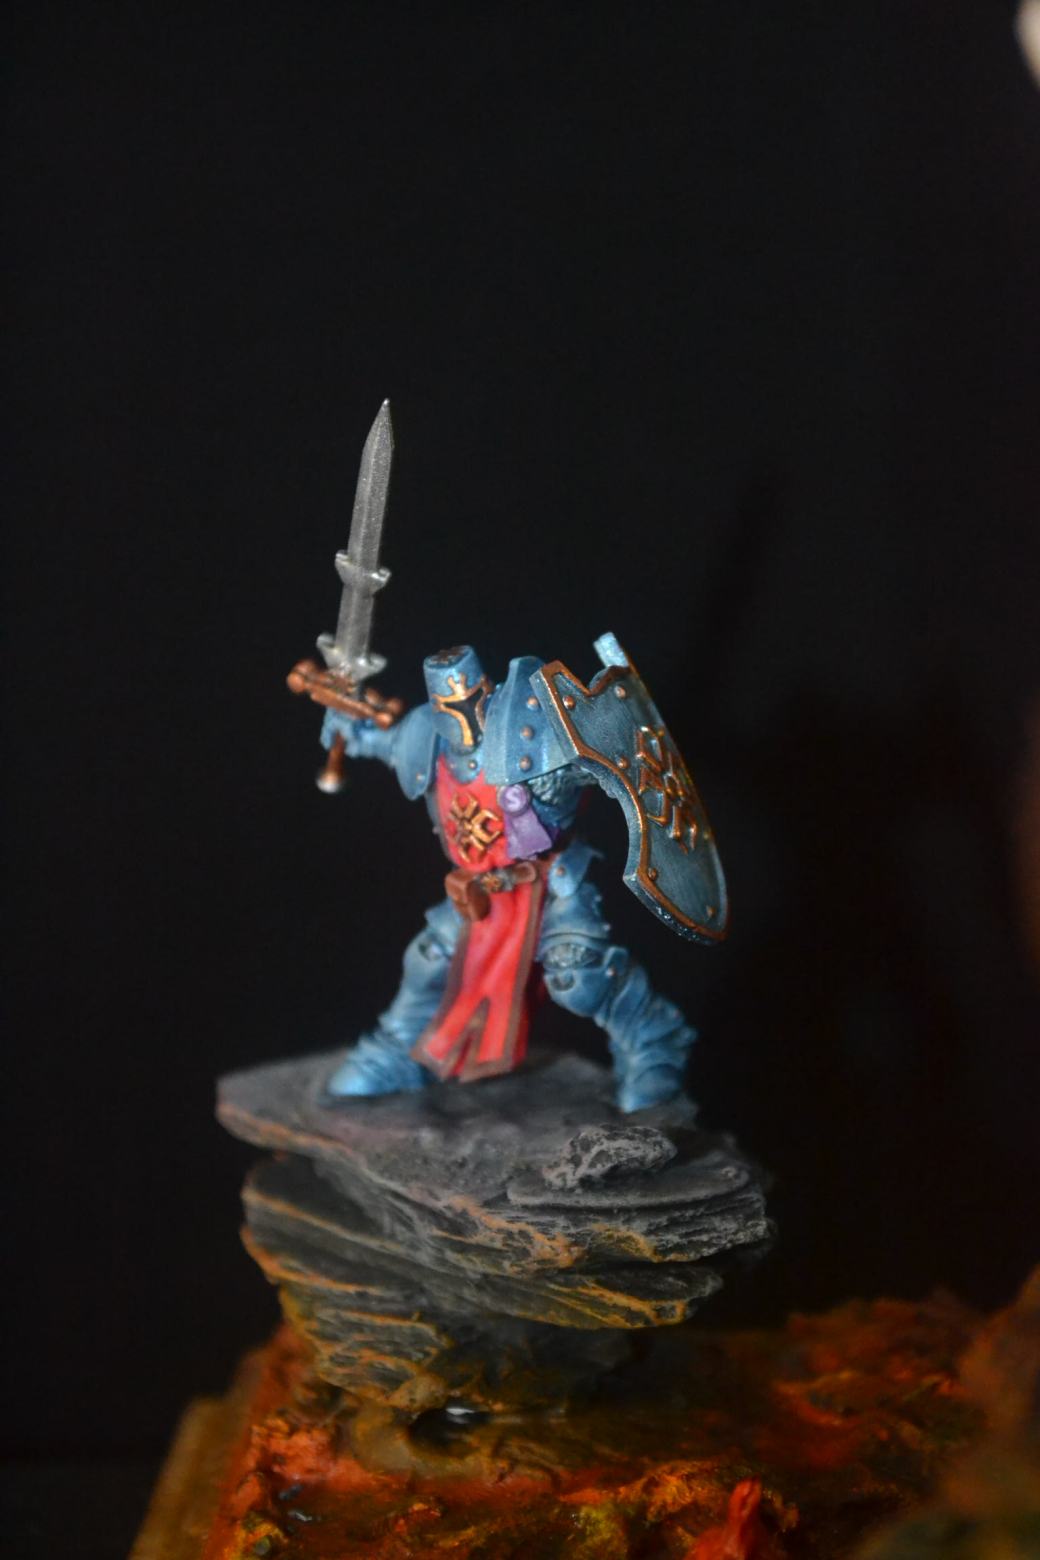
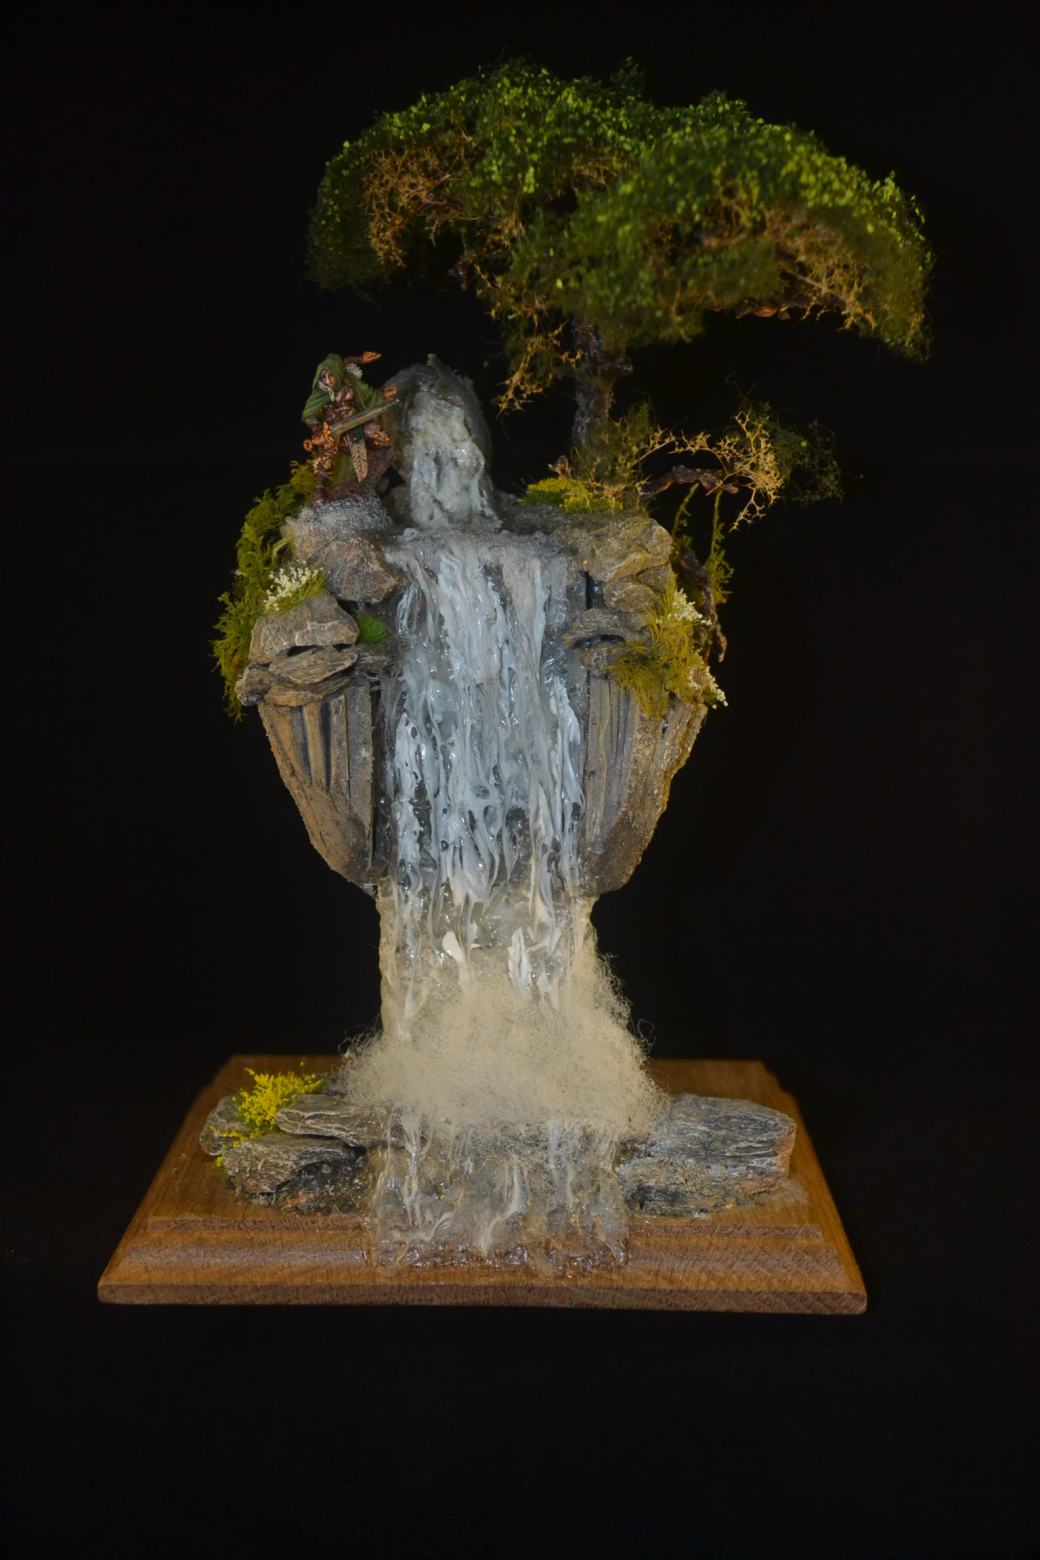
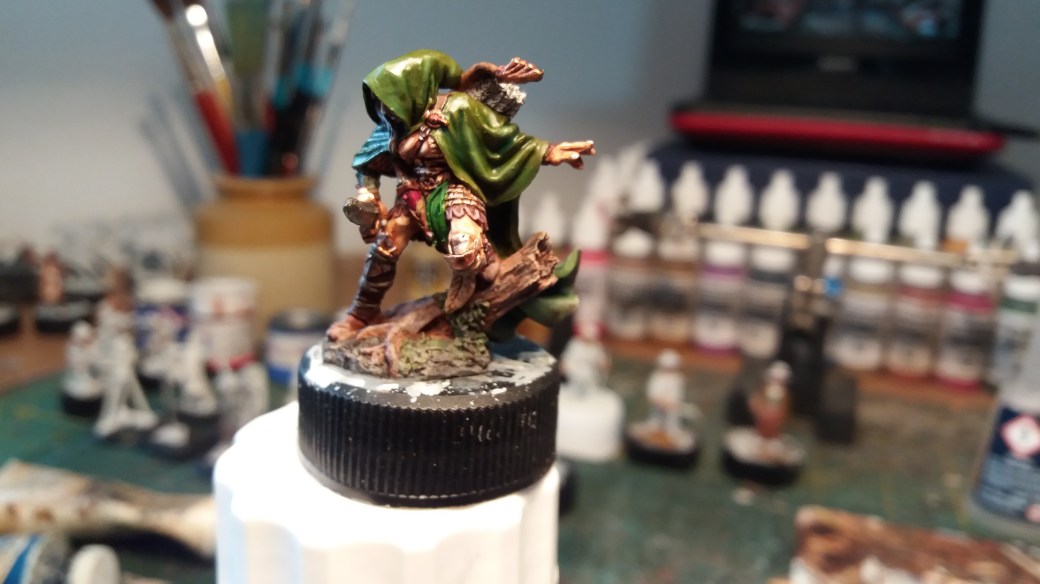
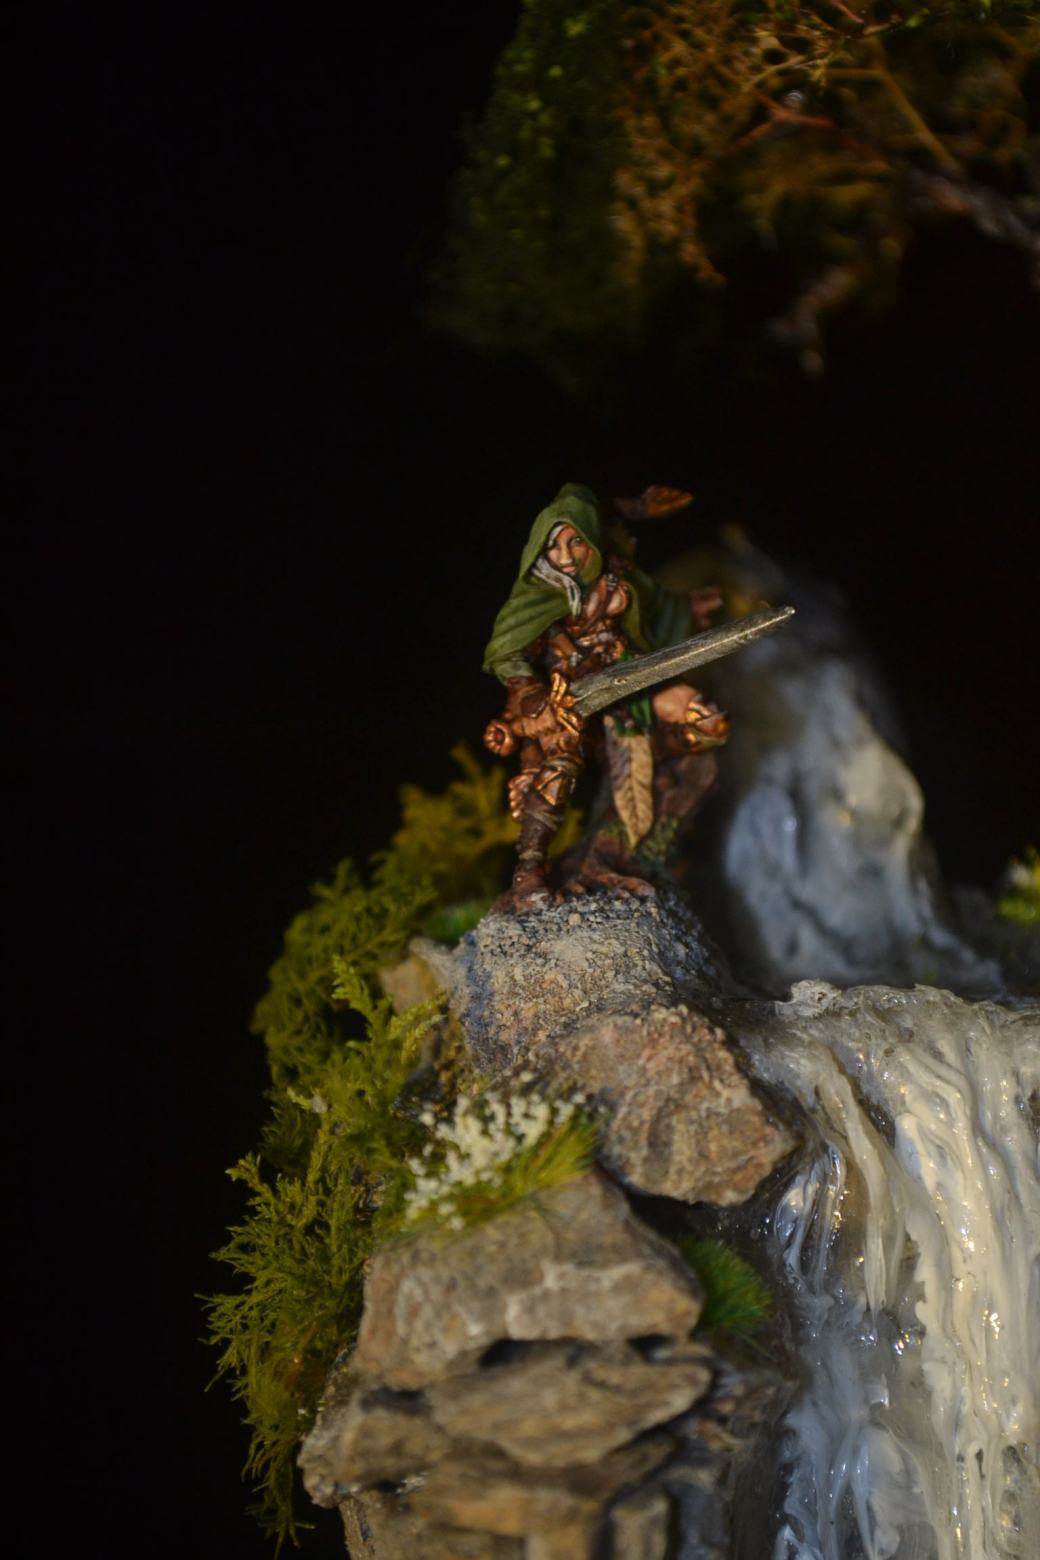
The final step was to paint the Reaper figure I’d bought specifically for the model, position it and blend in the base.
I got lucky with the figure. Clearly it had to be a fantasy based figure give the nature of the model but ideally I wanted a figure which looked like it was at the edge of the waterfall having come to a reasonably dramatic stop. As soon as I saw this figure I knew it was the one for me!


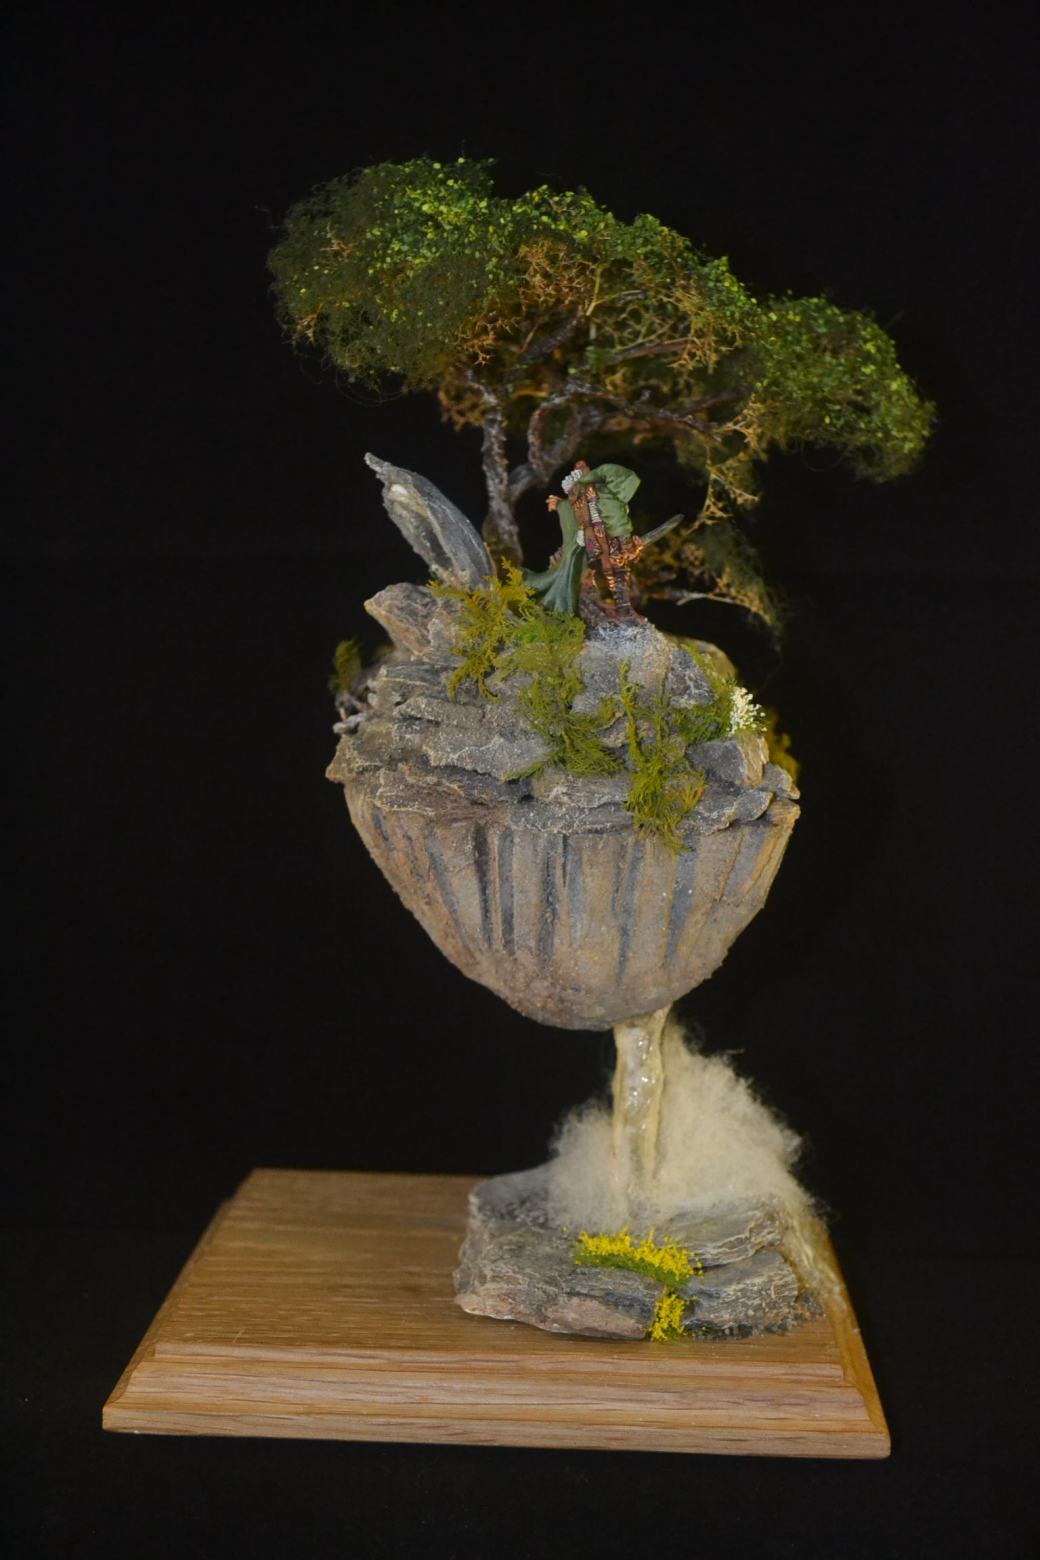
Step 12
The final model!

—000—
So there you have it, how I made “Fantasy Island”. Hopefully I’ve covered it all but if there is anything anyone would like more details on please just let me know.
TIM